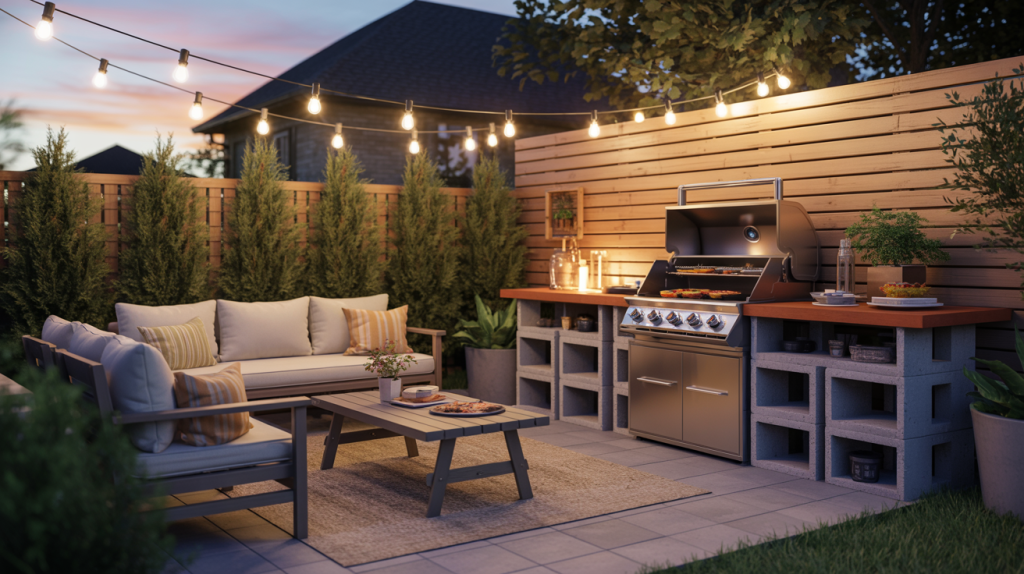
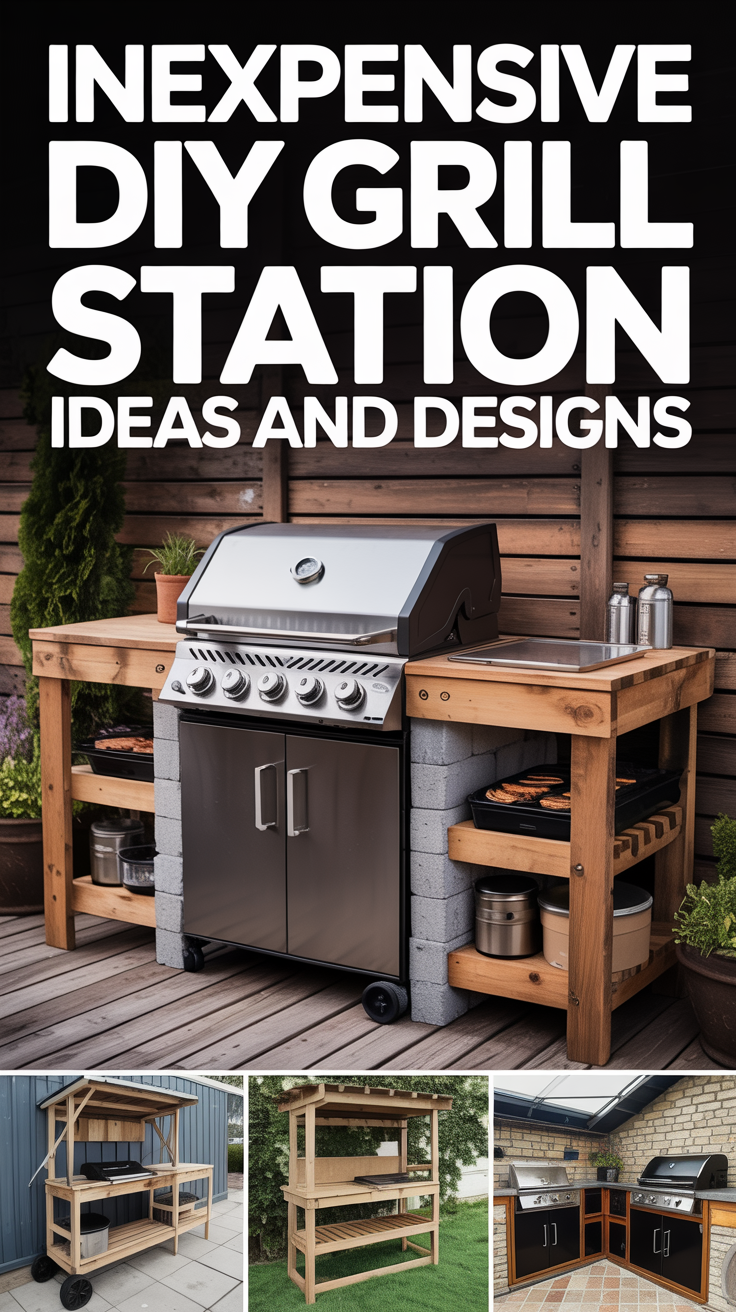
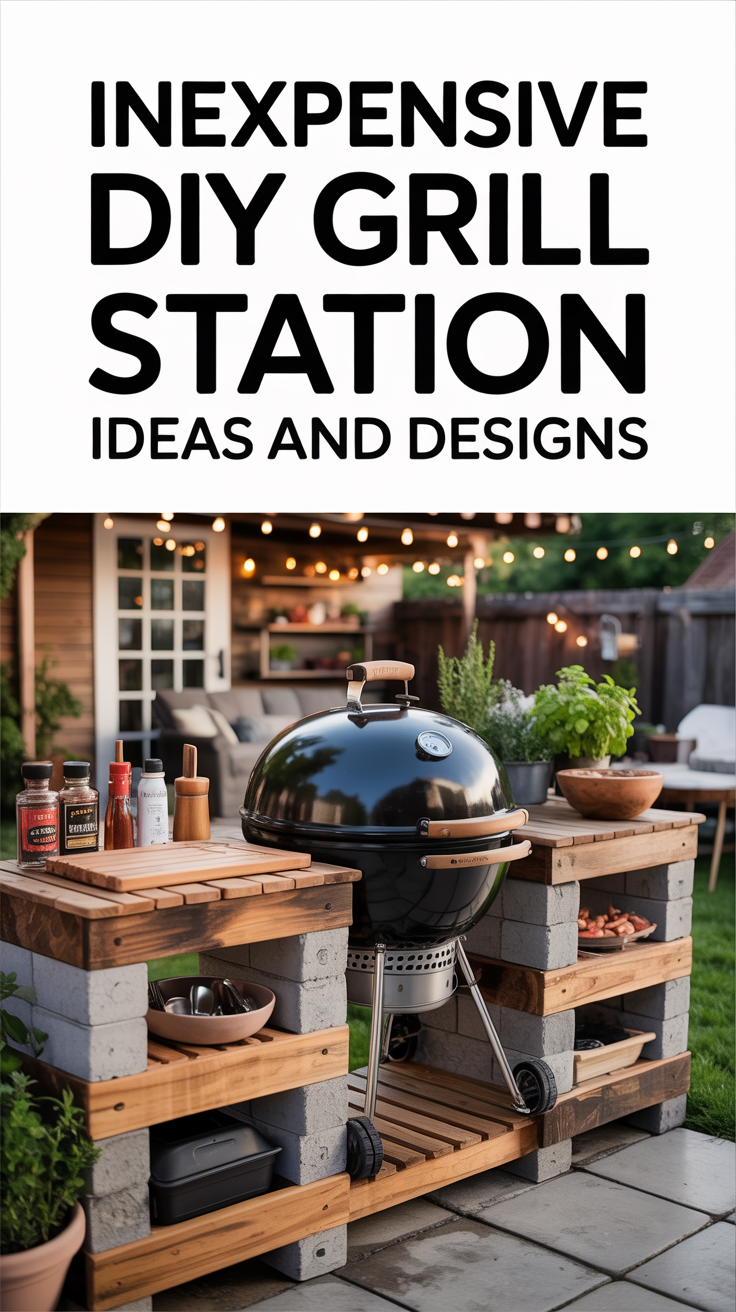
Building an outdoor kitchen or grill station is a dream for many homeowners who love to entertain and cook outside. However, the cost of a professionally installed outdoor kitchen can easily run into the tens of thousands of dollars. Fortunately, with a little creativity, some basic tools, and a willingness to tackle a do-it-yourself project, you can build a beautiful, functional, and inexpensive DIY grill station that will transform your backyard into a culinary oasis.
Nick and I are currently in the process of rolling out a series on how to we are designing and building our outdoor kitchen but today I want to cover some budget-friendly DIY grill station ideas, materials, and designs we considered as well. Whether you are looking for a simple rolling cart for a small patio or a built-in cinder block island for a large backyard, there is a design here to suit your needs and budget. We will cover everything from planning and safety considerations to step-by-step build concepts and finishing touches.
Planning Your DIY Grill Station
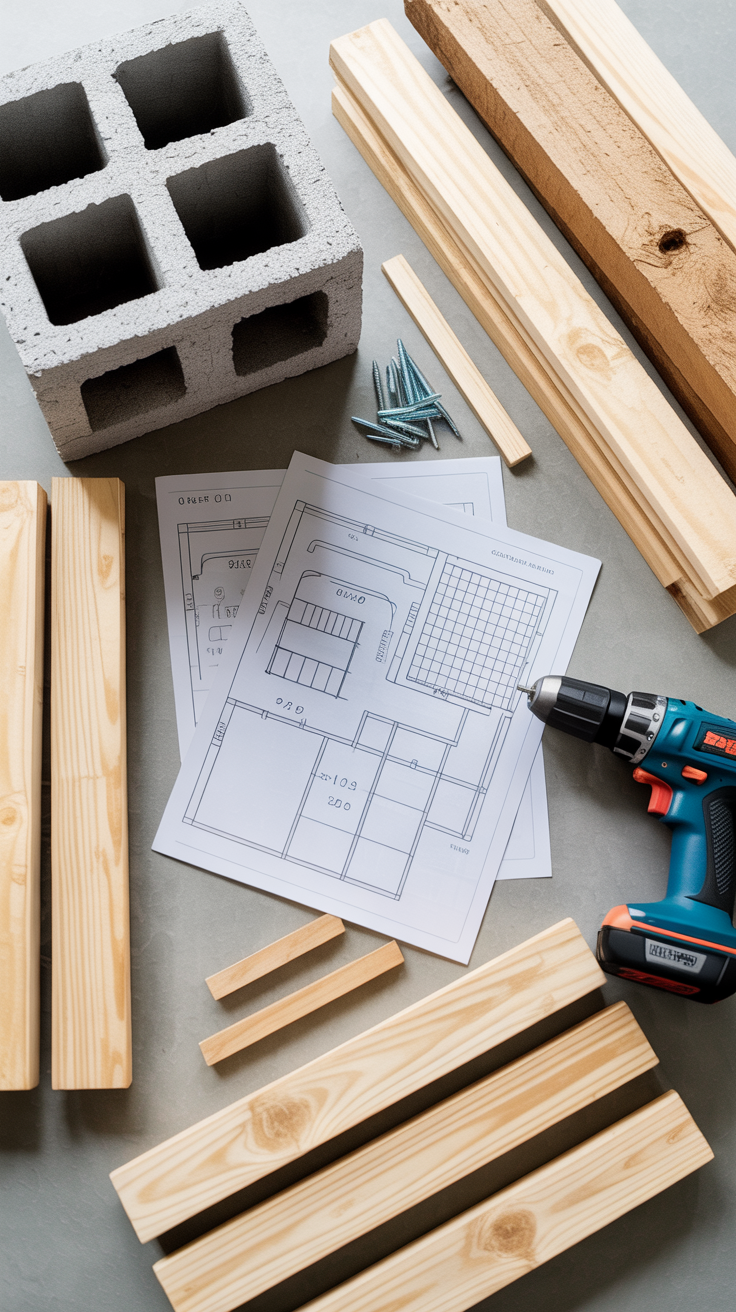
Before you purchase any materials or make a single cut, careful planning is essential to ensure your DIY grill station is safe, functional, and fits within your budget.
Assessing Your Space and Needs
The first step in planning your grill station is to evaluate your available outdoor space. Consider the size of your patio or deck and how much room you can dedicate to the cooking area. You need to ensure there is enough space not only for the grill station itself but also for safe movement around it while cooking.
Think about how you typically use your grill. Do you frequently host large gatherings and need extensive prep space and storage? Or do you mostly cook for your family and only require a small area to set down a plate and some utensils? Understanding your needs will help you determine the size and features of your grill station.
Determining Your Budget
Setting a realistic budget is crucial for any DIY project. While building your own grill station is significantly cheaper than hiring a professional, costs can still add up depending on the materials and features you choose. A simple wood-framed cart might cost under $100, while a larger cinder block island with concrete countertops and stainless steel doors could range from $300 to $600 or more.
When creating your budget, be sure to factor in the cost of the grill itself (if you are purchasing a new one), building materials (wood, cinder blocks, concrete, screws, etc.), finishing materials (paint, stain, tile, stone veneer), and any necessary tools you may need to buy or rent.
Safety Considerations
Safety should always be your top priority when designing and building a grill station. Grills generate intense heat and pose a fire risk if not properly situated and insulated.
When choosing a location for your grill station, ensure it is a safe distance from your home’s exterior walls, overhanging rooflines, and any combustible materials like wooden fences or low-hanging tree branches. Most manufacturers recommend keeping grills at least 10 feet away from any combustible structures.
If you are building a wood-framed grill station, it is critical to use non-combustible materials to insulate the wood from the heat of the grill. Cement backer board (such as HardieBacker) is commonly used to line the interior of the grill cutout. Additionally, ensure there is adequate ventilation around the grill to prevent heat buildup and allow for proper airflow, especially if you are using a gas grill.
Popular Inexpensive DIY Grill Station Designs
There are countless ways to design and build a DIY grill station, but a few popular methods stand out for their affordability and ease of construction.
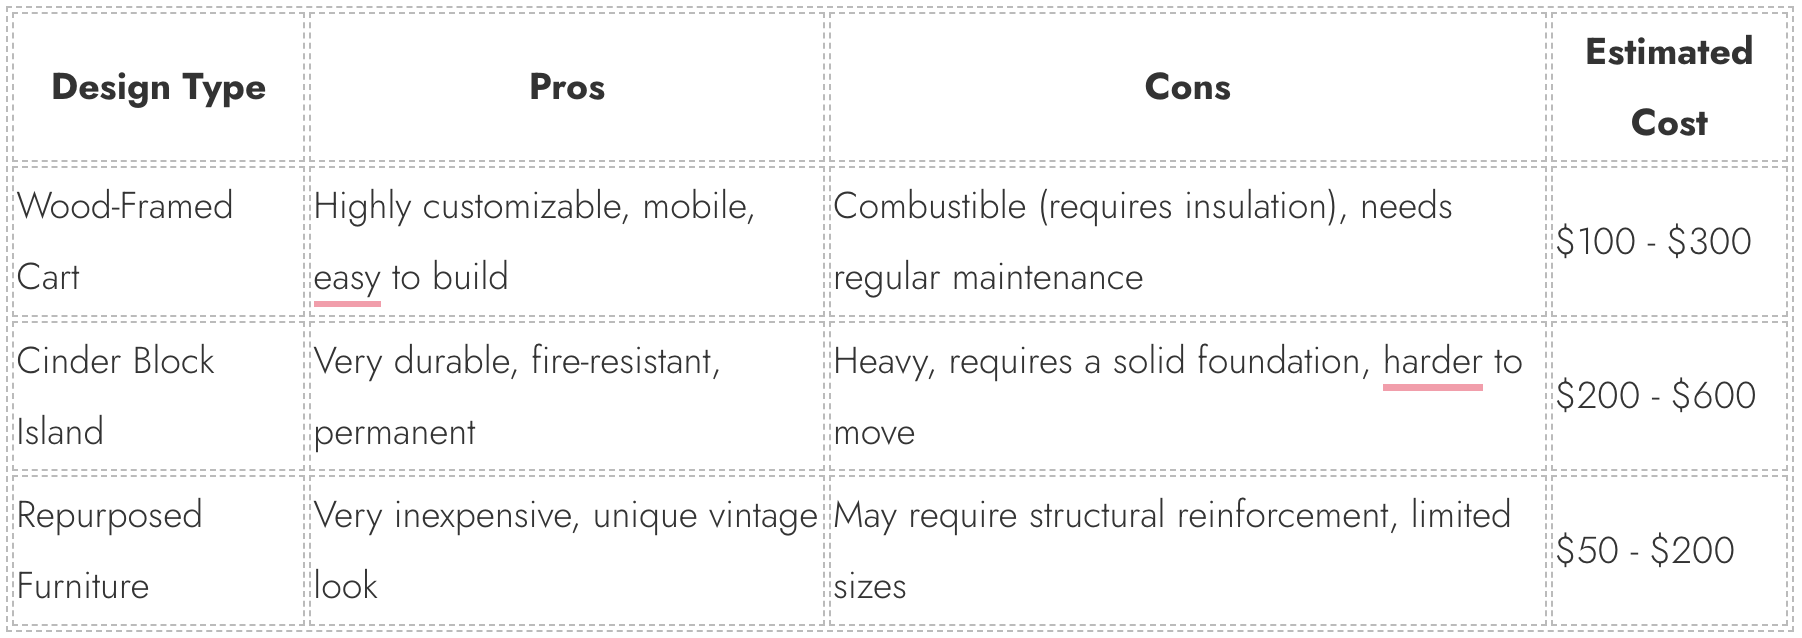
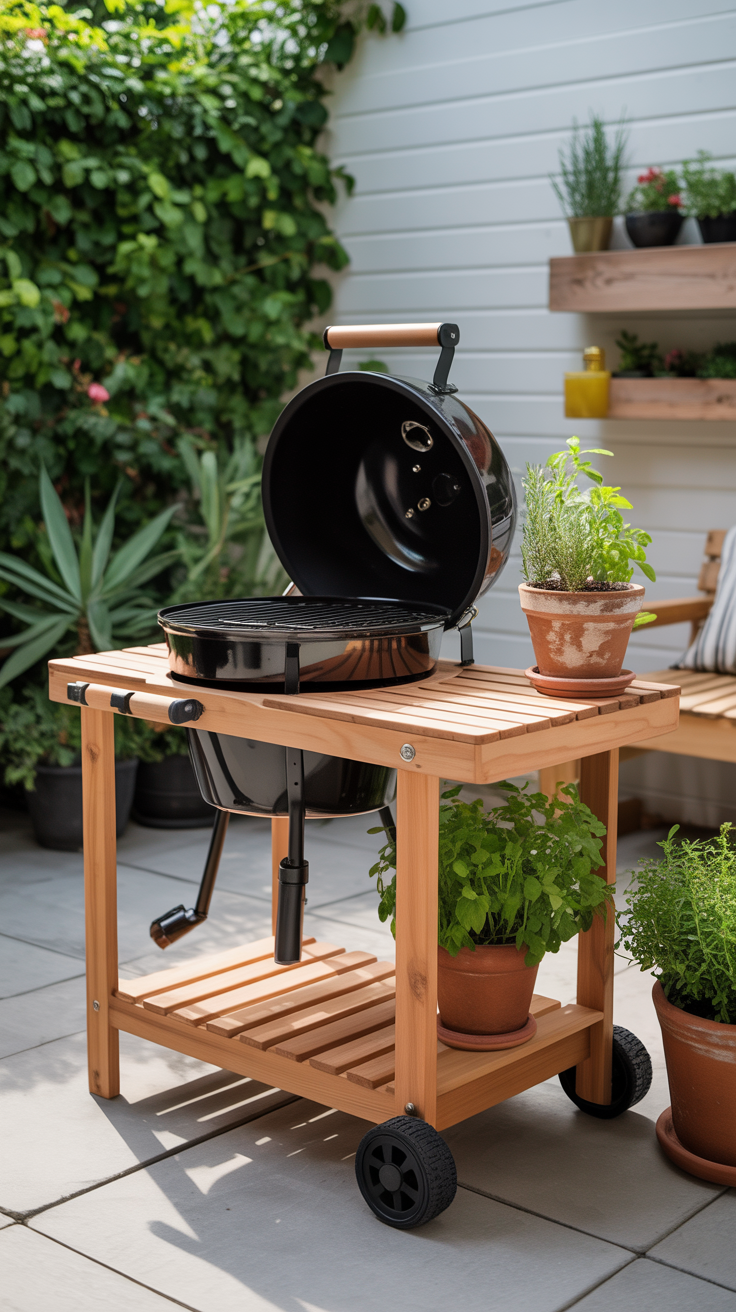
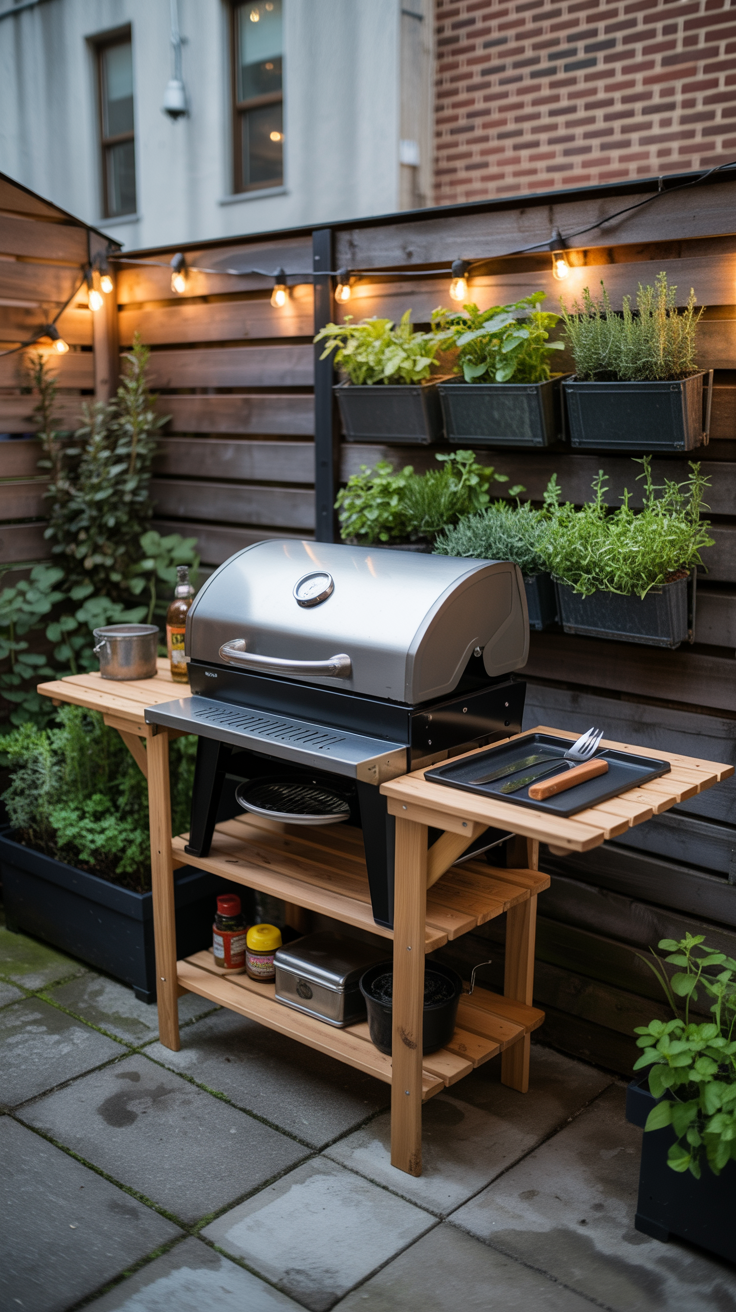
The Wood-Framed Grill Cart
A wood-framed grill cart is one of the most accessible and budget-friendly options for a DIY grill station. This design is highly customizable and can be built using basic lumber, such as 2x4s and plywood.
The beauty of a wood-framed cart is its versatility. You can design it to fit a specific tabletop grill, or build it as a side prep station to accompany a freestanding grill. Adding casters to the bottom of the cart makes it mobile, allowing you to easily move it around your patio or store it away during the winter months.
To build a basic wood-framed cart, you will construct a sturdy frame using 2×4 lumber, joined together with pocket hole screws or exterior wood screws. The frame is then clad in plywood, cedar planks, or even repurposed pallet wood for a rustic look. The countertop can be made from a variety of materials, including butcher block, tile, or even poured concrete.
While wood is an affordable and easy-to-work-with material, it is important to remember that it is combustible. If you plan to incorporate a grill directly into a wood-framed station, you must take proper precautions to insulate the wood from the heat, using cement board and maintaining adequate clearance around the grill.
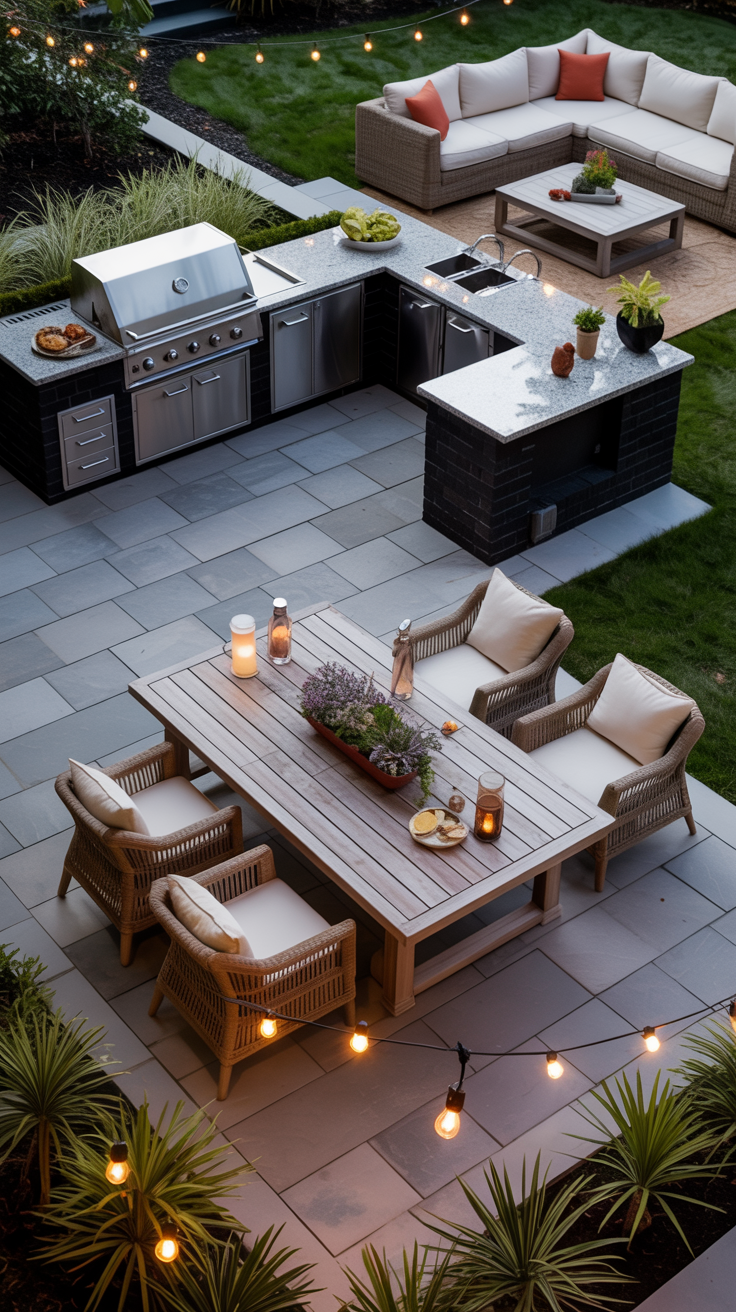
The Cinder Block Grill Island
For a more permanent and substantial grill station, cinder blocks (also known as concrete masonry units or CMUs) are an excellent and inexpensive building material. Cinder blocks are incredibly durable, fire-resistant, and can be used to create a solid foundation for a built-in grill island.
Building a cinder block grill station is relatively straightforward, even for beginners. The blocks are stacked in a running bond pattern to create the walls of the island. While mortar can be used to secure the blocks permanently, many DIYers opt for a “dry stack” method, using construction adhesive to bond the blocks together. This approach is faster, less messy, and still results in a very sturdy structure.
A cinder block island can be customized to accommodate a drop-in gas grill, a kamado-style ceramic cooker, or even a wood-fired pizza oven. The exterior of the cinder blocks can be left bare for an industrial look, painted, or covered with stucco, stone veneer, or tile to match your home’s exterior.
Repurposed and Upcycled Stations
If you are on a very tight budget or love the look of vintage items, repurposing existing furniture into a grill station is a fantastic option. Old dressers, potting benches, or even metal tool carts can be transformed into unique and functional outdoor cooking centers.
When repurposing wooden furniture, it is important to ensure it is sturdy enough to support the weight of a grill and countertops. You will also need to apply a high-quality exterior sealant or paint to protect the wood from the elements.
A popular upcycling project involves converting an old wooden dresser into a grill cart. The top drawers can be removed to create an open shelf for a tabletop grill or prep space, while the lower drawers provide ample storage for grilling tools, charcoal, and accessories. Adding a new, weather-resistant countertop and a fresh coat of exterior paint can completely revitalize an old piece of furniture.
Choosing the Right Materials
The materials you choose for your DIY grill station will significantly impact its cost, durability, and overall appearance.
Framing Materials
For wood-framed stations, pressure-treated pine is a common and affordable choice for the structural framework. It is treated to resist rot and insect damage, making it suitable for outdoor use. However, pressure-treated wood can warp and twist as it dries, so it is important to select straight boards and allow them to acclimate before building.
Cedar is another excellent option for outdoor projects. It is naturally resistant to rot and insects and has a beautiful, rich color. While more expensive than pressure-treated pine, cedar is more stable and easier to work with.
For cinder block stations, standard 8x8x16-inch concrete blocks are the go-to material. They are inexpensive, widely available, and provide a solid, fireproof base.
Countertop Options
The countertop is one of the most important features of your grill station, providing essential prep space and contributing to the overall aesthetic.
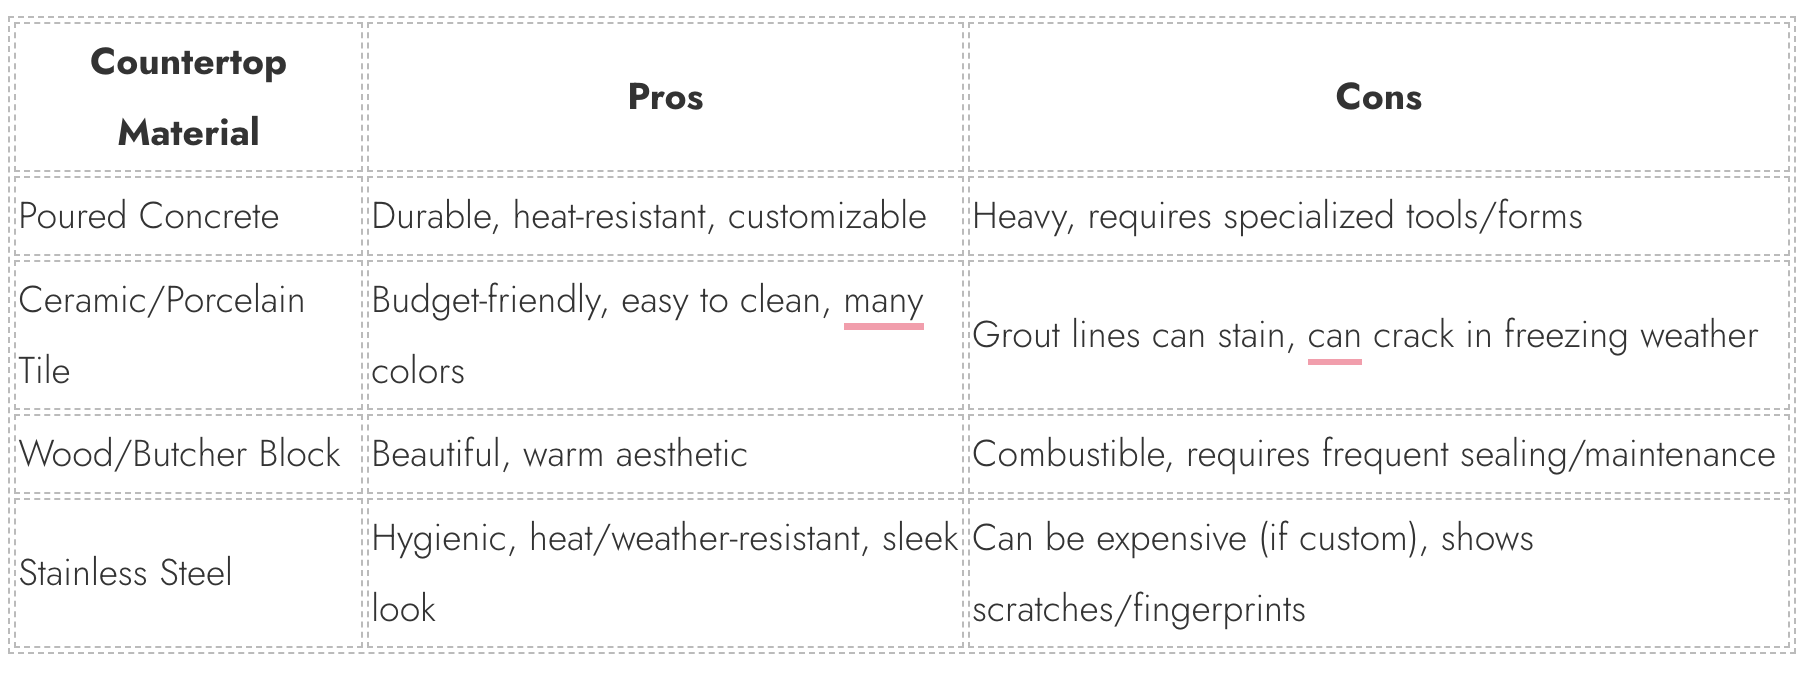
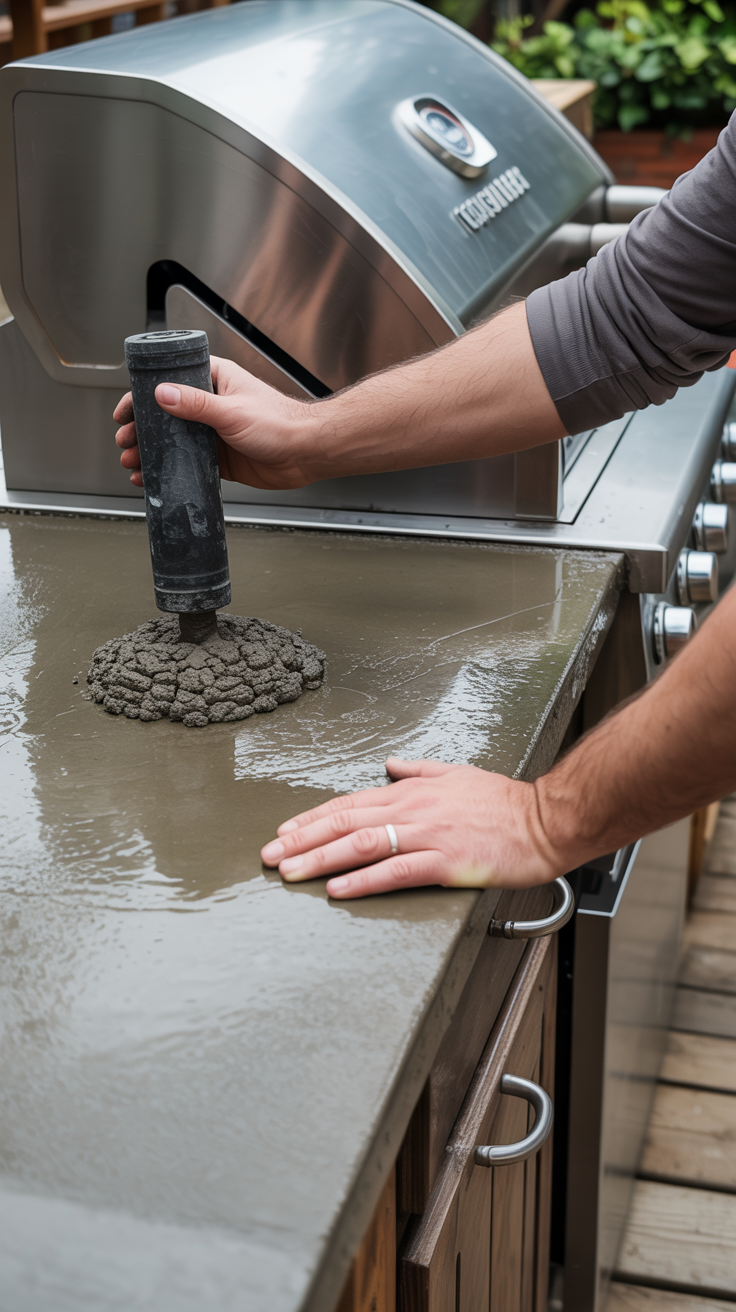
Concrete: Poured concrete countertops are incredibly popular for outdoor kitchens. They are highly durable, heat-resistant, and can be customized with various pigments and finishes. While pouring concrete requires some specialized tools and techniques, it is a very affordable option if you do it yourself. We are going this route with our outdoor kitchen!
Tile: Ceramic or porcelain tile is another budget-friendly countertop material. It is easy to clean, heat-resistant, and available in a vast array of colors and patterns. When installing tile outdoors, it is crucial to use a waterproof backer board and exterior-grade thinset mortar and grout to prevent cracking from freeze-thaw cycles.
Wood: Butcher block or solid wood planks can create a beautiful, warm countertop. However, wood requires regular maintenance, including sealing and oiling, to protect it from moisture and UV damage. It is also combustible, so it should not be used in close proximity to the grill’s heat source.
Stainless Steel: For a sleek, professional look, stainless steel is an excellent choice. It is hygienic, easy to clean, and completely heat and weather-resistant. While custom stainless steel countertops can be expensive, you can often find affordable prefabricated stainless steel work tables or use galvanized steel sheets wrapped over a plywood base for a similar effect.
Exterior Finishes
The exterior finish of your grill station will tie the whole project together and protect the underlying structure.
For wood-framed stations, exterior paint or solid-color stain provides excellent protection against the elements. You can also clad the frame in siding materials like T1-11, cedar shingles, or corrugated metal for a different look.
For cinder block stations, applying a coat of stucco is a popular way to create a smooth, finished appearance. Alternatively, you can apply a stone or brick veneer over the cinder blocks. While natural stone veneer can be pricey, manufactured stone veneer is a more affordable alternative that still provides a high-end look.
Step-by-Step: Building a Basic Wood-Framed Grill Cart
To give you an idea of what a DIY grill station project entails, here is a general overview of the steps involved in building a basic wood-framed rolling grill cart.
Step 1: Design and Cut List
Start by sketching out your design and determining the dimensions of your cart. Consider the size of your grill, the desired height of the countertop, and the amount of storage space you need. Once you have your dimensions, create a cut list for all the lumber you will need.
Step 2: Build the Frame
Using 2×4 lumber, construct the base frame and the vertical supports. Pocket hole joinery is an excellent method for creating strong, hidden joints. Ensure the frame is square and level as you assemble it.
Step 3: Add Shelving and Cladding
Install the bottom shelf using plywood or wooden slats. Next, clad the sides and back of the cart with your chosen material, such as cedar planks or exterior-grade plywood. If you are adding doors, frame out the openings and install the hinges and hardware.
Step 4: Install Casters
To make your grill cart mobile, attach heavy-duty locking casters to the four corners of the base frame. Ensure the casters are rated to support the total weight of the cart, the grill, and any accessories.
Step 5: Attach the Countertop
Secure your chosen countertop material to the top of the frame. If you are using wood or butcher block, attach it from underneath using screws to keep the top surface smooth. If you are pouring concrete or installing tile, ensure the base is properly supported and prepped with cement backer board.
Step 6: Finish and Protect
Sand any rough edges and apply your chosen finish. If you are painting or staining wood, use high-quality exterior products. Apply a waterproof sealant to wood countertops and ensure all seams and joints are properly caulked to prevent water intrusion.
Step-by-Step: Building a Cinder Block Grill Island
If you prefer a built-in look, here is a general overview of building a cinder block grill island.
Step 1: Prepare the Foundation
A cinder block island requires a solid, level foundation. If you are building on an existing concrete patio, ensure it is thick enough to support the weight. If you are building on grass or dirt, you will need to excavate the area, add a layer of compacted gravel, and pour a concrete footing.
Step 2: Lay the First Course
Begin by laying the first course of cinder blocks. It is critical that this first layer is perfectly level and square. You can set the blocks in a bed of mortar or use construction adhesive if you are dry-stacking.
Step 3: Build the Walls
Continue stacking the blocks in a running bond pattern, staggering the vertical joints. If you are incorporating a drop-in grill or storage doors, leave the appropriate openings in the block walls as you build.
Step 4: Add Support for the Countertop
Once the walls reach the desired height, you need to create a support structure for the countertop. This can be done by spanning the opening with steel lintels or by building a wooden frame that rests on top of the blocks.
Step 5: Install the Countertop
If you are pouring a concrete countertop, build the forms directly on top of the island, add steel reinforcement mesh, and pour the concrete. If you are using tile or stone, install a layer of cement backer board over the support structure before applying the finish material.
Step 6: Apply the Exterior Finish
Finish the exterior of the cinder blocks with stucco, paint, or stone veneer. Ensure the finish material is properly applied and sealed to protect the blocks from moisture.
Maximizing Functionality and Storage
A great grill station is not just about having a place to put your grill; it is about creating a functional workspace that makes outdoor cooking easier and more enjoyable.
Incorporating Storage Solutions
Ample storage is essential for keeping your grill station organized and clutter-free. When designing your station, incorporate shelves, cabinets, or drawers to store grilling tools, charcoal, wood chips, cleaning supplies, and outdoor dinnerware.
If you are building a wood-framed cart, open shelving is easy to construct and provides quick access to frequently used items. Adding doors to the lower section of the cart can hide less attractive items like propane tanks or bags of charcoal.
For cinder block islands, you can purchase prefabricated stainless steel access doors and drawers that are designed to be built directly into the block walls. These provide a clean, professional look and protect your supplies from the elements and pests.
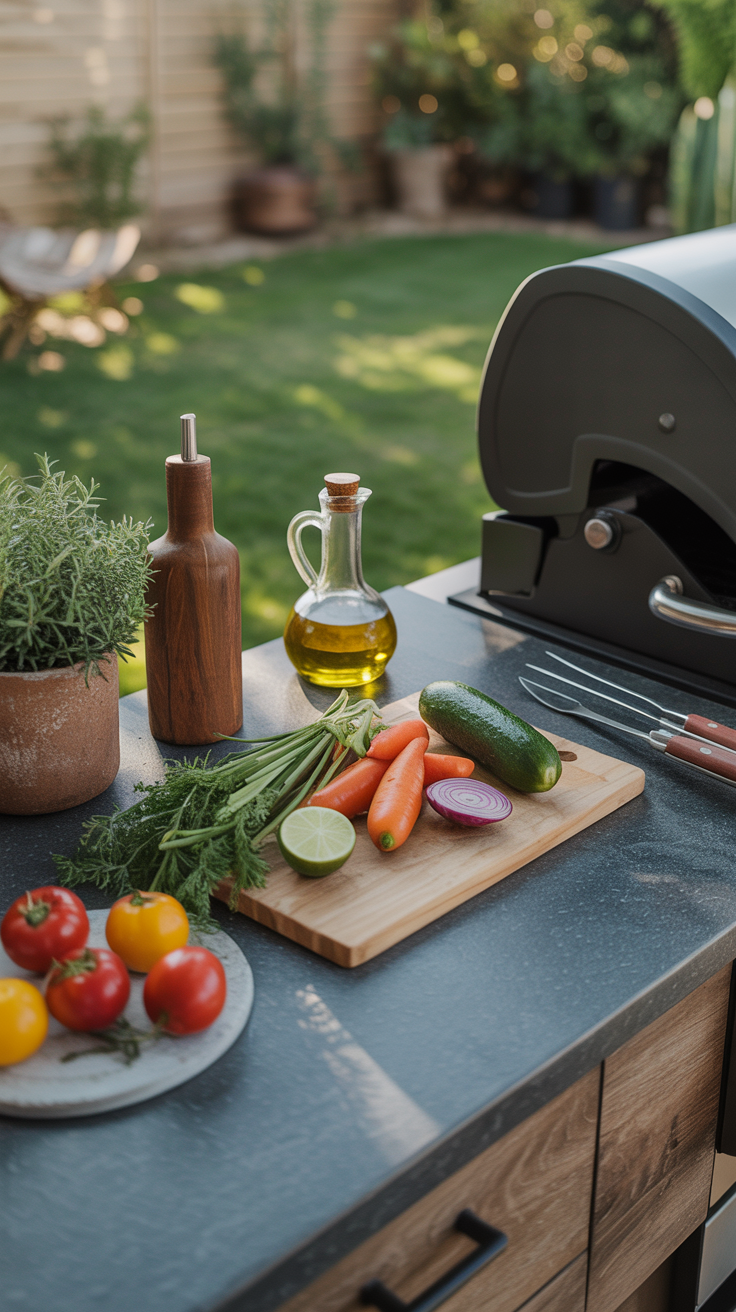
Adding Prep Space
Having enough counter space to prep food, rest hot pans, and serve meals is crucial. When planning your grill station, try to include at least 24 to 36 inches of continuous counter space next to the grill.
If space is limited, consider incorporating a drop-down or fold-out shelf that can be raised when needed and tucked away when not in use.
Essential Accessories
Small details can make a big difference in the functionality of your grill station. Consider adding the following accessories:
- Tool Hooks: Install hooks on the side of your cart or island to hang spatulas, tongs, and grill brushes, keeping them within easy reach.
- Paper Towel Holder: A mounted paper towel holder is incredibly convenient for quick cleanups and wiping down the grill grates.
- Bottle Opener: A wall-mounted bottle opener is a must-have for any outdoor entertaining area.
- Lighting: If you plan to grill after dark, ensure your station is well-lit. You can install hardwired outdoor lighting, use battery-operated LED grill lights, or hang string lights above the cooking area.
- Garbage Bin: Incorporating a pull-out trash can or a designated spot for a garbage bin will help keep your prep area clean and tidy.
Maintenance and Care
To ensure your DIY grill station lasts for years to come, regular maintenance is required.
- Clean Regularly: Wipe down countertops and clean the grill grates after each use. Remove grease and food residue to prevent staining and deter pests.
- Protect Wood Surfaces: If your station has wood components, inspect them annually for signs of wear or water damage. Reapply exterior sealant, paint, or stain as needed to protect the wood from rot and UV degradation.
- Seal Concrete and Stone: Concrete countertops and stone veneers should be sealed periodically with a penetrating sealer to prevent stains and moisture absorption.
- Cover Your Station: Investing in a high-quality, weather-resistant cover for your grill and the entire station will significantly extend its lifespan by protecting it from rain, snow, and harsh sunlight.
- Winterize: If you live in a cold climate, take steps to winterize your grill station. Shut off and disconnect the gas supply, thoroughly clean the grill, and store any removable components indoors.
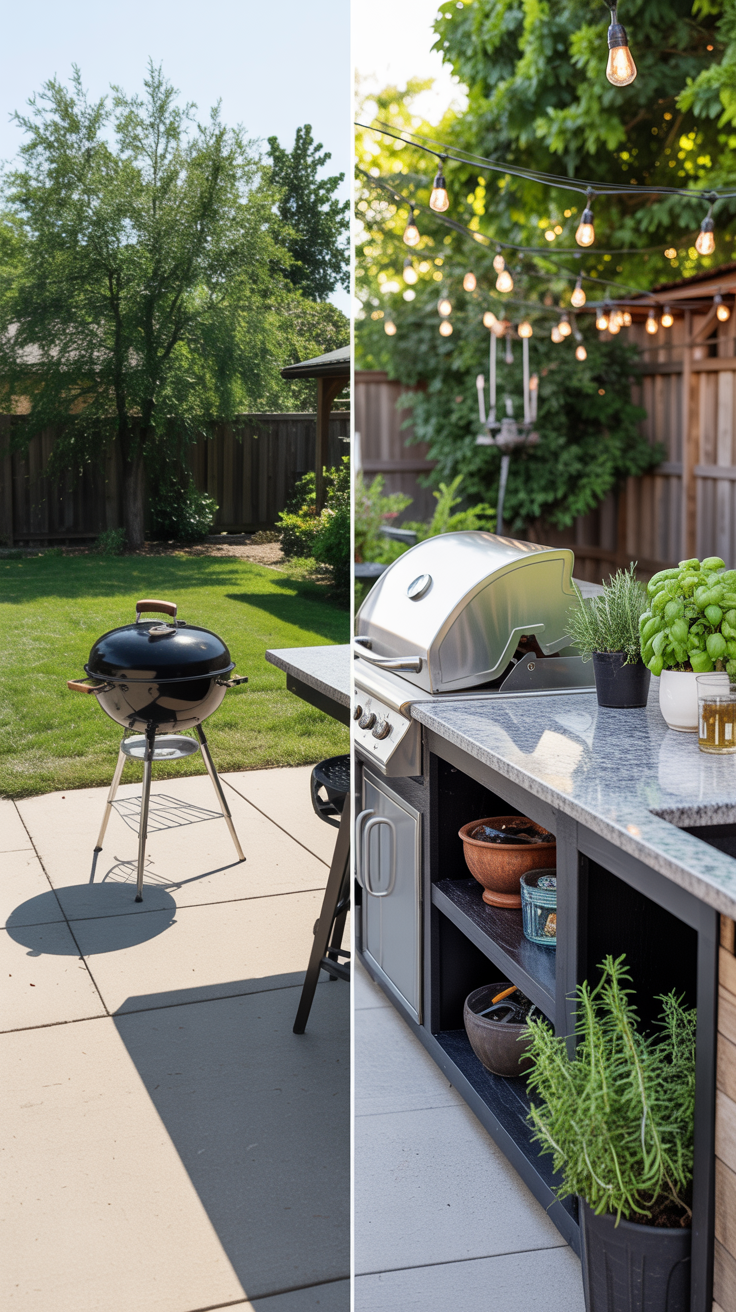
Building an inexpensive DIY grill station is a rewarding project that can dramatically enhance your outdoor living space. By carefully planning your design, choosing budget-friendly materials like wood framing or cinder blocks, and putting in some sweat equity, you can create a custom outdoor kitchen that rivals expensive professional installations.
Whether you opt for a simple rolling cart or a substantial built-in island, the key is to design a space that meets your specific cooking and entertaining needs while adhering to safety guidelines. With the ideas and techniques outlined in this guide, you are well on your way to firing up the grill in your very own custom-built outdoor culinary center.