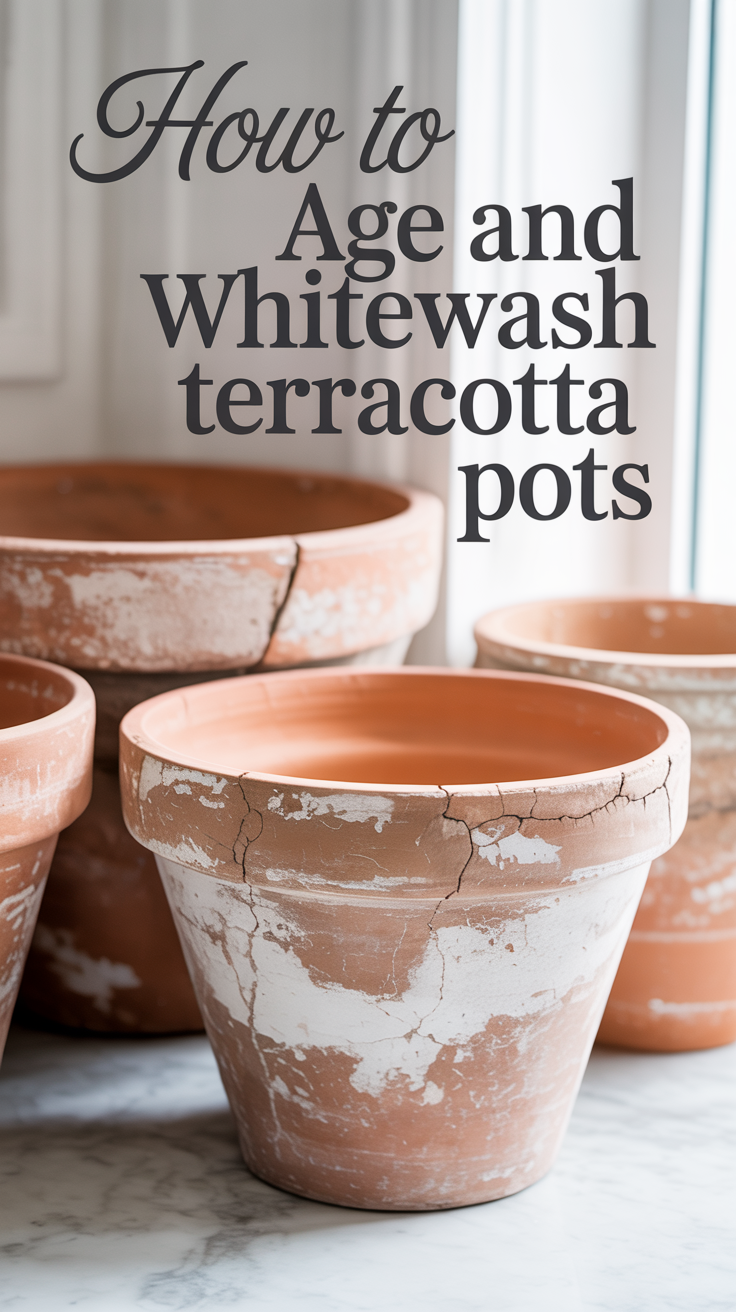
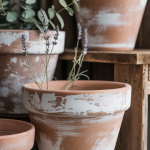
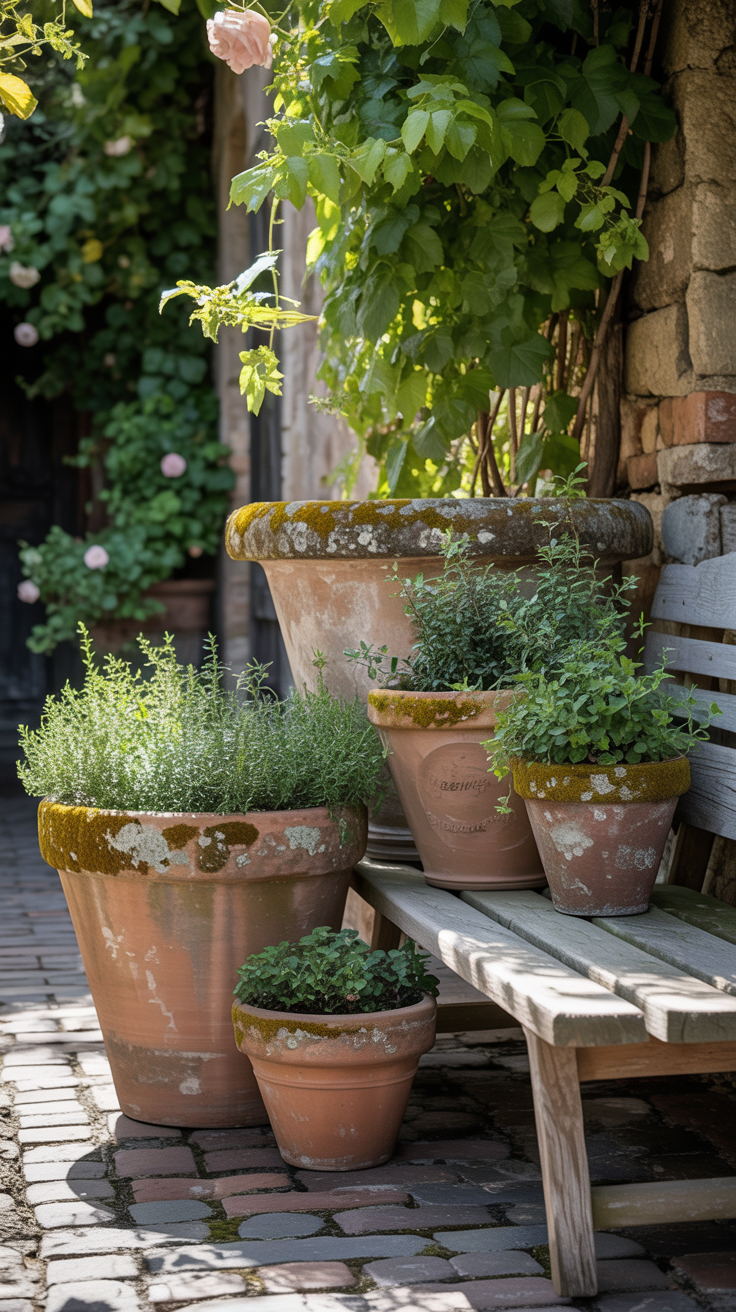
Have you ever walked through a garden center or a vintage market and spotted those gorgeous, weathered terracotta pots? You know the ones…they look like they’ve been sitting in a charming English garden for decades, covered in a beautiful, chalky patina, maybe a little moss, and full of character. They are absolutely stunning, but they can also be incredibly expensive or hard to find.
I’ve always loved that old-world, rustic look, but I definitely don’t have the patience to wait years for my brand-new, bright orange terracotta pots to age naturally. And really, sometimes that bright orange just doesn’t fit the vibe we’re going for in our homes or on our patios.
So, I set out on a mission to figure out how to fake it. I wanted to find the best, easiest, and most foolproof ways to age terracotta pots right at home, using simple supplies. After trying out several different methods, from garden lime to yogurt to good old-fashioned paint. Today I am going walk through how to achieve that perfect, time-worn look in just an afternoon.
Whether you want a subtle whitewash, a dark and moody aged finish, or something that looks like it was just dug up from an ancient garden, I’ve got you covered.
Why Age Terracotta Pots?
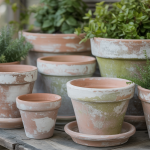
Terracotta pots are a classic gardening staple for a reason. They are inexpensive, durable, and their porous nature is actually great for plant health, as it allows the soil to breathe and prevents water from pooling at the roots.
However, brand-new terracotta has a very distinct, bright orange color. While this can look lovely in certain settings, it can also feel a bit stark or garish, especially if your decor leans more towards farmhouse, vintage, or muted, natural tones.
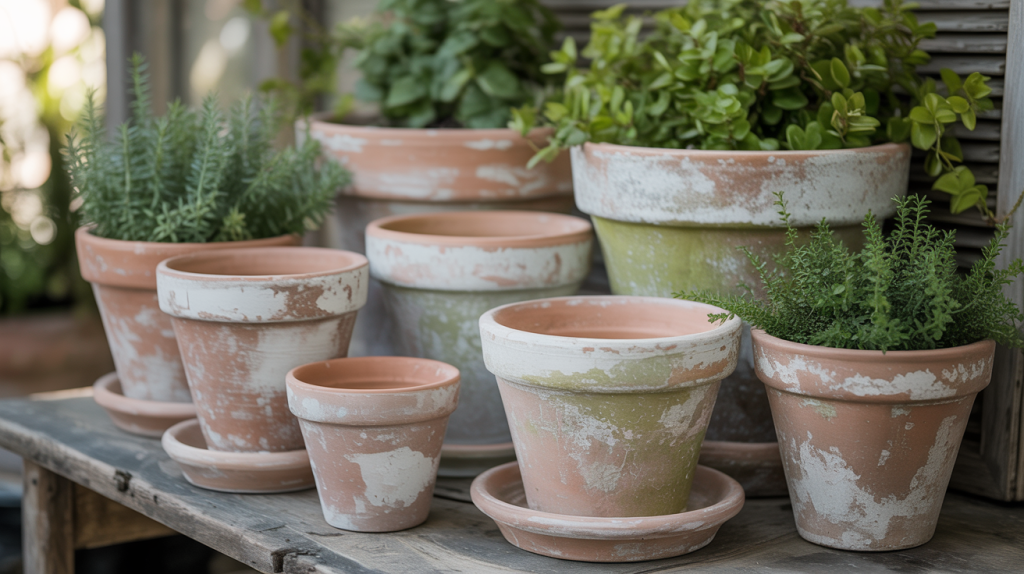
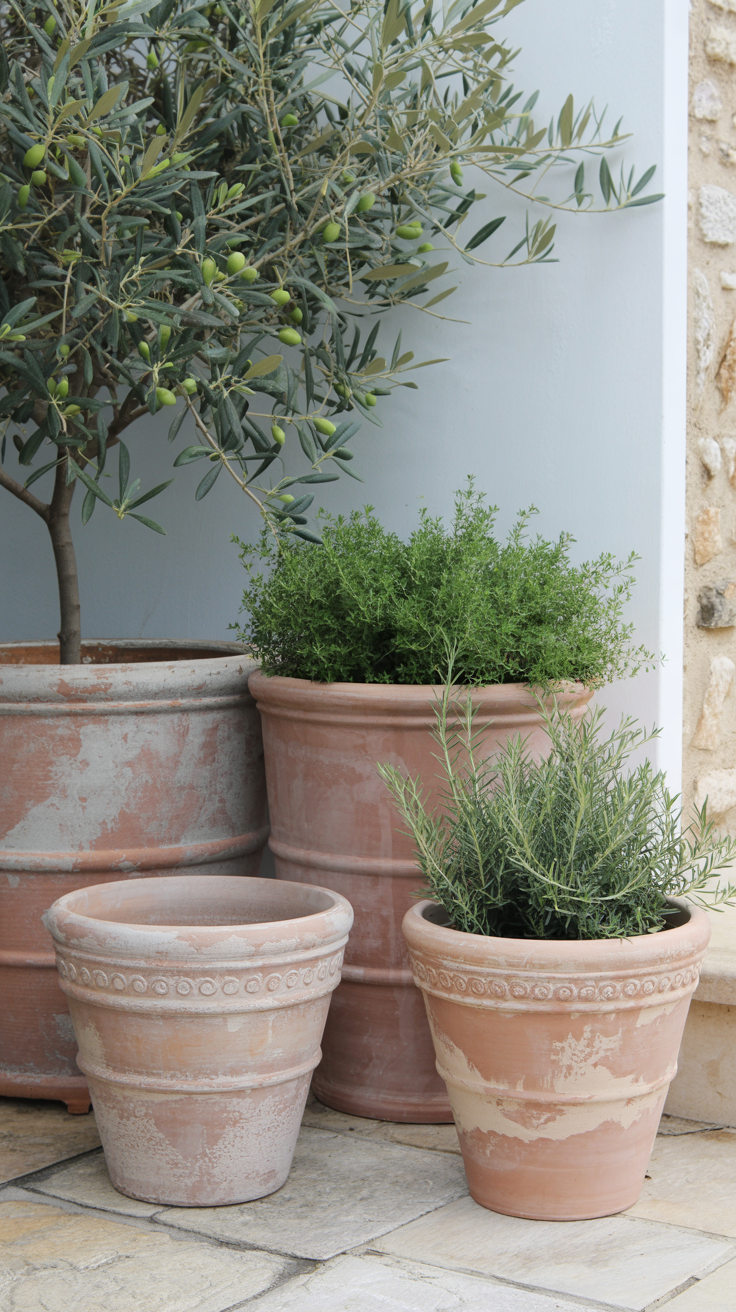
Aging your pots gives them instant character. It makes them look like they have a history, a story to tell. It softens the color, adds texture, and makes the pots feel like they truly belong in your space, rather than looking like you just brought them home from the hardware store. Plus, it’s an incredibly fun and satisfying DIY project!
Preparation: The Crucial First Step
No matter which method you choose, there is one step you absolutely cannot skip: preparation.
Terracotta is incredibly porous. It acts like a sponge, soaking up any moisture it comes into contact with. If you try to paint or apply a mixture to a bone-dry pot, the clay will suck the moisture out of your medium instantly, making it very difficult to work with and often resulting in a splotchy, uneven finish.
The Golden Rule: Always soak your terracotta pots before you start!
Fill a bucket or a sink with water and submerge your pots. Let them soak for at least a few hours, but overnight is even better. You want the clay to be fully saturated. When you take them out, wipe off the excess surface water with a towel. The pot should feel damp and look slightly darker, but it shouldn’t be dripping wet. This will give you much more control over your paint or aging mixture and allow you to blend and layer beautifully.
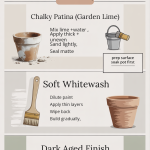
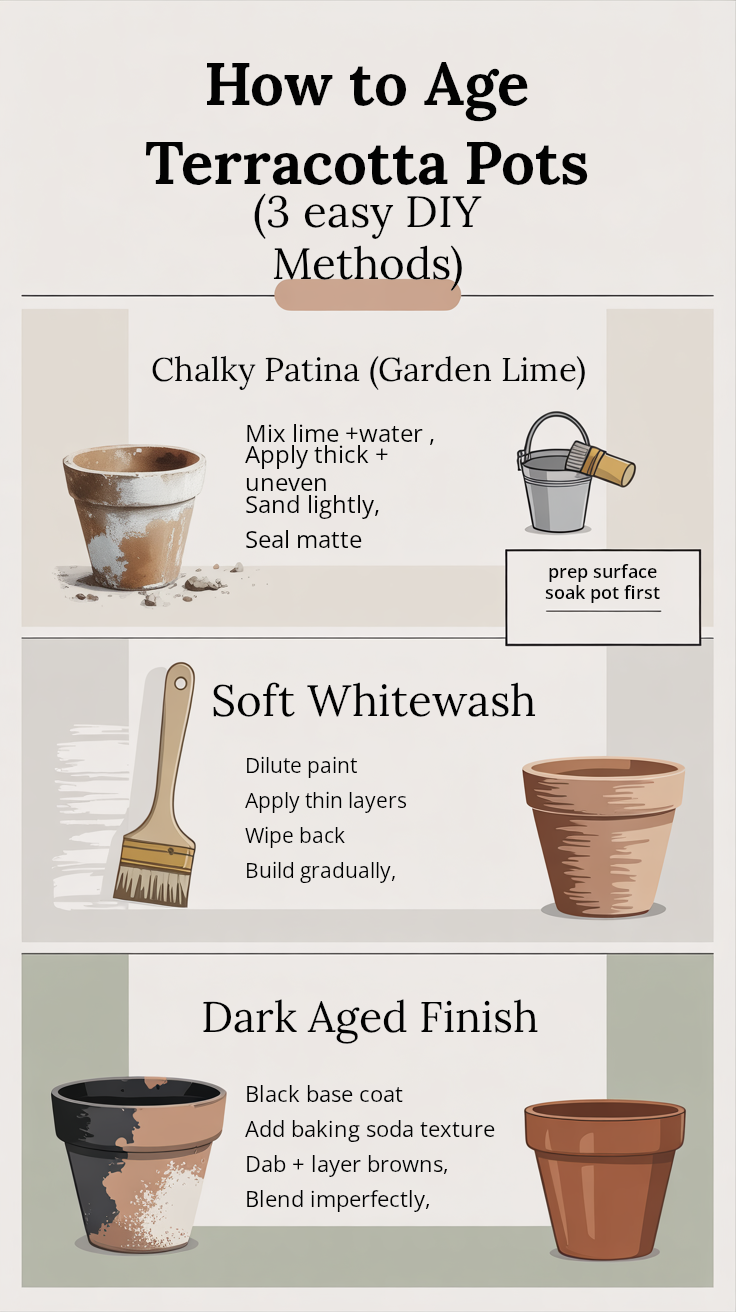
Method 1: The Garden Lime Technique (The “Chalky Patina” Look)
This method is fantastic for creating a thick, crusty, authentic-looking patina. It’s inspired by a brilliant technique I found from a fellow DIY enthusiast, and it uses something you might already have in your gardening shed: garden lime.
What You’ll Need:
- Terracotta pots (soaked and damp)
- Organic garden lime (pellet form works well)
- Water
- A paper bowl or small container for mixing
- A cheap, stiff-bristled paintbrush
- A 150-grit sanding block
- Matte clear sealer spray (like Rust-Oleum)
- Black and white craft paint (optional, for extra dimension)
- A lint-free cloth
The Process:
- Mix the Lime: In your paper bowl, mix the garden lime with a little bit of water. You want to create a “goopy” consistency, thick enough to stick to the pot, but not so runny that it drips right off. Keep in mind that as the lime pellets dissolve, the mixture will thicken, so you may need to add a splash of water here and there as you work.
- Apply the Mixture: Using your cheap brush, slather the lime mixture onto the damp pot. Don’t be too neat about it! The chunkier and more uneven the texture, the more rustic and authentic the final result will be. I like to add a thin layer to the inside rim as well, especially if I’m using the pot for faux plants.
- Let it Dry: Allow the pots to dry completely. The lime mixture actually dries surprisingly fast, though thicker areas will take a bit longer.
- Sand for Character: Once dry, take your 150-grit sanding block and lightly sand the pots. This knocks down any overly sharp peaks and reveals a bit of the terracotta underneath. The more you sand, the more orange will show through. I like to leave some pots heavily textured and sand others down more for variety.
- Seal It: Take the pots outside and give them a good coat of matte clear sealer. This is crucial! It locks the lime in place so it doesn’t flake off everywhere. Make sure to use a matte finish so you don’t lose that chalky, aged look.
- Add Dimension (Optional): For even more character, you can use a tiny bit of black and white craft paint. Blot a very small amount of black paint onto the pot with a lint-free cloth, focusing on the ridges and textured areas. If it looks too heavy, just sand it back a bit. Follow up with a little white paint using the same blotting method, and give it one final, light sanding.
The Verdict: This method produces an incredibly realistic, highly textured finish. It’s perfect if you love that crusty, old-world European garden vibe.
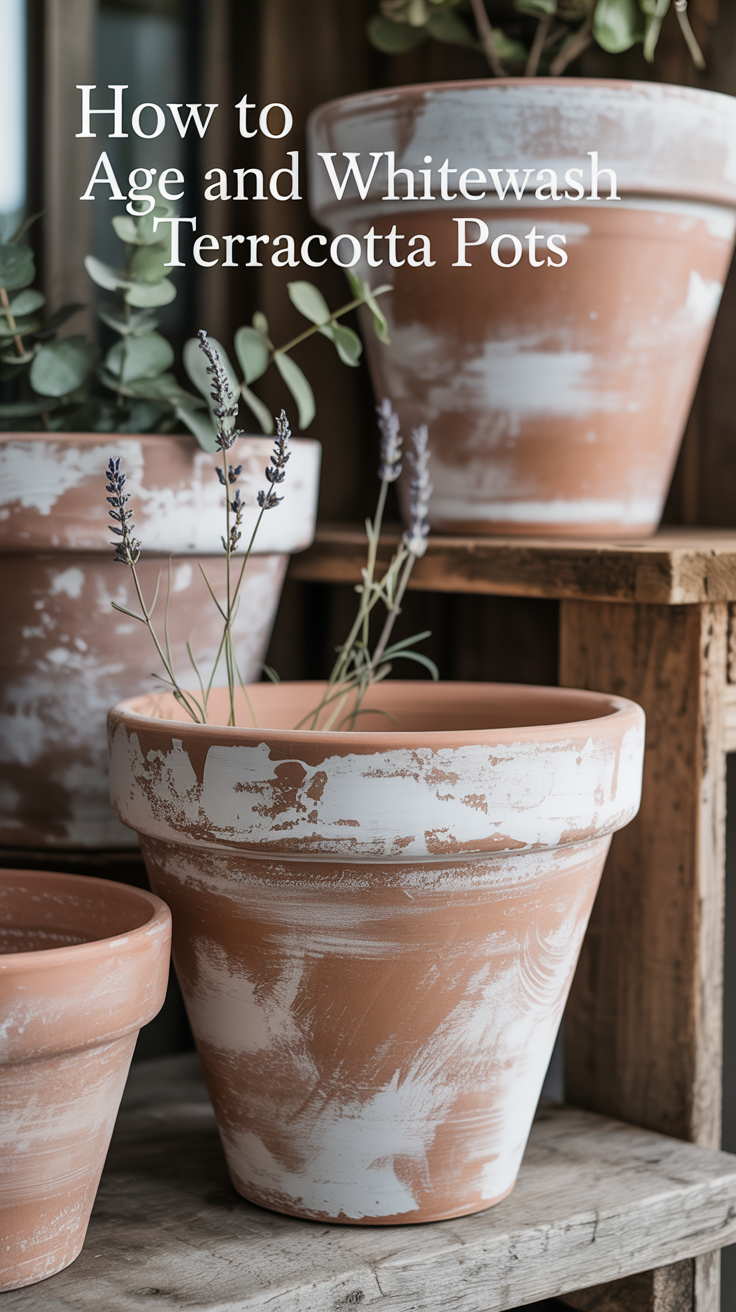
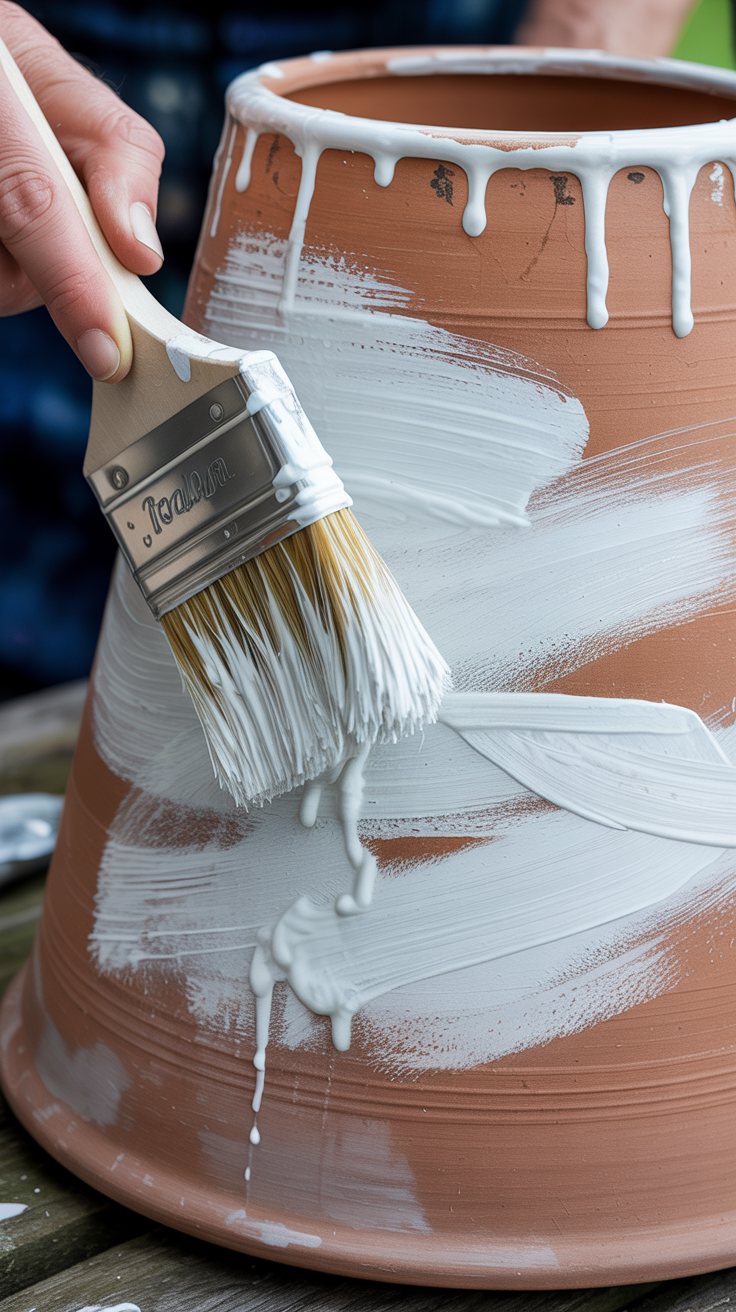
Method 2: The Whitewash Technique (The “Soft and Subtle” Look)
If you prefer a softer, more muted look without the heavy texture of the lime method, whitewashing is the way to go. It tones down the orange beautifully and gives the pots a delicate, sun-bleached appearance.
What You’ll Need:
- Terracotta pots (soaked and damp)
- Acrylic craft paint or chalk paint (Beige, light grey, or off-white works best—avoid stark, pure white!)
- Water
- A container for mixing
- A paintbrush, sponge, or rag
- Paper towels
The Process:
- Choose the Right Color: The secret to a natural-looking whitewash is not using pure white paint. Pure white can look cold and artificial. Instead, opt for a warm beige, a soft grey, or a creamy off-white.
- Create the Wash: In your container, mix one part paint with about four or five parts water. You want a very thin, milky consistency. It’s always better to start too thin and add layers than to start too thick.
- Apply the Wash: Dip your brush or sponge into the wash, and then (this is important) wipe most of it off on the edge of the container or a paper towel. You want a nearly dry brush.
- Paint and Wipe: Apply the wash to the damp pot using horizontal strokes. Because the pot is damp, you’ll have a little time to work the paint around. If an area looks too heavy, immediately wipe it back with a damp paper towel or rag.
- Layering: Let the first layer dry (it will happen quickly!), and then add more layers until you reach your desired look. Remember to paint the top inch or two of the inside of the pot, as this will be visible once it’s planted.
The Verdict: This is the fastest and easiest method. It’s virtually foolproof and gives the pots a lovely, soft, coastal or farmhouse feel.
Method 3: The Dark and Moody Technique (The “Ancient Relic” Look)
Sometimes, you want a pot that looks like it’s been sitting in a damp, shady corner of a forgotten greenhouse for a century. For that dark, moody, heavily aged look, this paint and baking soda method is fantastic.
What You’ll Need:
- Terracotta pots (soaked and damp)
- Black craft paint
- Light tan or beige craft paint
- Dark brown craft paint
- Baking soda
- Paper towels
The Process:
- The Dark Base: Start by painting the entire pot with a messy, uneven coat of black paint. Don’t worry about perfect coverage; you actually want some of the terracotta to peek through. This establishes a dark undertone. Let it dry.
- Create the “Mud”: In a small container, mix about 1/2 teaspoon of the light tan paint with 1/4 teaspoon of baking soda. This creates a thick, gritty paste that looks and feels a bit like mud.
- Smudge and Dab: Take a scrunched-up paper towel, dip it into your “mud,” and start dabbing and smearing it onto the pot. Focus on specific areas, maybe the top rim or the bottom half, rather than covering the whole pot evenly. Inconsistency is key this time!
- Add Depth: Next, mix a little bit of the dark brown paint into your remaining mud mixture to darken it. Use a clean piece of paper towel to dab this darker mud randomly over the lighter mud areas.
- Trust the Process: At this point, it might look like a hot mess. Keep dabbing, blending, and stepping back to look at it. The combination of the dark base, the gritty texture, and the varied brown tones creates an incredibly realistic “dirt-caked” appearance.
The Verdict: This method is so much fun because it’s impossible to mess up. The messier you are, the better it looks! It’s perfect for creating a dramatic, antique vibe.
The Methods That Don’t Work (Learn from My Mistakes!)
While researching, I came across a lot of “hacks” for aging pots naturally. I love the idea of real moss and algae, so I looked into these methods. Spoiler alert: they are mostly more trouble than they are worth.
- The Yogurt Method: The idea is to paint the pot with plain yogurt and leave it in the shade to grow mold and age. While it does create a patina, it’s essentially just rotting dairy on your pot. It smells, it’s gross, and the moment you soak the pot to actually plant something in it, the water washes all that “hard-earned” patina right off.
- The Buttermilk and Moss Blender Concoction: This is the holy grail of internet gardening myths. You blend live moss with buttermilk and paint it on the pot, hoping to grow a lush mossy coating. The reality? It requires near-perfect humidity, constant misting with distilled water, and endless patience. Most of the time, you just end up growing fuzzy mold, not moss. And again, it washes off easily.
- The Bucket of Water: Submerging pots in a bucket of water in the sun to grow algae does work, but it takes a very long time. If you have months to spare, go for it! But if you want results this weekend, stick to the paint and lime methods.
Thoughts and Tips for Success
Aging terracotta pots is a wonderful way to add a touch of personalized, vintage charm to your home and garden. It’s a low-stress, high-reward project that allows you to get creative and experiment with different textures and colors.
Here are a few final tips to keep in mind:
- Embrace Imperfection: The whole point of aging a pot is to make it look worn and weathered. Don’t strive for perfection. Drips, smudges, and uneven areas are what give the pot character.
- Protect Your Work Surface: These methods can get messy, especially the lime and baking soda techniques. Lay down plenty of newspaper or a drop cloth before you start.
- Consider the Plant: If you are using these pots for real, live plants, remember that terracotta breathes. If you seal the entire outside of the pot heavily (like with the lime method), it may reduce the pot’s breathability. For real plants, you might want to stick to a lighter whitewash or leave the inside unpainted and unsealed.
- Have Fun! Turn on some music, grab a cup of coffee, and enjoy the process. There is something incredibly satisfying about transforming a basic, inexpensive pot into a beautiful piece of decor.
Okay, now go grab some cheap terracotta pots and give these techniques a try. I promise you’ll be hooked on the results, and your plants will look more stylish than ever!