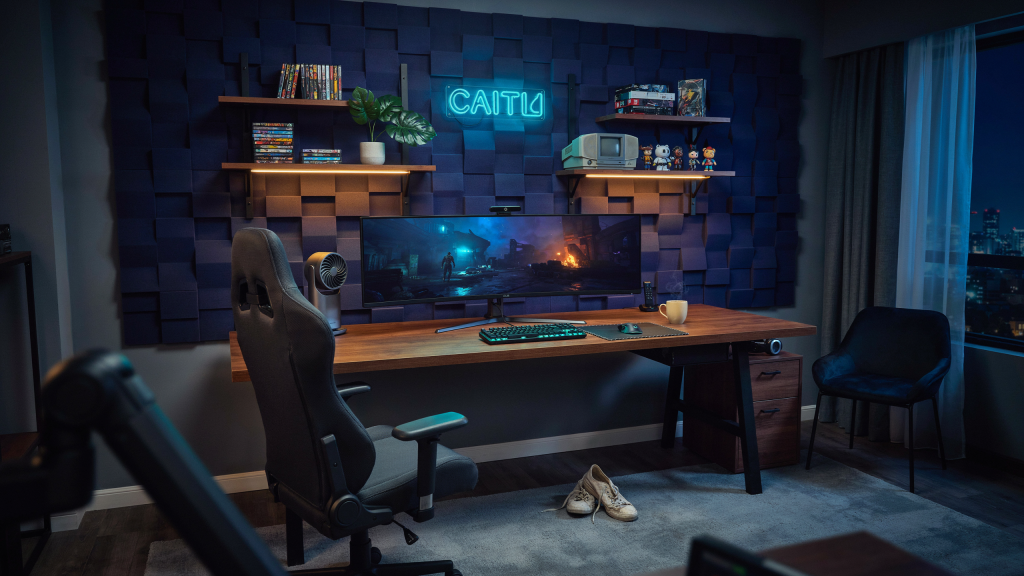
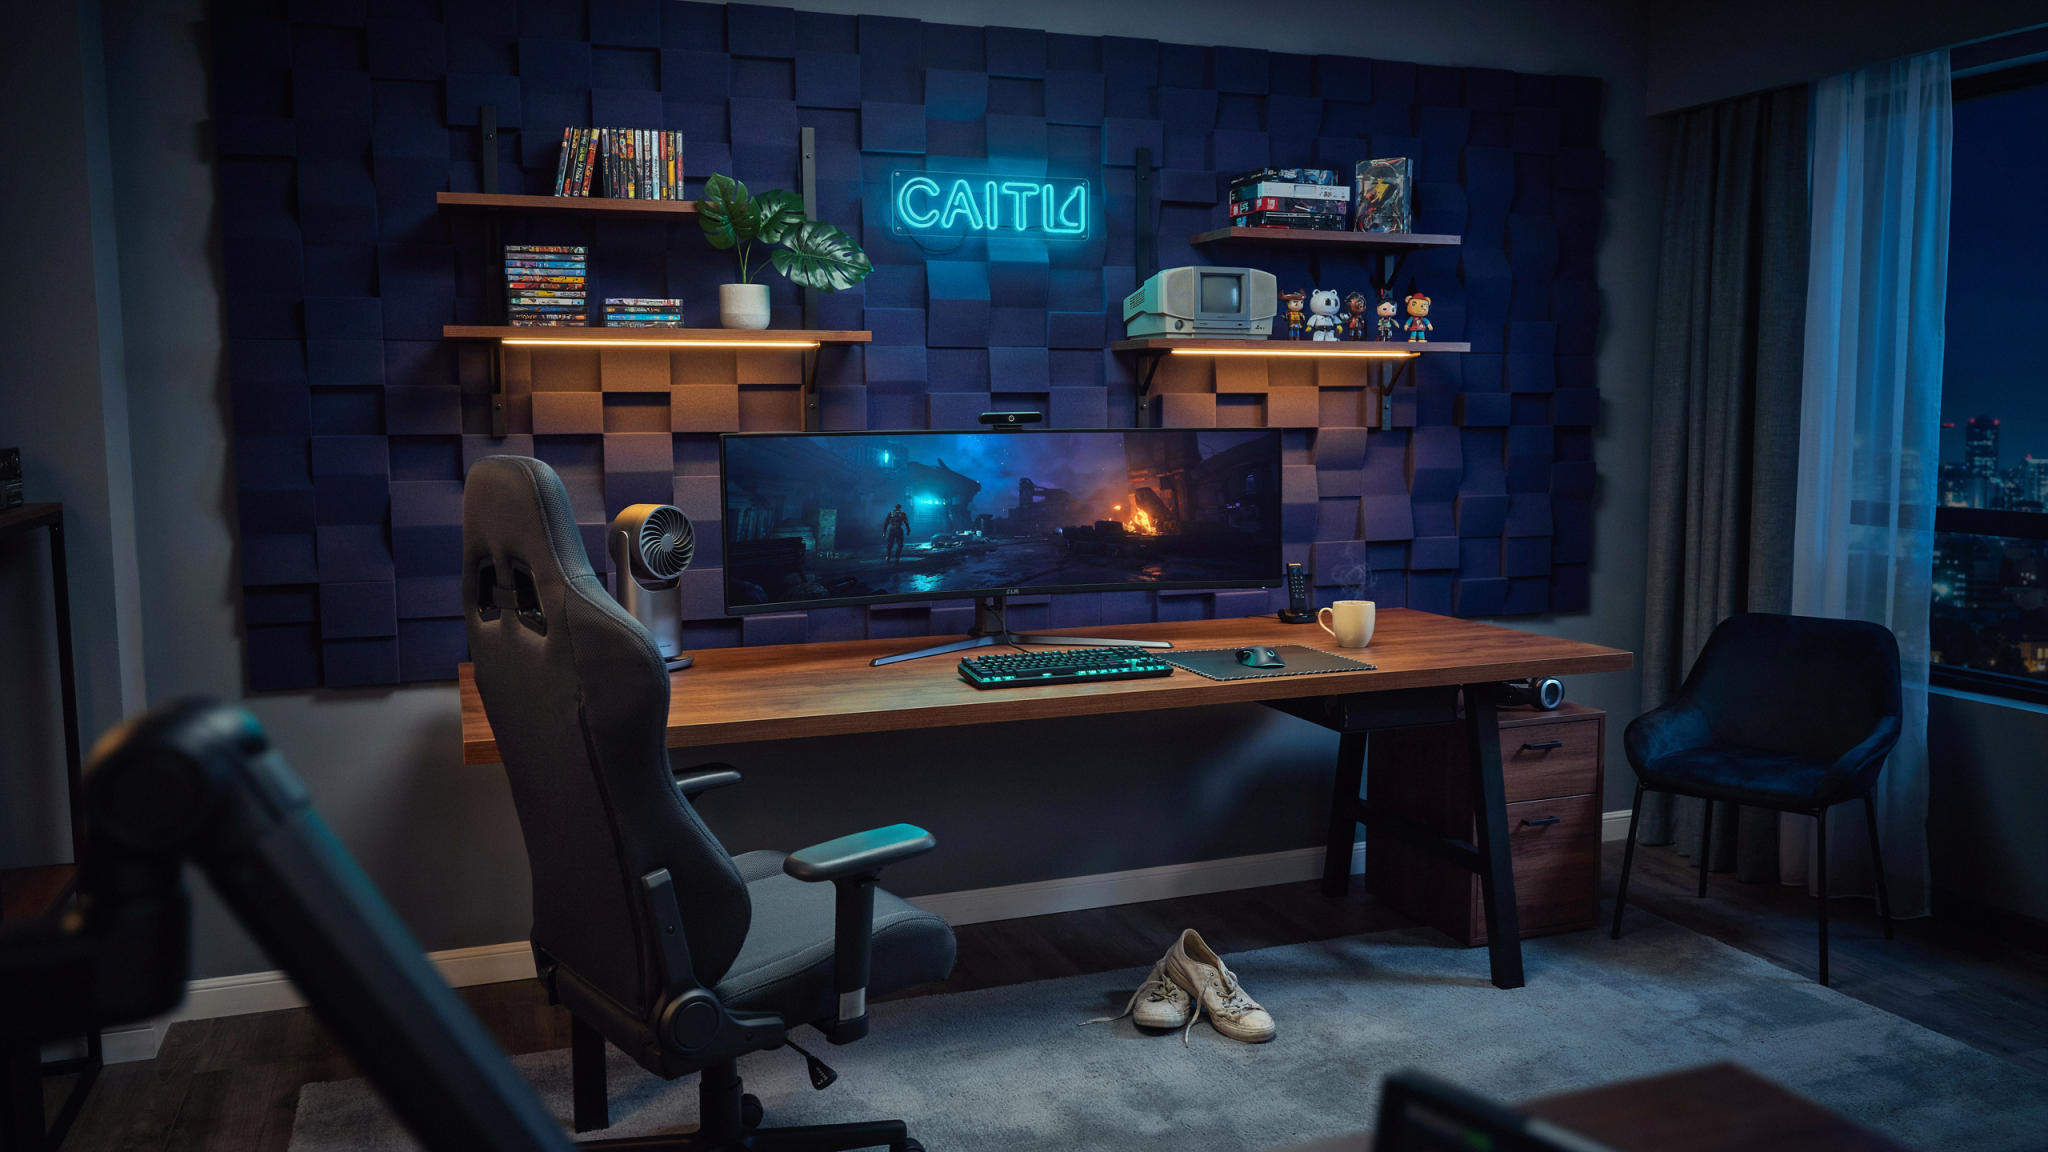
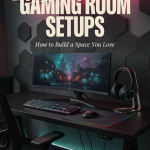
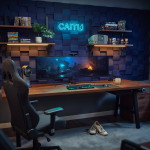
A great gaming room does not have to look like a professional esports stage, cost thousands of dollars, or require a complete renovation. The best setup is one that fits the way you play, supports your body during long sessions, keeps your equipment organized, and feels like your own space. Some people need a compact desk for a single PC and monitor. Others want a console lounge with a large television, surround sound, and room for friends. Many players need a hybrid setup that handles gaming, schoolwork, remote work, streaming, or creative projects.
The good news is that most of the biggest improvements are affordable and DIY friendly. Better placement, improved lighting, a few shelves, thoughtful cable management, and a comfortable chair can transform a room more dramatically than an expensive upgrade to your graphics card. This guide explains how to plan a gaming room from the ground up, choose a layout, build useful features yourself, and avoid common mistakes.
Start With the Player, Not the Equipment
A great gaming room does not have to look like a professional esports stage or cost thousands of dollars. It should fit the way you play, support your body during long sessions, keep equipment organized, and feel like your own space. Some players need a compact PC desk; others want a console lounge or a hybrid room for gaming, work, and study.
Ask yourself whether you play mostly on PC or console, whether you need room for friends, whether you stream, and whether the room serves other purposes. Then divide purchases into must have, nice to have, and future upgrade. A chair, desk, display, and reliable internet may be essentials; shelves, RGB lighting, and acoustic panels can wait. This prevents decorative accessories from consuming the budget before the fundamentals are solved.
Measure the Room Before You Shop
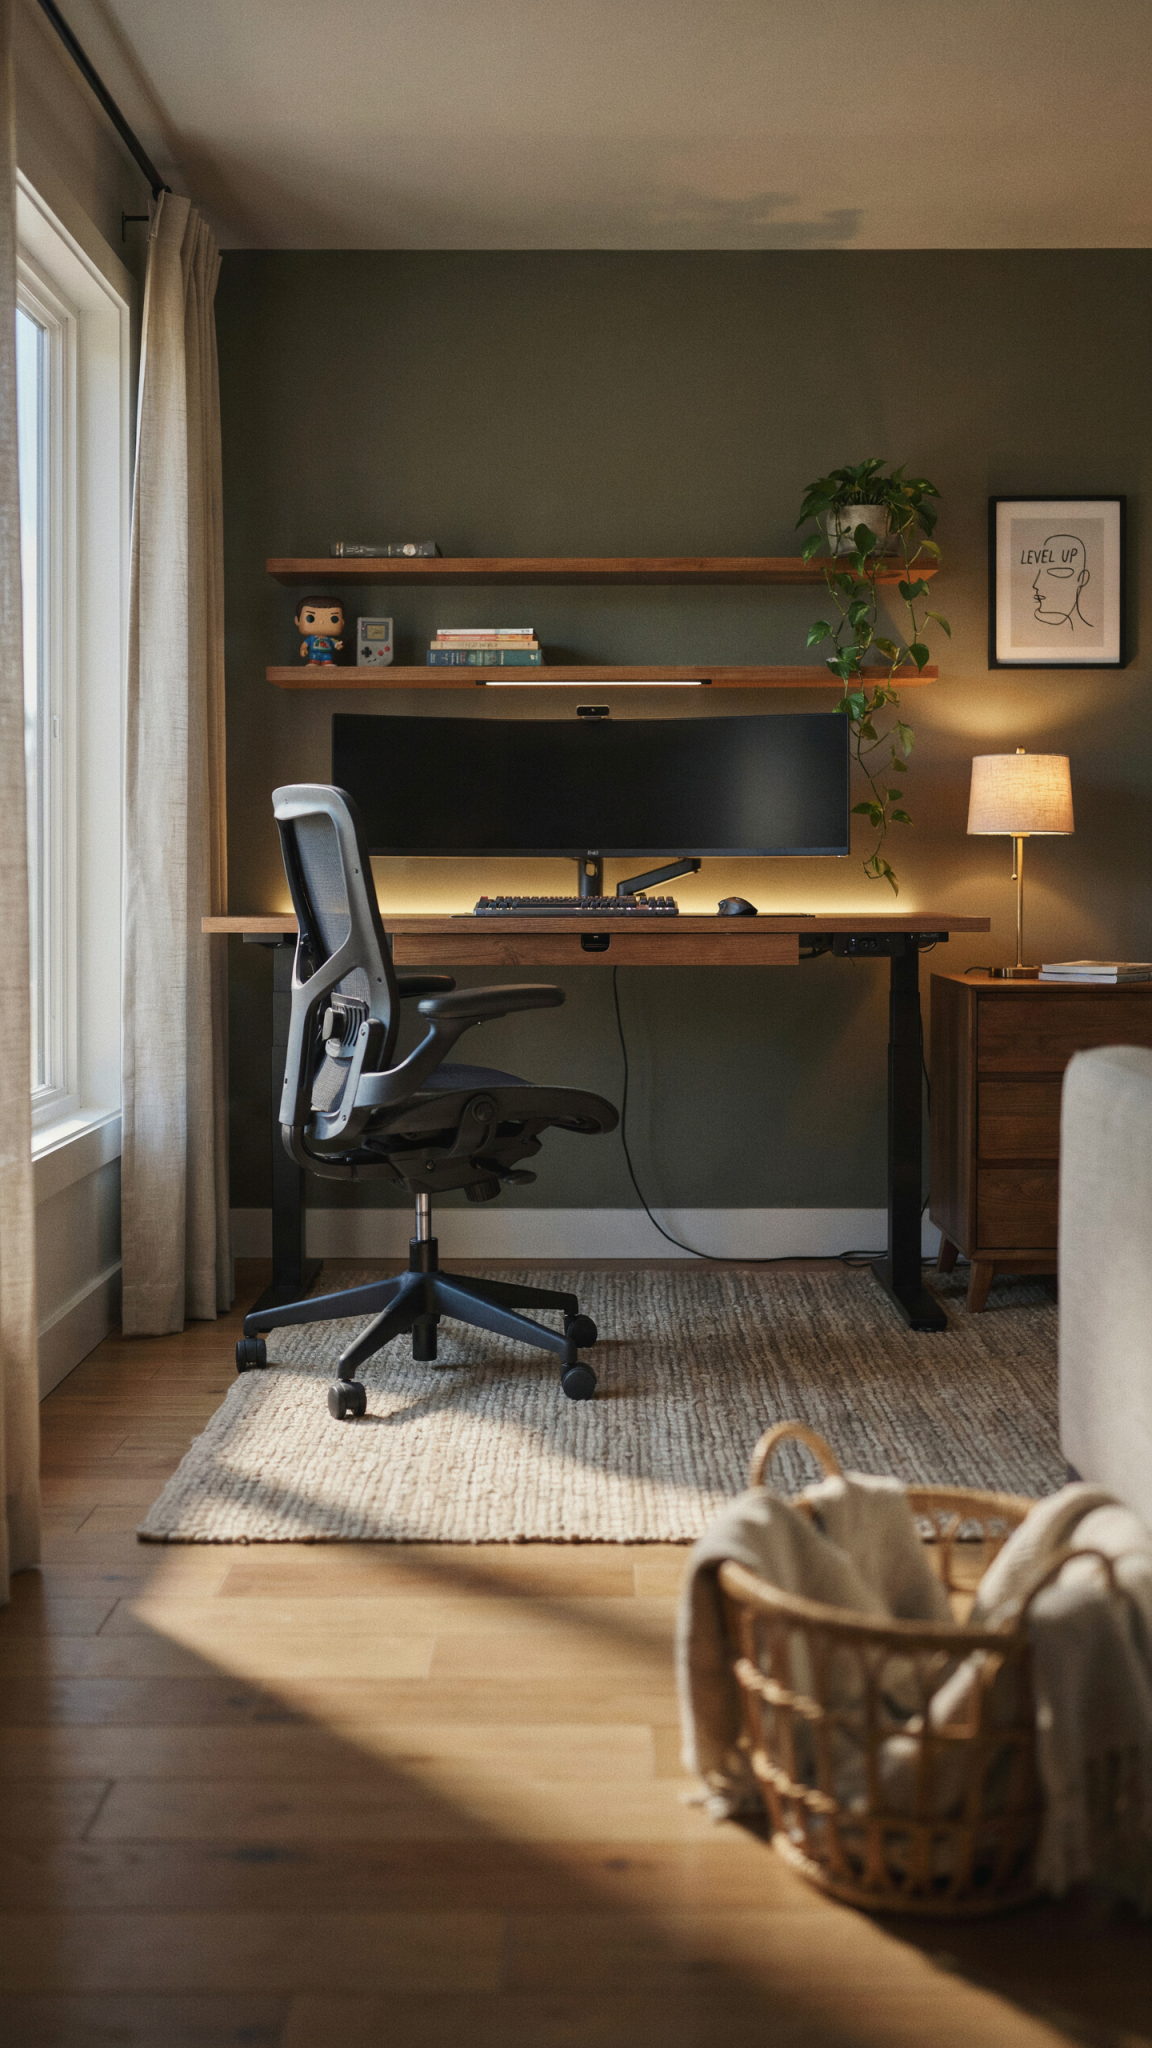
Measure the length and width of the room, door and window locations, ceiling height, outlets, internet connection, vents, and existing furniture. Take photos from each corner. Leave clear walking paths rather than pushing every item against a wall, and leave enough space behind a chair to roll back comfortably.
Avoid placing a screen directly opposite a bright window. If that is unavoidable, blackout curtains, roller shades, or removable window film can reduce glare. Count your devices and plan power distribution early; a PC or console, monitor, speakers, router, chargers, and lights can quickly fill a power strip.
Choose a Layout That Supports Good Viewing
For a PC setup, place the desk so that the monitor is not directly facing a window or a strong overhead light. Ideally, the screen should be perpendicular to the window. This reduces reflections while still giving you natural light from the side. If you use a webcam, a side-window position can also provide flattering daytime illumination.
Leave enough space behind the chair to roll back comfortably. Around three feet of clearance is a useful target, although a smaller room may require less. Make sure the desk does not block a door, vent, or closet. If the room is narrow, a desk with a shallow depth can work well, but do not make it so shallow that your keyboard, mouse, and monitor feel crowded.
For a console setup, viewing distance matters more than desk depth. The ideal distance depends on screen size and resolution, but the practical rule is simple: sit far enough away that you can comfortably see the entire display without moving your head, yet close enough to read menus and details. A wall-mounted television can save floor space, but a sturdy media console is often easier for cable management and future changes.
A hybrid room can use zones. Put the PC desk on one wall and the television or console area on another. Keep the center open for movement. If the room is very small, choose a desk that can double as a console station, or mount the screen on an adjustable arm so it can face either the chair or a nearby sofa.
Corner desks can make efficient use of unused space, but they sometimes create awkward monitor angles and difficult cable access. A straight desk with a small side table may be easier to rearrange. Do not choose a layout only because it looks symmetrical in photos. Choose the one that makes sitting, standing, charging, cleaning, and upgrading easy.
The Desk: Prioritize Stability and Surface Area
A gaming desk does not need a racing stripe, aggressive angles, or built-in RGB. It needs to be stable, large enough for your controls, and the right height for your body. A simple rectangular tabletop on sturdy legs can outperform a flashy desk with poor construction.
For most PC players, a desk depth of around 24 to 30 inches provides enough room for a monitor, keyboard, mouse, and speakers. Wider is useful if you have multiple displays or want space for notebooks and other equipment. The desk should not wobble when you move the mouse or type. If you build your own, use a solid tabletop or a thick laminated panel and support it with properly spaced legs or heavy-duty brackets.
A popular DIY approach is a countertop-style surface supported by two drawer units or cabinets. This provides a generous work area and built-in storage. Add non-slip pads under the surface to reduce movement, and secure the tabletop if children or pets use the room. Another inexpensive option is a butcher-block or unfinished wood panel sanded smooth and finished with stain, paint, or clear polyurethane.
Before finalizing the height, sit in your chair with your shoulders relaxed and your elbows near a right angle. Your forearms should be roughly parallel to the floor when your hands rest on the keyboard. If the desk is too tall, a footrest may help, but a height-adjustable desk is better if multiple people use it. A monitor stand or arm can raise the screen without forcing you to raise your shoulders.
Build Comfort Into the Setup
Comfort is not a luxury. It affects concentration, reaction time, mood, and how your body feels after a session. The chair should support your lower back, allow your feet to rest flat or on a footrest, and let you adjust the seat height. Armrests are useful if they do not prevent you from pulling the chair close to the desk.
Do not assume that a chair labeled “gaming” is automatically ergonomic. Look for adjustable height, a stable base, breathable material, and useful lumbar support. A simple office chair may be a better choice than a bucket-style chair with rigid sides. If you already have a chair that is mostly comfortable, a small lumbar cushion and a separate seat cushion may be all you need.
Your monitor should be positioned so that the top edge is at or slightly below eye level. You should be able to look toward the center of the screen without bending your neck down. Keep the display roughly an arm’s length away, adjusting for size and personal comfort. If you use two monitors, place the primary display directly in front of you and angle the secondary screen inward rather than twisting your neck repeatedly.
A large mouse pad can make the desk feel more comfortable and protect its surface. If you use a mechanical keyboard, consider a low-profile wrist rest, but do not press your wrists into it while typing. Take brief breaks, change position, and look at something farther away every so often. A well-designed room should encourage movement rather than trap you in one posture.
Plan Cable Management Before You Hide Anything
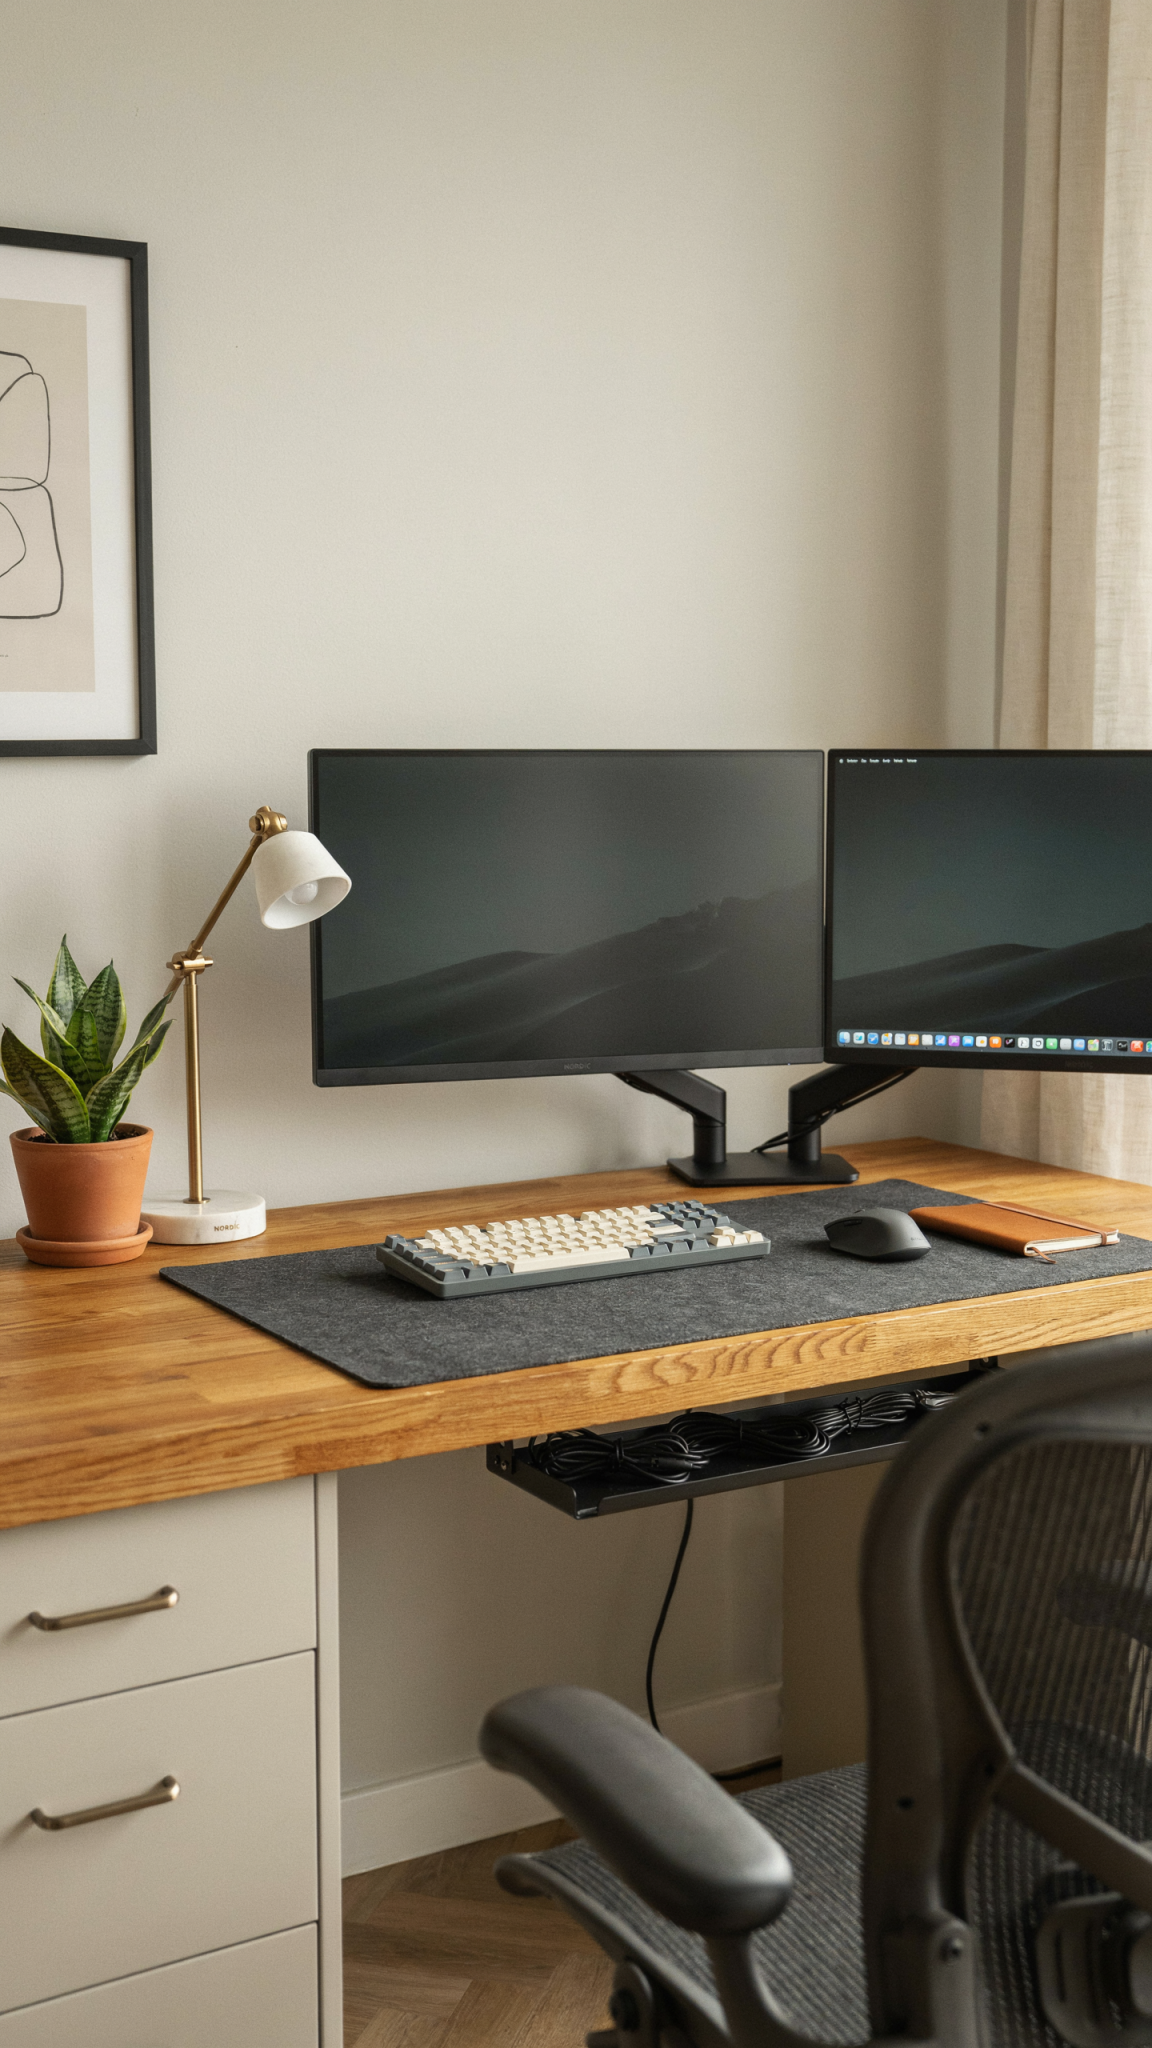
Cable clutter is one of the fastest ways for a beautiful gaming room to look unfinished. It is also easier to solve when you plan it early. First, identify each device and the cable it needs. Then group cables by destination: power, display, networking, audio, and peripherals.
A simple DIY cable system can use adhesive cable clips, reusable hook-and-loop straps, a cable tray mounted under the desk, and a surge-protected power strip attached beneath the tabletop. Avoid relying entirely on plastic zip ties because they make future changes inconvenient. Label both ends of important cables with masking tape or small reusable tags. You will appreciate this the first time you troubleshoot a monitor or move the desk.
Route cables down the back edge of the desk and leave a little slack near every connection. Tight cables can pull on ports or become disconnected when equipment moves. Use a cable sleeve for the bundle running from the desk to the wall. If you rent, removable adhesive hooks and raceways can keep the installation neat without drilling. For a more permanent solution, paintable cable raceways can blend into the wall.
Do not hide power strips under rugs, inside tightly packed boxes, or in places where heat cannot escape. Keep chargers ventilated and avoid daisy-chaining multiple power strips. If your room frequently experiences outages or voltage fluctuations, a properly rated uninterruptible power supply can protect a PC and give you time to save work, though it should be selected based on the equipment’s power draw.
One of the best DIY upgrades is a charging drawer or shelf. Drill small cable openings in the back of a drawer or storage box, route short charging cables through them, and keep controllers, handhelds, and batteries in one place. This eliminates the familiar problem of searching for a cable just before a game begins.
Improve Lighting Without Turning the Room Into a Theme Park
Lighting should create atmosphere without causing eye strain or screen reflections. Start with functional light: a soft ceiling light, floor lamp, or desk lamp that lets you clean, organize, and read comfortably. Then add accent lighting if you enjoy it.
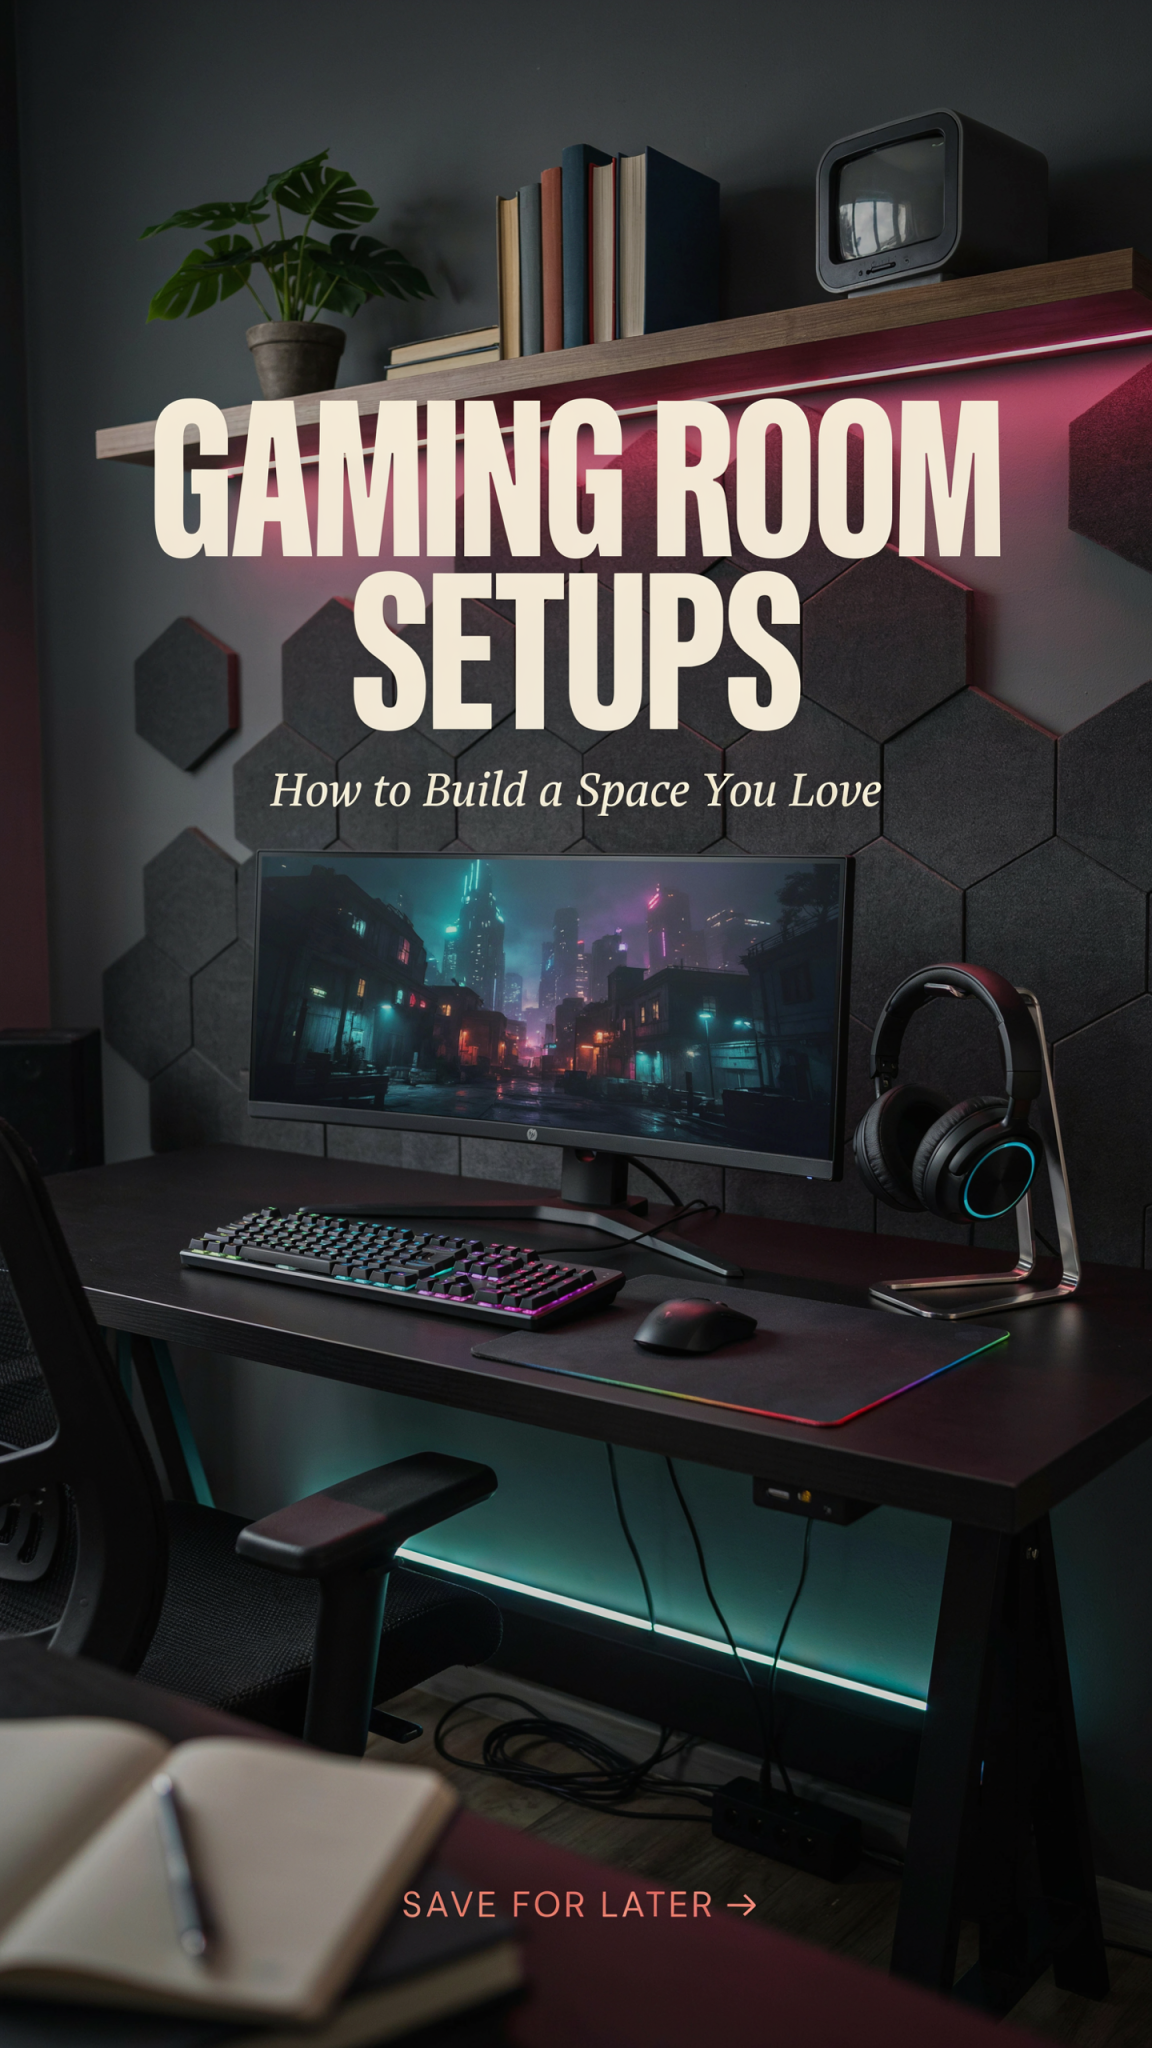
Bias lighting behind a monitor or television is especially useful. A soft light behind the screen reduces the contrast between a bright display and a dark wall, which can make viewing more comfortable. You can create this effect with an inexpensive LED strip, a small lamp pointed at the wall, or a DIY wooden light bar mounted behind the display. Choose a diffused light source so individual bulbs are not glaring into the room.
RGB lighting is best used as an accent rather than the only source of illumination. If every surface is bright red, blue, or purple, the room may look dramatic but become difficult to use. Consider placing lights under the desk, behind shelves, or along the back edge of a wall. Hide the direct view of the LED strip with a simple aluminum channel, wooden trim, or a shallow piece of molding. This creates a cleaner glow and protects the strip from accidental damage.
Smart bulbs can change color and brightness, but ordinary dimmable bulbs are often enough. Warm white light is relaxing, while a neutral white setting is useful for work. Avoid placing a bare bulb directly behind or above your head if it creates glare on the screen. If you stream, use a soft key light in front of you rather than relying on colorful room lighting.
Make Sound Work for You
Good audio improves immersion, but sound also affects everyone else in the home. Keep speakers at ear level and angle them toward your seat. Headphones are practical for late-night sessions, so use a stand or wall hook to keep them off the desk.
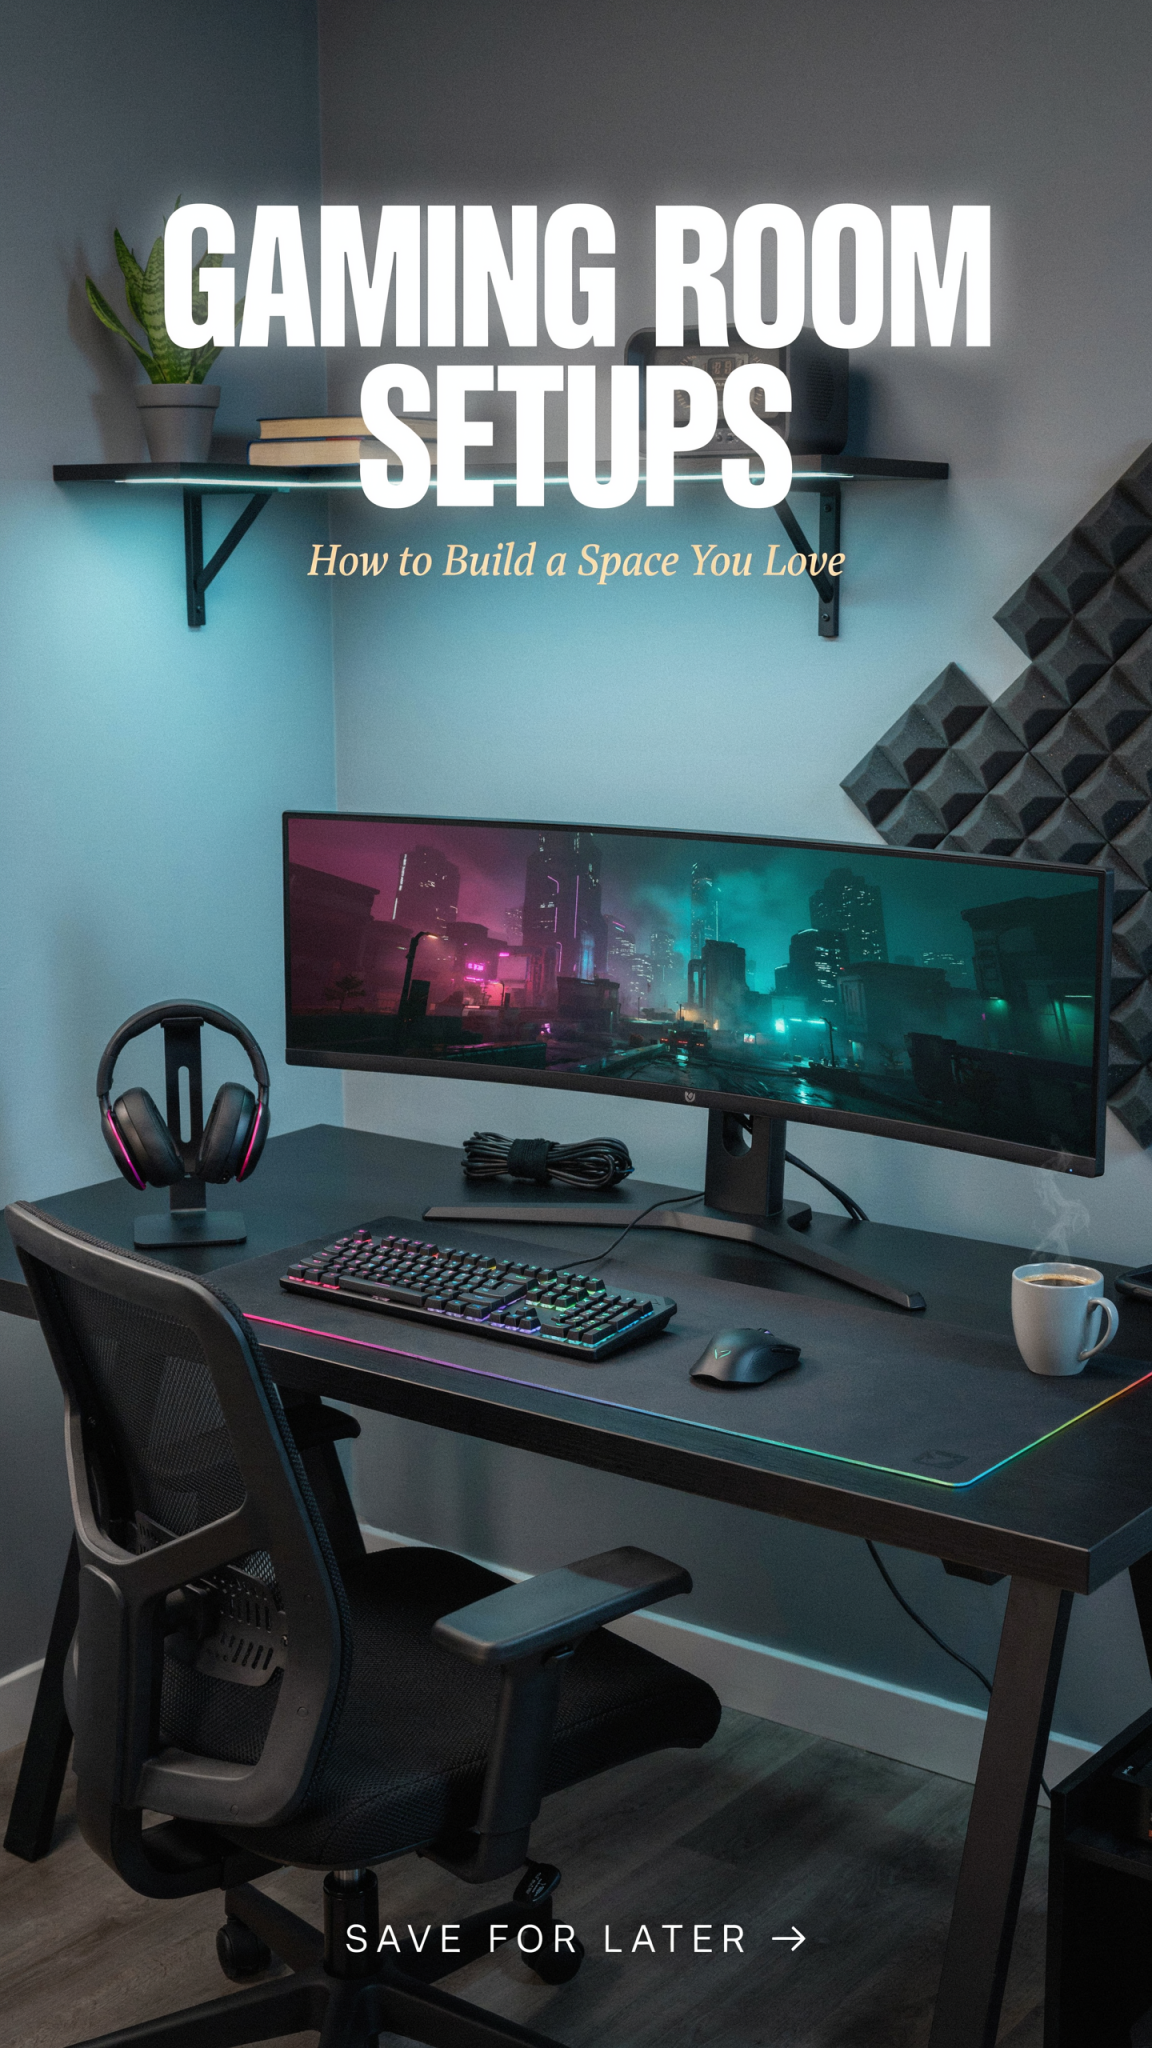
Foam panels do not soundproof a room; they mainly reduce high-frequency reflections. To make a room less echoey, start with a rug, curtains, upholstered seating, blankets, and a bookcase. If you want clearer microphone audio, add fabric-covered DIY panels at the first reflection points.
For actual sound reduction between rooms, construction changes such as sealing gaps, adding mass, or improving the wall assembly are more involved and may require permission.
Add Storage That Keeps the Room Usable
A gaming room quickly accumulates controllers, cases, cables, game boxes, manuals, spare parts, and collectibles. Without storage, the desk becomes a permanent pile. Use vertical space whenever possible. Wall shelves, pegboards, floating cubes, and narrow bookcases can hold equipment while keeping the floor open.
A pegboard is one of the most versatile DIY additions. Mount it securely to studs or appropriate anchors, then add hooks for controllers, headsets, cables, and small accessories. You can rearrange the hooks as your collection changes. Paint the board to match the room or leave it natural for a workshop-inspired look.
For a clean display, group items by purpose rather than scattering everything across every shelf. Keep frequently used gear within reach and place decorative items higher up. Use small bins for adapters and spare cables. Label the bins clearly. If you have children or pets, anchor tall shelves to the wall and keep heavy equipment low.
You can also turn storage into a design feature. A row of inexpensive cube shelves can hold consoles, books, plants, and collectibles. Add warm LED strips behind the cubes for depth. A shallow picture ledge can display game art without taking up much room. Even a reclaimed wooden crate can become a wall-mounted controller holder when sanded and securely installed.
Budget-Friendly DIY Projects With a Big Impact
You can improve a gaming room gradually. Focus on projects that solve an actual problem rather than adding decoration for its own sake. An under-desk cable tray made from a wire basket or shallow wooden box can hold a power strip and lift cables off the floor. Use reusable hook-and-loop straps so you can change the setup later.
A controller charging station is another easy win. Repurpose a drawer organizer or small wooden box, add felt pads, drill cable openings, and route a multi-port charger through the back. Store controllers upright so each one has a clear place. A small hook beneath the desk can hold a headset, while a cable clip keeps its wire from hanging across your knees.
A monitor shelf made from a sanded wood board and two properly rated brackets can raise the display and create room underneath for a keyboard, notebook, or console. Secure the shelf carefully and confirm that it can support the complete load. For a more flexible room, put a console or speakers on a small rolling side table that can move between a desk and a sofa.
If your room sounds echoey, build fabric-covered acoustic panels using a lightweight frame and safe acoustic fill. Hang them at reflection points or use them as decorative pieces. They will reduce reflections, not soundproof the room. For storage, a pegboard with hooks can hold controllers, headsets, and cables while using vertical wall space. Paint it to match the room or leave it natural for a workshop-inspired look.
A curtain rod or tension rod behind the desk can support a tapestry or neutral fabric backdrop. This hides an uneven wall, improves a camera background, and can be changed without repainting. Always use appropriate anchors for shelves and wall-mounted equipment, and check reclaimed wood for nails, moisture, and structural weakness before bringing it indoors.
Common Mistakes to Avoid
One common mistake is buying accessories before solving the layout. RGB strips, decorative signs, and novelty shelves cannot fix a desk that is too small or a monitor positioned in direct glare. Plan the physical arrangement first.
Another mistake is choosing a desk that is too narrow. A monitor may fit, but the keyboard and mouse can end up at the very edge. Measure the actual footprint of your equipment, including stands and cable bends, and leave some empty surface area for daily use.
Many people underestimate storage. If there is no place for controllers and chargers, they will end up on the floor or under the monitor. Add at least one dedicated storage solution from the beginning. Avoid covering every wall with hard, reflective surfaces if sound quality matters; balance them with rugs, curtains, books, fabric, and upholstered furniture.
Do not mount shelves or televisions without checking the wall and hardware. Use a stud finder when appropriate, select anchors rated for the load, and follow the mounting instructions. When in doubt, choose a freestanding unit rather than risking damage or injury. Finally, do not copy a social-media setup too literally. Photos often hide cable clutter and prioritize appearance over long-term comfort. Borrow ideas, but adapt them to your space, budget, and habits.
One common mistake is buying accessories before solving the layout. RGB strips, decorative signs, and novelty shelves cannot fix a desk that is too small or a monitor positioned in direct glare. Plan the physical arrangement first.
Another mistake is choosing a desk that is too narrow. A monitor may fit, but the keyboard and mouse can end up at the very edge. Measure the actual footprint of your equipment, including stands and cable bends. Leave some empty surface area for daily use.
Many people also underestimate storage. If there is no place for controllers and chargers, they will end up on the floor or under the monitor. Add at least one dedicated storage solution from the beginning.
Avoid covering every wall with hard, reflective surfaces if sound quality matters. A room full of glass, bare walls, and smooth furniture can sound harsh. Balance the room with rugs, curtains, books, fabric, and upholstered furniture.
Do not mount shelves or televisions without checking the wall and hardware. Use a stud finder when appropriate, select anchors rated for the load, and follow the mounting instructions. When in doubt, choose a freestanding unit rather than risking damage or injury.
Finally, do not copy a social-media setup too literally. Photos often hide cable clutter, show the room under controlled lighting, and prioritize appearance over long-term comfort. Borrow ideas, but adapt them to your space, budget, and habits.
A Sensible Order for Building the Room
Build in stages: measure the room; solve desk and chair comfort; install the main equipment; manage power and cables; improve functional lighting; add storage; then personalize the walls. Test the room during a long session and adjust glare, posture, reach, and temperature before buying more accessories. This order prevents decorative features from getting in the way of practical improvements.
The ideal gaming room is not defined by a brand, color scheme, or budget. It is defined by how well it supports the person using it: clear viewing, comfortable controls, organized equipment, dependable internet, and a space that is easy to reset after a session.
Start with measurements and habits. Invest first in the chair, desk, display position, and network reliability. Then use DIY projects to improve cable management, storage, lighting, and atmosphere. Reuse furniture when possible, buy slowly, and let personal details—a favorite game shelf, handmade controller stand, or warm light behind the monitor—make the room your own.