

A bathroom may be one of the smallest rooms in a home, but it carries an outsized share of daily life. A kids’ bathroom must withstand toothpaste, bath toys, wet towels, hurried mornings, and the occasional science experiment conducted at the sink. A guest bathroom has a different brief. It should feel welcoming, intuitive, private, and polished without making visitors feel as though they have entered a showroom that they can’t touch.
The best way to elevate either room is not to add decor without intention. There needs to be a deliberate order: start with function, solve storage and cleaning, establish a material palette, then add the details that make the room feel personal. This sequence keeps design decisions connected to real use. It also prevents a common mistake: spending on beautiful finishes while leaving awkward lighting, poor ventilation, or nowhere to put a towel.
A successful kids’ or guest bathroom balances three qualities. It is durable, so the surfaces and fixtures can tolerate frequent use. It is easy to understand, so a child or first-time visitor can find what they need without instructions. And it is distinctive, so the room feels designed. The distinction may come from a painted vanity, a patterned tile, a framed print, an unusual mirror, or simply exceptionally good lighting. What matters is that the room has a point of view.
1. Begin with the Room’s Real Job
Before choosing tile or hardware, identify who will use the bathroom and what they need most. A shared children’s bathroom has to support independence as well as supervision. A guest bathroom has to support people who do not know where anything is. Those needs overlap, but they are not identical.
Can a child see and reach the towel hook? Is the step into the tub easy to judge? Are the soap and toilet paper where they are expected to be? Can the vanity survive water left on its edge? If more than one child uses the room, can two people brush their teeth without blocking each other? These questions are more useful than starting your mission with a Pinterest search for “fun bathroom ideas.”
In a guest bathroom, a visitor should be able to find a clean hand towel, soap, toilet paper, and a place to hang a damp towel without opening cabinets. A mirror should provide enough light for grooming, and the room should not require an explanation. Small signs of preparation matter: an empty hook, a clean wastebasket, spare toilet paper, and a surface that is free of the homeowner’s personal products.
Measure the room before you start your shopping list. Record the location of plumbing, doors, windows, outlets, switches, vents, and any fixed niches. Note the width of circulation paths and the swing of the door. If the existing arrangement works, a cosmetic renovation may deliver more value than moving fixtures. If people regularly collide at the vanity or struggle to enter the tub, finishes alone will not solve the problem.
Sometimes I find it helpful to “define” the room to guide the design process. For example, “This is a calm, easy-to-clean bathroom that helps children manage their routines,” or “This is a warm, hotel-like room that lets guests find everything without asking.” From there the next steps seem more clear.
2. Prioritize Safety Without Making the Room Feel Institutional
Safety is not a separate layer that has to look clinical. It can be integrated through quiet, attractive decisions. Use slip-resistant flooring where water is likely to land, especially around a tub or shower. Choose rounded or softened edges when possible, and avoid projecting corners in narrow circulation zones.
Children’s bathrooms can require attention to water and reach. A stable, non-slip step stool can be useful, but it should be selected for the user’s age. You may need to hang on to that vintage stool for a while and start with the more practical rubber stools in the early years.
Tub and shower controls also matter. One of my early regrets in designing a kid’s bathroom in our home was not adding a handheld shower. A fixed showerhead may be preferable for older children or guests, but a handheld is so helpful for the little ones. Use tempered safety glass where required for shower enclosures, and have plumbing and electrical work completed according to local code.
A low-level night-light, illuminated switch, or gentle motion-activated light can help children and guests navigate without turning on bright overhead lighting. Night lighting is a small upgrade, but also a helpful addition!
3. Fix the Lighting Before Adding Decorative Layers
Good bathroom lighting has at least two jobs: it must illuminate the room generally, and it must light faces in the mirror. A single ceiling fixture often creates shadows under the eyes and chin that is doable in a utility room, but it is frustrating when applying makeup, shaving, etc.
Place vertical or side lighting near the mirror when the layout allows. The goal is even illumination from both sides or across the face, not a bright point directly above the head. A recessed ceiling light can supplement the mirror lighting, but it should not be expected to perform both tasks. If the vanity is wide enough for two users, size the mirror and lighting so the whole counter remains usable.
Select a color temperature that fits the mood of the room. Make sure to check out a giant post all about lighting temperature here. Warm light can make a guest bath feel inviting, while a balanced neutral light may help a children’s bathroom feel clean and energetic. The important point is consistency. If the ceiling light is very cool and the sconces are warm, the room can look uneven and colors may shift from one side of the mirror to the other. Choose bulbs or integrated fixtures with good color rendering so skin tones and clothing appear natural.
Layer the light rather than maximizing brightness. General light, mirror light, and a dimmable accent or night light provide more control than a single intense fixture. A dimmer can transform the room from a bright morning workspace into a calmer evening environment.
Natural light is valuable, but privacy is important. Frosted or textured glazing, a discreet shade, or a high window can allow daylight without exposing the room. In a guest bathroom, daylight also makes the space feel cleaner and more generous. Avoid placing a mirror where it reflects a toilet or cluttered storage if another orientation is available.
4. Choose a Durable Material Palette with One Memorable Element
A small bathroom does not need many competing finishes. It needs a stable foundation and one or two moments of character. Start with the floor, wall protection, vanity, countertop, and metal finishes. Then you can have with placement pattern, color, or texture.
For a kids’ bathroom, durability should be visible in the specifications but not necessarily in the look. Porcelain tile, solid-surface countertops, glazed tile, quality laminate, and well-sealed natural materials can all work. Pay attention to grout. Even though grout is easier to clean than older formulations, a grout color that is too pale may show more marks, while very dark grout can make a room feel heavily outlined and busy. A mid-tone or coordinated grout often provides a forgiving balance.
For a guest bathroom, the palette can be more delicate, but it should still tolerate moisture and regular cleaning. A painted wall above tile, a stone-look surface, or a decorative wallpaper designed for humid interiors can add personality. Keep splash zones protected and follow the product manufacturer’s installation guidance. Wallpaper should not be treated as a substitute for proper water management.
Choose one memorable element. It might be a patterned floor, a colorful vanity, a handmade-look backsplash, a sculptural mirror, or a distinctive pendant outside wet zones. When every surface is dramatic, nothing is allowed to lead. When one surface carries the visual interest, the rest of the room can support it with calm materials.
Scale matters. Large-format tile can reduce grout lines and make a compact room feel quieter, but also needs to suit the room’s dimensions and drainage requirements. Small tile can add texture and help with the slope of a shower floor, but excessive pattern can feel busy. A vertical tile layout may emphasize height, while a horizontal arrangement can make a narrow room appear wider. These effects are subtle, so choose based on the room’s proportions rather than on a trend alone.
Do not overlook tactile contrast. Pair a smooth countertop with a lightly textured tile, or a painted vanity with woven towels and a natural wood accessory. Texture makes a restrained palette feel layered without requiring more colors.
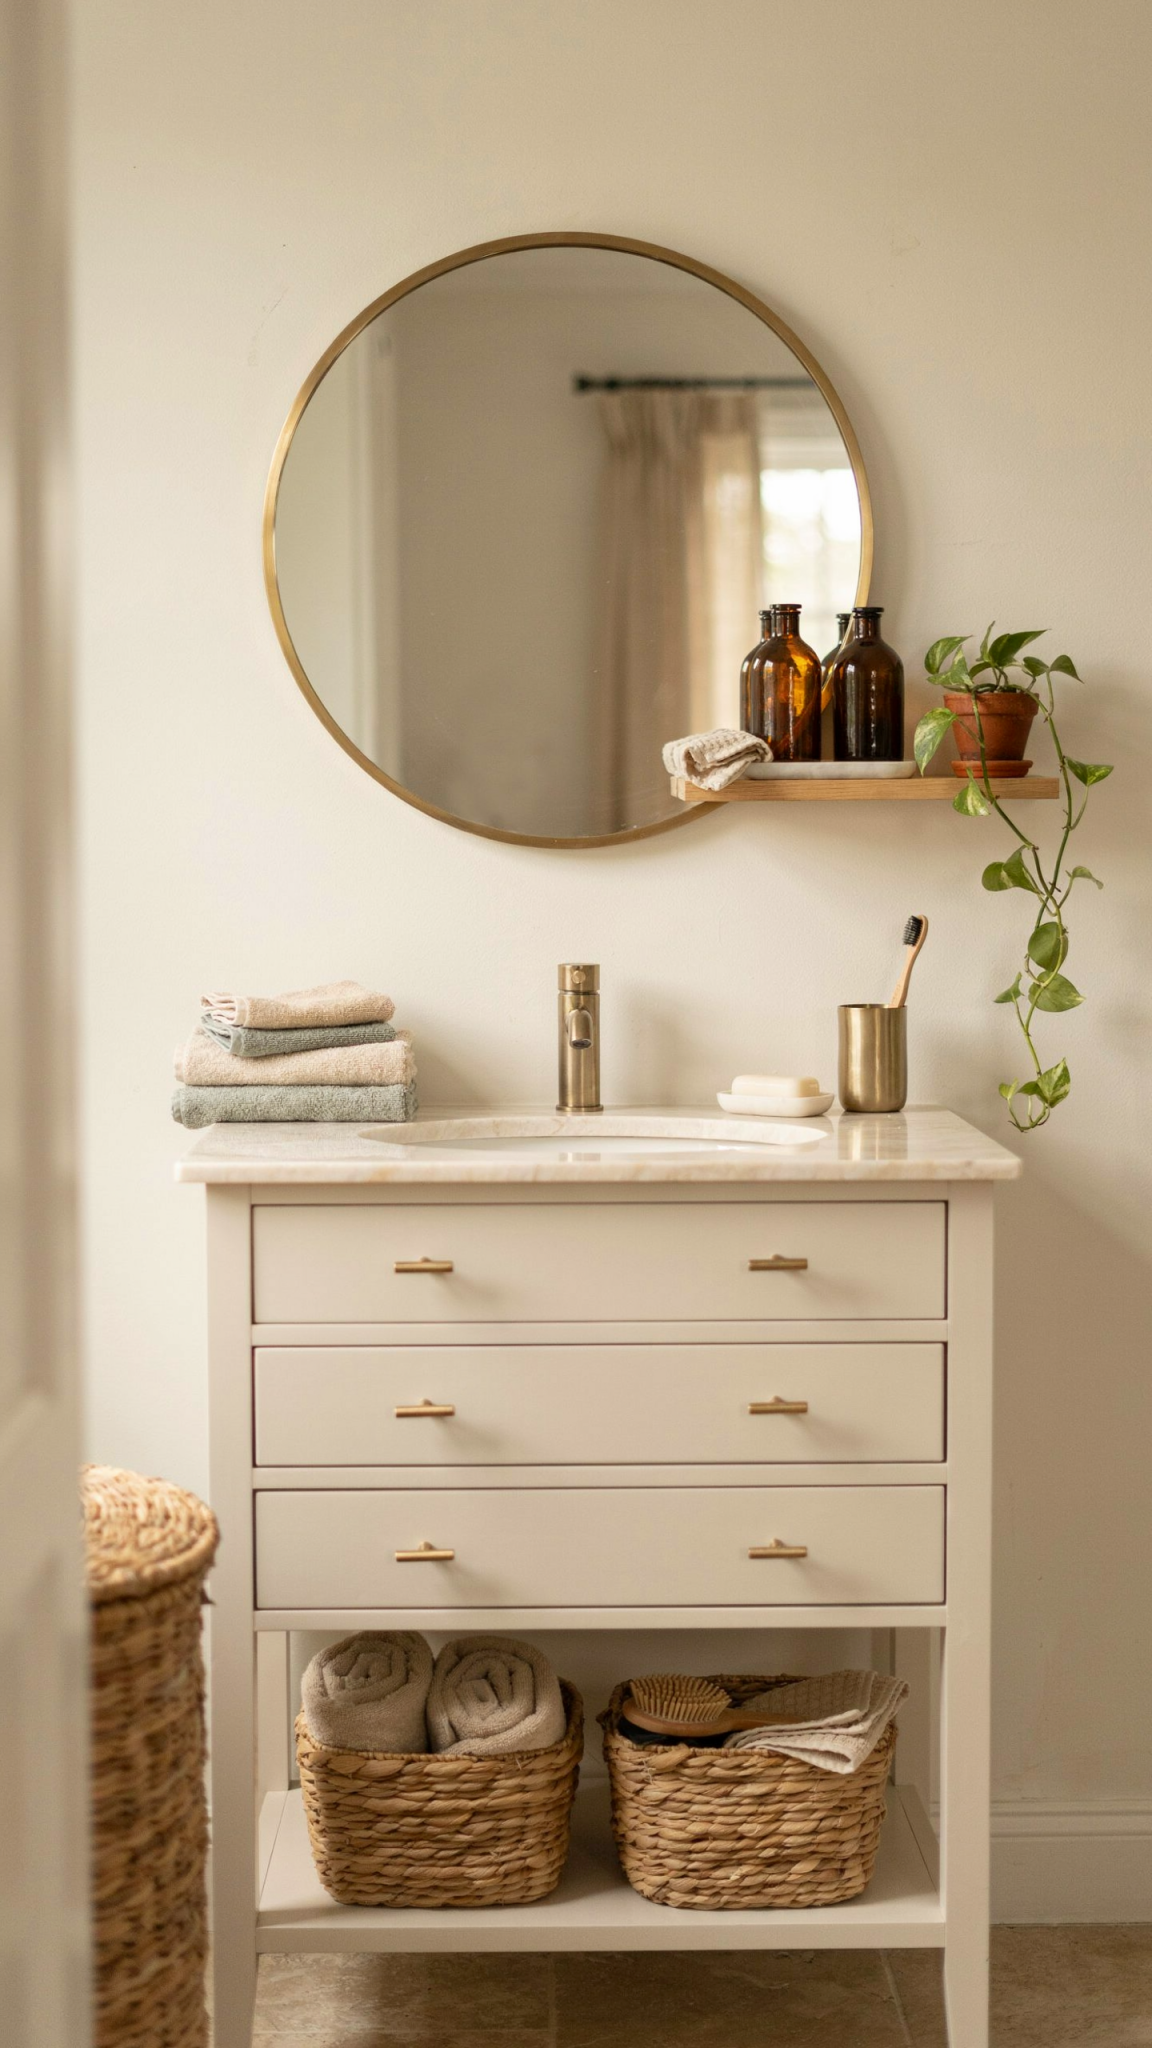
5. Make the Vanity Work Harder
The vanity is usually the room’s largest piece of furniture and its most visible storage zone. Its design should respond to how the bathroom is used. A kids’ vanity needs wipeable surfaces, accessible storage, and enough room for daily clutter. A guest vanity benefits from a clear counter, a convenient towel location, and storage that can remain mostly empty.
A floating vanity can make the floor easier to clean and create a sense of openness, but it may offer less concealed storage. A furniture-style vanity can bring warmth and provide useful drawers. If the room is narrow, drawers may be more practical than doors because they allow users to see supplies without crouching and reaching into the back of a cabinet.
Organize storage by frequency of use. First, put hand soap and towels in the open or immediately visible zone. Place everyday items in the top drawers. Keep backup toiletries, extra toilet paper, and cleaning supplies in deeper storage or a nearby closet. In a children’s bathroom, use bins or drawer dividers that make categories obvious. A child who can identify the “hair” bin or “toothbrush” drawer is more likely to put items away.
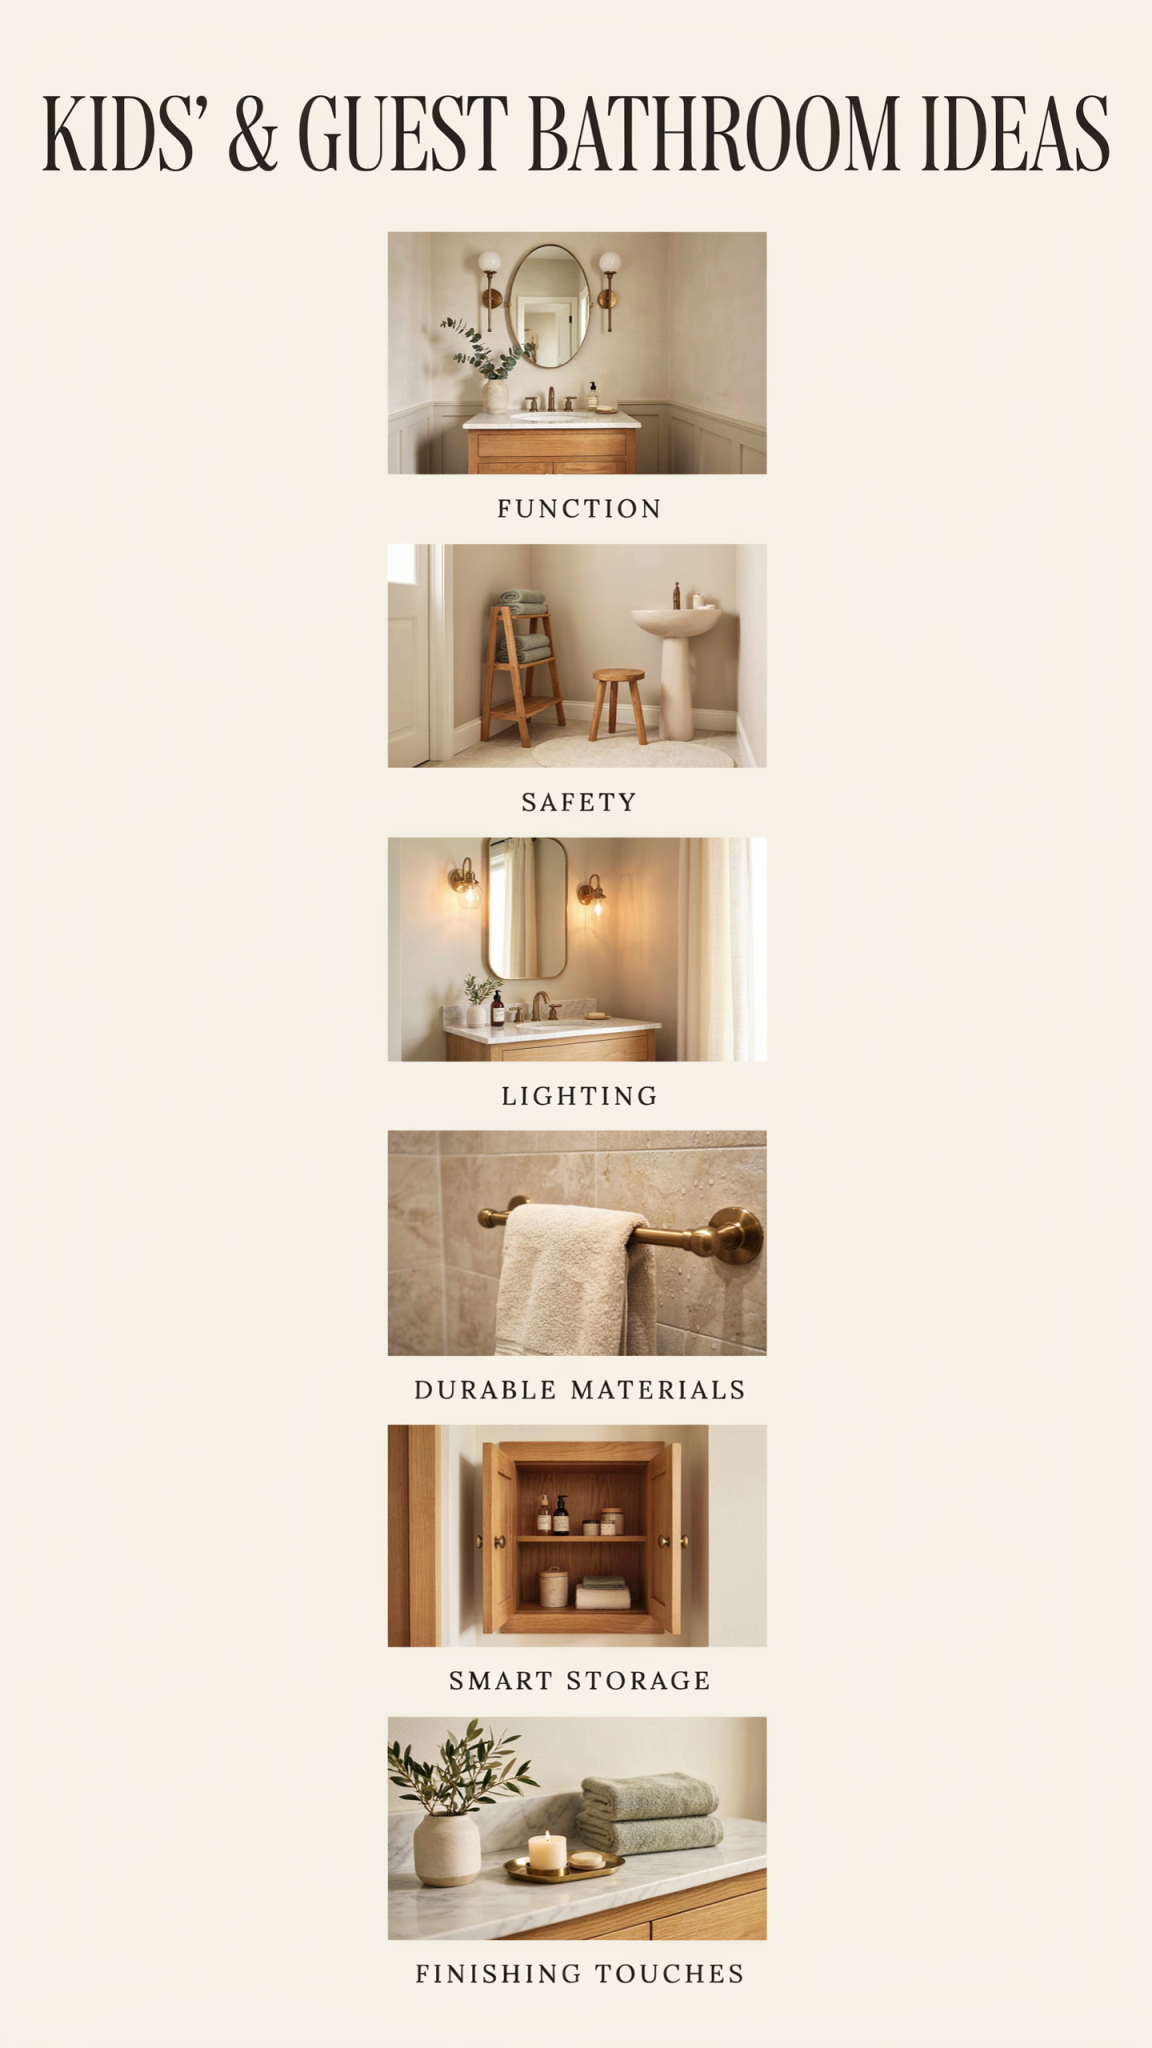
Counter space should be intentional. A guest bathroom does not need a counter covered with decorative containers. Leave enough surface for a visitor to put down a toiletry bag. In a kids’ bath, select a countertop that can handle standing water and toothpaste residue. A slightly raised backsplash can protect the wall behind the sink and create a finished edge.
The sink itself should fit the room. A shallow basin may preserve storage options, while a deeper basin can be helpful for washing even small babies! Select a faucet with a comfortable reach that directs water into the basin rather than onto the counter. The most beautiful faucet becomes a daily annoyance if its stream misses the center of the bowl.
Hardware offers an inexpensive opportunity to elevate the vanity. Knurled, aged, matte, or polished finishes can create different moods, but consistency is more important than novelty. Coordinate cabinet pulls, faucet, mirror frame, and other visible metal elements. They do not need to be identical, yet they should share an intentional relationship. Be sure to check out my post on how to select cabinet hardware here if you’re feeling stuck.
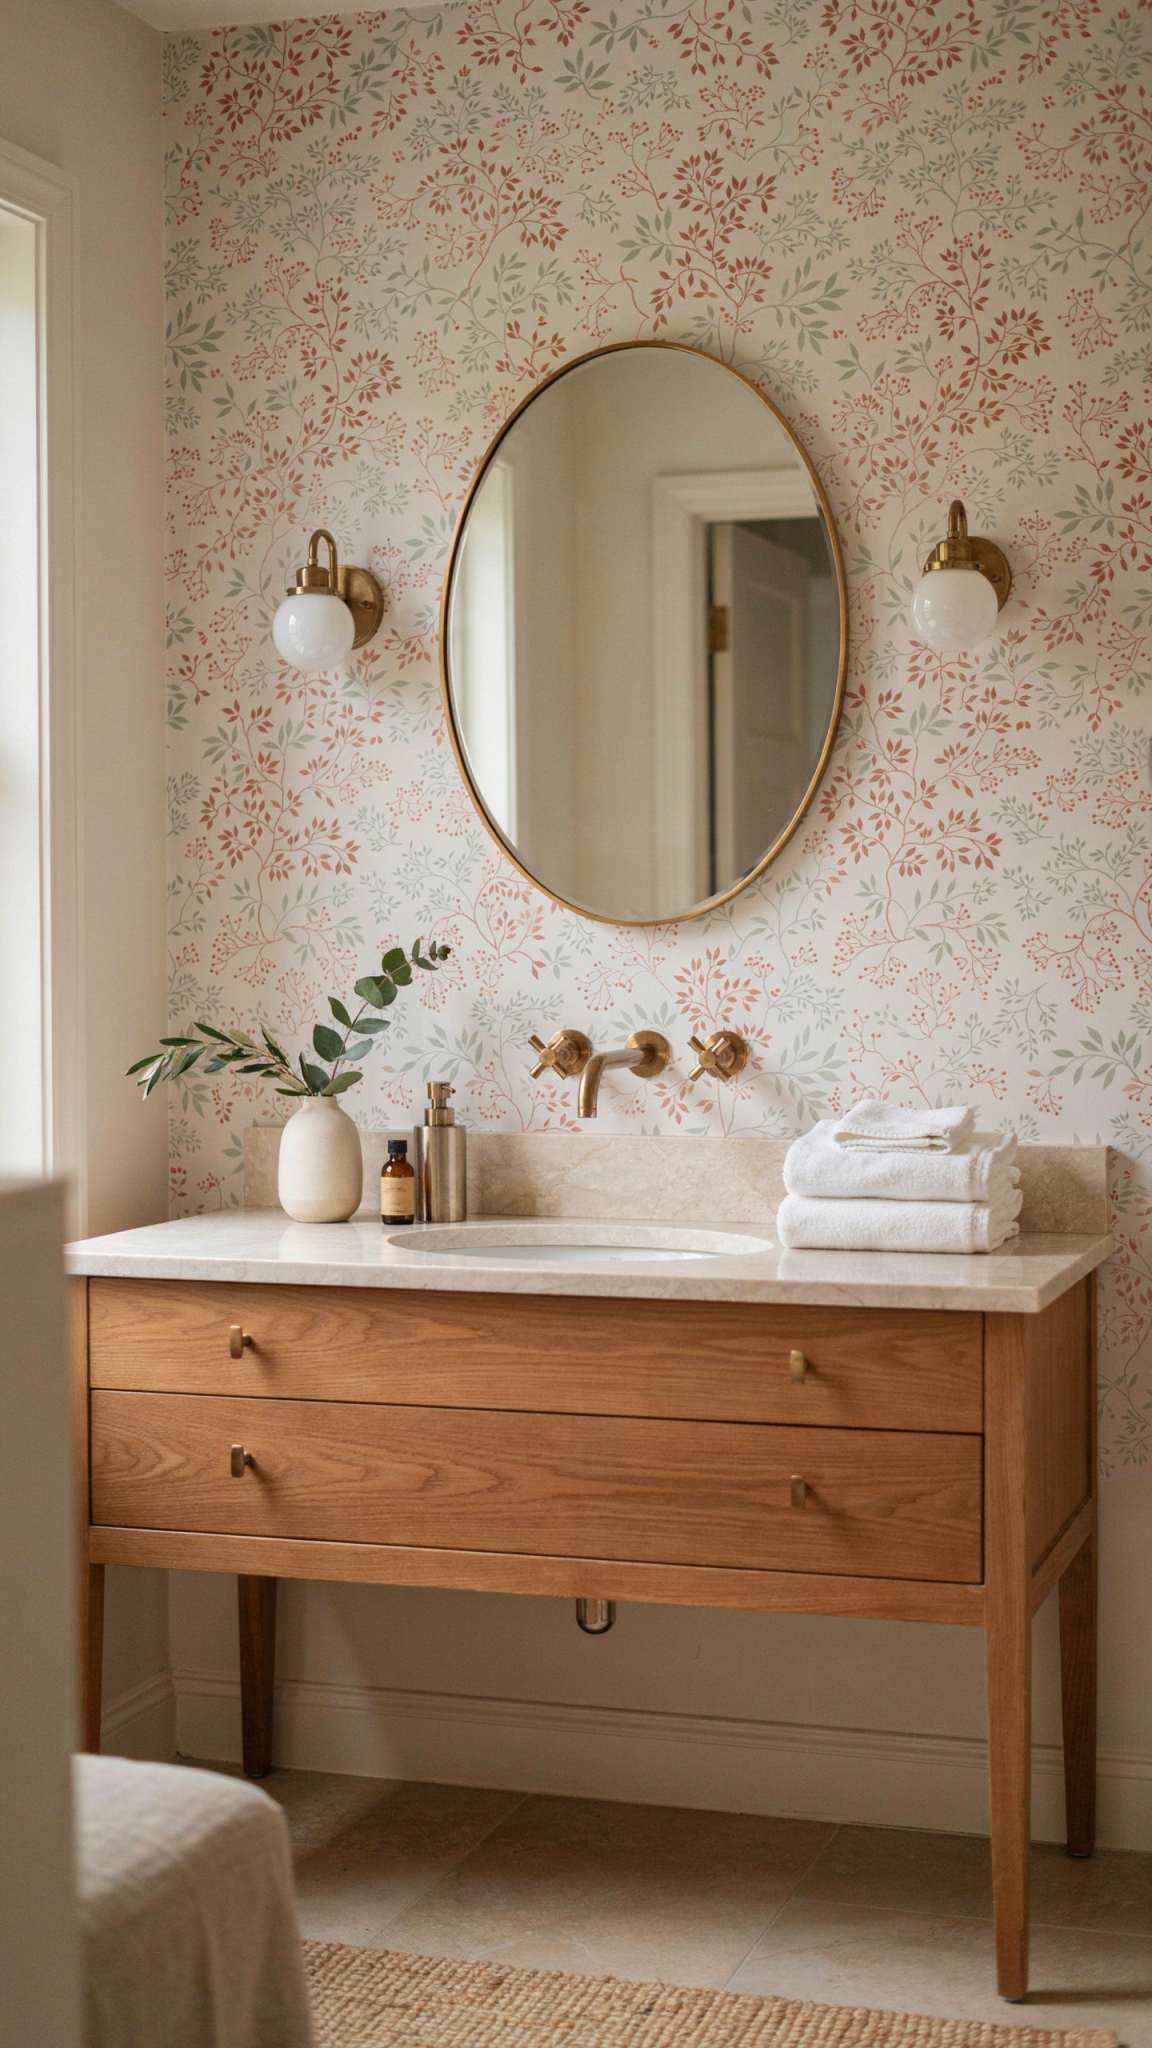
6. Design Storage for Towels, Toilet Paper, and the Things People Actually Use
Bathrooms often feel unfinished because storage was treated as an afterthought. Begin with the three items people need most often: a hand towel, toilet paper, and a place for damp bath towels. Each should have an obvious home.
Hooks are often better than towel bars for children because they are easier to reach and easier to use. In a guest bathroom, a hook near the shower and a neatly folded hand towel near the sink provide immediate clarity. Avoid placing hooks where towels will block a door, cover a heater, or remain pressed against a damp wall.
Provide enough toilet paper storage that a guest does not have to search a cabinet. A covered or open reserve holder can be both practical and attractive. Keep backup rolls accessible without making them the visual focus of the room. In a family bathroom, a narrow vertical cabinet or recessed niche with shelving can work really well.
Use open shelving selectively. Open shelving can look awesome with folded towels and a couple of small objects, but they collect dust and make any amount of clutter hard to ignore. Closed storage is usually better for spare toiletries and cleaning products. If the room doesn’t have a linen closet/cupboard, consider a slim tower, an over-toilet cabinet with careful proportions, or baskets that can be removed and cleaned.
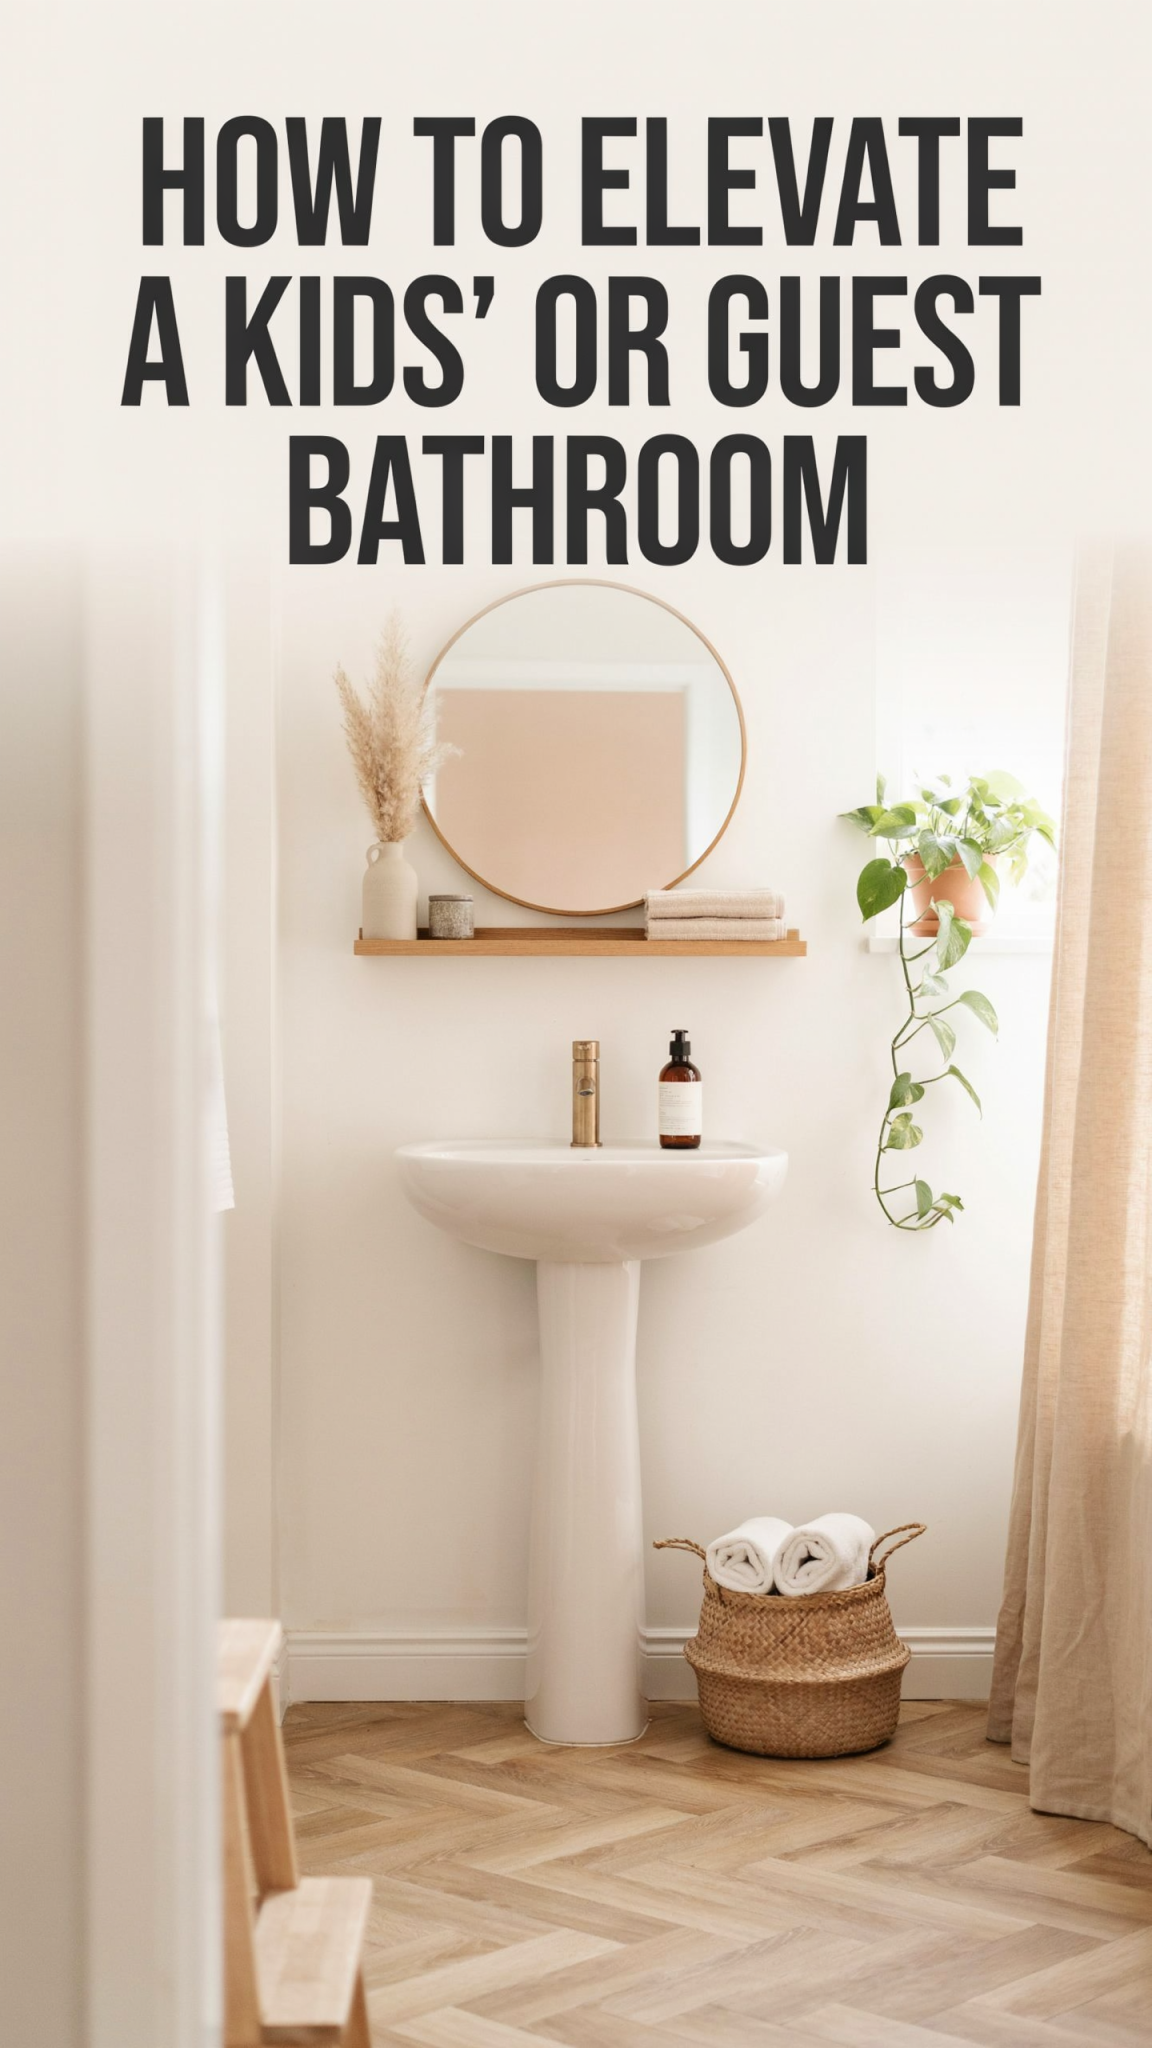
A hamper may be useful in a children’s bathroom, but it should not become a permanent pile of damp clothing. Choose a ventilated, washable option and place it where the user naturally changes. Guests may not need a hamper at all, just a discreet hook or small basket can be enough for a hand towel or washcloth.
7. Improve the Shower and Tub Experience
The tub or shower is where comfort, maintenance, and safety intersect. A clean, well-organized enclosure can make an ordinary bathroom feel significantly more refined. Start with the basics: a reliable showerhead, controls that are easy to understand, a stable shelf or niche, and a door or curtain that keeps water contained.
For children, a handheld shower can support bathing and rinsing. A built-in niche should be placed at a usable height and sized for the products the household actually buys. Avoid creating a shallow ledge that holds water and becomes difficult to clean. If a niche is not practical, a well-designed corner shelf or removable caddy may be more flexible.
For guests, keep the shower controls intuitive. A visitor should not have to decode several unlabeled valves. If the bathroom has a tub-shower combination, a curved rod can increase usable space without changing the footprint. A fabric shower curtain can soften the room, while a glass screen can make it feel more open. The best option is the one that is easy to keep clean and does not interfere with access.