There’s something endlessly satisfying about turning an affordable IKEA find into a piece that looks like it came straight out of a high-end design studio. Whether it’s the clean Scandinavian lines, the versatility of their products, or the thrill of the transformation, IKEA furniture offers the perfect blank canvas for creative upgrades. This kind of challenge to stretch your creative muscles is just FUN!
The truth is, making your IKEA furniture look designer isn’t about spending a fortune — it’s about seeing the potential. With a few simple tweaks, smart material swaps, and thoughtful styling, even the most basic BILLY bookcase or MALM dresser can become a showpiece that feels custom, refined, and truly yours.
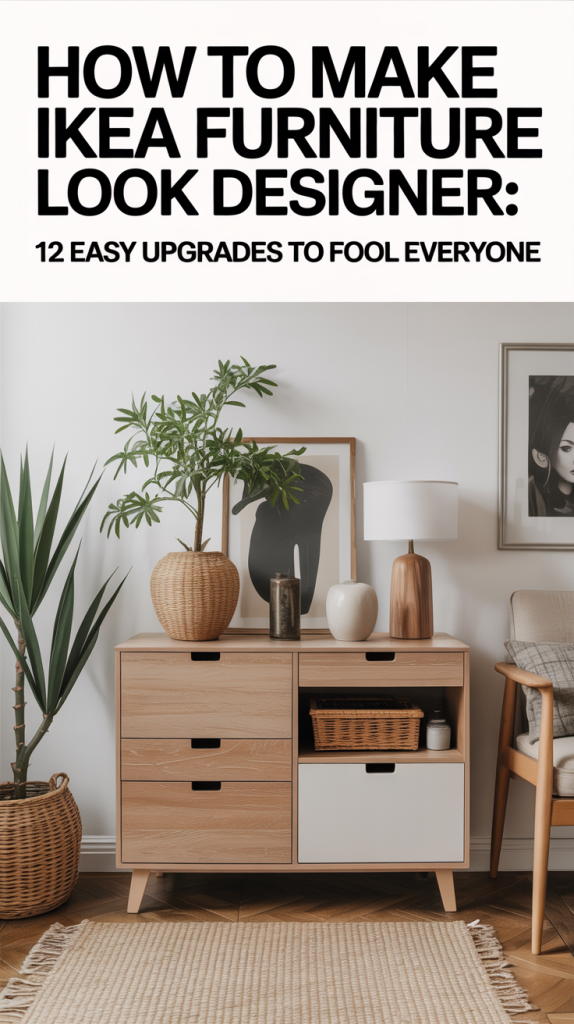
Ready to give your home that elevated designer look — without blowing your budget? Let’s talk about 12 easy upgrades that will completely fool everyone (and have your friends asking where you got your “custom” piece).
1. Upgrade the Hardware: From Basic to Bespoke
The easiest and most transformative change you can make to any IKEA piece is swapping out the hardware. IKEA knobs and pulls tend to be minimal and utilitarian — fine for functionality, but not exactly memorable.
Designer trick: replace them with high-quality hardware in materials like aged brass, matte black, or polished nickel. Hardware is the jewelry of your furniture — it’s what catches the eye and sets the tone for your space.
Ideas to try:
-
Pair brass knobs with a navy or deep green dresser for a rich, classic look.
-
Go for sleek black pulls on white cabinetry for modern minimalism.
-
Mix materials — try marble or leather pulls for a custom, artisan feel.
Pro tip: Don’t be afraid to size up! Oversized hardware can make an inexpensive piece instantly feel substantial and expensive.
2. Add Trim and Molding for a Built-In Look
If you’ve ever drooled over custom cabinetry or designer built-ins, you’ll love this hack. IKEA furniture, like the BILLY bookcase or PAX wardrobe, is known for its modular design — but adding trim or molding takes it from flat-packed to architectural.
Use simple MDF or pine molding to frame the top and sides, then paint the entire piece to match your wall color. The result? Seamless, built-in beauty that looks like it was made for the space.
Try this on:
-
BILLY bookcases to create a library wall.
-
BESTÅ cabinets for a custom TV console.
-
PAX wardrobes for a boutique-style closet.
Designer detail: Add baseboards at the bottom and crown molding at the top for a truly finished look.
3. Paint Makes All the Difference
Paint is pure magic when it comes to IKEA transformations. Most IKEA furniture comes in laminate or veneer finishes — neutral, yes, but lacking depth and character.
The secret is using the right prep and paint technique. Start with a primer made for slick surfaces (like Zinsser BIN or Shellac-based primer) to ensure proper adhesion. Then choose a high-quality paint in your favorite shade — matte, satin, or even chalk finish depending on your style.
Trending designer colors:
-
Warm taupe, soft beige, or clay for a California casual vibe.
-
Charcoal or moody navy for dramatic sophistication.
-
Creamy whites or greige for a timeless, designer-neutral look.
Pro tip: Don’t just stop at color — consider texture. A Roman Clay or limewash-style finish can completely transform the look, giving it that earthy, organic patina designers love right now.

4. Swap the Legs (and Add New Ones Where There Are None!)
Those flat, blocky IKEA legs are a dead giveaway. One of the quickest ways to make your furniture look custom is by swapping them out for something more sculptural, tapered, or substantial.
Websites like Pretty Pegs, Norse Interiors, and Etsy shops specialize in high-quality replacement legs that fit most IKEA pieces. Think mid-century brass, natural oak, or black metal — all of which instantly elevate the look.
Ideas to try:
-
Add turned wood legs to a simple MALM dresser for cottage charm.
-
Swap stubby plastic feet for brass caps to create a boutique look.
-
Use hairpin legs for a cool, modern edge on smaller storage pieces.
Bonus tip: Lifting furniture off the floor — even just a few inches — makes any room feel lighter and more refined.
5. Create Custom Tops for a Luxe Touch
If there’s one design move that screams “custom,” it’s a beautiful stone or wood top. IKEA pieces often come with thin laminate tops, which can easily be upgraded for a designer finish.
Ideas:
-
Replace a laminate dresser top with a slab of marble, quartz, or butcher block.
-
Add a custom stained wood top to the BESTÅ or KALLAX unit for warmth and contrast.
-
Try concrete for a modern industrial feel.
Pro tip: Even a faux marble contact paper (applied carefully!) can achieve a high-end look in a pinch.
6. Mix Materials for a Layered Designer Feel
Designers rarely stick to one material or texture. Mixing wood, metal, fabric, and stone is what creates that layered, “collected” aesthetic.
When upgrading your IKEA pieces, think beyond paint. Wrap drawer fronts in cane or burlap, add linen panels to doors, or swap out plain shelving for natural wood planks. These details introduce warmth and tactile richness — the secret sauce behind designer interiors.
Try this:
-
Add cane webbing to the doors of a BESTÅ or IVAR cabinet.
-
Cover drawer fronts with grasscloth wallpaper for subtle texture.
-
Use leather drawer pulls for a modern-rustic twist.
7. Style Like a Designer: Edit and Elevate
Even the most beautifully hacked IKEA piece won’t look high-end if it’s cluttered or poorly styled. This step is all about restraint, scale, and curation.
Designer styling rules to follow:
-
Group décor in odd numbers (threes or fives).
-
Mix heights and textures to create movement.
-
Leave negative space — don’t overcrowd surfaces.
For example, top your upgraded dresser with a statement lamp, a sculptural vase, and a stack of art books. Or give your new “built-in” bookshelf breathing room with a mix of ceramics, plants, and framed art.
Pro tip: Designer spaces look effortless because they are edited. Less truly is more.
8. Replace or Customize IKEA Doors
A major reason IKEA pieces can feel basic is their flat-front design. But that’s also what makes them perfect for customization!
Several brands, like Semihandmade, Superfront, and Reform, offer designer-quality replacement doors and drawer fronts that fit IKEA systems perfectly. You can choose fluted, shaker, or even modern slab designs in endless colors and finishes.
If you’re on a budget, DIY your own custom fronts using beadboard panels, thin trim, or reeded wood accents.
Bonus tip: Don’t overlook the power of paint on the doors alone — a two-tone look (like cream uppers and dark lowers) adds instant sophistication.
9. Add Lighting for That Designer Glow
Lighting changes everything — and built-in lighting is one of those subtle touches that make furniture feel intentional and high-end.
Ideas:
-
Install small puck lights under shelves or inside cabinets.
-
Use LED strip lighting along the underside of a bookcase for a warm glow.
-
Add a picture light above a styled console or bookshelf for a museum-quality finish.
Not only does lighting highlight your upgraded furniture, but it also adds depth, warmth, and a soft ambient layer designers swear by.

10. Combine Multiple IKEA Pieces for a Custom Build
Instead of treating each IKEA item as standalone, think bigger picture. Designers often combine multiple IKEA units to create one cohesive, built-in piece that looks entirely custom.
Inspiration:
-
Combine three BILLY bookcases for a wall-to-wall library.
-
Line up BESTÅ cabinets under a window for a chic bench with storage.
-
Use multiple PAX wardrobes with trim and molding to create a seamless walk-in closet wall.
Pro tip: When you connect pieces, paint them all the same color for a unified look.
11. Focus on Finish Details
What separates DIY furniture from designer furniture often comes down to the finish work. Small imperfections can give away the budget nature of your piece, so this step is about polishing everything to perfection.
Checklist for a professional finish:
-
Fill seams and nail holes before painting.
-
Sand lightly between coats for buttery smoothness.
-
Touch up edges where paint might chip.
-
Use painter’s caulk around trim for that built-in illusion.
The difference is subtle — but in design, subtlety is luxury.
12. Style with Intention: Layer, Balance, and Texture
Once your upgraded IKEA piece is ready, the magic happens in the styling. Designers always think about how each piece fits within the room — not just how it looks on its own.
Try this approach:
-
Layer textures. Add woven baskets, ceramic vases, and linen runners.
-
Add life. Greenery or dried stems soften even the most minimal designs.
-
Create height balance. Use tall lamps or art to draw the eye upward.
-
Think color palette. Keep it cohesive — neutral, earthy, or tonal for that serene, designer mood.
Remember: styling is storytelling. Your upgraded IKEA piece isn’t just furniture — it’s part of your home’s story.
The Art of Affordable Luxury
Making IKEA furniture look designer isn’t about tricking anyone — it’s about creating beauty and quality within reach. Designers don’t have magic access to better ideas; they simply pay attention to detail, balance, and craftsmanship.
When you combine that same intentionality with a few thoughtful upgrades — like new hardware, texture, and smart styling — you transform basic into bespoke.
So, whether it’s your first IKEA hack or your tenth, remember this: the key to making your home look high-end isn’t about money. It’s about vision, creativity, and the confidence to make it your own! I can’t wait to see what you come up with!