If you’ve been dreaming about fresh herbs, juicy tomatoes, or colorful flowers just steps away from your back door—but don’t want to spend a full weekend doing yard work—a raised garden bed is the perfect solution. It’s simple, affordable, and can be built in a single afternoon, even if you’re not an experienced DIYer.
My youngest Dax has recently shown interest in growing some herbs and vegetables. He goes to this awesome earthy preschools where the kids have a role in growing and harvesting vegetables and fruits for a growing list of animals on the campus. One day Dax and I decided to pick up a strawberry plant and some herbs at our local nursery–they have done so well and it has been such a fun hobby to share together!
Here I want to share with you how to build a raised garden bed from start to finish, including planning, materials, tools, soil tips, and gardening tips that I have learned in the process. Whether you’re looking to grow vegetables, flowers, or herbs, this raised bed will give your plants a head start and your backyard a serious upgrade.
Why Build a Raised Garden Bed?
Raised garden beds are an increasingly popular gardening choice, and for good reason. Here are some benefits of building one:
Better Soil Control: You decide the soil mix, perfect for regions with poor or compacted ground.
Improved Drainage: Raised beds reduce waterlogging and root rot.
Fewer Weeds and Pests: Weed seeds in the surrounding soil are less likely to invade.
Extended Growing Season: Soil in raised beds warms up faster in spring.
Ergonomics: Less bending and kneeling, especially if built higher.
Tidy Look: Adds structure and beauty to your outdoor space.
What You’ll Need: Tools and Materials
Before you start building, gather everything you need. Here’s a straightforward shopping list.
Materials:
(2) 2″x12″x8′ untreated cedar or redwood boards
(2) 2″x12″x4′ boards (or cut the 8′ boards)
(2) 4″x4″ posts, cut into four 16-18″ corner supports
3.5” galvanized deck screws
Landscape fabric or cardboard (optional, for weed control)
Quality soil mix (see below)
Compost and organic matter
Tools:
Power drill with screwdriver bit
Saw (hand saw or circular saw if cutting your own wood)
Tape measure
Level
Staple gun (for securing landscape fabric)
Shovel or rake
Work gloves
Optional: corner clamps, speed square, wheelbarrow

Step 1: Choose the Right Location
Start by selecting the best location for your raised bed. Your plants will thank you later.
Look For:
6–8 hours of sunlight per day (ideal for vegetables and most flowers)
Flat, level ground to prevent water runoff
Easy access to water for hose or watering can
Space around the bed for walking or weeding
Avoid areas near tree roots, downspouts, or low-lying wet zones.
Step 2: Plan Your Size and Shape
The most common size for beginner-friendly raised beds is 4 feet wide by 8 feet long by 12 inches high. This size provides:
Easy access from all sides without stepping inside the bed
Plenty of growing space for a variety of plants
Compatibility with standard lumber sizes
Customization Tip: If space is limited, try 4×4 or 3×6 sizes, or build a square or L-shaped design.
Step 3: Cut and Assemble the Frame
Time to build your garden bed frame.
Cut your 4×4 posts into four 16-18” corner pieces.
Lay out the boards in a rectangle on flat ground.
Insert a 4×4 post at each inside corner.
Use a power drill and deck screws to attach the long sides first, then the shorter ends, driving screws through the board into the post.
Make sure everything is square and flush.
Pro Tips:
Use a speed square or corner clamps to keep angles perfect.
Predrill your holes to prevent splitting the boards.
Once assembled, you’ll have a sturdy, freestanding frame.
Step 4: Prepare the Ground
Now that your frame is ready, let’s prep the ground where it will sit.
Move the frame to your chosen location.
Outline the area using stakes or spray paint.
Remove any grass, sod, or debris inside the frame area.
Use a rake to level the soil underneath as best you can.
You can optionally add hardware cloth under the bed to deter burrowing pests like gophers and moles.

Step 5: Add a Weed Barrier (Optional)
For long-term weed prevention, you can line the bottom of your bed.
Two easy options:
Landscape fabric: Staple it inside the bed to keep weeds out and let water drain.
Cardboard or newspaper: Lay thick layers that will smother weeds and decompose into compost.
Don’t use plastic—it can trap water and suffocate roots.
Step 6: Fill with Soil
Now comes the fun part—adding the growing medium.
Recommended Soil Mix (per 12″ deep 4×8 bed):
60% high-quality topsoil
30% compost or organic material
10% perlite, vermiculite, or coconut coir for drainage
You’ll need about 1.2 cubic yards of soil mix to fill a standard 4x8x1 bed.
Soil Tips:
Buy in bulk from a landscape supplier if you’re building multiple beds.
Mix the ingredients thoroughly as you fill the bed.
Rake the top smooth.

Step 7: Water and Settle the Soil
Before planting, saturate the soil to help it settle. This reduces air pockets and gives you a better sense of the final soil level.
If needed, top it off with a little extra mix the next day.
Step 8: Start Planting
Now your garden bed is ready to come to life.
Easy Crops for Raised Beds:
Leafy greens: lettuce, spinach, kale
Root veggies: carrots, beets, radishes
Herbs: basil, cilantro, parsley, mint
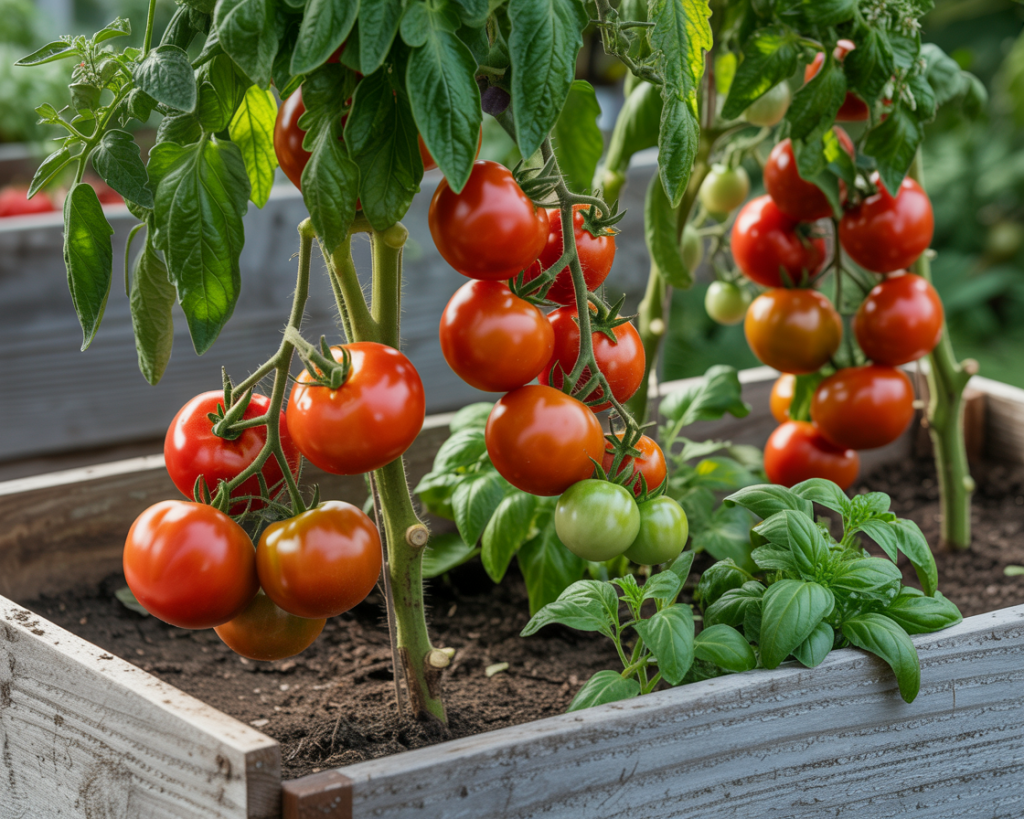
Tomatoes, peppers, cucumbers
Flowers: marigolds, nasturtiums, zinnias
Plant in rows or square-foot patterns depending on your style. Be sure to follow spacing and sunlight requirements.
Step 9: Mulch and Maintain
Top your freshly planted bed with a 2-3 inch layer of organic mulch like:
Shredded leaves
Straw
Bark mulch
Mulch retains moisture, prevents weeds, and adds nutrients as it breaks down.
Weekly Maintenance:
Water deeply 2-3 times a week (or more in hot weather)
Check for pests and weeds
Harvest regularly to encourage more growth
Optional Upgrades to Add Later
You can level up your raised bed over time with these add-ons:
Drip irrigation system or soaker hoses
Protective netting or fencing to keep out animals
Trellises for climbing plants like peas, beans, or cucumbers
Cold frames or row covers to extend your season
Compost bin nearby for easy soil enrichment
Troubleshooting Common Raised Bed Issues
Problem: Soil drying out quickly
Solution: Add more mulch and consider watering earlier in the day
Problem: Plants yellowing or stunted
Solution: Check for nutrient deficiencies—add compost or organic fertilizer
Problem: Weeds still popping through
Solution: Re-check barrier and reinforce with mulch or cardboard
Problem: Animals digging or eating crops
Solution: Add fencing, chicken wire, or mesh covers
Time Breakdown: Can You Really Do It in One Afternoon?
Here’s a realistic timeline for a 4×8 raised bed project:
| Task | Time |
|---|---|
| Gather supplies | 30–45 minutes |
| Cut and build frame | 30–45 minutes |
| Prepare ground & set bed | 30 minutes |
| Fill with soil | 30–45 minutes |
| Plant and mulch | 30 minutes |
Total Time: Approx. 3 hours (with time for snacks and breaks)
Budget Estimate
Want to keep costs down? Here’s a rough breakdown:
| Item | Cost (approx.) |
|---|---|
| Lumber (cedar) | $60–$80 |
| Soil & compost | $50–$100 |
| Screws & fasteners | $5–$10 |
| Tools (if needed) | $0–$50 |
| Mulch | $10–$20 |
Estimated Total: $125–$200 per raised bed
Pro tip: Check Facebook Marketplace or local lumberyards for discounted materials.
Grow More With Less Effort
You don’t need a landscaping crew or a full weekend to build a beautiful, productive garden. With just a few hours and some basic tools, you can create a raised garden bed that brings you joy, fresh produce, and a sense of accomplishment.
It’s one of the simplest and most rewarding DIY projects you can tackle—and the results will keep growing all season long.