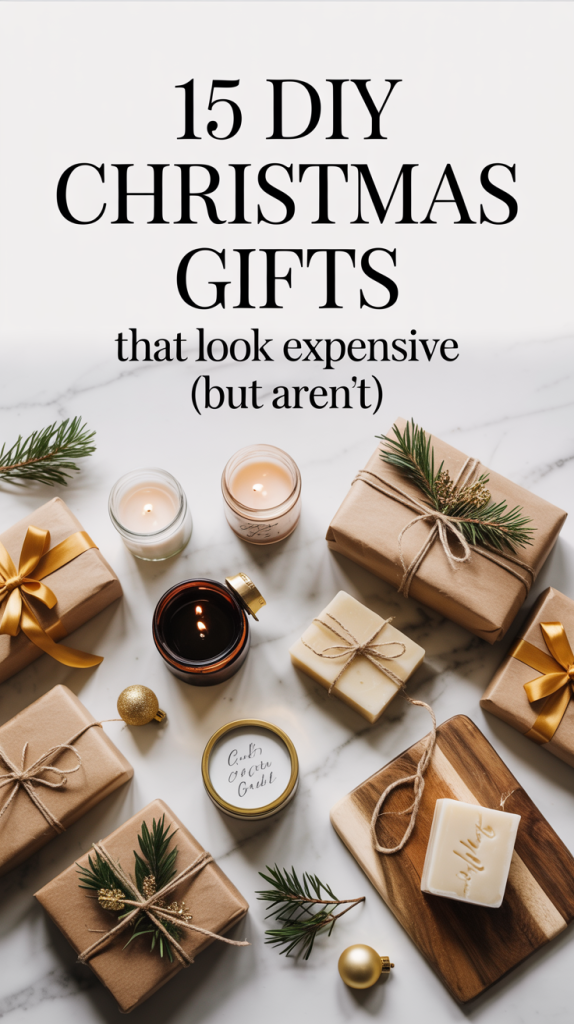
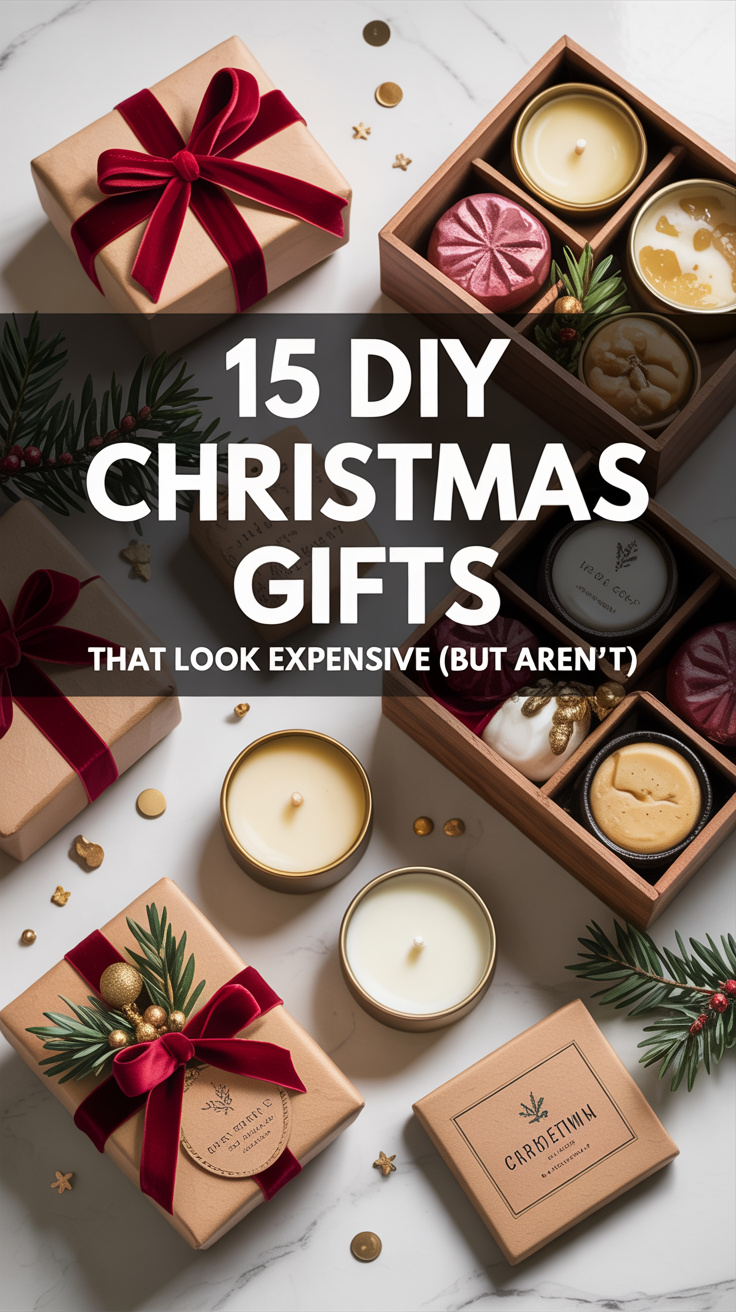
The holiday season is the perfect time to impress loved ones with gifts that feel luxurious without breaking the bank. These 15 DIY Christmas gifts are simple to make, look high-end, and can easily be personalized to your recipient. Read on for step-by-step tutorials for each!
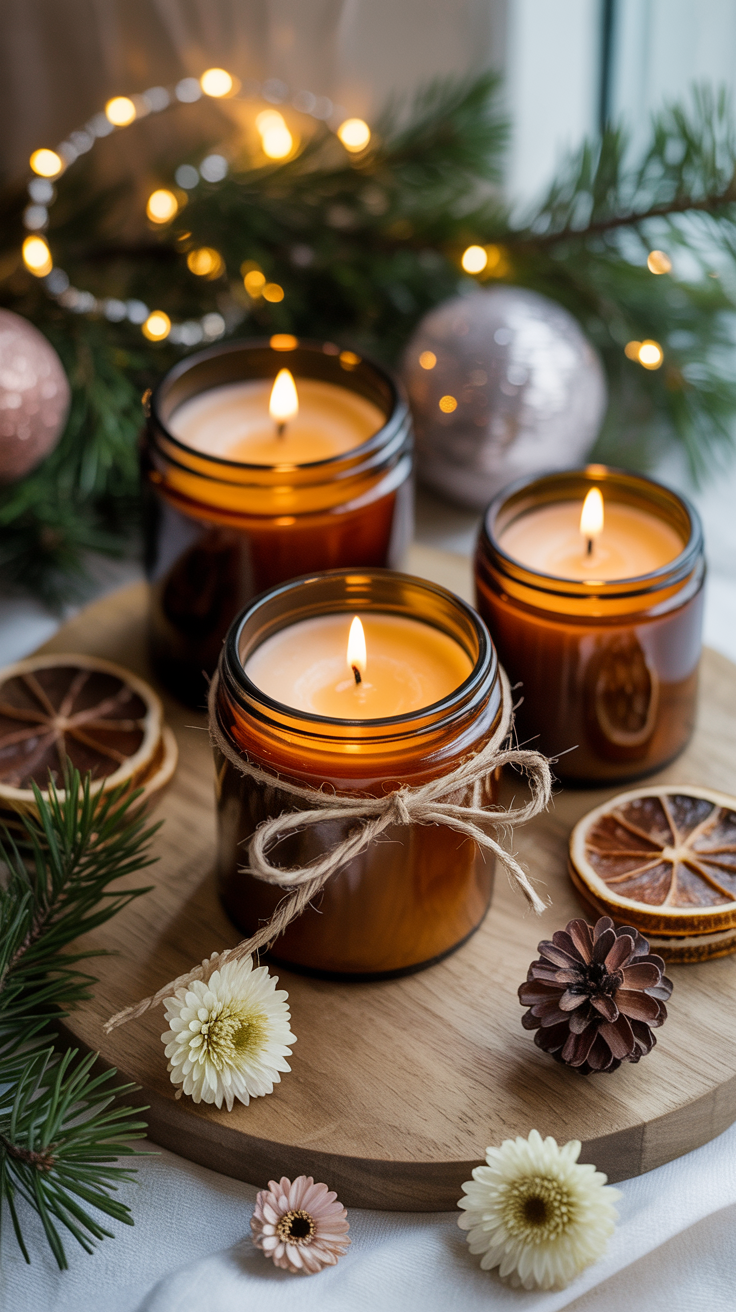
1. Hand-Poured Scented Candles
Materials:
Soy wax flakes (1 lb per 2–3 candles)
Candle wicks
Essential oils (lavender, vanilla, eucalyptus, etc.)
Heat-safe jars or tins
Double boiler or microwave-safe bowl
Thermometer
Labels/tags
Step-by-Step Instructions:
Measure wax according to jar size (1 cup wax per 8 oz jar).
Melt wax in a double boiler or microwave in 30-second intervals.
Once melted, remove from heat and add 10–15 drops of essential oil per cup of wax.
Attach wick to jar bottom using a dab of melted wax or wick sticker.
Pour melted wax carefully into the jar.
Let candles cool completely (2–3 hours).
Trim wick to ¼ inch and attach a decorative label.
Tip: For a boutique look, use amber jars or metallic tins. Layering scents adds sophistication.
Estimated Cost per Candle: $2–$4
2. Customized Wine Glasses
Materials:
Plain wine glasses
Glass etching cream or glass paint pens
Painter’s tape (optional for designs)
Gloves and protective covering
Step-by-Step Instructions:
Clean the wine glass with rubbing alcohol to remove oils.
Plan your design. Use painter’s tape for geometric patterns or stencils.
Apply etching cream with a brush, following manufacturer instructions (usually 5–10 minutes).
Rinse thoroughly and remove tape.
For paint pens, draw your design and let dry for 24 hours.
Tip: Metallic paint adds luxury. Pair with a small bottle of wine for gifting.
Estimated Cost per Glass: $3–$5
3. Luxurious Bath Salts
Materials:
1 cup Epsom salt
½ cup sea salt
10–15 drops essential oil
Dried flowers (lavender, rose petals)
Mason jar or glass container
Ribbon or tag
Step-by-Step Instructions:
Mix Epsom salt and sea salt in a bowl.
Add essential oil and mix well.
Layer dried flowers in the jar, then pour salt mixture on top.
Repeat layers if desired for visual effect.
Seal jar and tie a ribbon with a gift tag.
Tip: Use aromatic combinations like lavender-vanilla or peppermint-eucalyptus.
Estimated Cost per Jar: $2–$4
4. Hand-Decorated Mugs
Materials:
Plain ceramic mugs
Porcelain or paint markers
Oven (for setting paint)
Step-by-Step Instructions:
Clean the mug thoroughly with rubbing alcohol.
Draw your design using paint markers. Simple lines, quotes, or doodles work best.
Let paint dry 24 hours.
Bake in oven at 350°F for 30 minutes to set.
Cool completely before gifting.
Tip: Pair with hot cocoa mix or tea bags for a complete set.
Estimated Cost per Mug: $3–$6
5. DIY Leather Keychains
Materials:
Small piece of leather (scrap leather works)
Key ring hardware
Leather punch or scissors
Leather dye or paint (optional)
Stamps for initials (optional)
Step-by-Step Instructions:
Cut leather into desired shape (rectangle, oval, or custom).
Punch a hole at the top and attach key ring.
Stamp initials or design.
Optionally, dye or paint leather for a polished finish.
Condition with leather balm for a soft texture.
Tip: Minimalist designs feel expensive. Use high-quality leather for best results.
Estimated Cost per Keychain: $2–$5
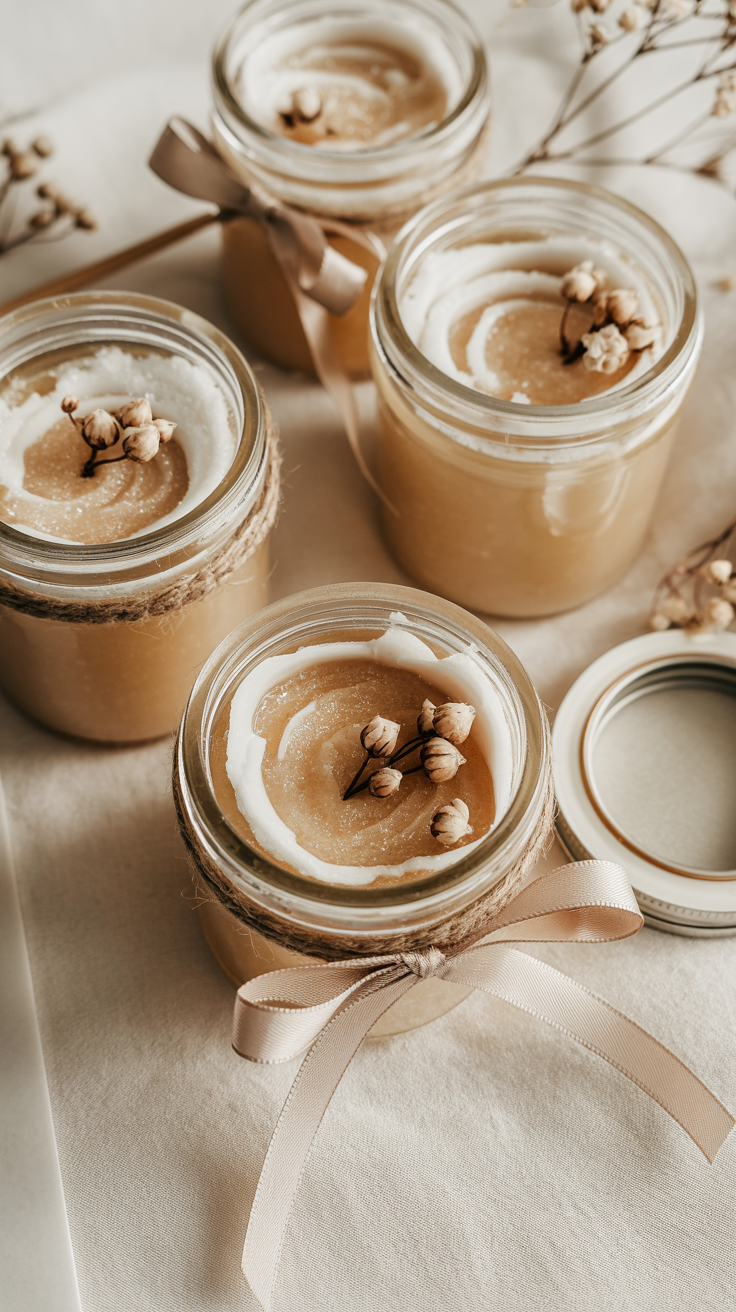
6. Homemade Body Scrubs
Materials:
1 cup sugar or salt
½ cup coconut oil
10–15 drops essential oil
Optional: mica powder for shimmer
Glass jar with lid
Step-by-Step Instructions:
Mix sugar or salt with coconut oil until fully combined.
Add essential oil and optional mica powder.
Transfer to glass jar and seal tightly.
Decorate jar with ribbon or label.
Tip: Layer sugar and oil for a visually appealing striped effect.
Estimated Cost per Jar: $2–$4
7. Decorative Throw Pillows
Materials:
Fabric (velvet, linen, or faux fur)
Pillow insert
Sewing machine or needle & thread
Tassels or embellishments (optional)
Step-by-Step Instructions:
Cut fabric to size (allow ½ inch seam allowance).
Sew edges together, leaving an opening for the pillow insert.
Insert pillow and close opening.
Add tassels, embroidery, or iron-on designs if desired.
Tip: Neutral colors or metallic accents give a high-end look.
Estimated Cost per Pillow: $10–$15
8. DIY Jewelry
Materials:
Beads, gemstones, or crystals
Jewelry wire and pliers
Clasps and earring hooks
Small velvet bag for packaging
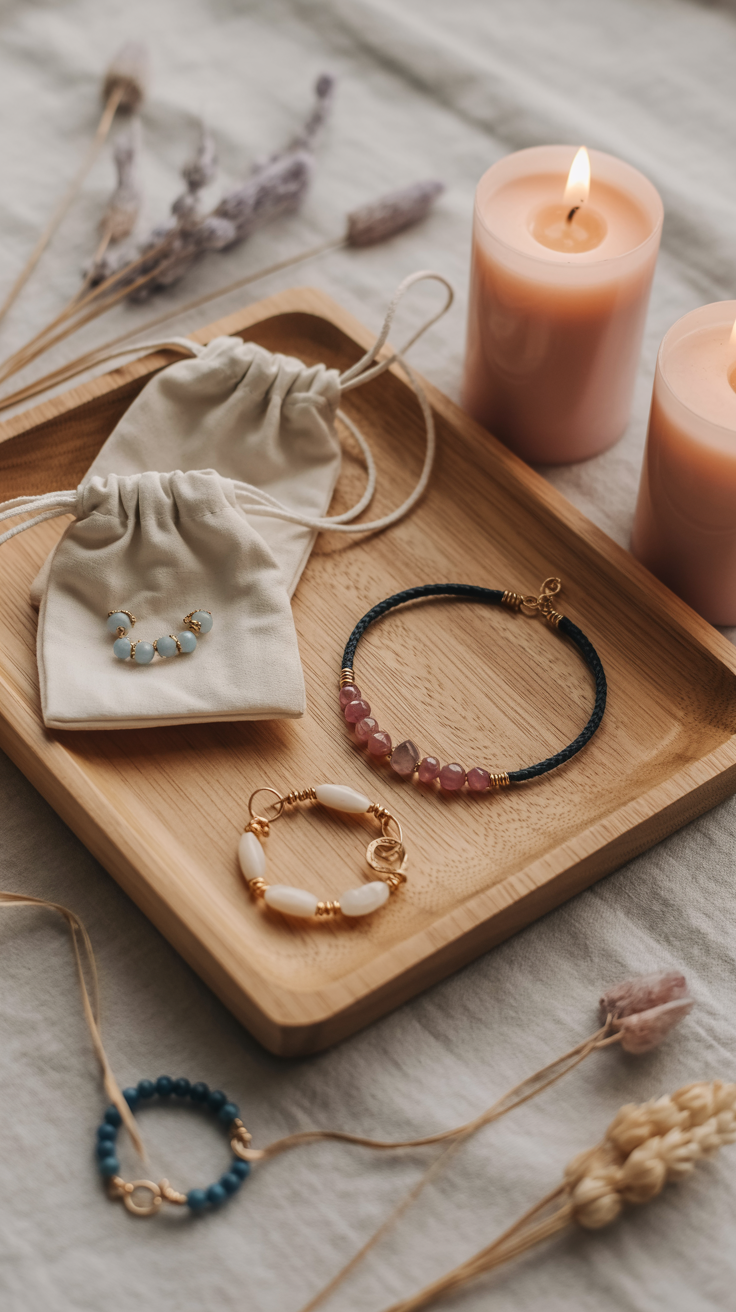
Step-by-Step Instructions:
Plan design and measure wire.
String beads onto wire and shape into necklace, bracelet, or earrings.
Secure ends with clasps or hooks.
Package in velvet bag for a boutique feel.
Tip: Use semi-precious stones for a luxurious touch.
Estimated Cost per Piece: $3–$8
9. Personalized Recipe Books
Materials:
Blank notebook or journal
Pen or markers
Printed photos (optional)
Ribbon or bookmark
Step-by-Step Instructions:
Collect your favorite recipes or family recipes.
Write or print recipes in the notebook.
Decorate with doodles, calligraphy, or photos.
Add a ribbon bookmark for a polished finish.
Tip: Leather-bound journals feel more luxurious.
Estimated Cost per Book: $5–$10
10. Stylish Planters
Materials:
Plain ceramic or terracotta pots
Acrylic paint or metallic spray paint
Plants (succulents or small houseplants)
Decorative stones or moss
Step-by-Step Instructions:
Paint pot in desired color or pattern. Let dry completely.
Fill pot with soil and add plant.
Top with decorative stones or moss.
Tip: Ombre, geometric, or metallic patterns give a designer look.
Estimated Cost per Planter: $5–$12
11. DIY Coffee Scrubs
Materials:
½ cup coffee grounds
¼ cup coconut oil
¼ cup sugar
Optional: cinnamon, vanilla, or essential oil
Glass jar with lid
Step-by-Step Instructions:
Mix coffee grounds, sugar, and coconut oil in a bowl.
Add optional scenting ingredients and stir.
Transfer to jar and seal tightly.
Label creatively (e.g., “Wake Up & Glow”).
Tip: Coffee scrubs are naturally exfoliating and smell amazing.
Estimated Cost per Jar: $2–$4
12. Hand-Painted Ornaments
Materials:
Plain glass or wooden ornaments
Acrylic paint and brushes
Glitter or metallic accents
Ribbon for hanging
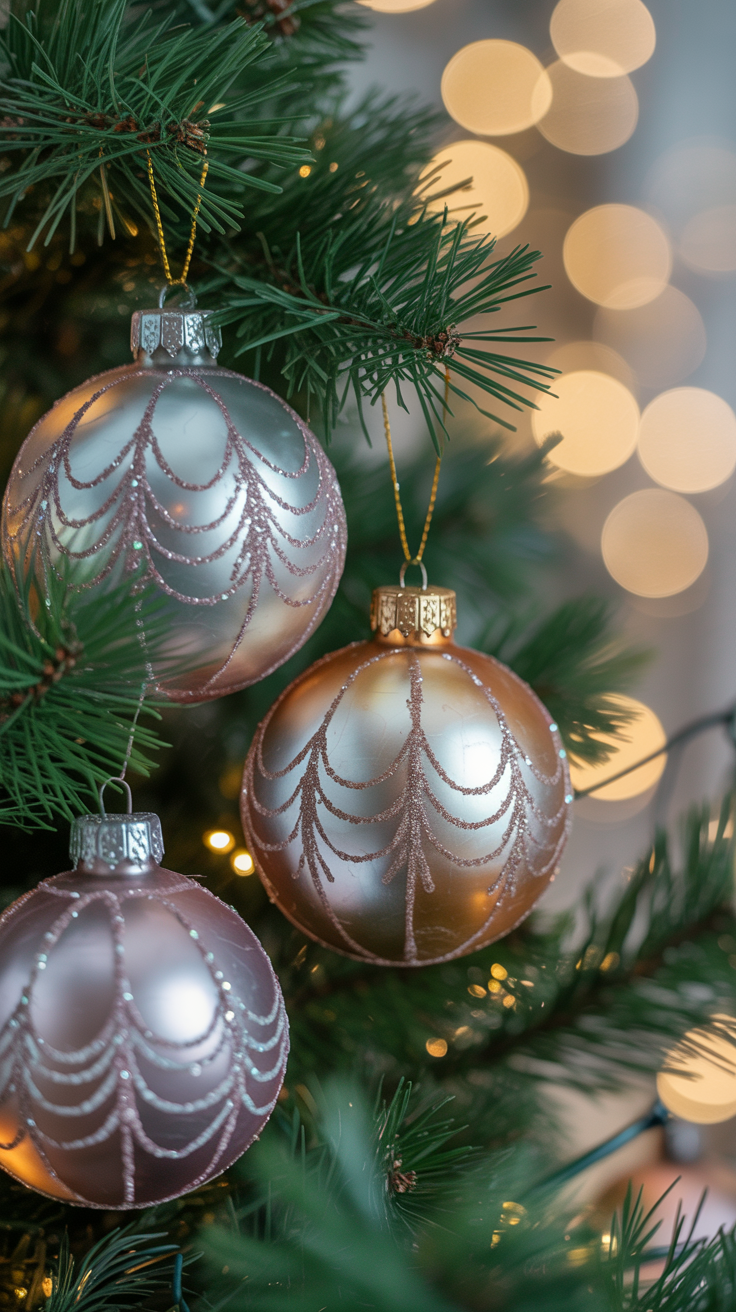
Step-by-Step Instructions:
Plan your design (monograms, patterns, or holiday motifs).
Paint design on ornament and let dry completely.
Add glitter or metallic accents if desired.
Thread ribbon for hanging.
Tip: Personalized ornaments feel very thoughtful and expensive.
Estimated Cost per Ornament: $1–$3
13. DIY Terrariums
Materials:
Glass container (jar, vase, or globe)
Small plants or succulents
Moss, stones, sand
Mini figurines (optional)
Step-by-Step Instructions:
Layer sand or small stones at bottom of container.
Add moss and soil for plant.
Plant succulents or air plants.
Add decorative elements or figurines.
Tip: Air plants are low-maintenance and trendy.
Estimated Cost per Terrarium: $8–$15
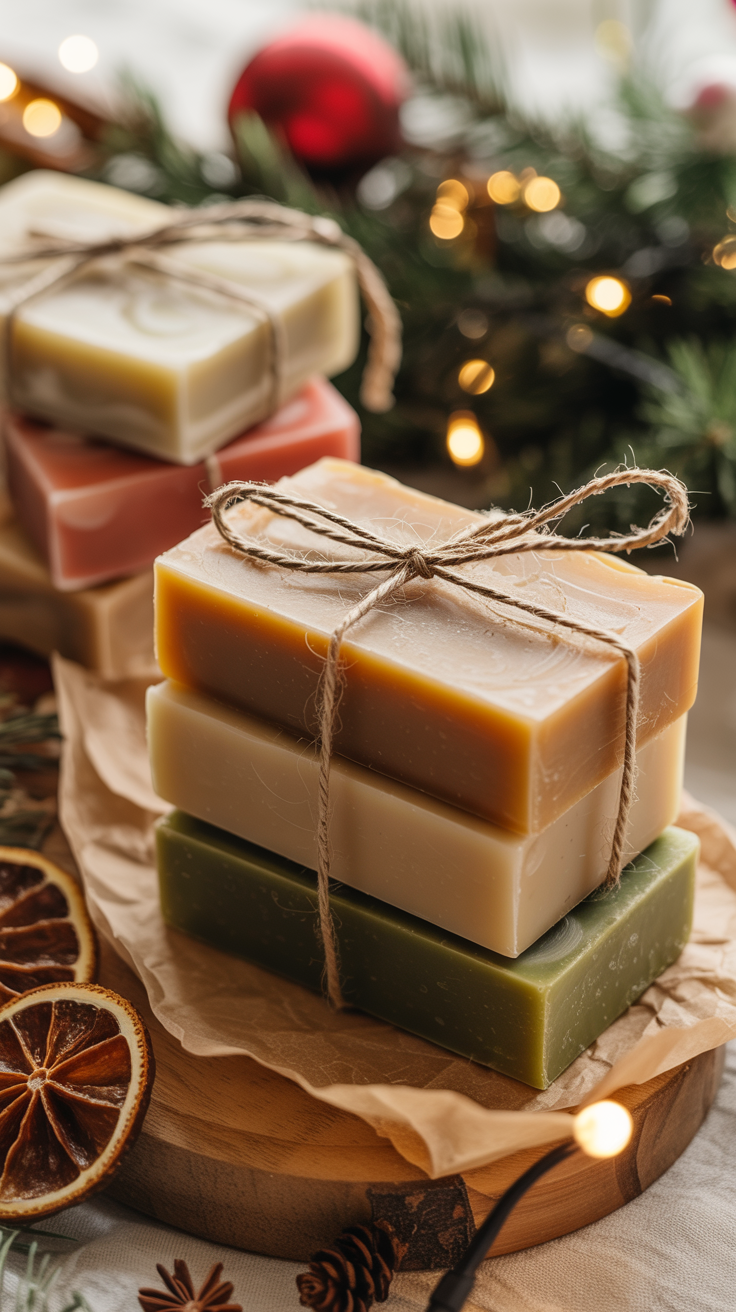
14. Handmade Soap Bars
Materials:
Melt-and-pour soap base
Soap molds
Essential oils or fragrance oils
Dried flowers or exfoliants
Ribbons or paper for wrapping
Step-by-Step Instructions:
Cut soap base into cubes and melt in microwave or double boiler.
Add fragrance oil and optional embellishments.
Pour into molds and let cool completely.
Remove from molds and wrap with decorative paper or ribbon.
Tip: Use silicone molds for unique, high-end shapes.
Estimated Cost per Soap: $2–$5

15. DIY Wall Art
Materials:
Canvas or thick paper
Acrylic paints or markers
Frame (optional)
Stencils (optional)
Step-by-Step Instructions:
Plan your design. Minimalist or abstract designs work best.
Paint or draw artwork on canvas/paper.
Let dry completely.
Frame if desired.
Tip: Metallic accents or geometric patterns give a designer feel.
Estimated Cost per Piece: $5–$15
Final Tips to Make Your DIY Gifts Look Expensive
Presentation is everything: Wrap gifts in kraft paper, twine, or small gift boxes.
High-quality materials: A little extra spent on materials goes a long way.
Personalization: Add initials, monograms, or special messages.
Keep it simple: Clean, minimalist designs often look more upscale than complex ones.