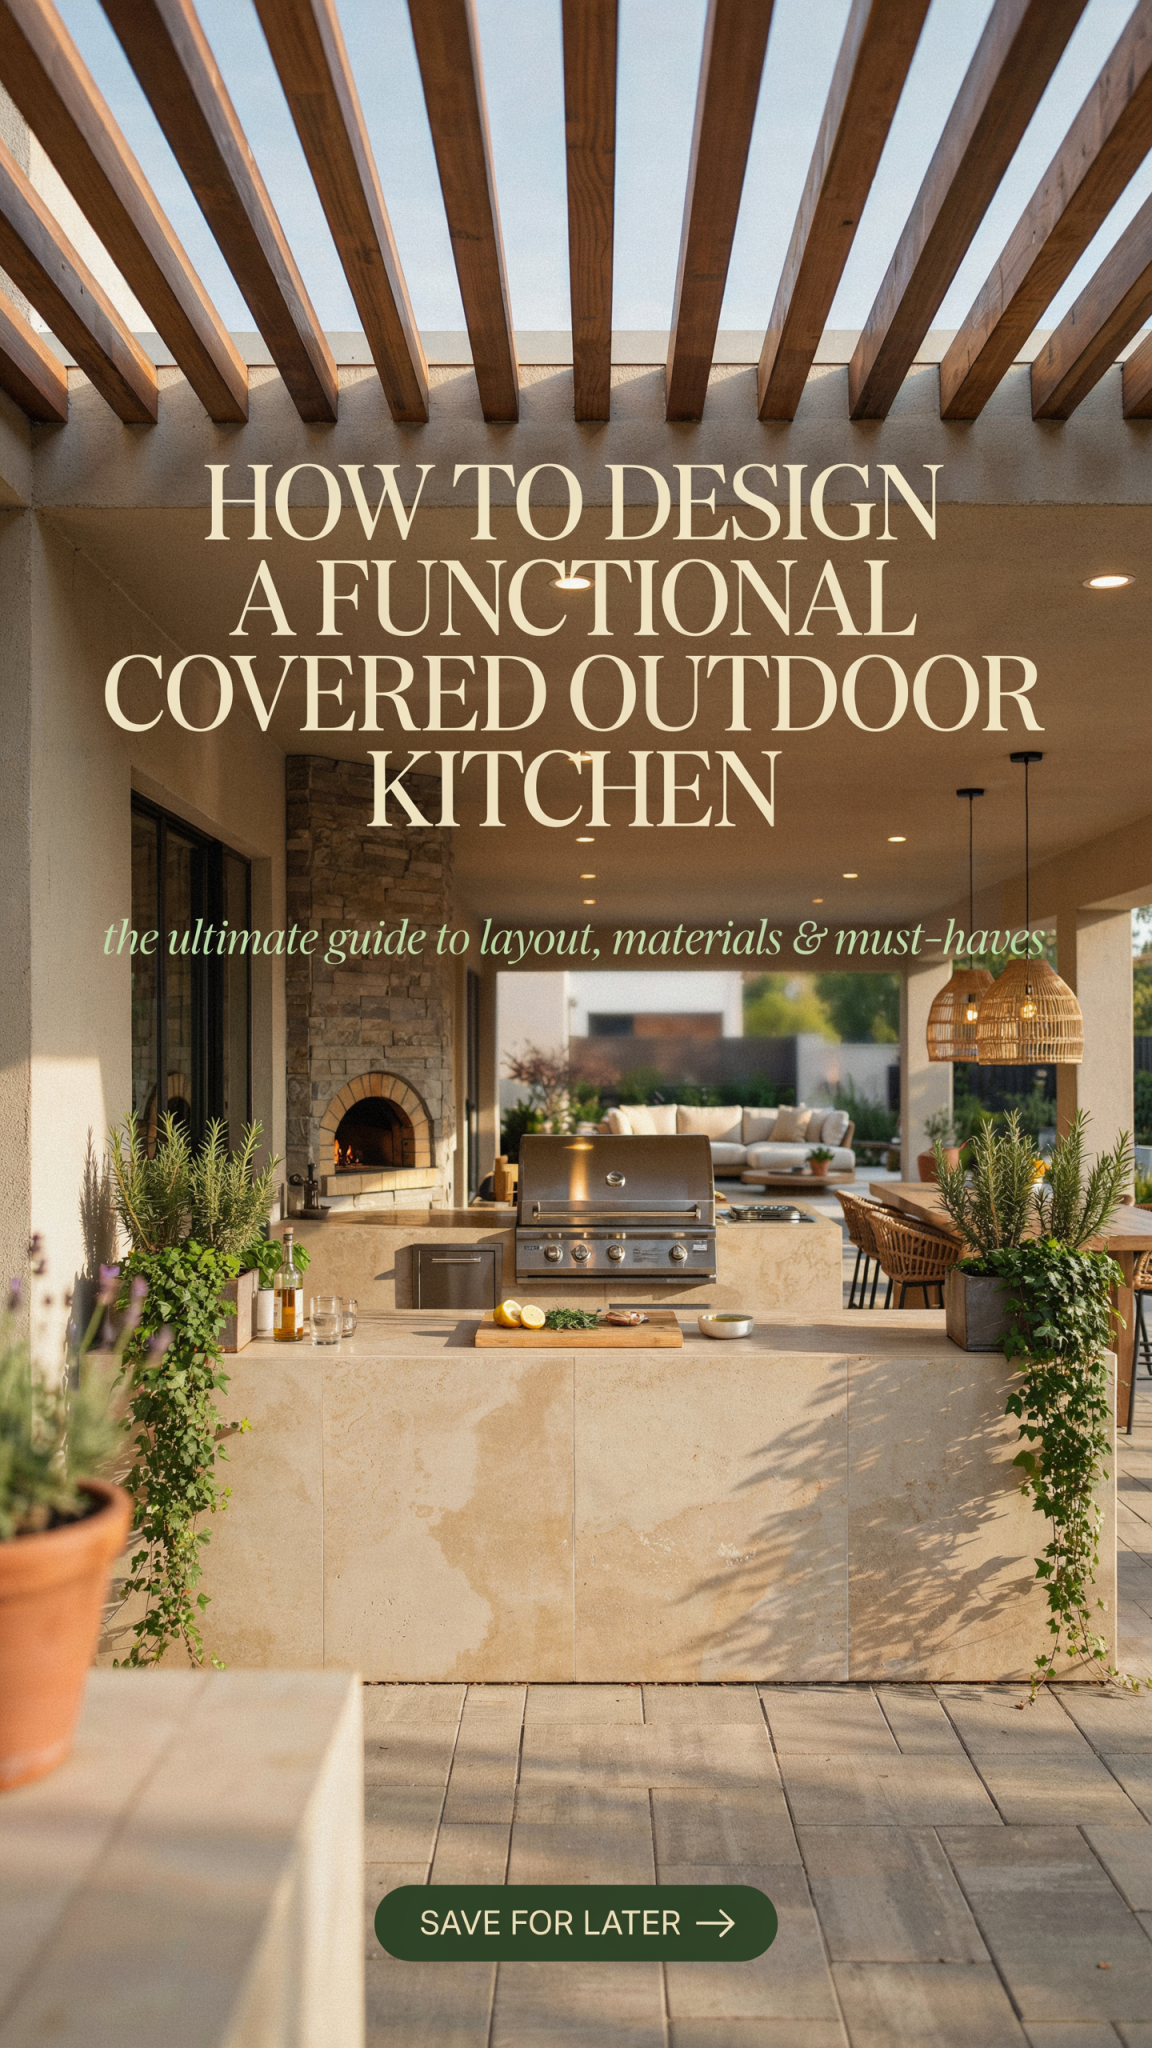
An outdoor kitchen is no longer just a luxury add-on; it has evolved into an essential extension of the modern home. For homeowners who love to entertain, cook, and spend time in nature, an outdoor kitchen transforms a simple backyard into a vibrant culinary and social hub. However, taking that kitchen and putting it under a permanent cover elevates the experience entirely. A covered outdoor kitchen offers protection from the elements, expands your usable square footage year-round, and protects your investment in high-end appliances. Designing a functional covered outdoor kitchen requires careful planning, a solid understanding of spatial flow, and strategic choices regarding materials, appliances, ventilation, and lighting.
Let’s talk through the essential steps and considerations for designing a functional, beautiful, and enduring covered outdoor kitchen. We will explore structural options, layout strategies, material selections, appliance must-haves, and the critical but often overlooked elements like ventilation and permits.
The Importance of a Covered Structure
The foundation of any covered outdoor kitchen is, quite literally, the cover itself. The decision to build a structure overhead is what separates a casual grilling station from a true outdoor room. When you invest in premium outdoor appliances, custom cabinetry, and natural stone countertops, exposing them to relentless sun, driving rain, and winter snow can significantly reduce their lifespan. A cover acts as the first line of defense, shielding your equipment from damaging UV rays and moisture, which helps prevent fading, rust, and premature wear.
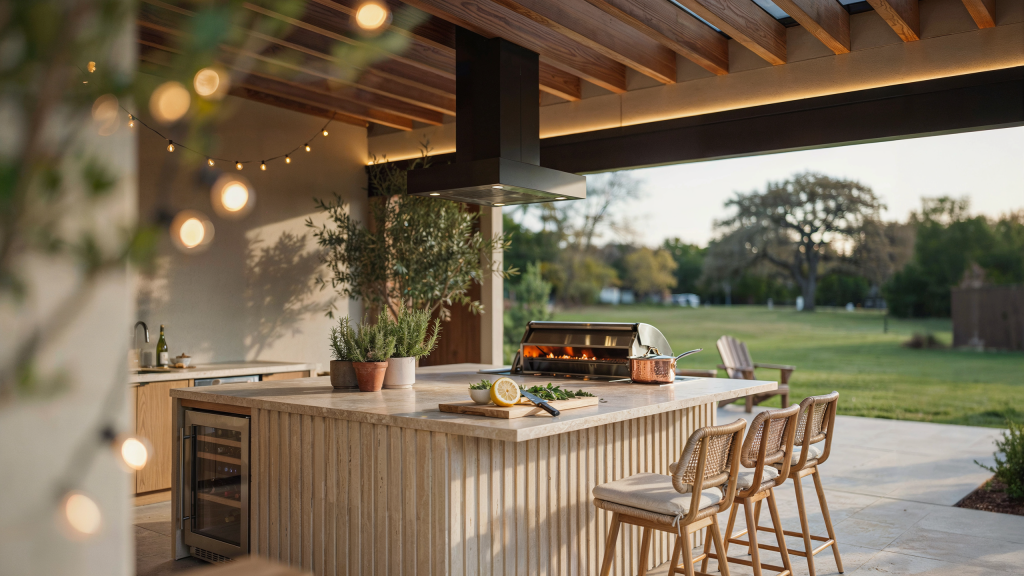
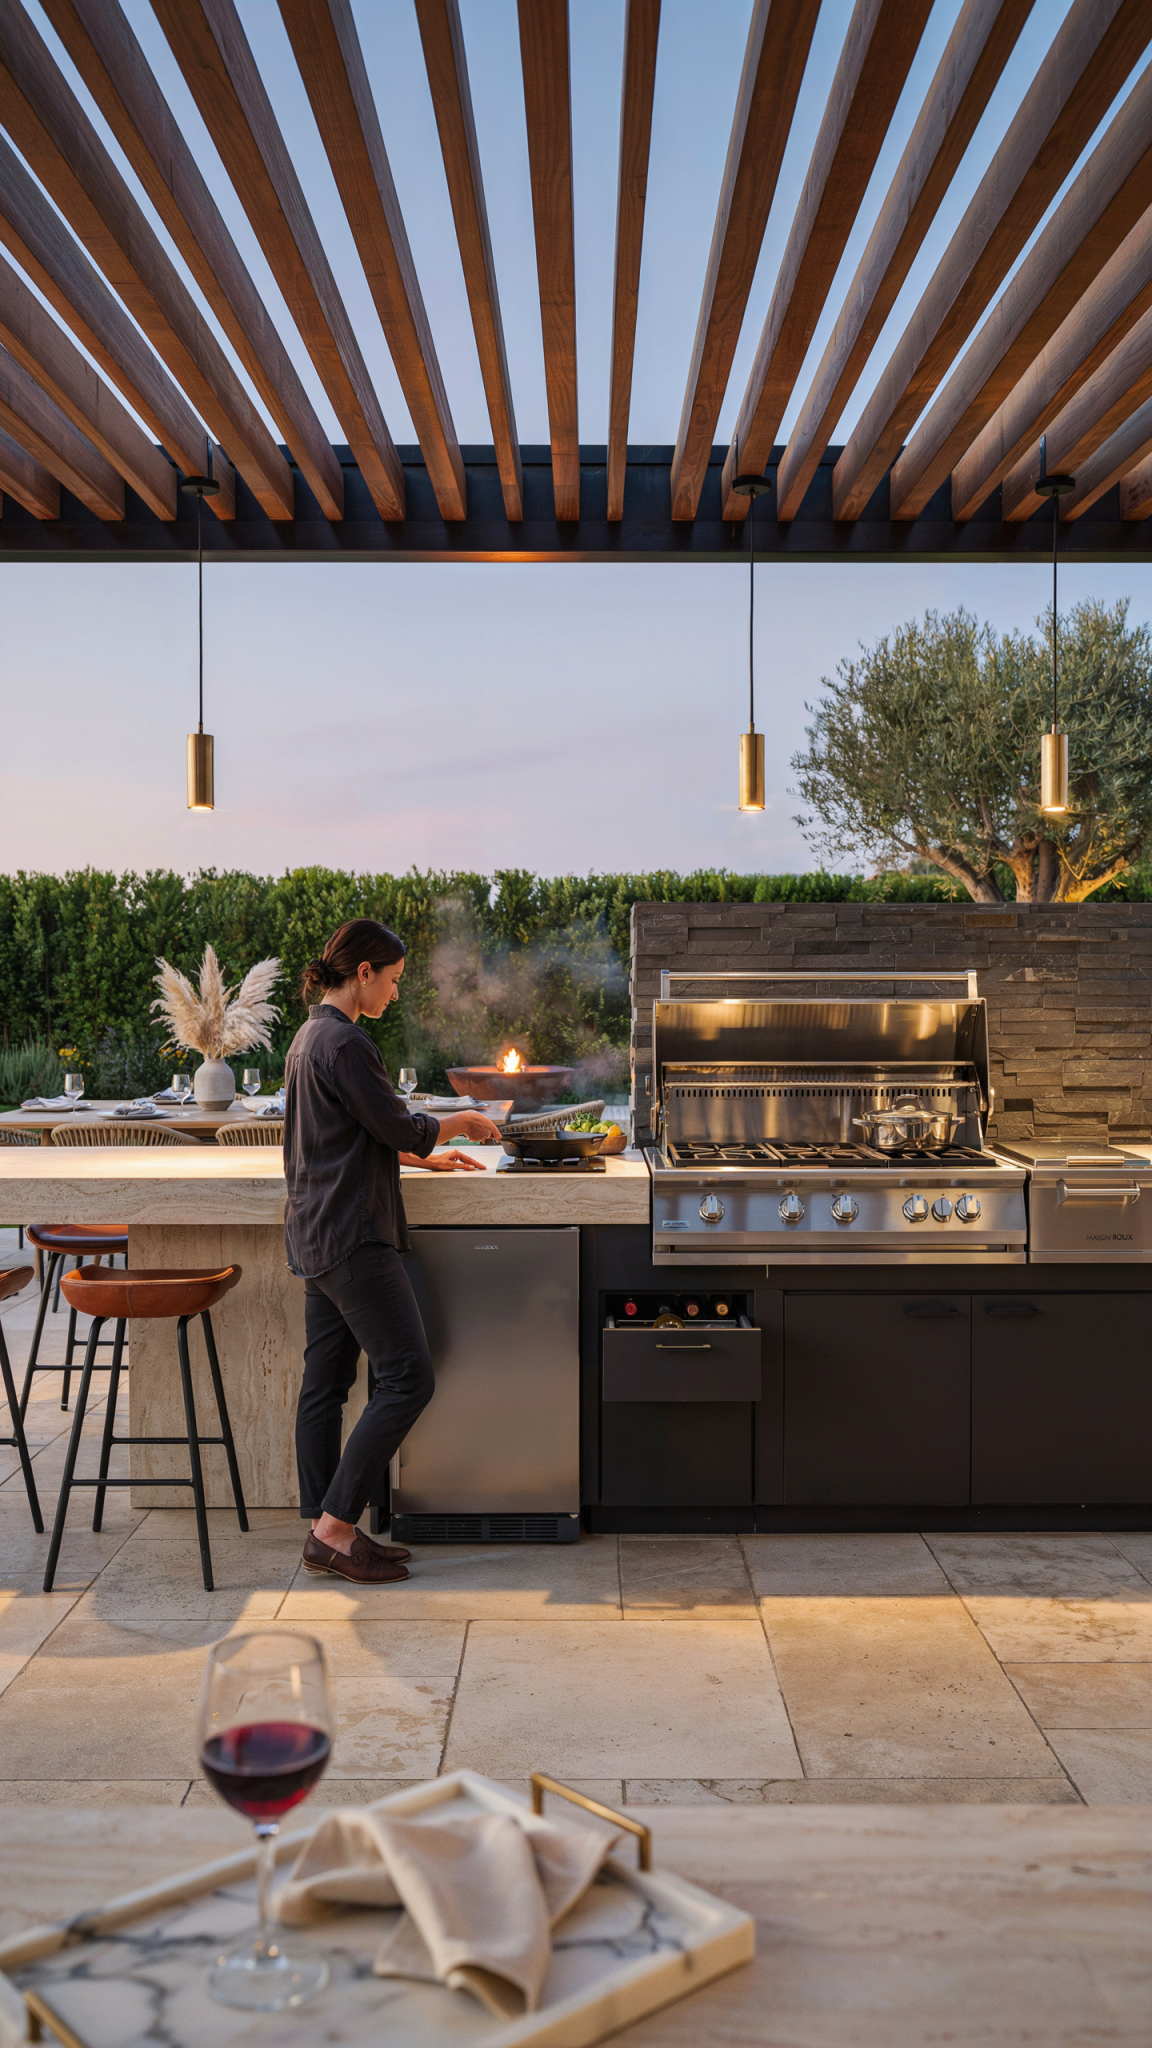
Beyond protection, a covered structure dictates the usability of the space. A solid roof or a well-designed pergola allows you to cook and entertain regardless of the weather. It provides much-needed shade during the sweltering summer months, making it comfortable to stand by a hot grill. Conversely, during a sudden downpour, the party does not have to move indoors; the cooking and gathering can continue uninterrupted. Furthermore, a permanent structure creates a defined architectural anchor in your backyard. It establishes a sense of place, framing the outdoor kitchen as a distinct “room” that invites comfortable seating, ambient lighting, and entertainment features like outdoor televisions and sound systems.
Choosing the Right Structure
The type of structure you choose will set the tone for the entire space and dictate how much protection you receive from the elements. There are several popular options, each offering a different balance of shade, shelter, and aesthetic appeal.
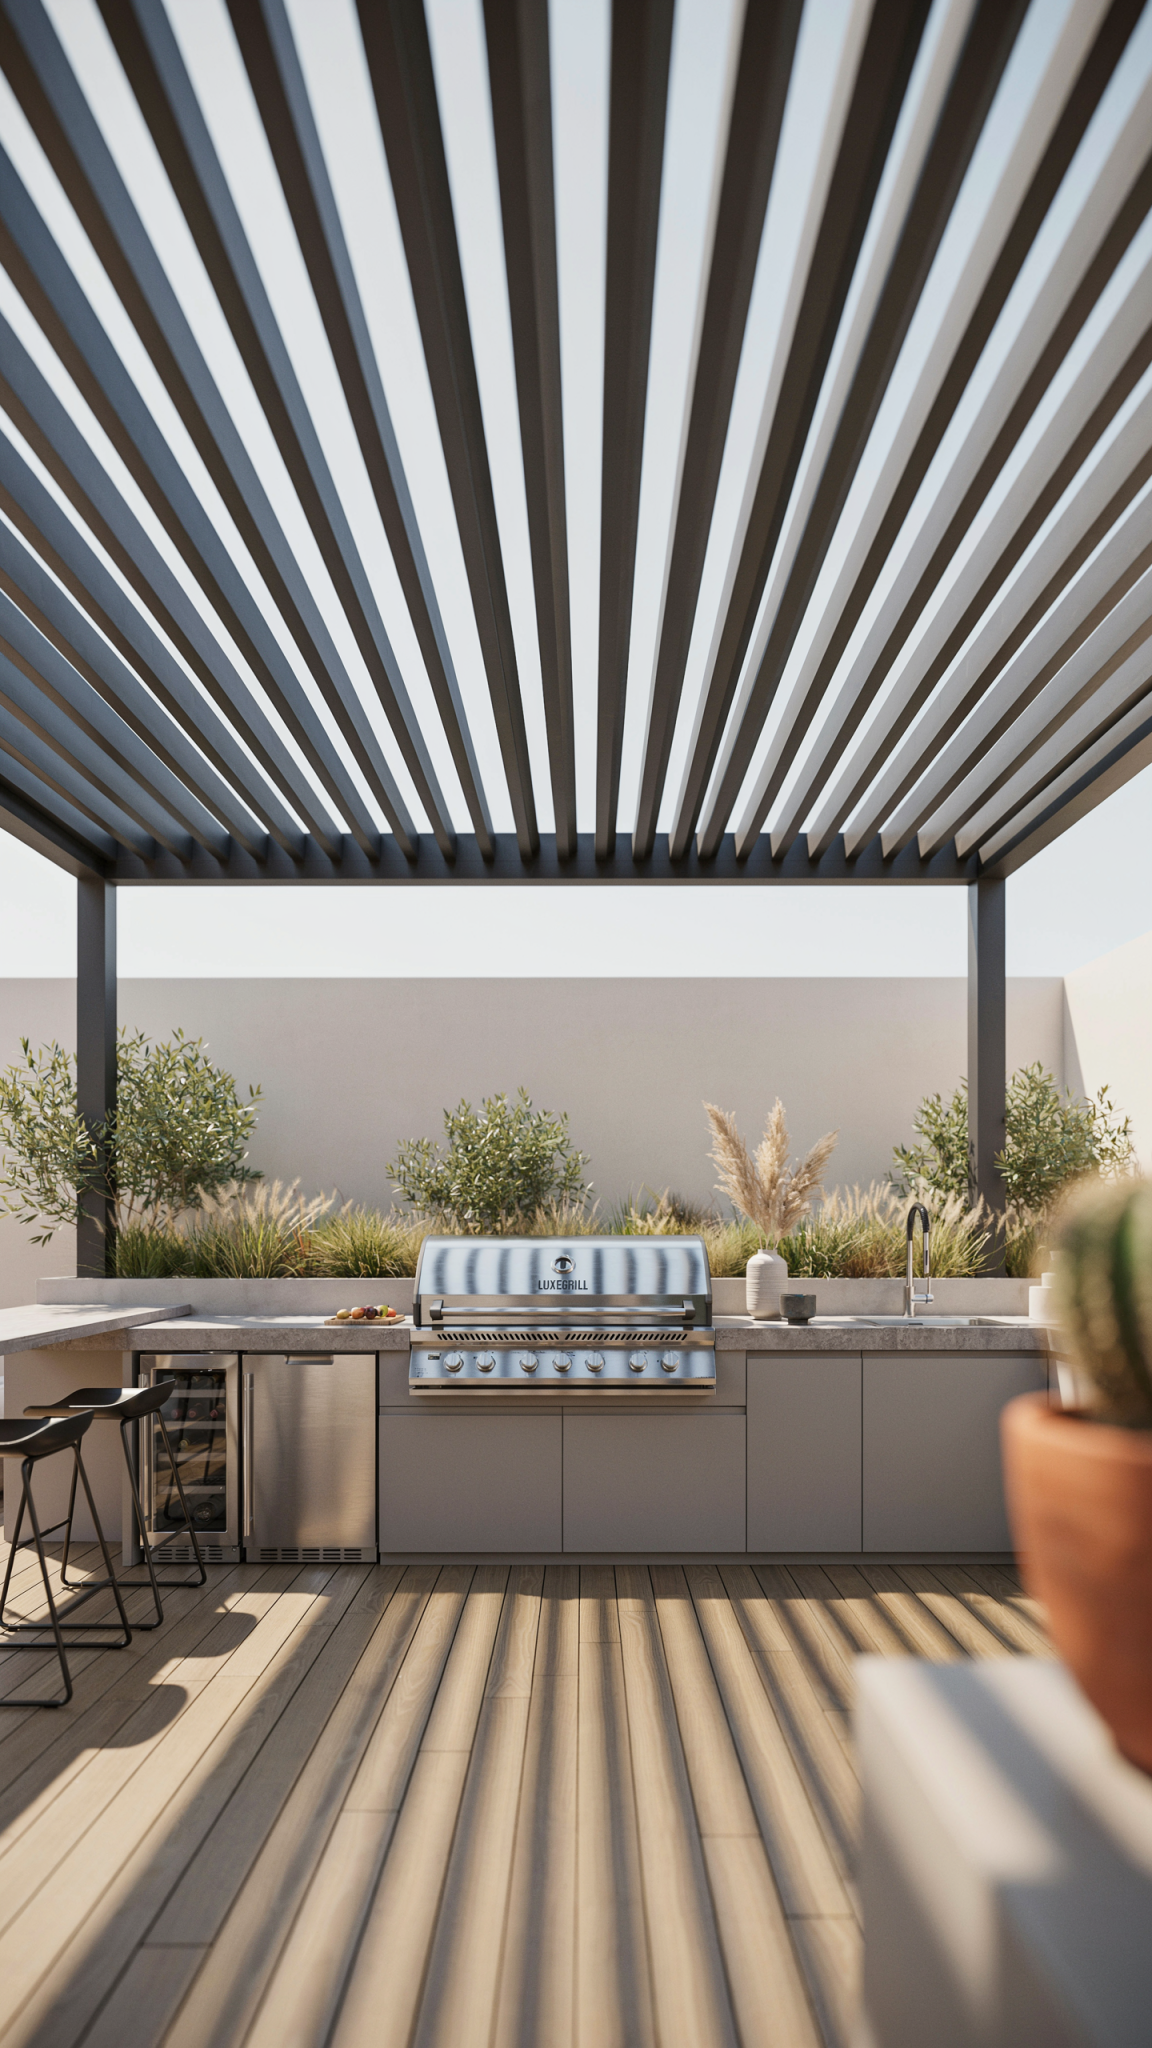
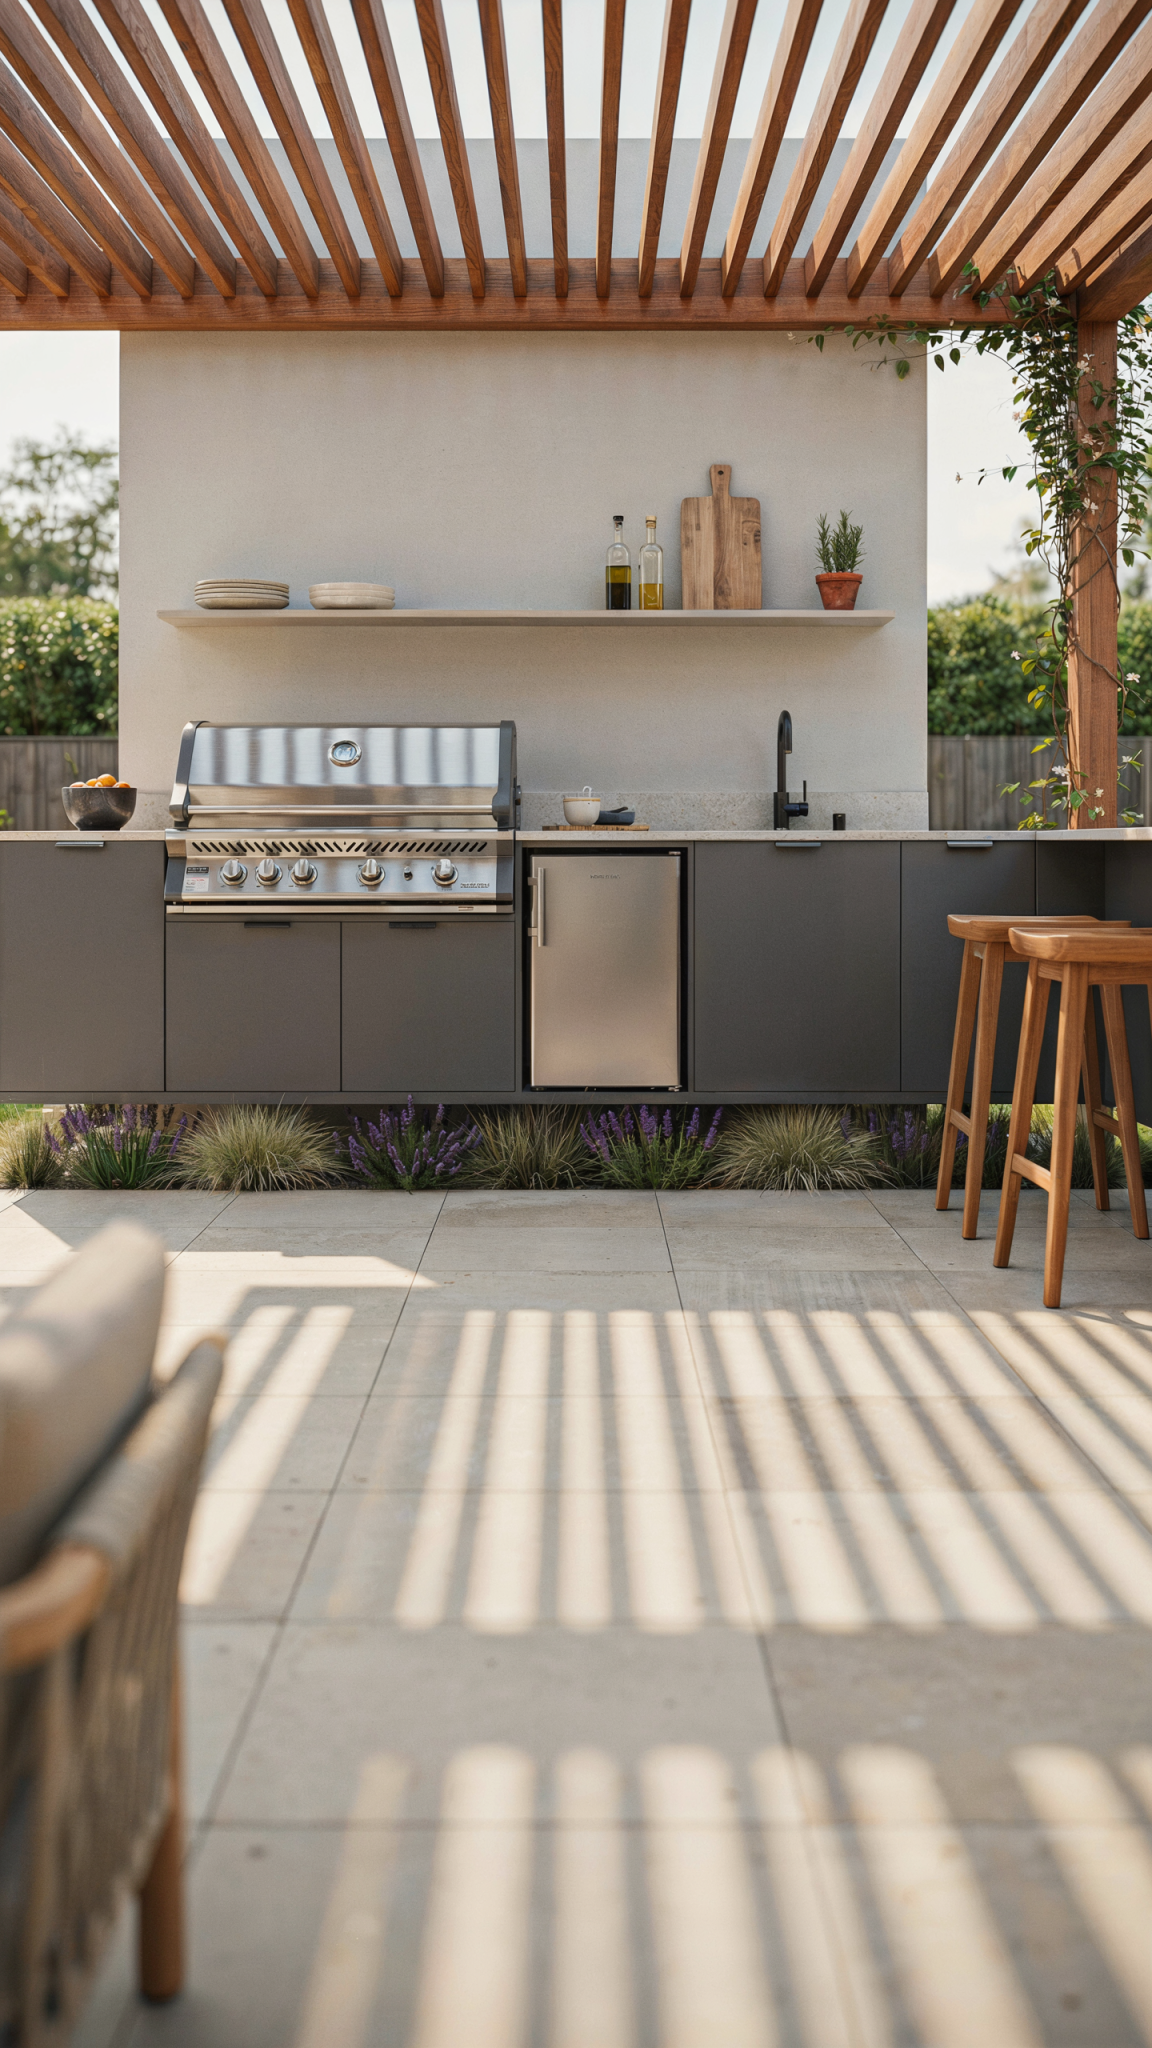
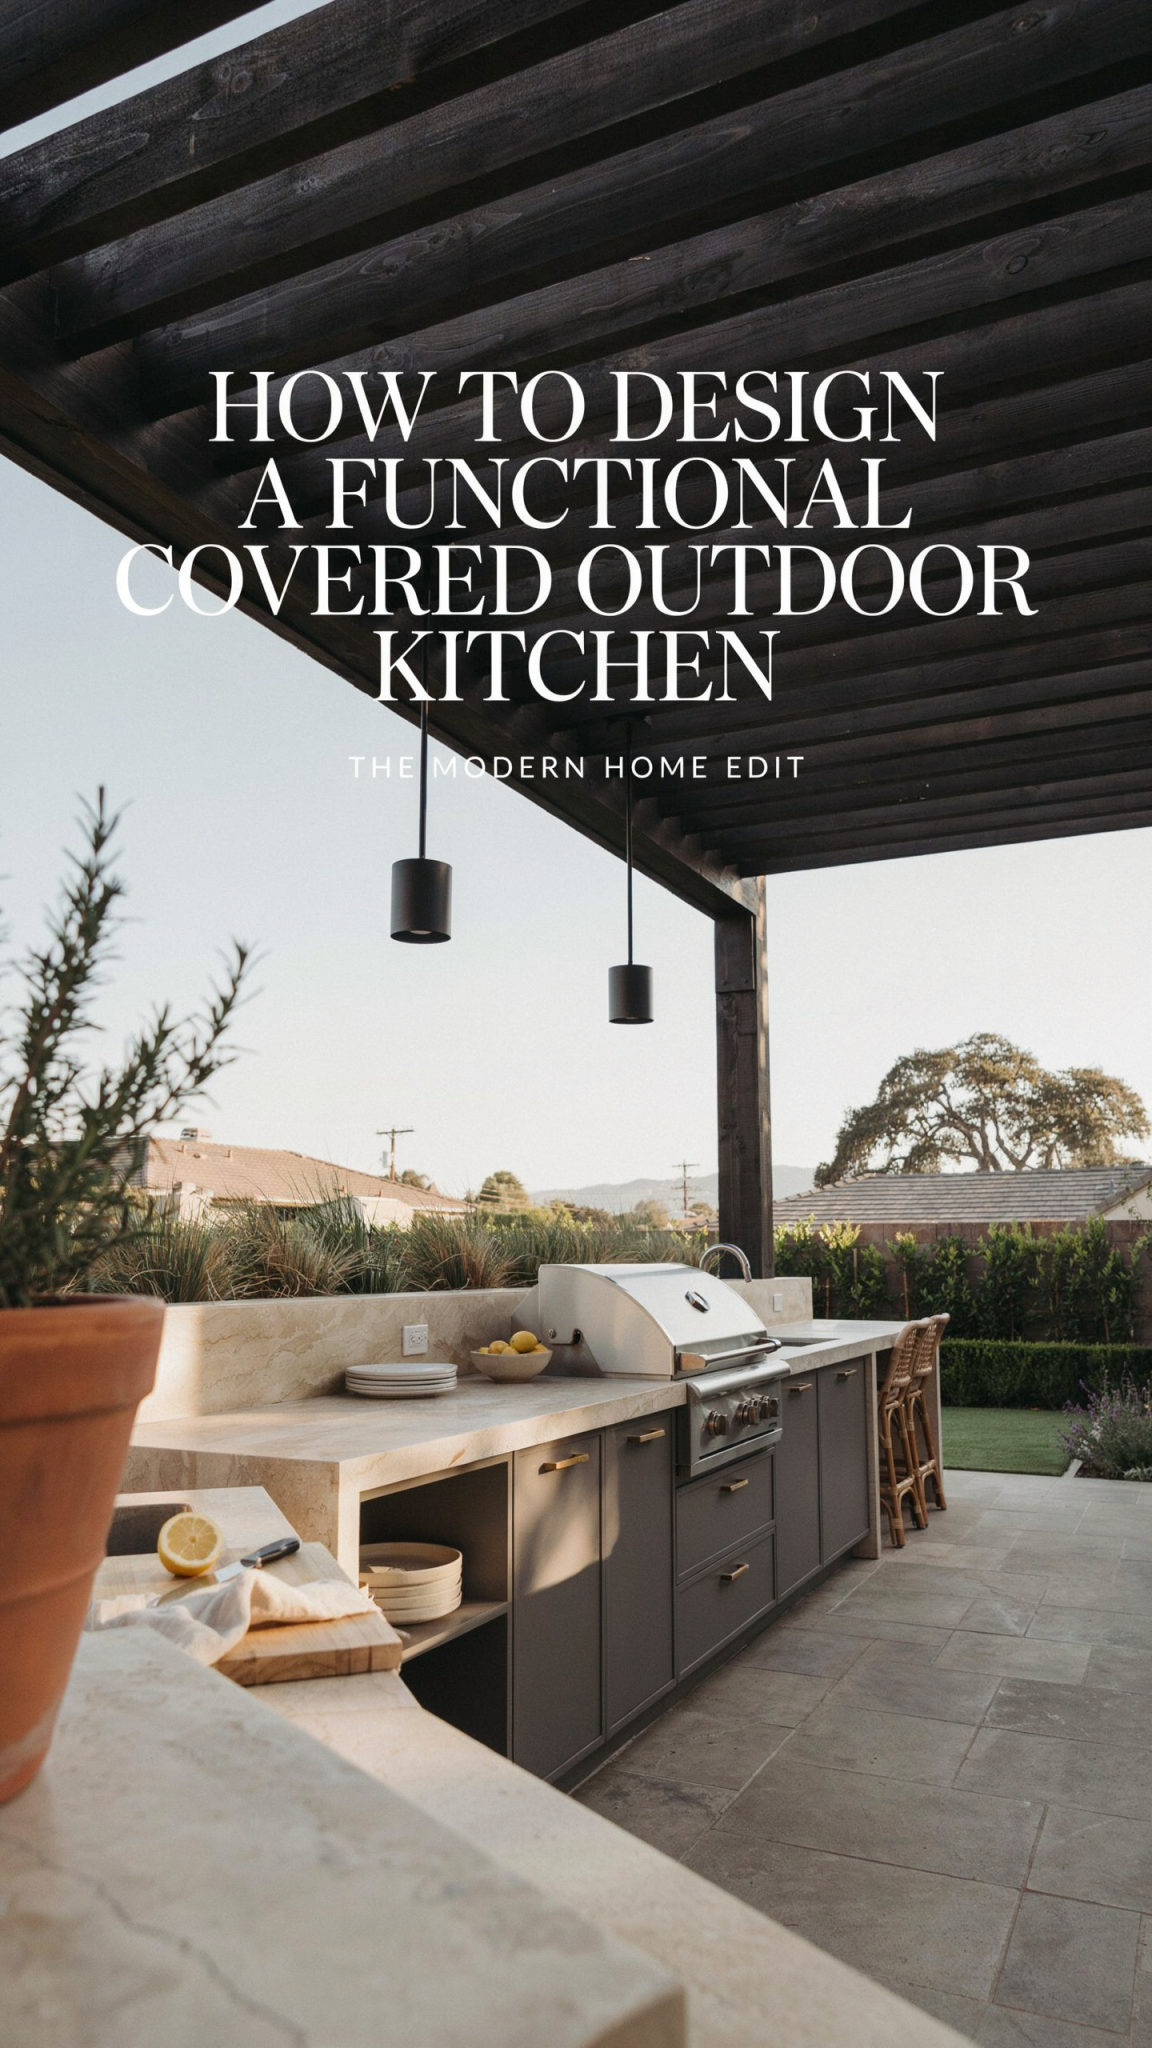
Pergolas and Arbors offer an open, airy feel. Characterized by their criss-cross or slatted roofs, pergolas provide partial shade while maintaining a strong connection to the sky and surrounding landscape. They are ideal for homeowners who want to define the space architecturally without feeling completely enclosed. While traditional wood pergolas are beautiful, they require significant maintenance to prevent rot and weathering. Aluminum pergolas have become increasingly popular as they offer superior durability and are much easier to clean, especially when dealing with grease or smoke from a grill. For added rain protection, some pergolas can be fitted with clear acrylic or polycarbonate panels.
Pavilions and Gazebos provide solid, sheltered protection. These structures feature a complete roof, offering guaranteed defense against sun and rain. A pavilion typically has a rectangular footprint with an open-air feel on the sides, making it a grand and inviting anchor for a spacious outdoor kitchen and dining area. Gazebos are similar but often feature octagonal or round designs. Because they have solid roofs, these structures are excellent for incorporating ceiling fans, extensive lighting, and even integrated heating systems.
Louvered Roofs represent the ultimate in flexibility. These modern structures feature adjustable slats that can be controlled manually or electronically. You can open the louvers to let in full sunlight, angle them for partial shade, or close them completely to create a waterproof barrier during a storm. This adaptability makes louvered roofs an excellent choice for climates with unpredictable weather, giving you total command over your outdoor comfort.
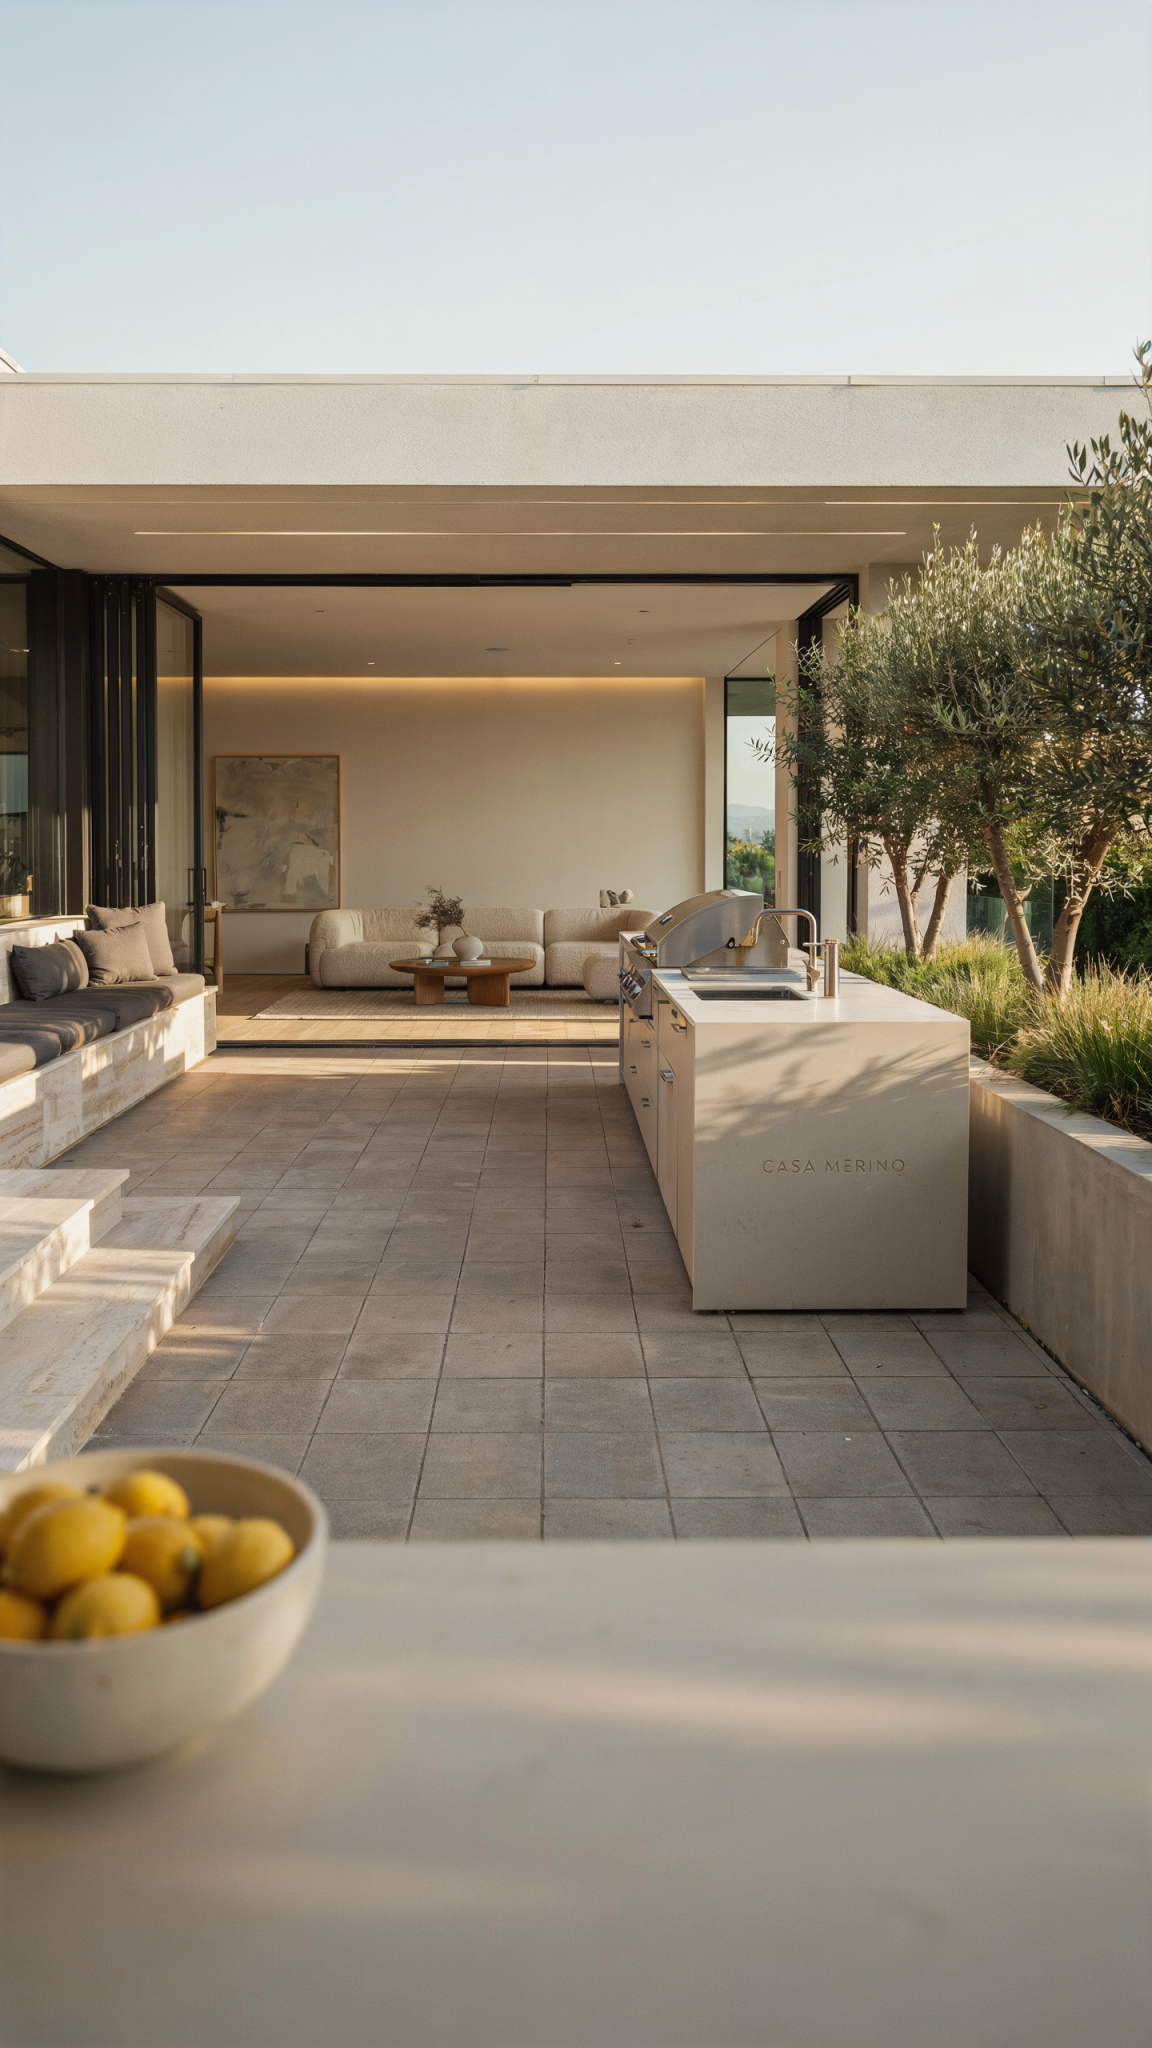
Home Extensions (California or Florida Rooms) are structures designed to tie directly into the architecture of your existing home. A “California Room” typically features a solid roof extending from the house, supported by posts, and often includes one or two walls for wind protection and privacy. A “Florida Room” takes this a step further by fully enclosing the space with screens or glass, creating a true four-season room that protects against insects and pollen while still feeling like an outdoor space.
Planning the Layout and Workflow
Once you have determined the structural cover, the next critical step is planning the layout. A beautiful outdoor kitchen is useless if it is frustrating to cook in. The principles of indoor kitchen design apply just as strongly outdoors. The goal is to create a seamless workflow that allows the chef to prepare, cook, and serve without constantly walking back and forth or feeling cramped.
The Work Triangle and Zones
The traditional “work triangle”—the path between the grill (cooking), the sink (cleaning), and the refrigerator (storage)—should be unobstructed and efficient. However, in an outdoor setting, it is often more helpful to think in terms of distinct functional zones.
The Preparation Zone requires ample, uninterrupted counter space. This is where you will chop vegetables, marinate meats, and assemble platters. Ideally, this zone should be located next to the sink for easy washing of produce and hands, and adjacent to the grill so food can be transferred directly to the heat.
The Cooking Zone is centered around the grill and any secondary cooking appliances like side burners or pizza ovens. This area gets hot and can generate smoke and grease. It is vital to have heat-resistant countertops immediately adjacent to the grill for resting hot tools and platters.
The Cleaning Zone revolves around the sink and trash receptacles. Having a sink outdoors is a game-changer, eliminating the need to carry dirty dishes and cutting boards back inside. A pull-out trash and recycling drawer located near the sink and prep area keeps the kitchen tidy and keeps pests away.
The Serving and Entertaining Zone is where the food meets the guests. This often takes the form of a raised bar counter or a peninsula where guests can sit on stools, converse with the cook, and enjoy drinks and appetizers. This zone should be positioned so that guests are safely away from the heat and smoke of the grill, but close enough to feel part of the action.
Common Layout Configurations
The shape of your outdoor kitchen will depend on the available space under your covered structure and how you intend to use it.
A Straight-Line or Linear layout is the simplest and most space-efficient. It places all appliances and counter space along a single wall or island. This is ideal for smaller patios or when the kitchen needs to be tucked against the side of the house.
An L-Shaped layout is highly versatile and popular. It provides two legs of counter space, allowing for a clear separation between the cooking zone and the prep/serving zone. The corner of the “L” is often a great place for a sink or a built-in cooler. This layout naturally accommodates bar seating on the outer edge of one leg.
A U-Shaped layout is the ultimate configuration for serious cooks and large spaces. It surrounds the chef with appliances and counter space on three sides, offering maximum efficiency and storage. This layout easily accommodates multiple cooks and provides extensive seating options along the outer perimeter.
An Island layout features a central, freestanding unit that houses the grill and other components. This design allows for 360-degree access and is excellent for socializing, as guests can gather all the way around the kitchen.
Material Selection: Durability Meets Aesthetics
In an outdoor kitchen, materials must be chosen for their ability to withstand the elements, resist stains and grease, and endure temperature fluctuations, all while looking beautiful. Inferior craftsmanship and materials will deteriorate quickly, turning your investment into an eyesore.
Cabinetry and Framing
The base structure of your outdoor kitchen must be robust. Traditional wood framing can warp, rot, and attract insects if not meticulously sealed and maintained. Instead, modern outdoor kitchens often utilize heavy-duty aluminum, stainless steel, or concrete block framing.
For the cabinet faces and doors, Stainless Steel is the gold standard. It is highly durable, rust-resistant (especially 304-grade stainless steel), and offers a sleek, professional appearance that matches most grills. It is also easy to wipe down and sanitize.
Marine-Grade Polymer (often known by brand names like King StarBoard) is another excellent option. It is a high-density plastic that will not rot, swell, or splinter. It is UV-resistant and can be manufactured to mimic the look of painted wood cabinetry, offering a softer aesthetic than stainless steel.
Masonry and Stone bases, constructed from concrete blocks and finished with stone veneer, brick, or stucco, provide a permanent, built-in look that blends beautifully with natural landscapes. These structures are incredibly durable but are difficult to modify once built.
Countertops
Countertops take the brunt of the abuse in an outdoor kitchen, enduring hot pans, spilled wine, acidic citrus, and the weather itself.
Granite remains one of the most popular and durable choices. It stands up exceptionally well to the elements, does not absorb stains easily when properly sealed, and will not fade in the sun. When selecting granite for an outdoor kitchen, it is advisable to choose a mid-range color. Dark stones absorb significant heat from the sun and can become too hot to touch, while very light stones may show dirt more easily. It is also recommended to avoid heavily veined granite, as the epoxies used in those slabs can react negatively to UV rays.
Porcelain is rapidly gaining popularity as a premium outdoor countertop material. Large-format porcelain slabs are incredibly dense and non-porous, meaning they do not require sealing and are highly resistant to stains, scratches, and UV fading. They can be manufactured to mimic the look of natural stone, concrete, or even wood, offering immense design flexibility.
Concrete countertops offer a clean, contemporary, and industrial look. They can be customized with various pigments and edge profiles. However, concrete is porous and prone to cracking if not installed correctly with steel reinforcement. It must be sealed upon installation and resealed regularly to prevent stains from grease and wine.
Soapstone is a highly durable natural stone option. It is non-porous, meaning it does not require sealing and is highly resistant to stains, bacteria, and acidic foods. It is also highly heat resistant. The primary limitation of soapstone is its color palette, which is generally restricted to shades of gray and black.
Materials to avoid for outdoor countertops include quartz (the resins can yellow and degrade under UV light), marble (too porous and easily stained or etched by acids), and laminate (the particleboard core will warp and rot in humid or wet conditions).
Flooring
The flooring under your covered outdoor kitchen must be slip-resistant, durable, and easy to clean. Grease splatters and spilled drinks are inevitable, so the floor must be able to handle frequent washing.
Porcelain Pavers are widely considered the best overall choice. They are frost-proof, weather-resistant, and non-porous, making them impervious to stains. They are available in textured finishes that provide excellent slip resistance, which is crucial around sinks and cooking areas.
Natural Stone like travertine, granite, or limestone offers timeless elegance. Travertine is particularly favored in hot climates because it stays relatively cool underfoot. However, natural stone requires regular sealing to prevent staining from grease and food.
Sealed Concrete (stamped or polished) is a versatile and cost-effective option. It can be textured and stained to mimic more expensive materials. It requires regular resealing to maintain its moisture and grease resistance.
Composite Decking is a good option if your outdoor kitchen is built on an elevated deck. High-quality composite materials resist rot, moisture, and insects far better than natural wood. However, care must be taken around the grill area, as composite decking is not as heat-resistant as stone or porcelain, and hot embers or grease can cause damage.
Appliance Selection: The Heart of the Kitchen
The appliances you choose will define the culinary capabilities of your outdoor kitchen. While a grill is mandatory, a fully functional kitchen incorporates several other elements to create a complete cooking experience.
The Grill
The grill is the centerpiece. The primary decision is fuel type: natural gas, liquid propane, charcoal, or wood pellet.
Built-in Gas Grills (natural gas or propane) are the most common choice for custom outdoor kitchens. They offer convenience, rapid heating, and precise temperature control. When selecting a gas grill, look for high-quality 304 stainless steel construction, thick cooking grates, and features like infrared sear zones (for achieving steakhouse-quality crusts) and rotisserie systems.
Kamado Cookers (like the Big Green Egg) are thick-walled ceramic grills that use charcoal. They are incredibly versatile, capable of smoking meats at low temperatures for hours, baking pizzas, or searing steaks at very high heat. The ceramic construction retains heat and moisture exceptionally well.
Pellet Grills offer the flavor of wood fire with the convenience of a gas grill. They use an electric auger to feed wood pellets into a firebox, maintaining a precise temperature set by a digital controller. They are excellent for smoking and roasting.
Many high-end outdoor kitchens feature a combination of appliances, such as a large built-in gas grill for everyday cooking and a Kamado cooker for weekend smoking projects.
Secondary Cooking Appliances
To truly replicate the indoor cooking experience, consider adding secondary appliances.
Side Burners or power burners are invaluable. They allow you to boil water for pasta, simmer sauces, or fry side dishes without having to run back inside. A power burner is a larger, higher-BTU version capable of handling large stockpots or wok cooking.
Flat-Top Griddles (Teppanyaki style) have surged in popularity. They provide a large, flat cooking surface perfect for making smash burgers, pancakes, bacon, and fried rice. They are highly versatile and fun to cook on.
Outdoor Pizza Ovens have become a highly sought-after luxury item. Available in gas or wood-fired models, these ovens reach the extreme temperatures necessary to cook authentic, blistered Neapolitan-style pizzas in minutes. They can also be used for roasting meats and vegetables.
Refrigeration and Storage
Keeping ingredients fresh and drinks cold is essential.
Outdoor-Rated Refrigerators are a must. They are specifically engineered to maintain safe internal temperatures even when the outside temperature soars, and their electrical components are sealed against moisture. Do not use an indoor refrigerator outdoors, as it will quickly fail and poses a safety hazard.
Ice Makers and Beverage Centers elevate the entertaining experience. A dedicated beverage center or wine fridge frees up space in the main refrigerator for food. An outdoor ice maker ensures you never run out of ice during a summer party.
Storage Drawers and Doors are necessary for accessing the plumbing and gas lines under the grill and sink, but they also provide vital storage. Incorporate dry storage pantries (which are sealed to keep out moisture and pests) for storing dry goods, paper towels, and grilling tools. A pull-out trash and recycling drawer is perhaps the most practical storage addition you can make.
Critical Infrastructure: Ventilation, Utilities, and Permits
The aesthetic and culinary elements of an outdoor kitchen are exciting to plan, but the functional infrastructure is what ensures the space is safe, legal, and pleasant to use.
The Necessity of Ventilation
When you place a grill under a solid roof—such as a pavilion, a home extension, or a pergola with a solid cover—proper ventilation transitions from a luxury to an absolute necessity.
Grills generate massive amounts of heat, smoke, grease, and potentially dangerous carbon monoxide. In an open-air setting, these byproducts dissipate naturally. Under a roof, they become trapped. Without a clear path to escape, smoke will quickly billow down, choking the chef and guests, staining the ceiling structure, and creating an unpleasant environment. More importantly, trapped heat and grease create a severe fire hazard.
To safely operate a grill under a covered structure, you must install a commercial-grade Outdoor Vent Hood.
Outdoor vent hoods are distinct from indoor range hoods. They are deeper (typically 30 to 36 inches deep) to capture the large plumes of smoke that billow out when a grill lid is opened. They must also be wider than the grill itself. The general rule is that the hood should extend at least 3 inches past the grill on both sides (e.g., a 36-inch grill requires a 42-inch hood).
Furthermore, outdoor hoods require significantly more powerful blower motors. While an indoor hood might move 400 Cubic Feet per Minute (CFM) of air, an outdoor hood typically requires a blower rated for 1,000 to 1,500 CFM or more, depending on the size and BTU output of the grill. The hood should be mounted higher than an indoor hood, usually 36 to 42 inches above the cooking surface, to allow the chef enough headroom to open the grill lid and work comfortably.
When planning ventilation, you must also determine how the air will be exhausted. The ductwork must be routed through the roof structure or out a side wall to safely expel the smoke and grease outdoors.
Lighting the Space
A covered outdoor kitchen requires a layered lighting design to be functional and inviting after the sun goes down.
Task Lighting is crucial over the cooking and preparation zones. The chef must be able to clearly see the food to ensure it is cooked properly and safely. This can be achieved through recessed downlights installed in the ceiling structure directly above the counters, or through powerful halogen or LED lights integrated into the vent hood.
Ambient Lighting creates the overall mood of the space. Pendants or chandeliers hung over the dining or bar area provide a warm, welcoming glow. Ceiling fans with integrated light kits are a popular choice for pavilions and gazebos. String lights draped along the beams of a pergola offer a festive, casual ambiance.
Accent Lighting adds depth and highlights architectural features. LED strip lighting installed under the lip of the countertops or at the toe-kick of the cabinets provides a sophisticated, modern look and helps guests navigate the space safely in the dark.
Plumbing and Electrical
An outdoor kitchen requires significant utility work.
Electrical: You will need multiple dedicated 20-amp circuits to power the refrigerator, ice maker, lighting, rotisserie motors, and convenience outlets for blenders or phone chargers. All outdoor outlets must be GFCI (Ground Fault Circuit Interrupter) protected and housed in weatherproof covers.
Plumbing: If your design includes a sink or an ice maker, you will need a water supply line and a drainage system connected to your home’s sewer or septic system. In colder climates, the plumbing must be designed so that it can be easily drained and winterized to prevent pipes from freezing and bursting.
Gas: If you are using natural gas, a licensed plumber must run a hard line from your home’s gas meter to the outdoor kitchen. The line must be properly sized to handle the total BTU demand of all gas appliances running simultaneously.
Navigating Permits
Perhaps the most daunting aspect of building a covered outdoor kitchen is navigating the permitting process. Because these projects involve structural work, electrical wiring, plumbing, and gas lines, they almost universally require permits and inspections from your local municipality.
Building without required permits is a significant risk. It can result in heavy fines, stop-work orders, and the municipality may force you to tear down completed work. Unpermitted work can also void your homeowner’s insurance if a fire or accident occurs, and it will cause major complications if you ever try to sell your home.
The specific permits required depend on the scope of your project:
- Building Permit: Required for the construction of the roofed structure (pavilion, gazebo, attached roof) and any new concrete footings or foundation work.
- Electrical Permit: Required for running new circuits, installing outlets, and hardwiring lighting.
- Plumbing Permit: Required for connecting a sink or ice maker to the water supply and drainage systems.
- Gas/Mechanical Permit: Required for running a new natural gas line or installing a permanent propane line.
If you live in a community with a Homeowners Association (HOA), you must also submit your plans to their architectural review committee for approval before beginning construction. HOAs often have strict rules regarding structure height, setbacks from property lines, and exterior aesthetics.
The best approach is to consult with your local building department early in the planning phase. Provide them with a detailed sketch of your proposed kitchen, including the structure, appliances, and utility runs. They will inform you exactly which permits are required and what codes must be followed.
Designing a functional covered outdoor kitchen is a significant undertaking that requires careful balancing of aesthetics, durability, and practical infrastructure. By investing in a solid overhead structure, you protect your appliances and guarantee that your outdoor space can be enjoyed regardless of the weather. By meticulously planning the layout into functional zones, selecting weather-resistant materials like stainless steel and porcelain, and choosing the right mix of appliances, you create a culinary workspace that rivals any indoor kitchen.
Most importantly, by acknowledging and addressing the critical requirements of ventilation, utility installation, and local permits, you ensure that your outdoor kitchen is not only a beautiful addition to your home but a safe, legal, and enduring one. With thoughtful design and execution, a covered outdoor kitchen becomes the ultimate backyard destination—a place where cooking, dining, and entertaining seamlessly merge in the beauty of the outdoors.