A well-designed home doesn’t require a big budget—just a few smart, hands-on projects and a clear plan. These ideas focus on inexpensive materials, simple techniques, and deliberate styling so each room reads as intentional rather than accidental. Expect approachable projects you can finish in an afternoon or over a weekend, with a mix of crafting, arranging, and clever repurposing.
Work through these ideas in the order that fits your space: start with a single focal piece and layer in smaller touches. Each entry explains why it works, how to get started, and three quick actions to make progress. Keep common tools on hand—measuring tape, level, basic hardware, glue, and paint—and let small, consistent updates transform the overall look.
1. Create a Large-Scale Abstract Canvas
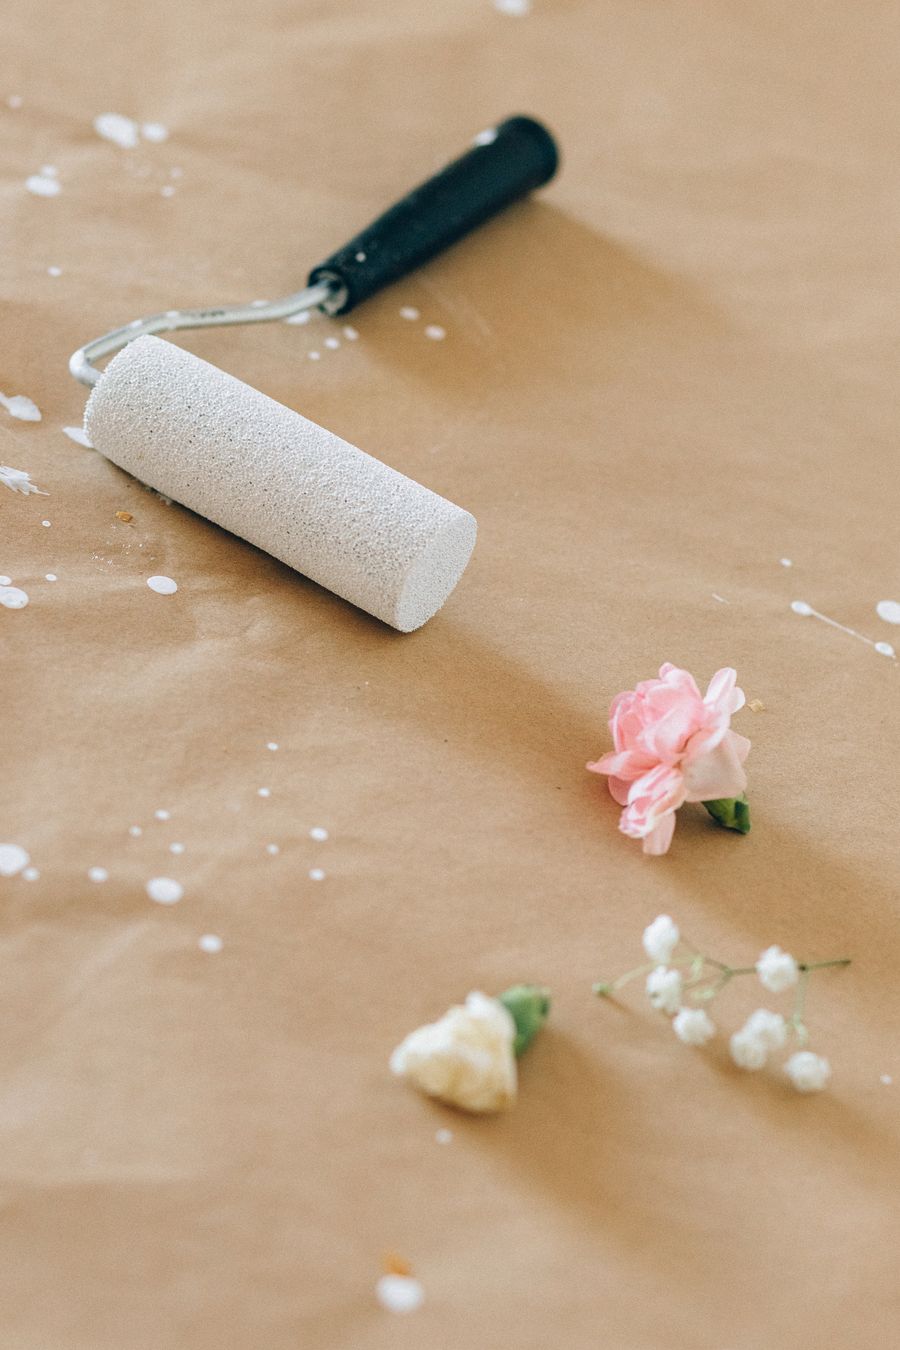
A generously sized abstract painting becomes a room’s anchor without requiring fine brush skills. Choose two to three colors already present in the space to reinforce the palette and buy the largest canvas your budget allows so the piece feels intentional. Use broad gestures—rollers, wide brushes, or even a sponge—for texture and confidence; acrylics dry quickly and are forgiving. Work in layers, allowing sections to dry before adding highlights or muted washes. If a pass doesn’t please you, paint over it. The scale and color coordination will read as purposeful even when the mark-making stays loose.
Key Design Elements
- Select a canvas that fills at least two-thirds of the wall above the furniture.
- Limit your palette to two dominant shades plus a neutral for balance.
- Apply paint in layers; step back often to judge composition.
Pro Tip: Lay the canvas flat and work from the center outward; stepping back at regular intervals helps the composition feel balanced before final details.
2. Hang Art at Eye Level and Secure It Right
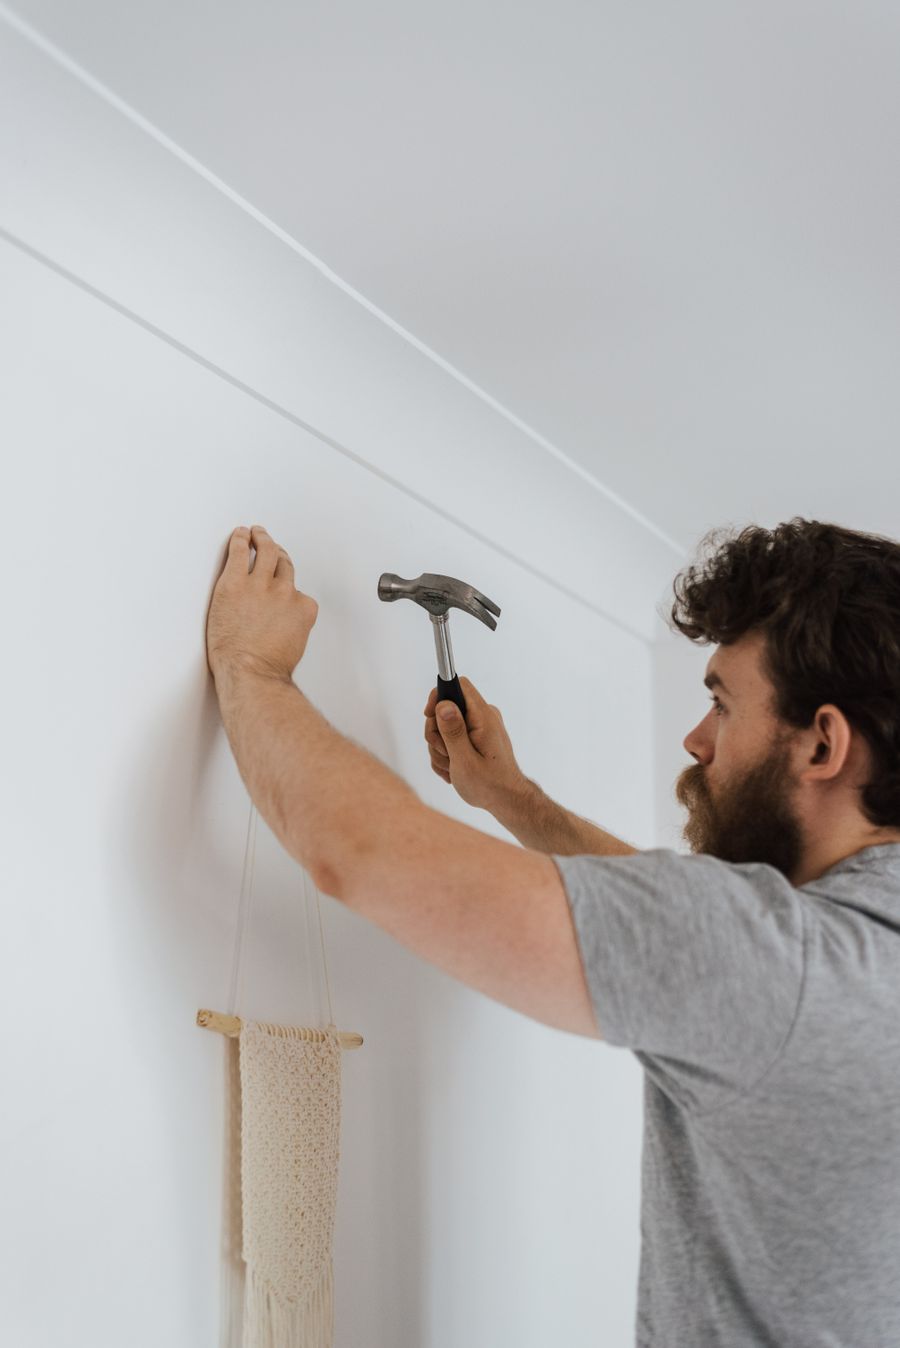
Proper placement can elevate existing art overnight. Aim to align the visual center of artwork around standard eye level to create a cohesive sightline across rooms. Measure from the floor to the middle of the frame—adjust to roughly 57–60 inches depending on ceiling height and furniture—so grouped pieces relate naturally. Install two hanging points for heavier frames to keep them steady and straight, especially near doors or high-traffic areas. Small changes in height and hardware make collections feel curated and prevent constant nudging. Good hanging technique protects both your walls and the look you worked to achieve.
Key Design Elements
- Measure and mark the wall for the artwork’s center at roughly 57–60 inches.
- Use two hanging points for larger or heavier frames to prevent tilting.
- Level each frame and check alignment against adjacent furniture.
Pro Tip: Mark the wall with painter’s tape before drilling so you can preview placement and avoid unnecessary holes while adjusting height and spacing.
3. Convert Crates into Rustic Shelving
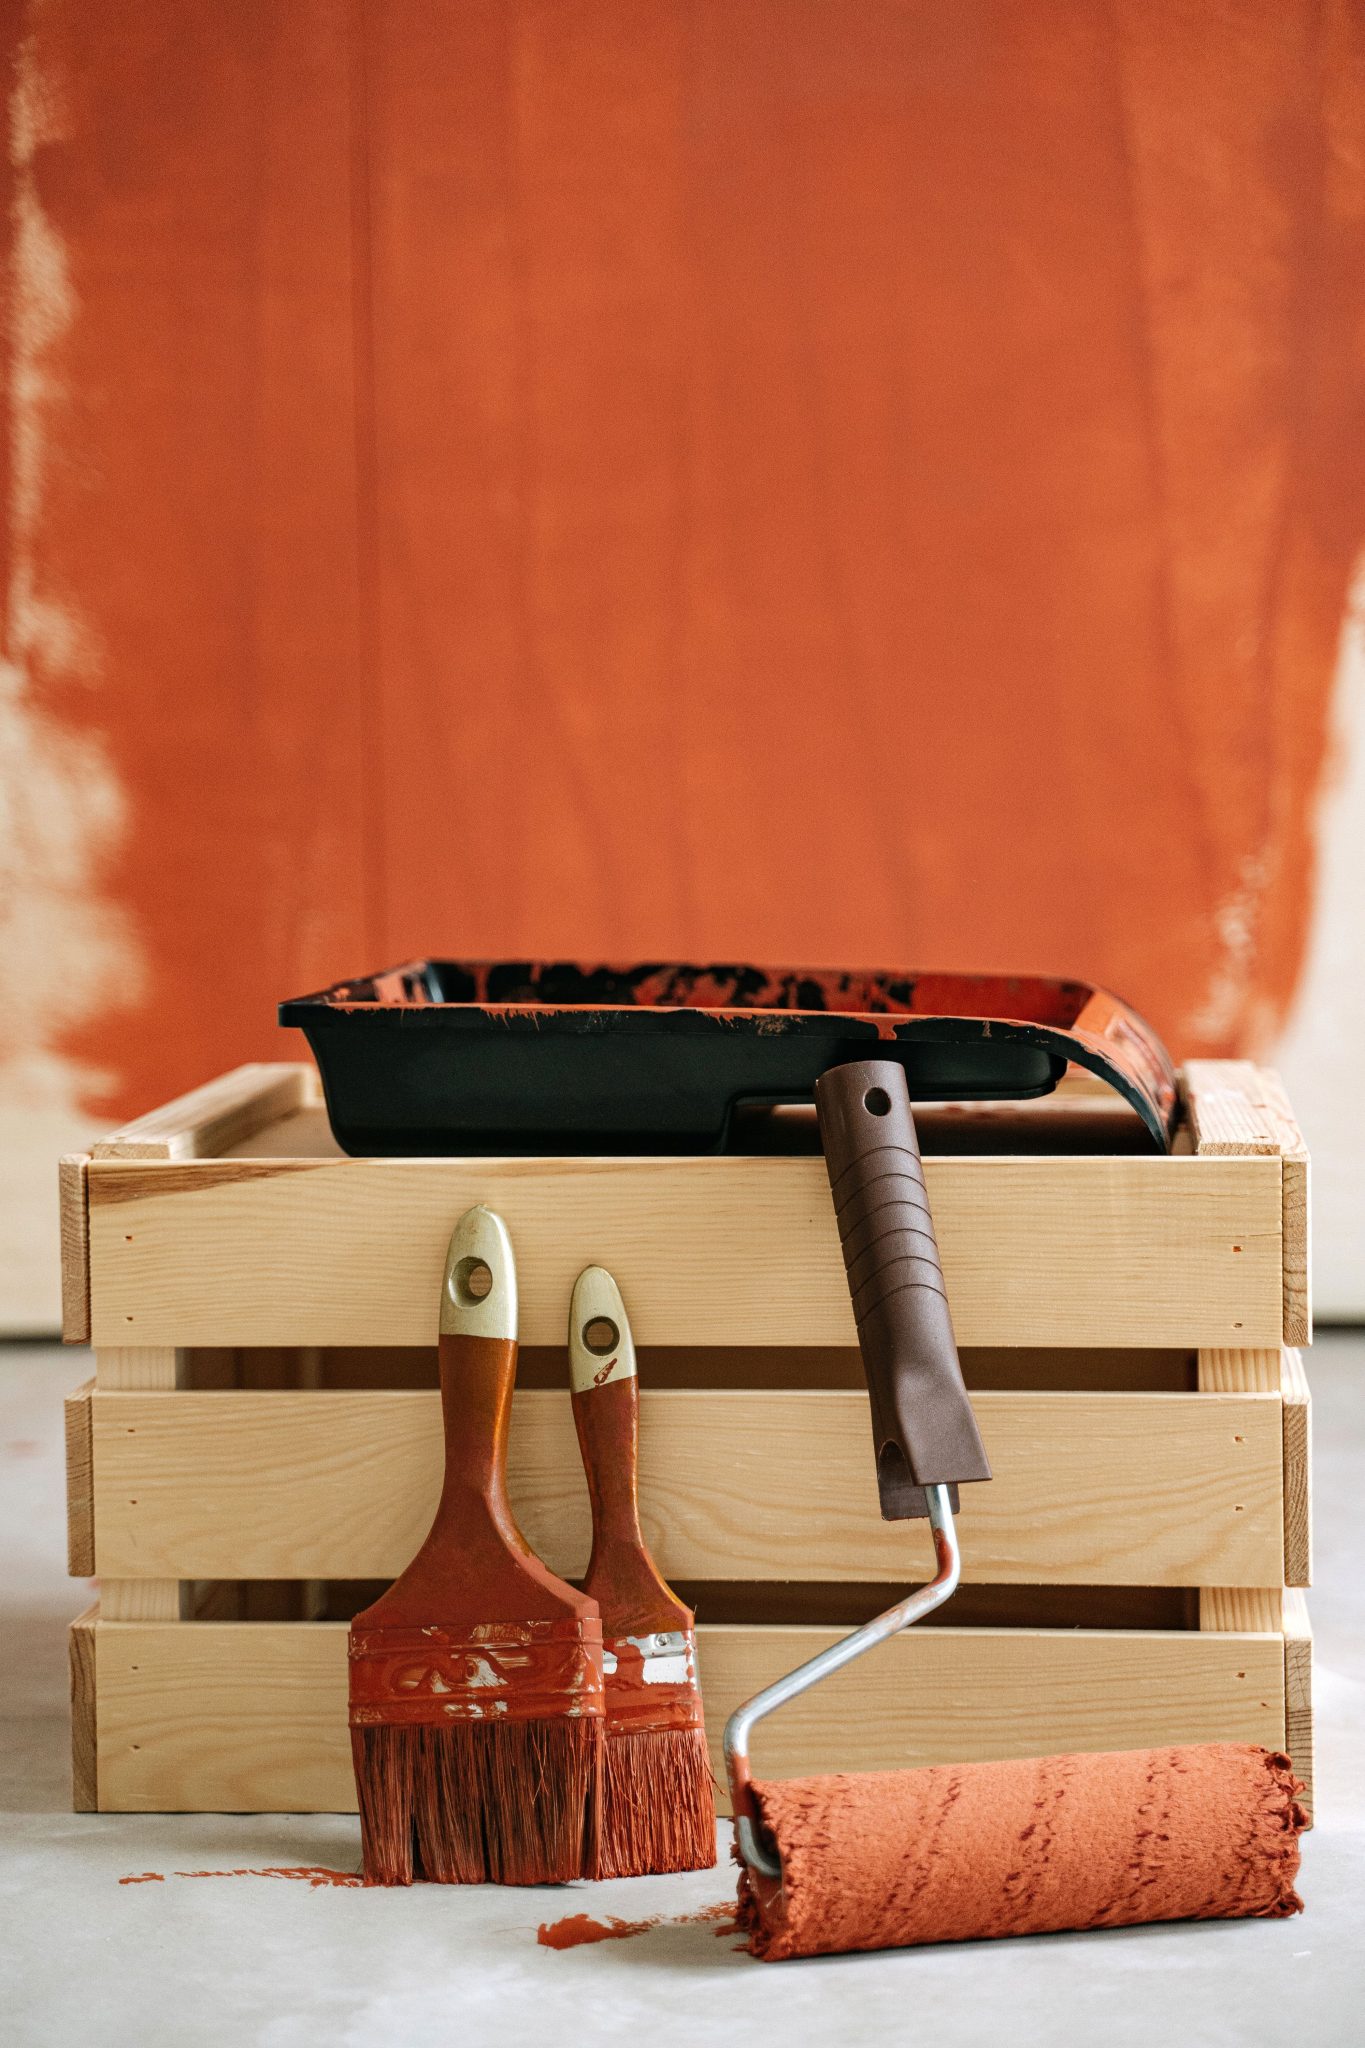
Wooden crates make flexible, affordable shelves that can be finished to suit many styles. Sand lightly to remove roughness, stain or paint to match your palette, or leave them raw for texture. Mount a single crate horizontally for a stout open shelf, or stack and secure several for a low bookcase. Crates work well near entryways to corral shoes and bags, beside sofas for blankets, or in kitchens for jars and mugs. Anchor them to studs or use strong wall anchors for safety. Their modular nature means you can reconfigure storage as needs change.
Key Design Elements
- Prepare wood by sanding and sealing before staining or painting.
- Secure crates to studs or use heavy-duty anchors for mounted installations.
- Stack and fasten crates together if you’re creating a vertical unit.
Pro Tip: Line crates with removable fabric or shelf paper to protect items and make cleaning easy while adding a pop of pattern.
4. Paper the Back of a Bookcase for Instant Interest
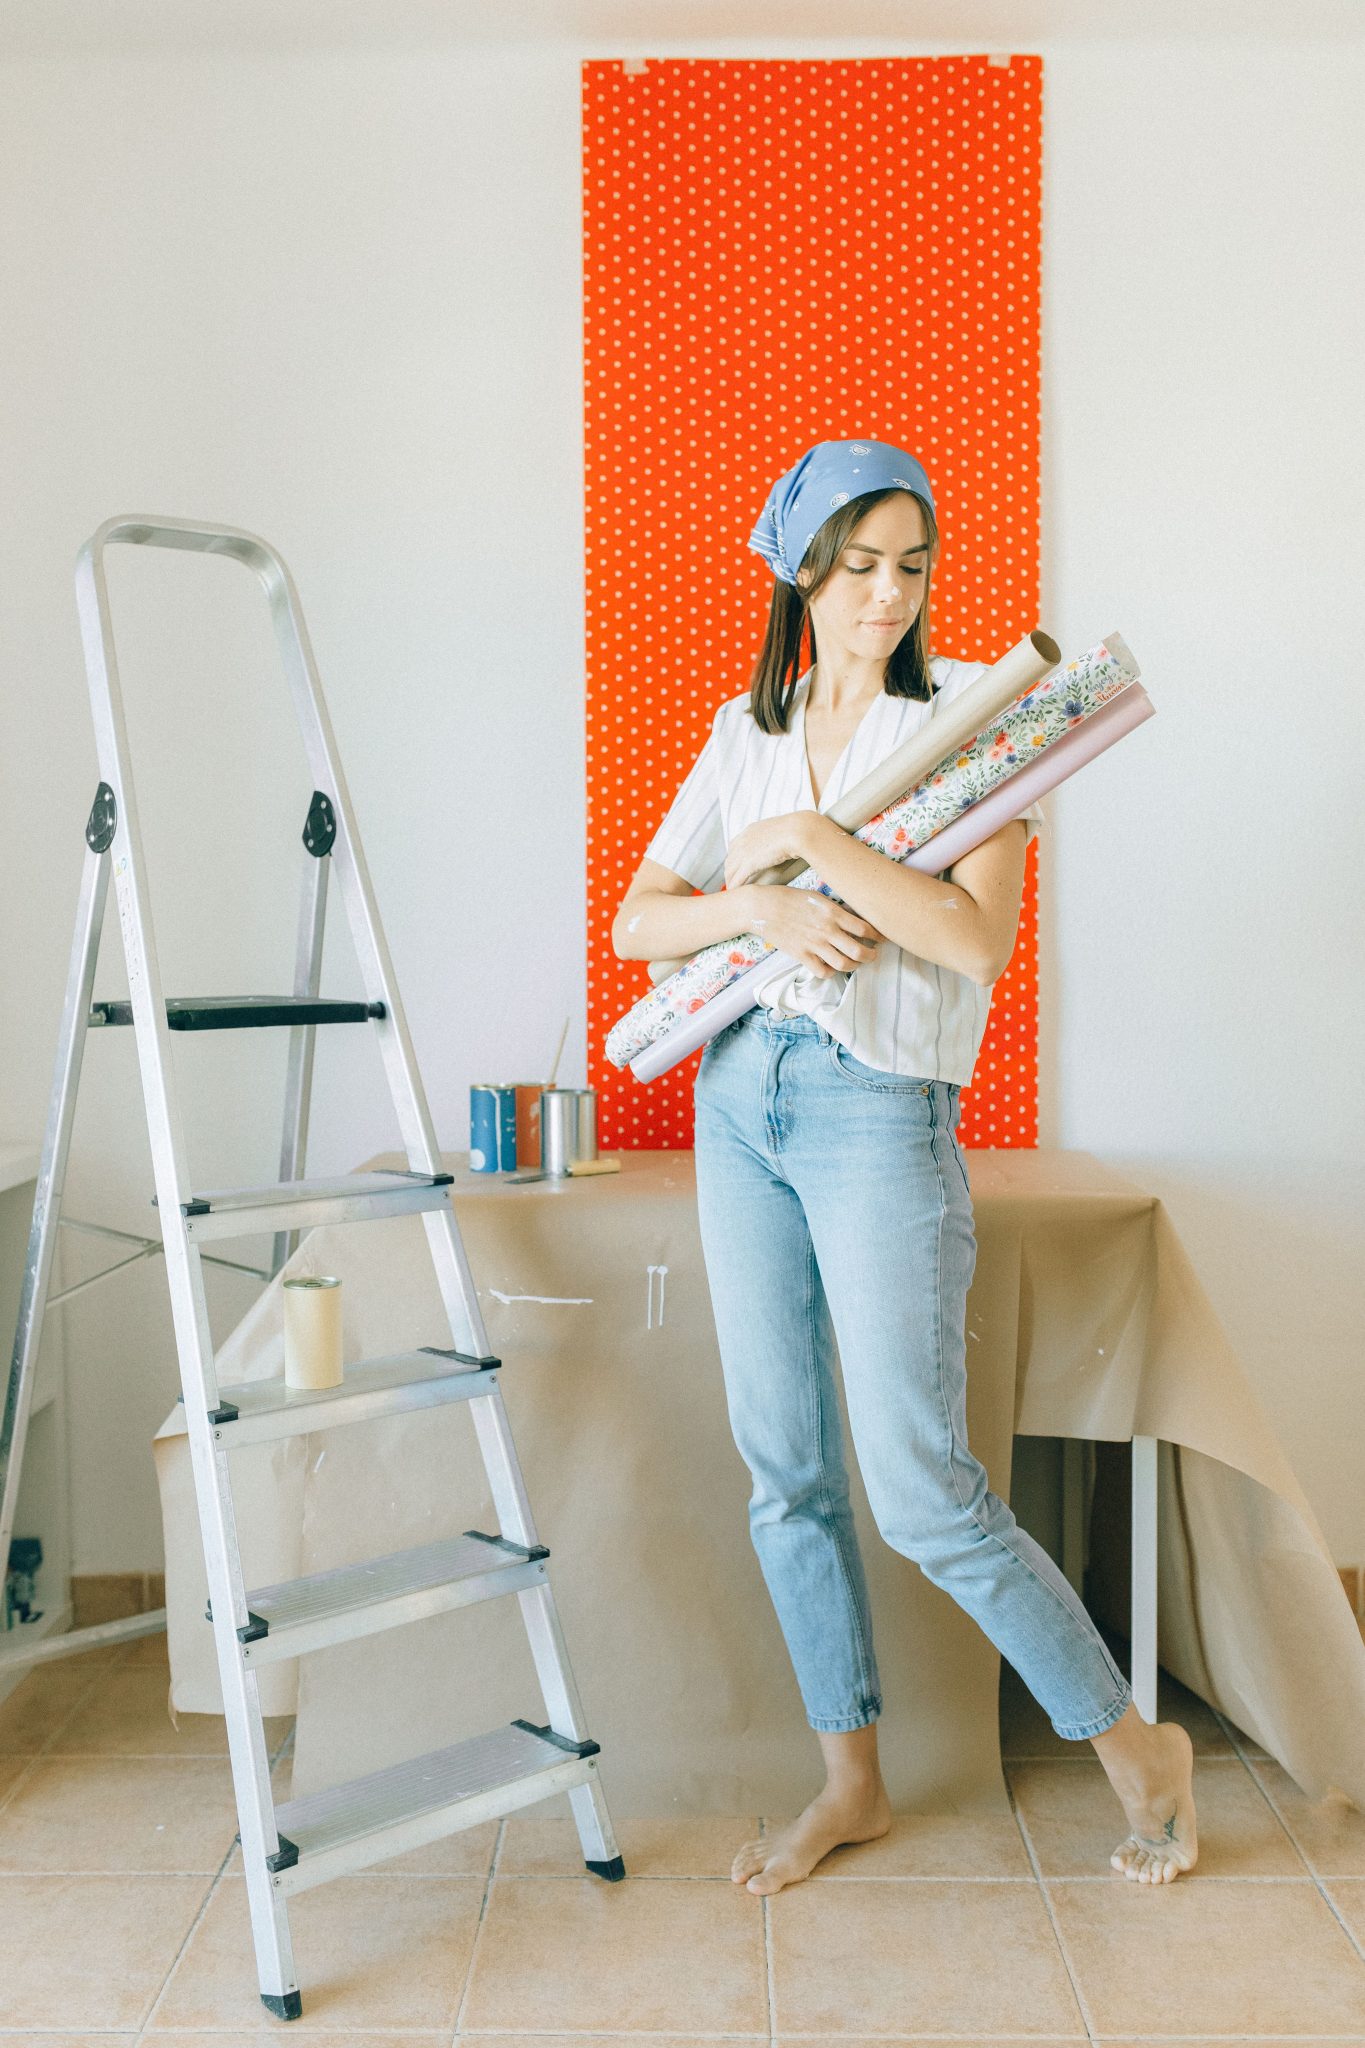
Wallpapering the rear panel of shelving gives you a big visual payoff for minimal effort. Peel-and-stick paper is the easiest route—cut panels to fit and smooth them into place; traditional paste-backed paper works too if you’re comfortable with more prep. Pick a bold pattern or a dramatic texture to create depth behind books and objects, or use a subtler print for an elevated backdrop. This treatment highlights your objects and disguises any irregular shelf depths. It’s renter-friendly when non-permanent adhesives are used and instantly turns ordinary storage into a deliberate styling element.
Key Design Elements
- Measure shelf backs accurately and trim paper for a clean fit.
- Use a plastic smoother or credit card to remove air bubbles.
- Choose washable, peel-and-stick paper for easy swaps and updates.
Pro Tip: Test a small sample of wallpaper behind a shelf first to see how lighting changes the pattern before committing to a full back panel.
5. Assemble a Thrifted-Frame Gallery
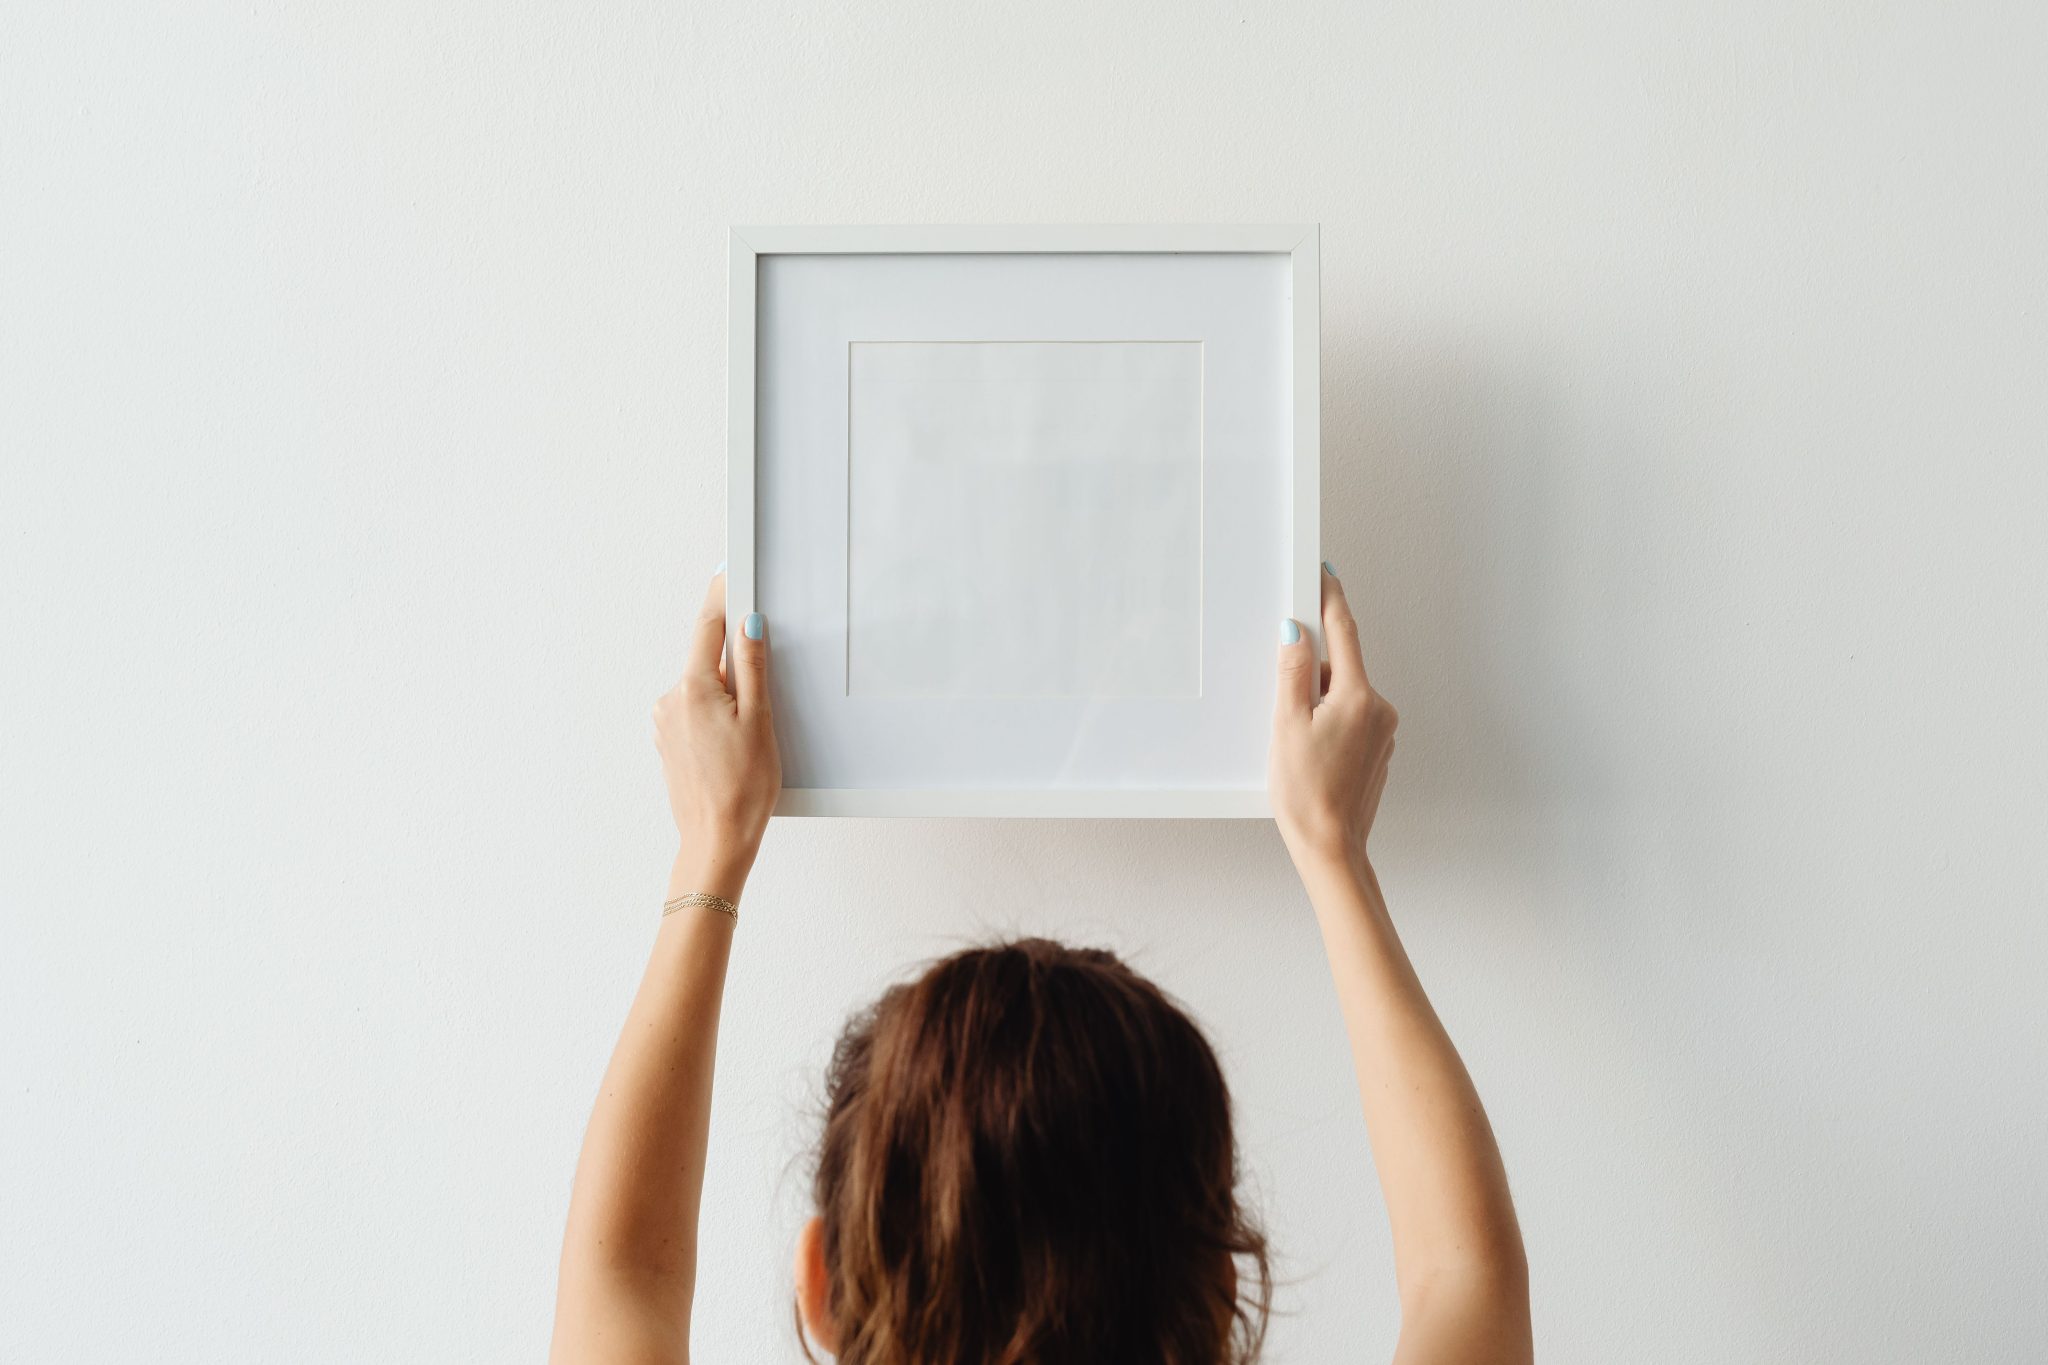
Thrifted frames are an economical way to build a personal gallery wall with character. Collect mismatched frames then either embrace their variety or unify them with one spray-paint color for cohesion. Fill frames with postcards, found paper, children’s art, or archival prints to tell your story. Vary frame sizes and matting styles to avoid uniformity, and mix vertical and horizontal orientations for visual movement. Lay the arrangement out on the floor first to refine spacing, then transfer it to the wall. The result feels curated, lived-in, and distinctively yours without a big spend.
Key Design Elements
- Sort frames by size and orientation before planning your layout.
- Consider spray-painting frames the same tone to unify diverse styles.
- Mix inexpensive matted prints with personal ephemera for visual variety.
Pro Tip: Clamp a lightweight frame to a clipboard and photograph it on different walls to visualize how colors and textures will play together.
6. Map Your Layout on the Floor First
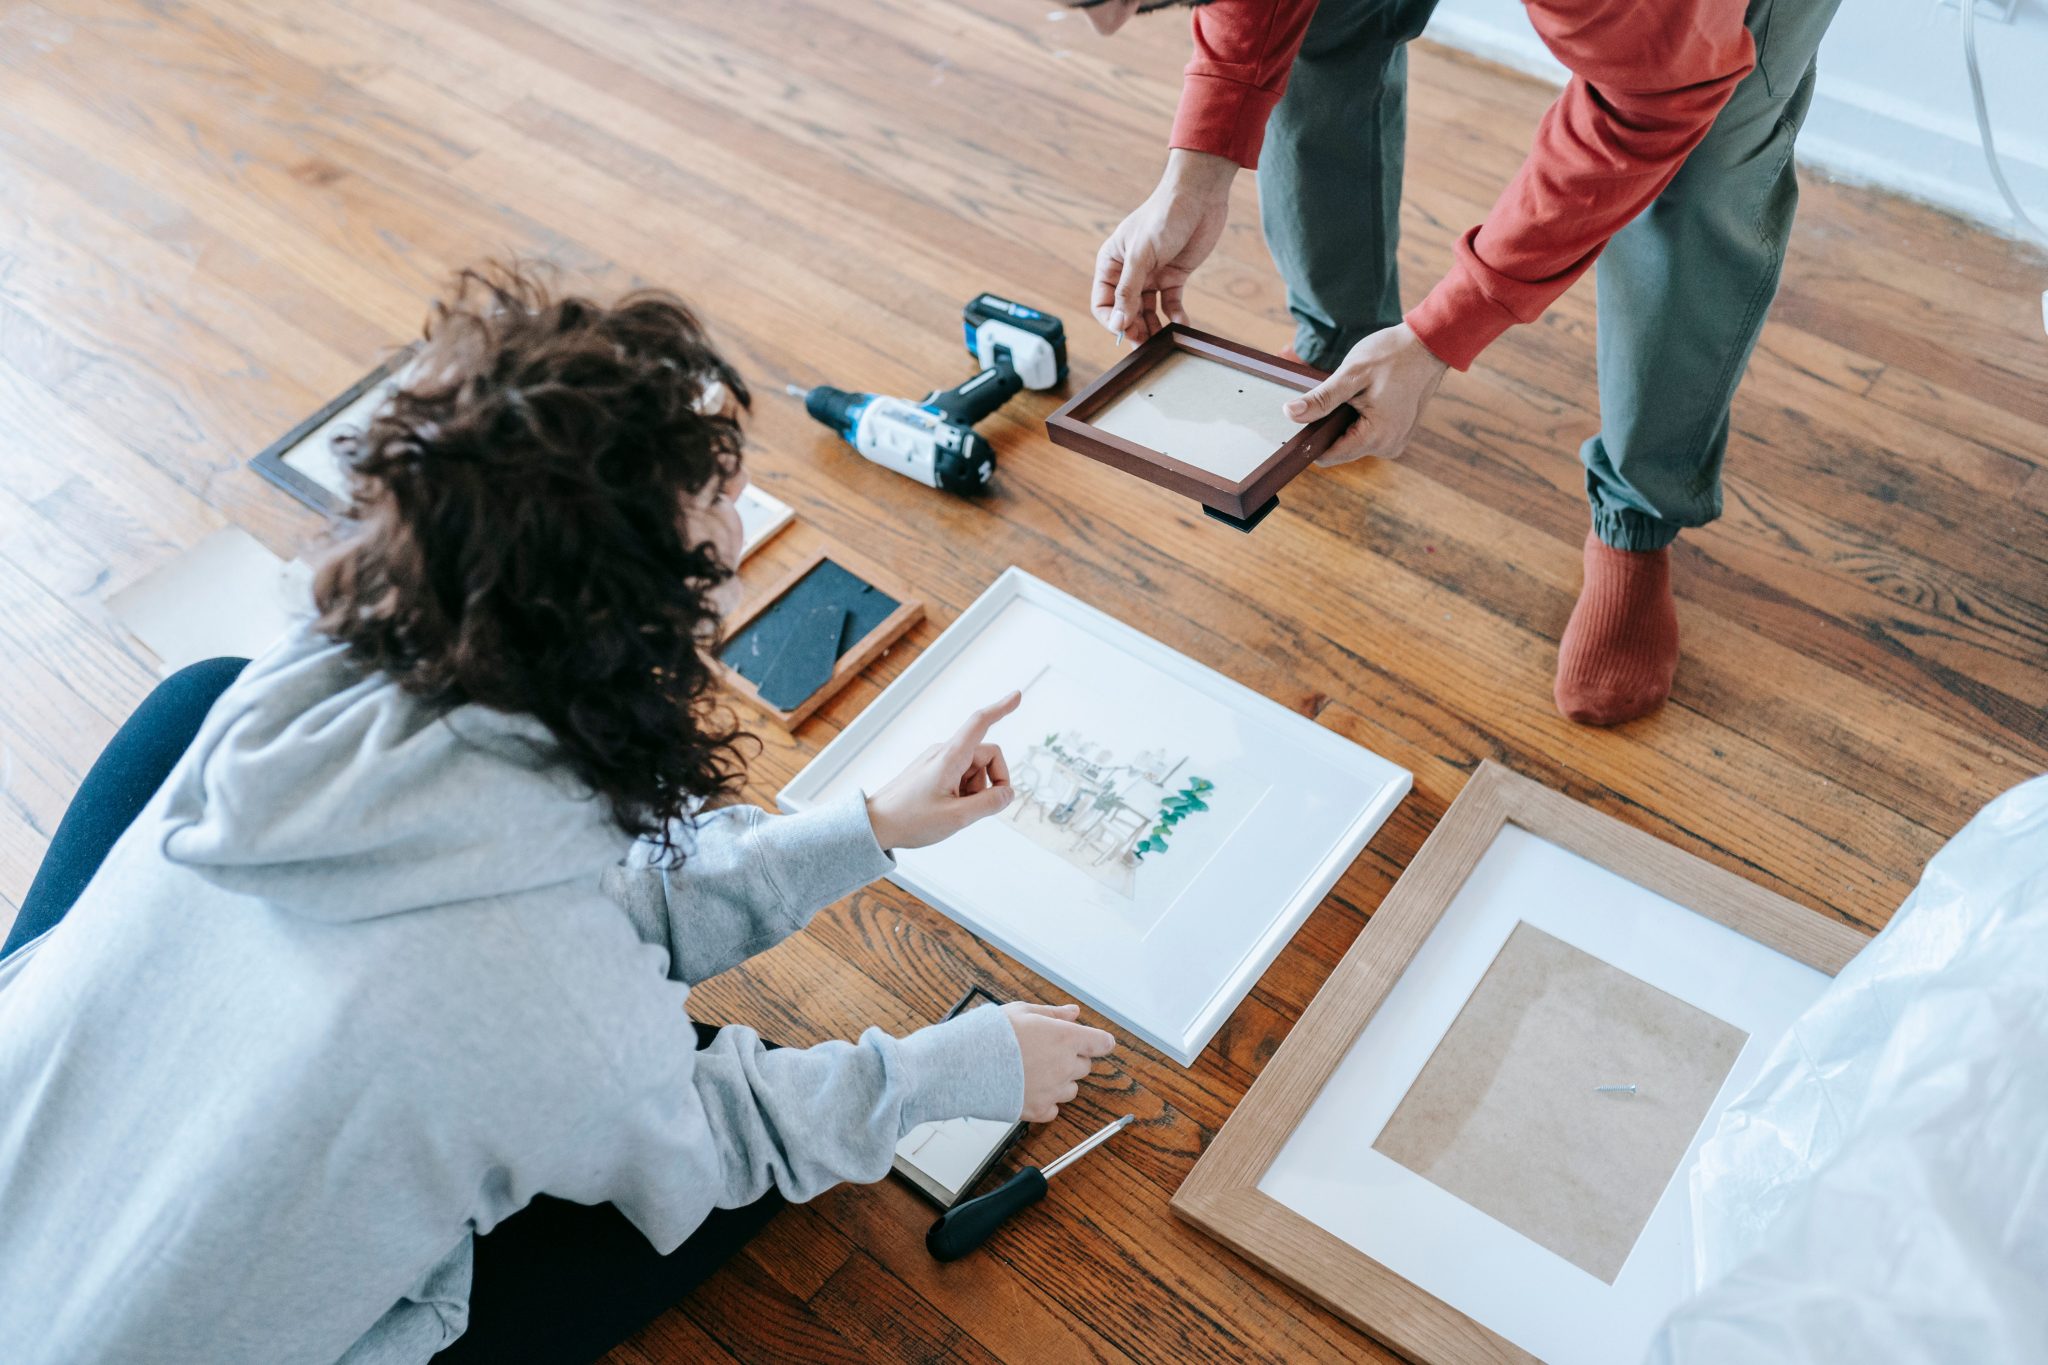
Arranging art and objects on the floor before committing to nails saves time and wall damage. Lay out frames, mirrors, or shelf items at full scale and experiment with spacing until the composition reads balanced. Photograph your favorite layouts from straight-on height to create a reference for hanging. This technique also works for mantels, shelving, and furniture groupings—moving items on the floor is low-effort and reveals relationships you might miss from a ladder. Once satisfied, transfer measurements to the wall with a tape measure and pencil marks for accurate placement.
Key Design Elements
- Arrange items on the floor at the same distances you plan for the wall.
- Photograph the layout straight-on to preserve spacing and alignment details.
- Use the photo as a hanging template to minimize guesswork and extra holes.
Pro Tip: Place a piece of masking tape on the floor around each frame and write its wall measurements so the photo doubles as a hanging map.
7. Make Simple Pillow Covers (Sew or No-Sew)
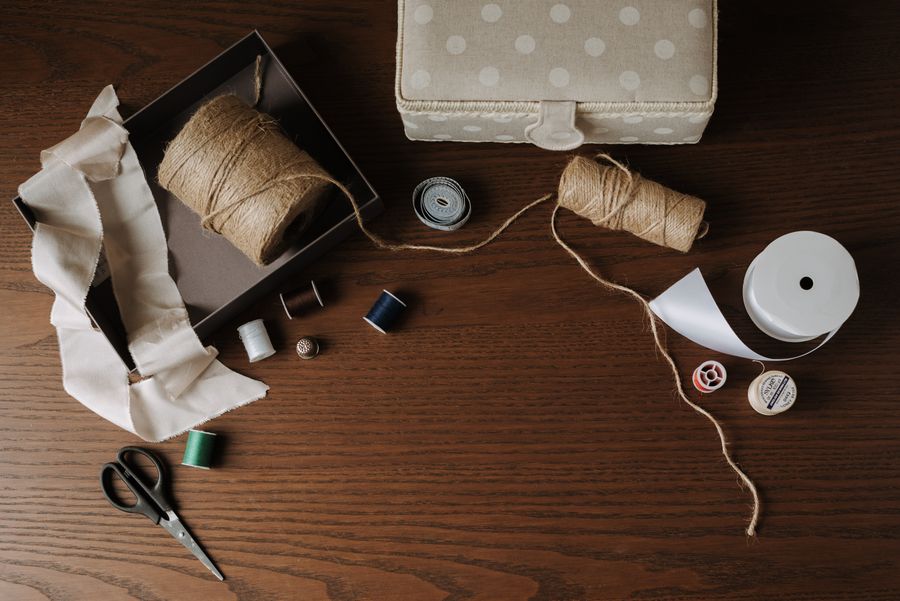
New pillow covers refresh a sofa or bed for a fraction of retail cost. An envelope-style cover requires only four straight seams and no zipper, while iron-on hem tape and fabric glue create no-sew versions that still look tailored. One yard of fabric typically yields two standard covers, so you can overhaul your seating with a single purchase. Choose durable fabric for daily-use rooms and prewash if it might shrink. Mix textures and subtle patterns to layer interest without overwhelming the room’s palette. Changing covers seasonally keeps the look fresh and budget-friendly.
Key Design Elements
- Choose washable, durable fabric and prewash before cutting.
- Use an envelope closure or hidden zipper for a tidy finish.
- Mix solids and patterns for layered sofa styling.
Pro Tip: Cut fabric with the pillow insert on top as a guide to ensure a snug, tailored fit before stitching or adhering seams.
8. Style a Tiny Vignette for Any Surface
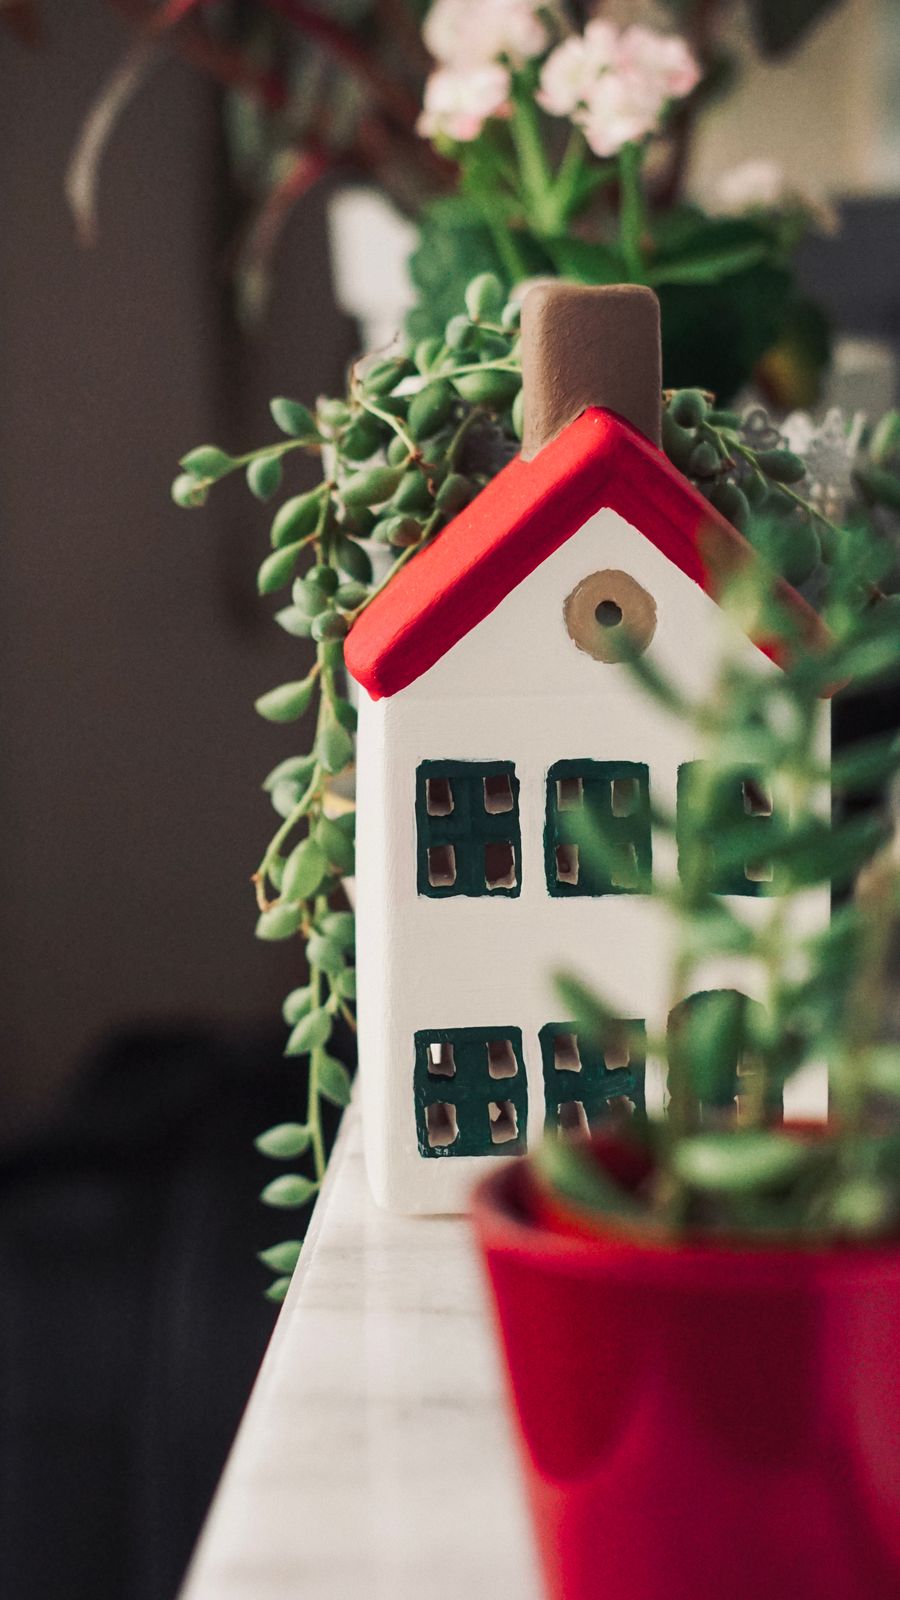
A small vignette—a cluster of three objects of varying heights—adds the feeling of care to shelves, windowsills, and consoles. Start with a base object to anchor the group, add a medium-height piece, then finish with a smaller, textural item. Choose objects that reflect your aesthetic: a handcrafted bowl, a candle, a small plant, or a beloved collectible. Vignettes are easy to rotate seasonally and cost nothing when made from items you already own. Keep scale in mind so the grouping complements surrounding furniture without overwhelming it.
Key Design Elements
- Pick three objects with varied height and texture for visual contrast.
- Anchor the vignette with one heavier item and balance with lighter pieces.
- Step back and adjust spacing until the small scene reads cohesive.
Pro Tip: Place a small mirror or elevated platform under one object to introduce depth without adding clutter to the surface.
9. Arrange a Collection of Round Wooden Accents
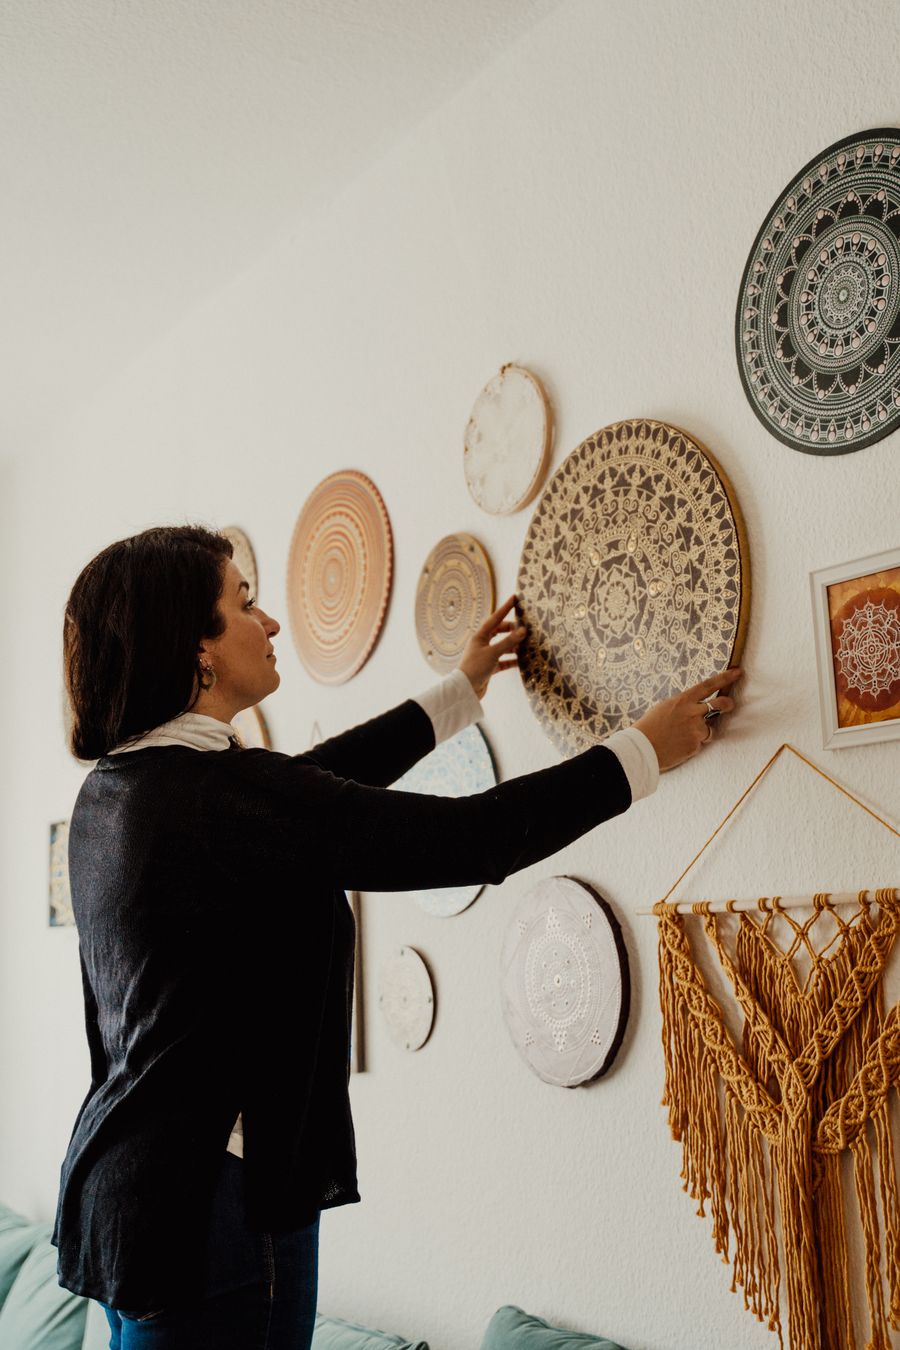
Grouping round wooden items—trivets, small cutting boards, carved medallions—creates an organic, collected wall display. Choose pieces with varying diameters and textures, and aim for an odd number in the grouping for a relaxed look. Lay them out first on the floor to find a balanced composition that avoids a rigid grid. Install them with small hidden hangers or removable adhesive hooks for lighter objects. The natural wood tones introduce warmth and tactile contrast against painted walls, and the arrangement reads like a gathered trove from travel and markets rather than a single manufactured set.
Key Design Elements
- Mix sizes and finishes to create depth and movement on the wall.
- Arrange pieces loosely, favoring irregular spacing over a strict grid.
- Use concealed hangers for a clean, floating appearance.
Pro Tip: Swap in a painted or stained piece among raw wood items to echo room colors and tie the display into the broader palette.
10. Style Your Bookshelf with Intention
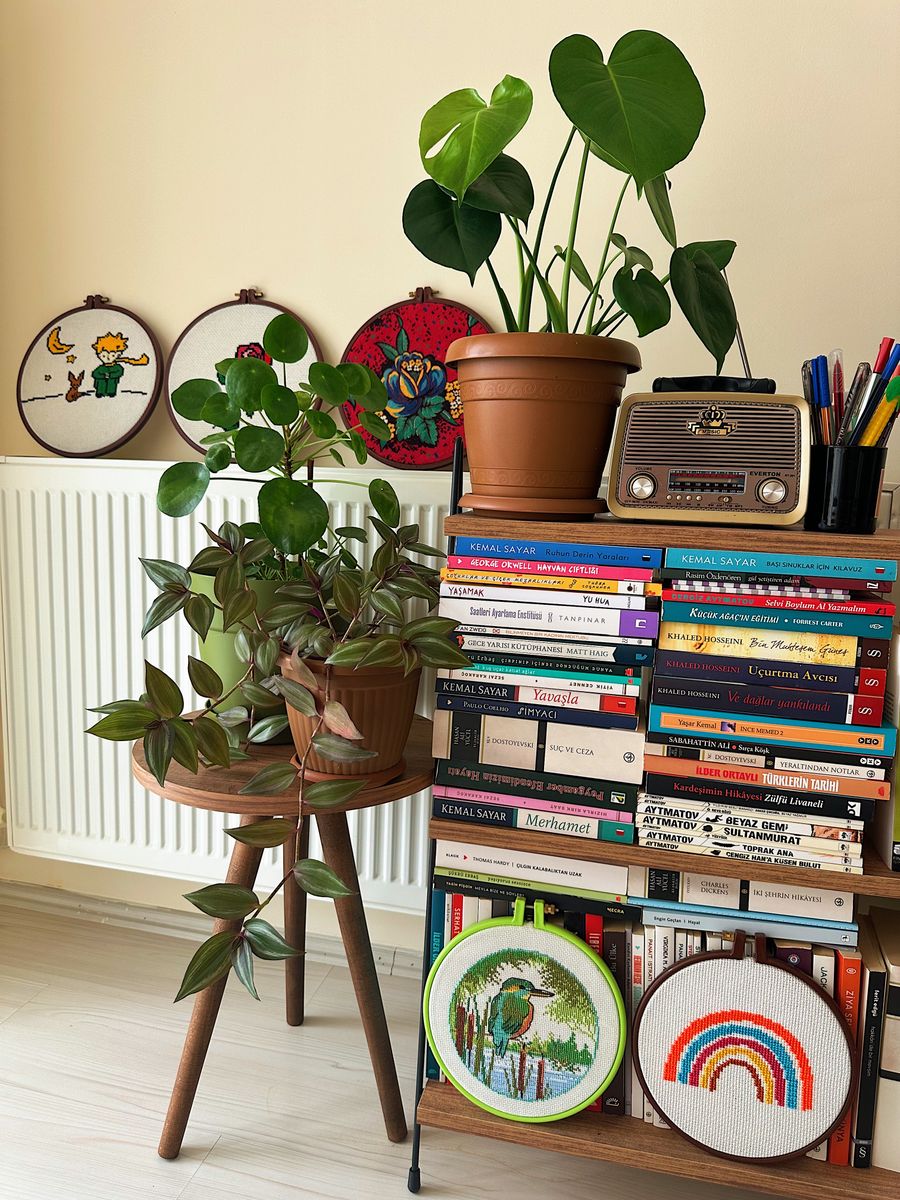
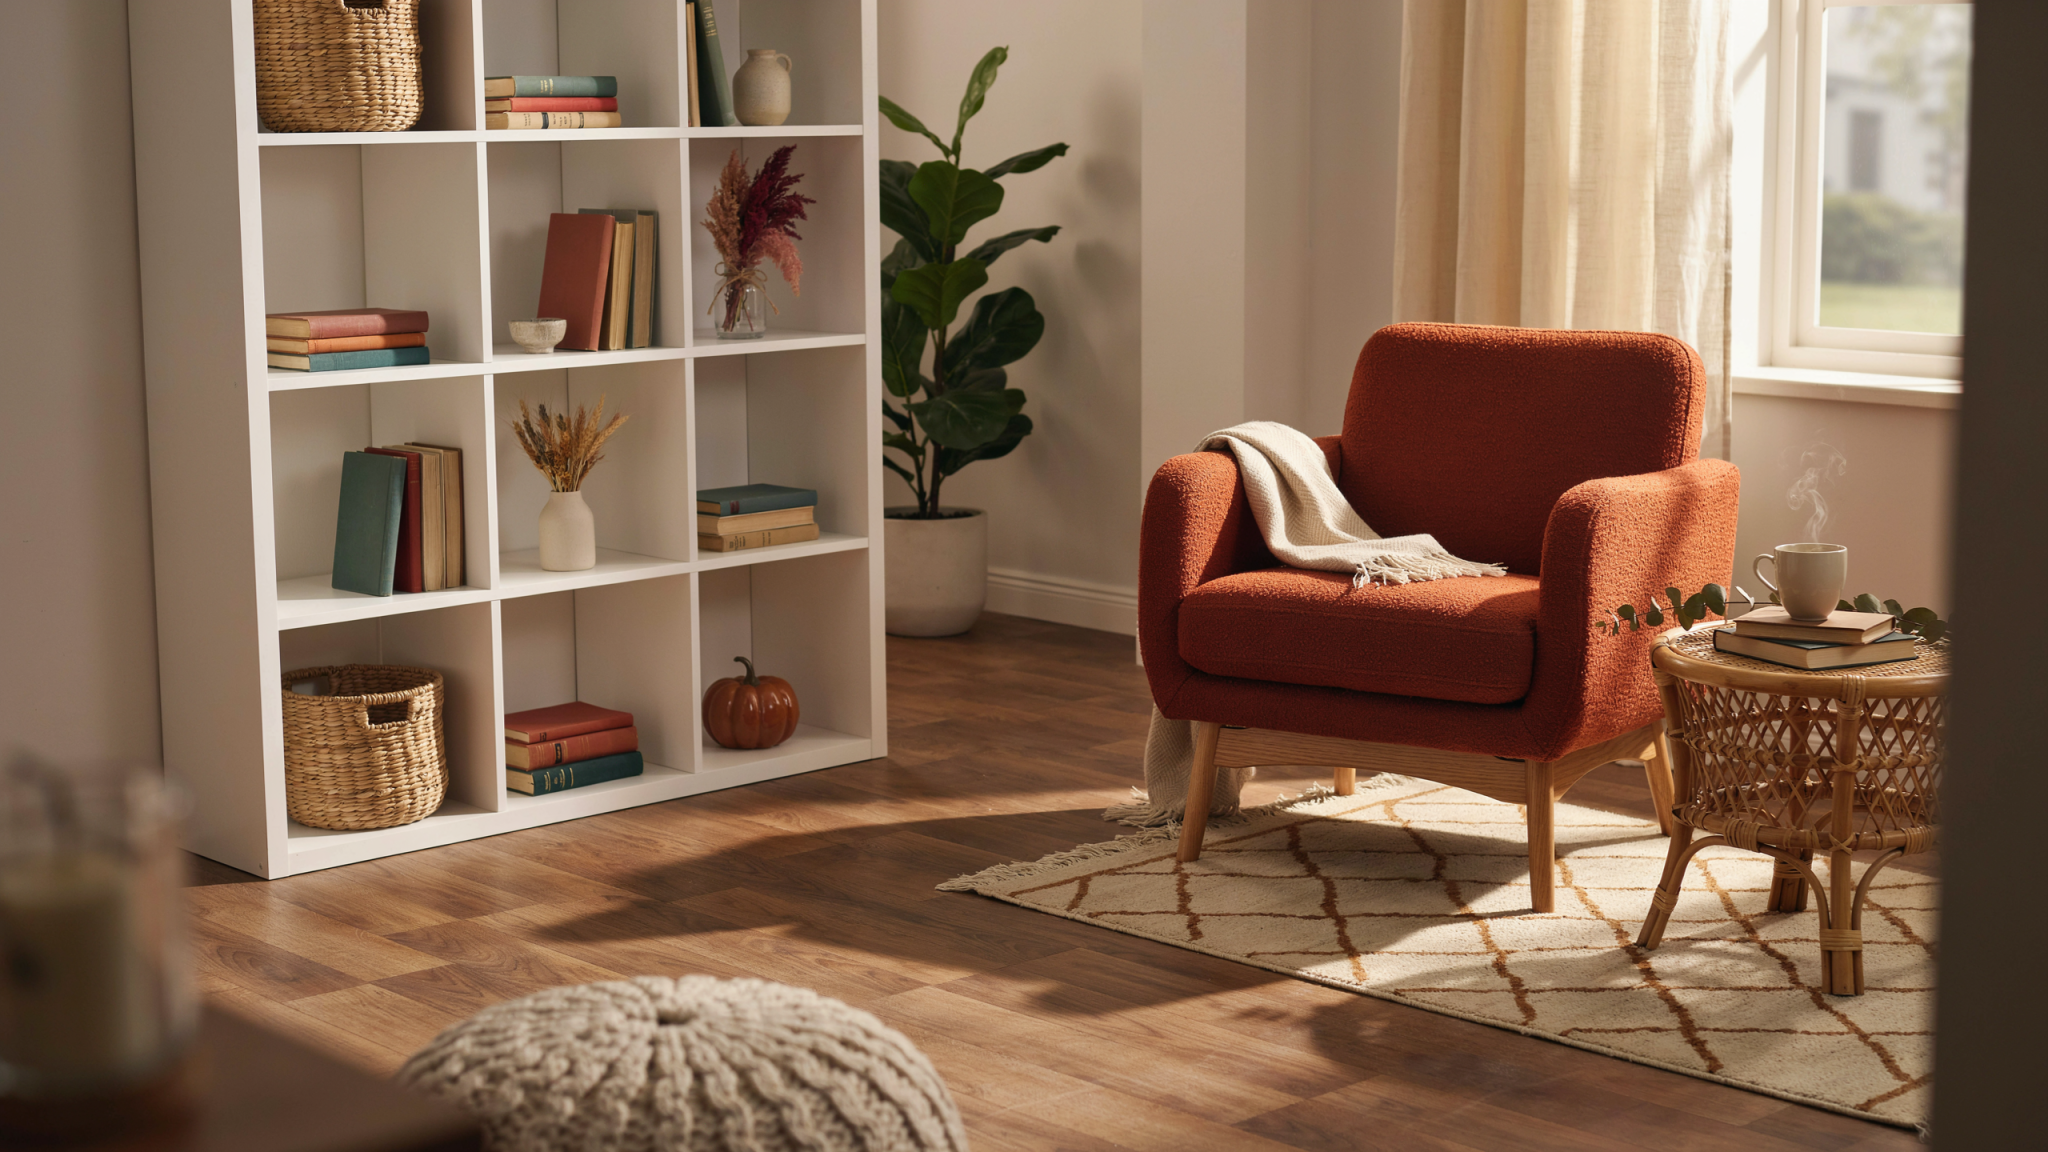
A bookshelf looks curated when books and objects are edited and deliberately composed. Remove everything, then rebuild with groups of books upright and horizontal stacks for rhythm. Add personal items—small plants, a sculptural object, or a clock—to interrupt rows of spines and introduce focal points. Consider color blocking sparingly or arrange by subject for a lived-in librarian look. Leave breathing room so each shelf feels balanced, and vary heights to create eye movement. Thoughtful styling brings hidden treasures out of storage and makes ordinary storage feel like part of the room’s decor.
Key Design Elements
- Alternate vertical books with horizontal stacks to create visual rhythm.
- Introduce at least two decorative accents per shelf for contrast.
- Leave negative space so shelves don’t read overfilled.
Pro Tip: When styling, prioritize three anchor pieces per shelf and build around them to keep arrangements cohesive and uncluttered.
11. Dedicate One Shelf to a Plant Display
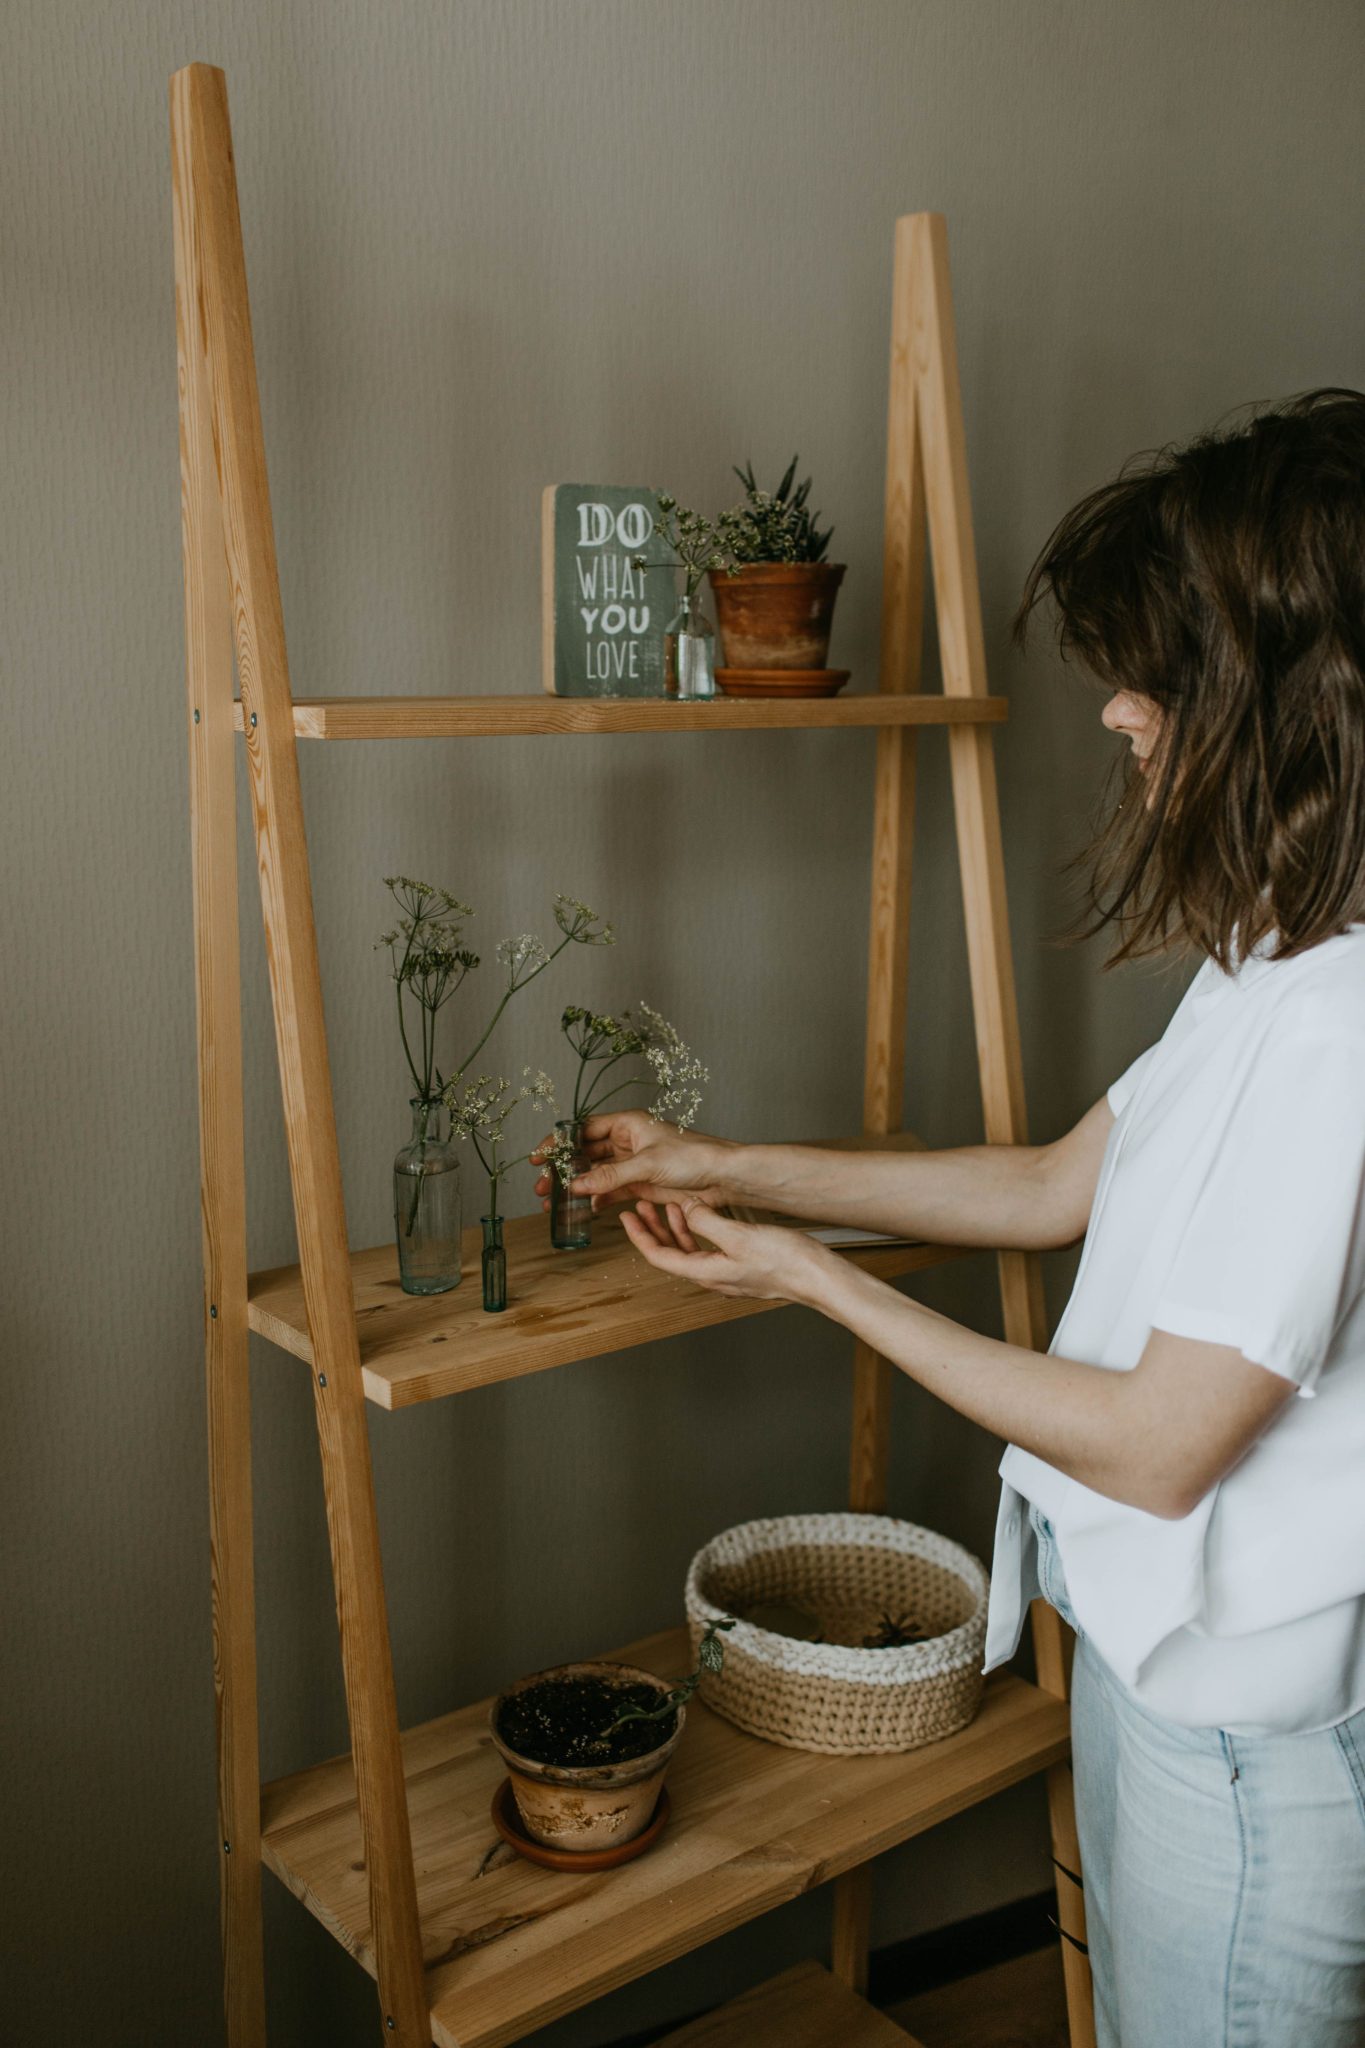
Having a single shelf devoted to plants creates a lush, intentional feature without overcrowding a room. Mix heights—tall, trailing, and small potted varieties—and stagger pots to avoid symmetry. Use mismatched planters or repaint terracotta pots in a cohesive color to unify the collection. Include a mossy or bark-textured object for variety and place a watering tray or saucer beneath moisture-prone pots. Good lighting matters: keep the shelf where plants receive appropriate sun or supplement with a grow light. The result is an organized, living vignette that reads planned rather than accidental.
Key Design Elements
- Group plants of different heights and growth habits for contrast.
- Repaint inexpensive terracotta pots in the same tone to unify the display.
- Place saucers under pots and rotate plants for even light exposure.
Pro Tip: Use a mix of slow-draining pots and saucers; set a reminder to water consistently so plants stay healthy and the shelf always looks fresh.
12. Frame Unexpected Memorabilia
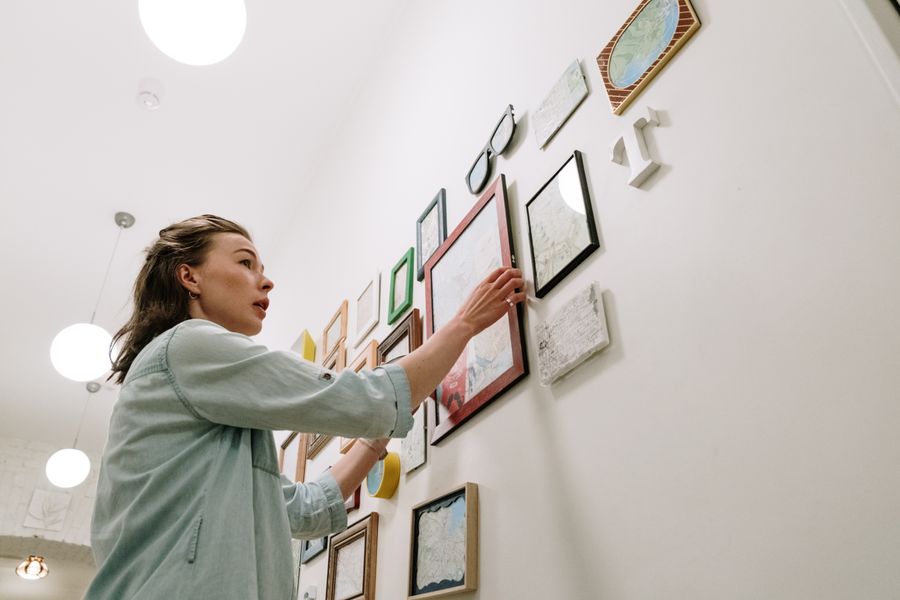
Framing everyday objects elevates them from keepsake to artwork. A scarf, sheet music, a vintage menu, or a delicate textile can be mounted in shallow frames or shadow boxes to preserve texture and story. Choose archival backing and UV-protective glazing for fragile items, or use spaced mounting for three-dimensional pieces. Coordinate frame color and matting with nearby décor to make the piece feel integrated. This approach celebrates personal history and injects unique narrative into a room; the framed object becomes a conversation starter and a bespoke addition to your curated walls.
Key Design Elements
- Select frames that allow for depth if your object is dimensional.
- Use acid-free backing for textiles and paper to prevent deterioration.
- Match mat and frame tones to nearby decor for a cohesive look.
Pro Tip: Press fragile paper items flat between clean blotters before framing to minimize future warping and keep the piece looking crisp.
13. Rotate Art Seasonally for Freshness

Swapping art between frames is a simple way to refresh a room without new purchases. Keep a small collection of affordable prints that reflect seasonal moods—florals and botanicals in spring, brighter scenes in summer, richer tones for autumn and winter. Store prints flat or in protective sleeves and swap them into the same frames using consistent hanging hardware so the transition is easy. Ten minutes of swapping can change the atmosphere and make your space feel updated. This practice also lets you experiment with different focal points throughout the year.
Key Design Elements
- Store a small set of seasonal prints in protective sleeves for easy access.
- Use consistent frame sizes so prints can be exchanged without reframing.
- Plan a rotation schedule to align with seasonal décor changes.
Pro Tip: Label each print with its intended wall and season so swapping goes quickly and you avoid searching for the right piece when time is limited.
14. Build a Versatile Seasonal Wreath

A reusable wreath base makes seasonal decorating effortless. Start with a grapevine or metal ring and attach blooms, foliage, or agricultural accents that match the time of year—eucalyptus or fresh greens in spring, dried grasses in fall, evergreen and berries in winter. Secure elements with floral wire or hot glue, and switch out materials rather than replacing the entire base. A neutral base keeps the overall shape familiar while allowing you to refresh textures and colors. Wreath-making is meditative, customizable, and yields an entry or wall accent that evolves with the seasons.
Key Design Elements
- Choose a durable wreath base that can be restyled each season.
- Secure natural elements with floral wire before gluing for easier future changes.
- Combine fresh and dried materials for longevity and seasonal flair.
Pro Tip: Store your wreath base in a labeled box and tuck spare floral elements inside so seasonal swaps are fast and mess-free.
15. Hang a Trio of Minimal Indoor Wreaths
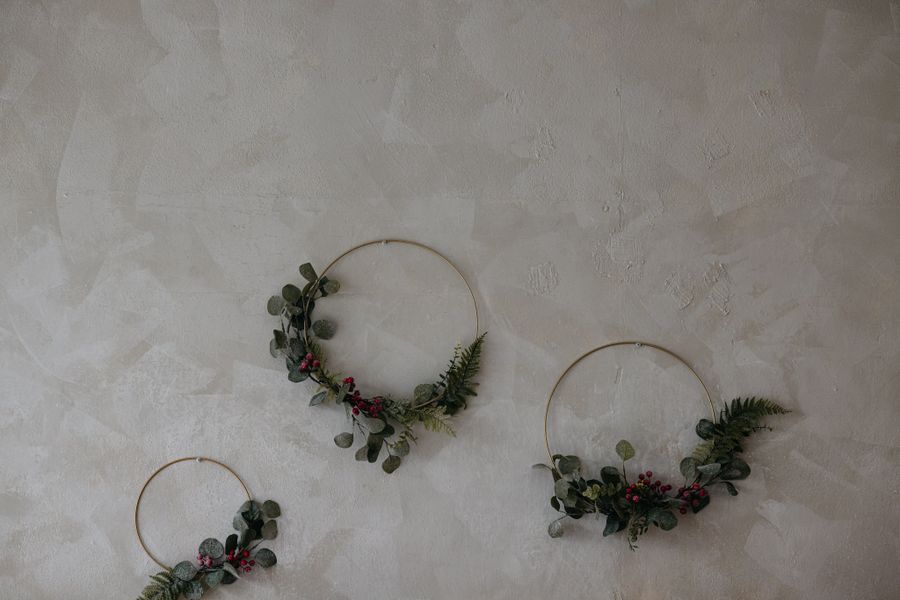
Three slim, understated wreaths installed in a row create a calm, sculptural statement above a sofa or bed. Use brass rings, embroidery hoops, or thin wooden rings as bases and attach small sprigs or leaves asymmetrically for a modern look. Keep elements sparse to maintain a minimal aesthetic that works year-round; swap in seasonal sprigs when desired. Space the rings evenly and align their centers for a polished result. This installation reads as thoughtful and architectural, offering the softness of botanical decor without heavy visual clutter.
Key Design Elements
- Choose thin rings in a consistent finish for a refined, cohesive look.
- Attach small sprigs or greenery asymmetrically for visual interest.
- Measure spacing carefully and align centers for a balanced display.
Pro Tip: Use removable picture-hanging strips on lightweight rings if you want a damage-free option that’s easy to reposition.
16. Embellish Dollar-Store Frames with Beach Finds
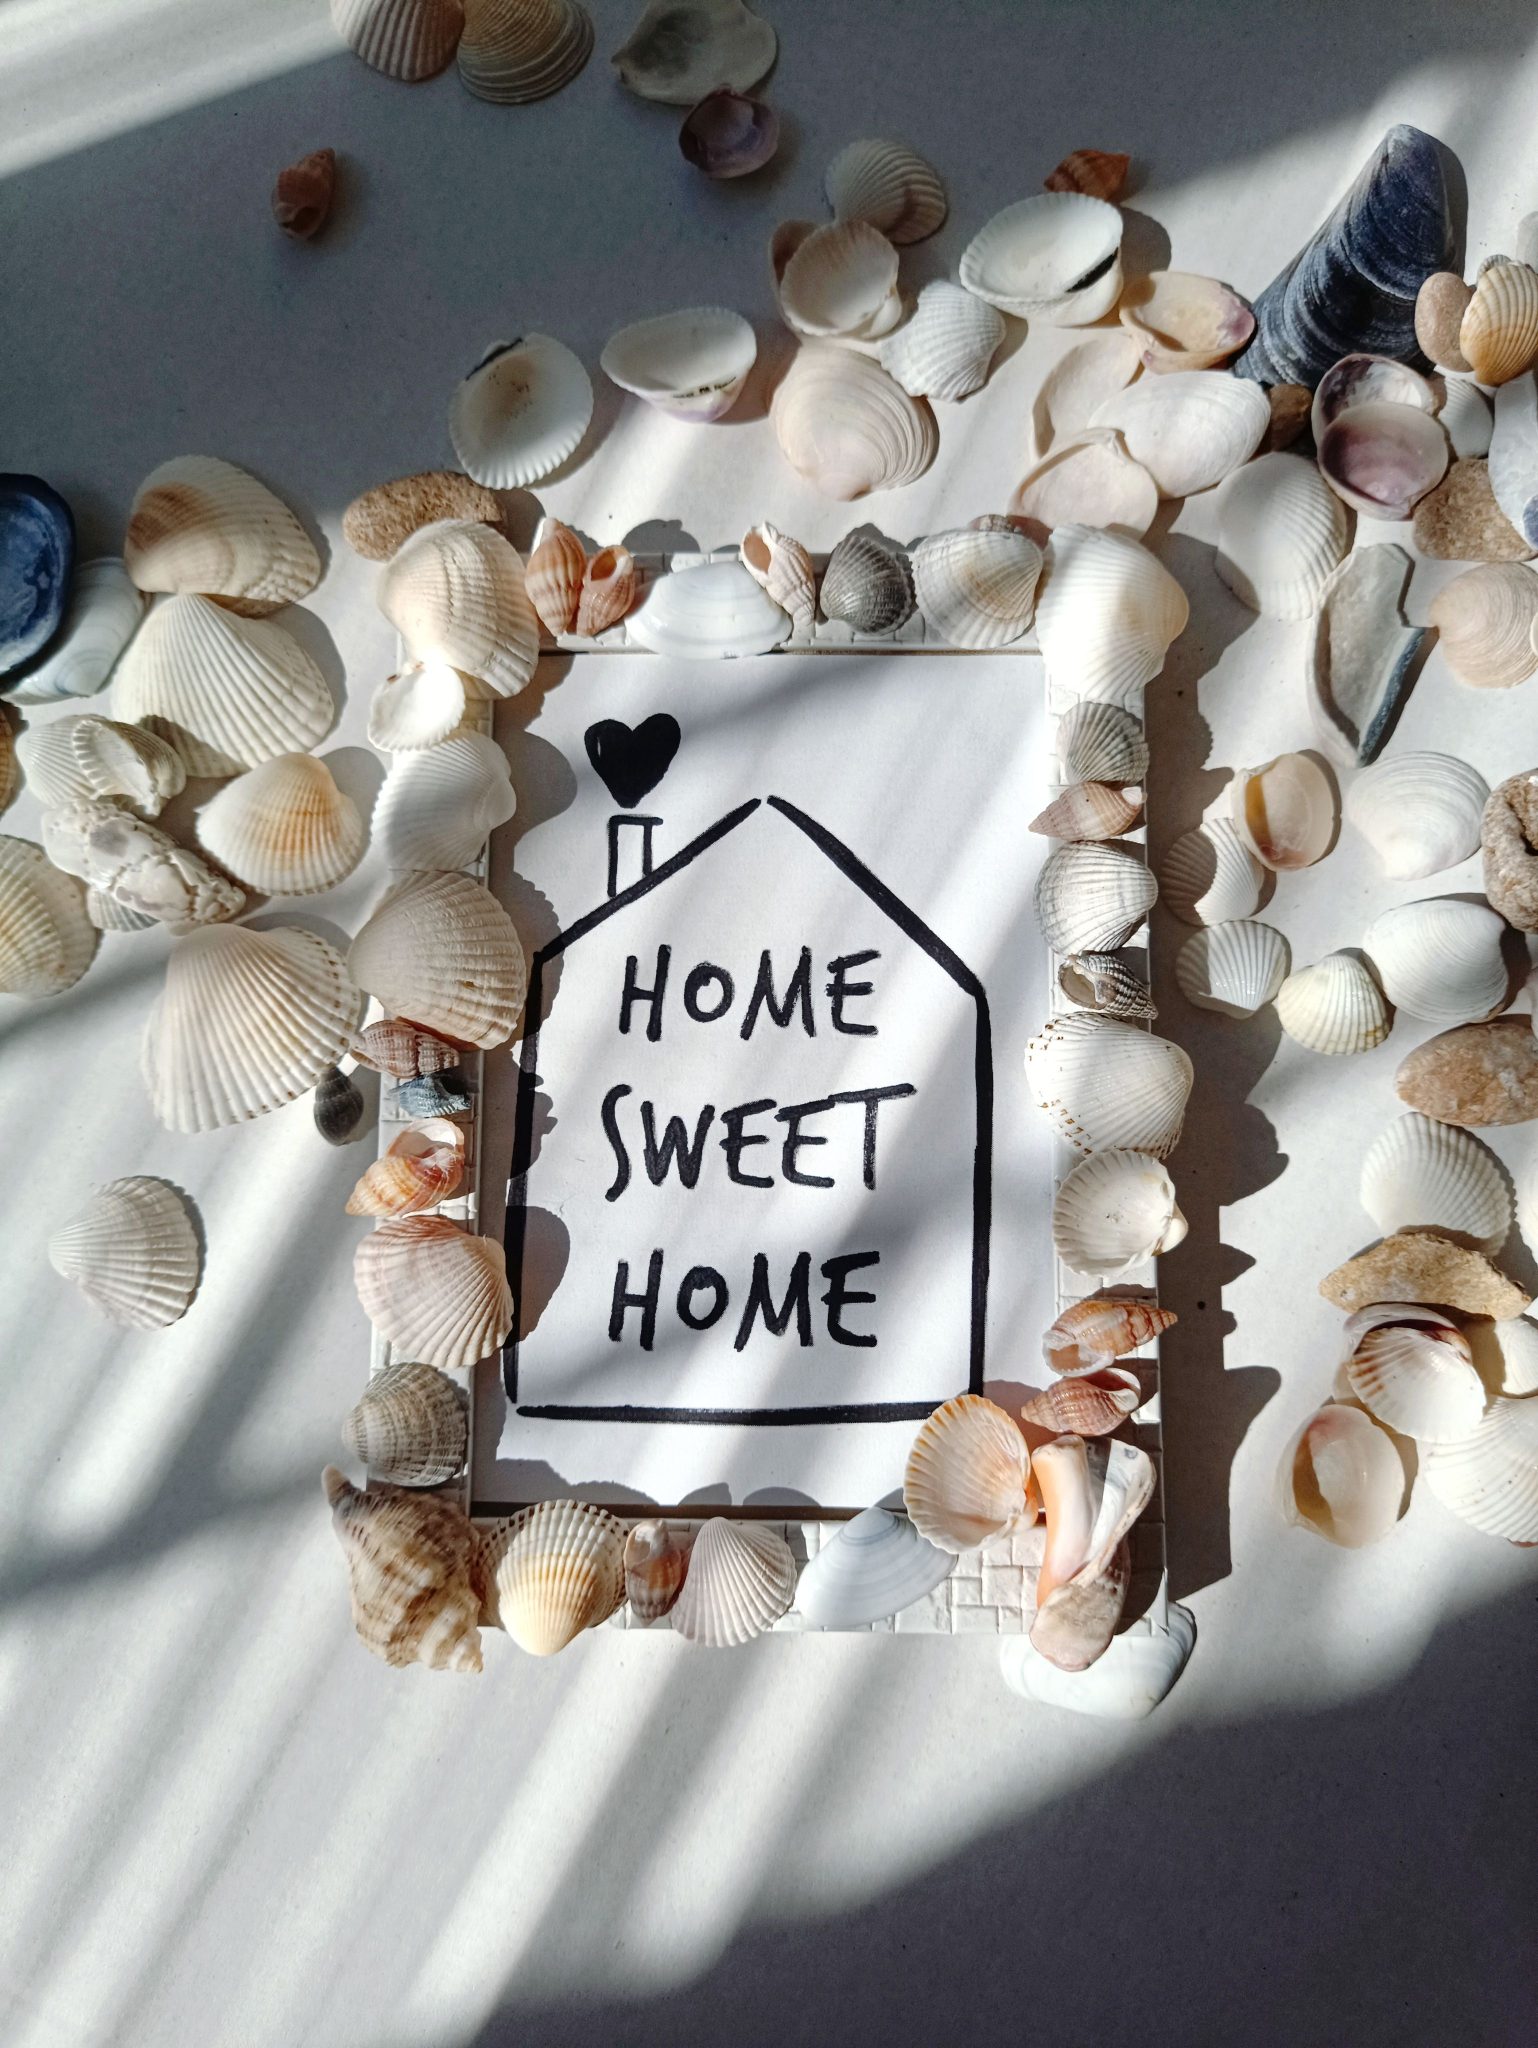
Elevate inexpensive frames by adding personal textures like shells, sand dollar fragments, or polished stones. Clean and dry the natural elements, then arrange and glue them to the frame edge in a balanced pattern. Consider painting the frame a coordinating color first to give a unified backdrop. This DIY preserves vacation memories and turns simple frames into bespoke mementos. Use a strong craft glue suitable for nonporous surfaces, allow full curing time, and optionally seal with a clear coat for protection. The finished frames add tactile charm and tell a personal story without splurging on custom pieces.
Key Design Elements
- Paint the frame first to create a cohesive backdrop for glued elements.
- Arrange shells on the frame before gluing to finalize placement.
- Seal the finished frame with a clear spray for durability if needed.
Pro Tip: Group similar-sized shells and anchor larger pieces near corners to balance the frame while keeping a natural, collected look.
17. Fold Paper Stars for Seasonal Charm
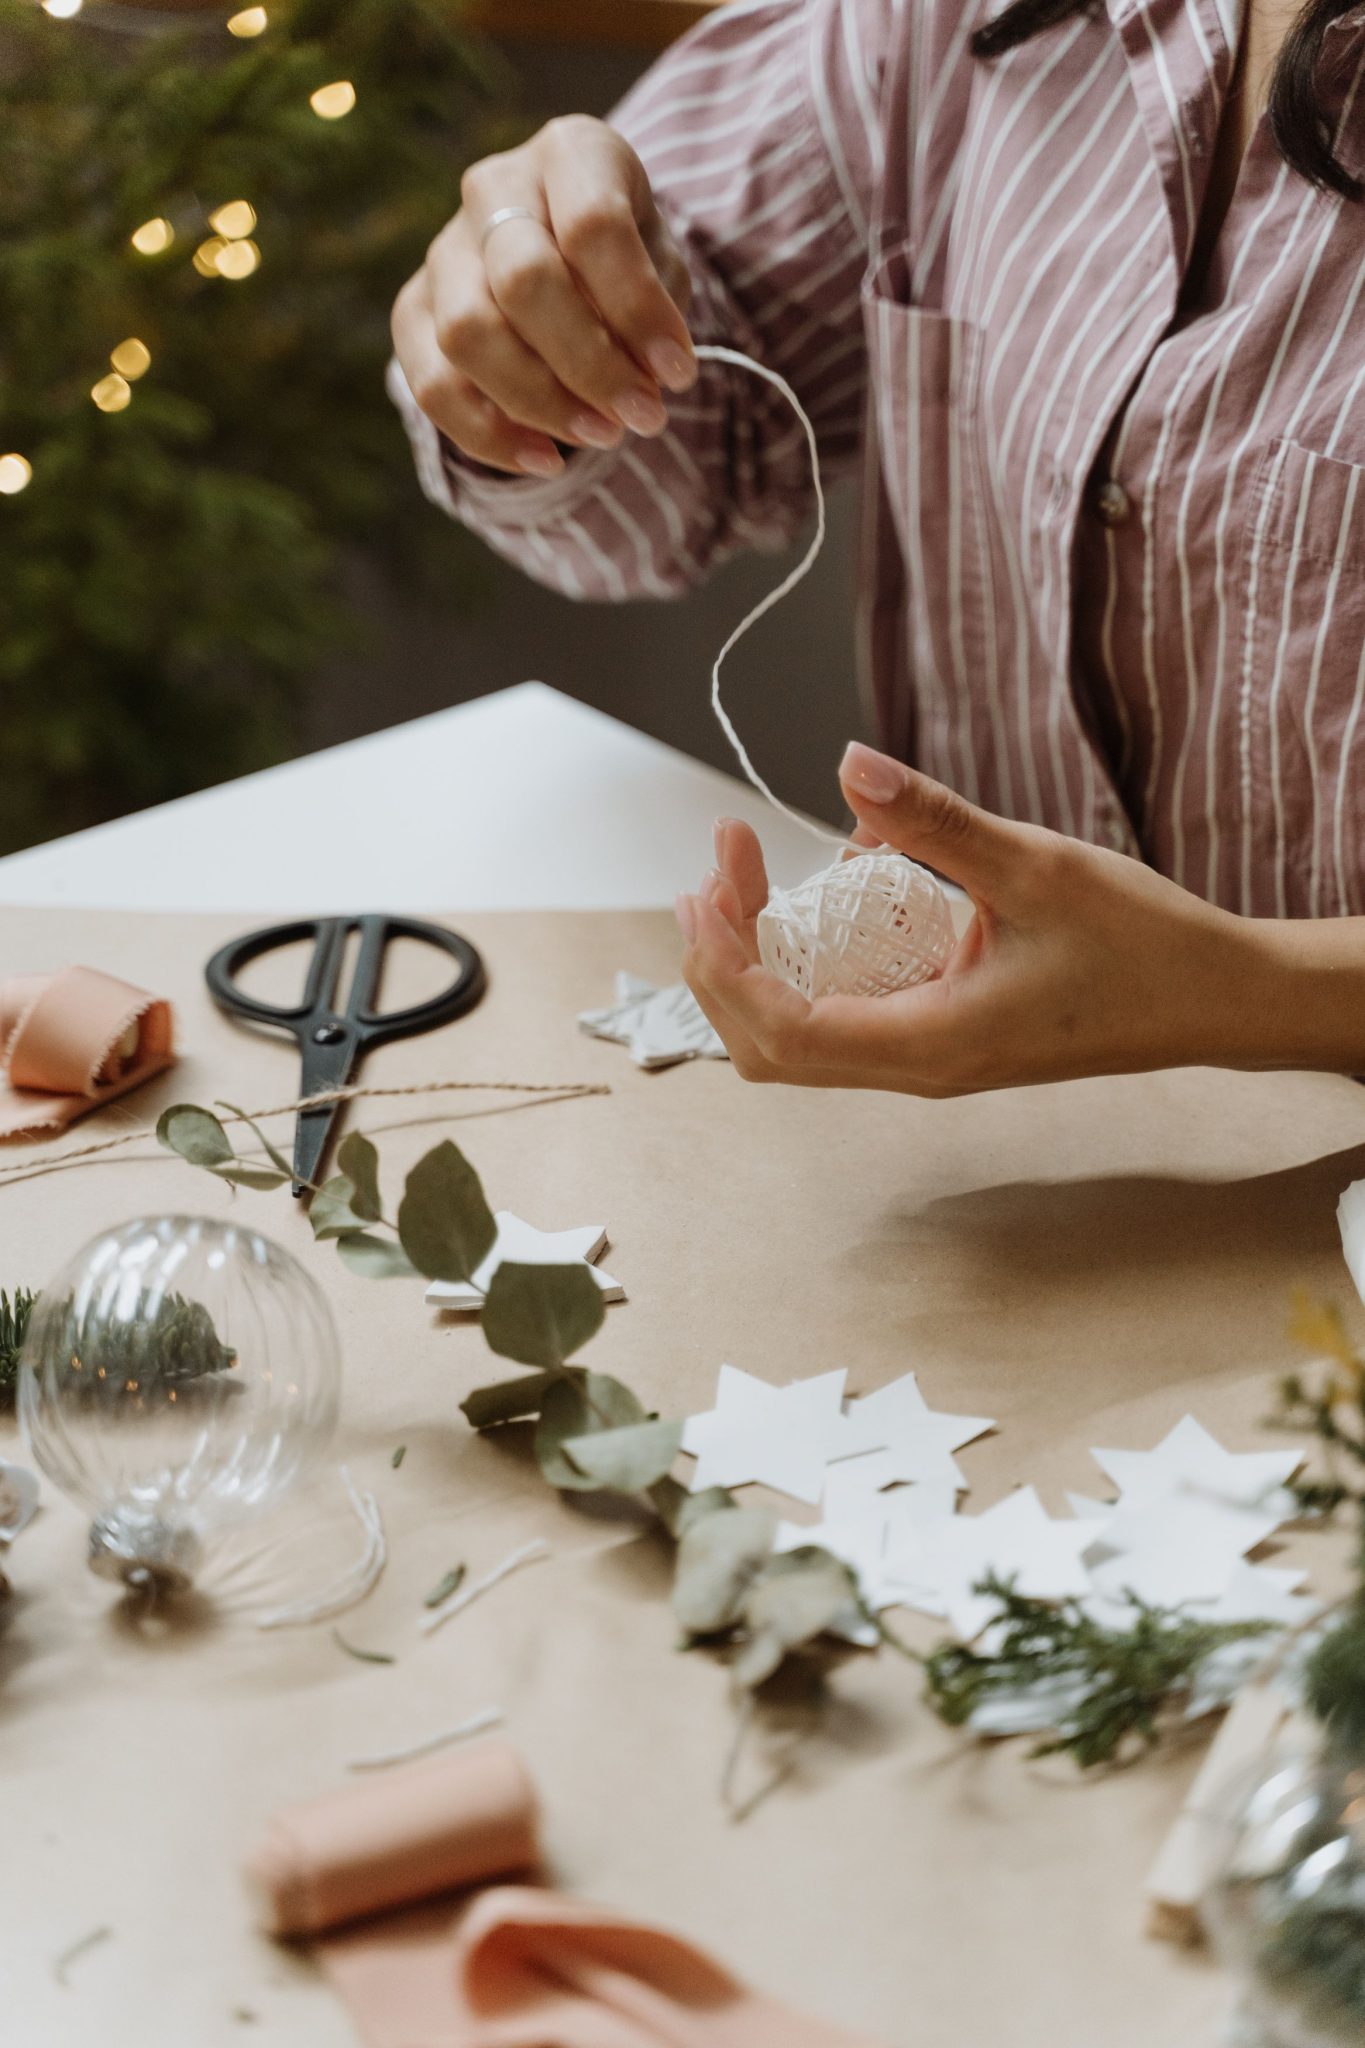
Hand-folded paper stars bring delicate, homemade charm to windows, mantels, or holiday garlands. Use thicker paper or card stock for durability and experiment with old book pages, wrapping paper, or lightweight chipboard for varied textures. Follow a reliable folding pattern and practice with scrap paper until the technique feels comfortable. String stars on twine or thin wire for a hanging display, or cluster them as a tabletop decoration. They’re lightweight, inexpensive, and look especially pretty in groups where repetition creates a handmade rhythm across a space.
Key Design Elements
- Practice the fold on scrap paper before using decorative sheets.
- Use card stock or layered paper for more durable stars.
- String multiple stars to create a garland or mobile.
Pro Tip: Make stars in two sizes and alternate them on a strand to add depth and an artisan feel to your garland.
18. Paint a Rustic Wooden Sign
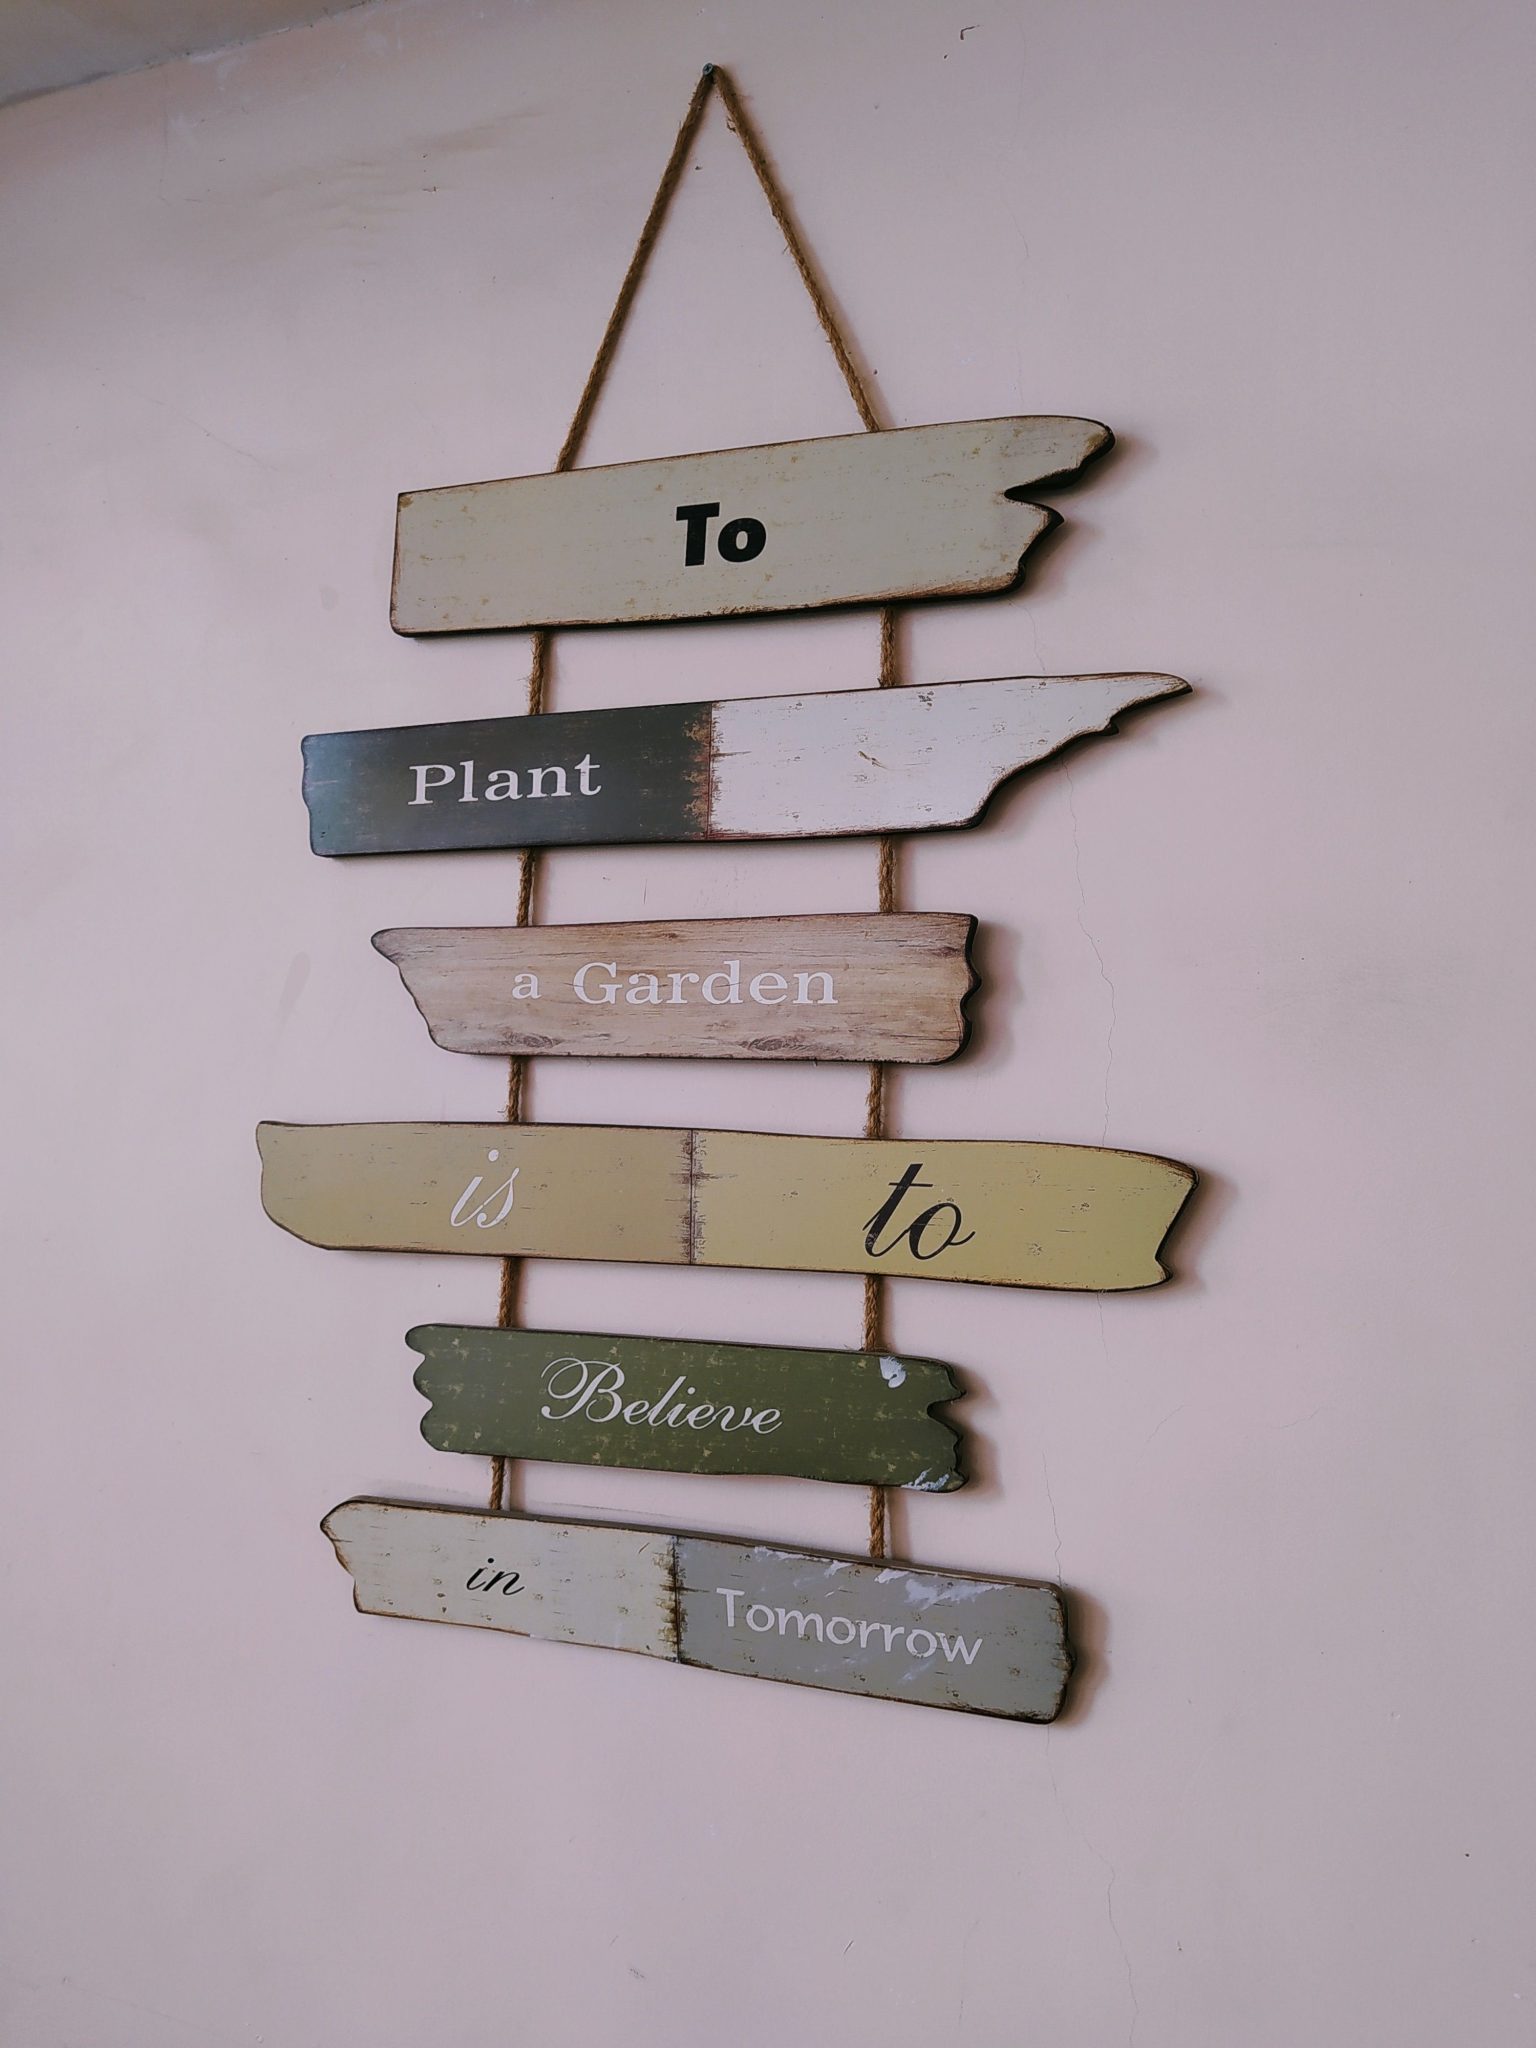
A custom wooden sign is an easy way to add personality to a kitchen or entryway. Use a scrap board, sand it smooth, and apply a base coat. Transfer lettering with a printed stencil or vinyl cutout and fill with paint; slight imperfections lend charm rather than detract. Choose a phrase or word that feels authentic to your household and pick a finish—matte for farmhouse simplicity or distressed for vintage character. Seal the surface with a clear coat for longevity. This project costs a fraction of retail signs and gives you a bespoke accent piece.
Key Design Elements
- Sand and prime the board for a smooth painting surface.
- Use a printed stencil or removable vinyl to guide lettering.
- Seal with a clear protective finish appropriate for the location.
Pro Tip: Distress painted edges lightly with sandpaper after the paint dries to achieve a relaxed, handmade finish that reads intentional.
19. Display Bunches of Dried Flowers
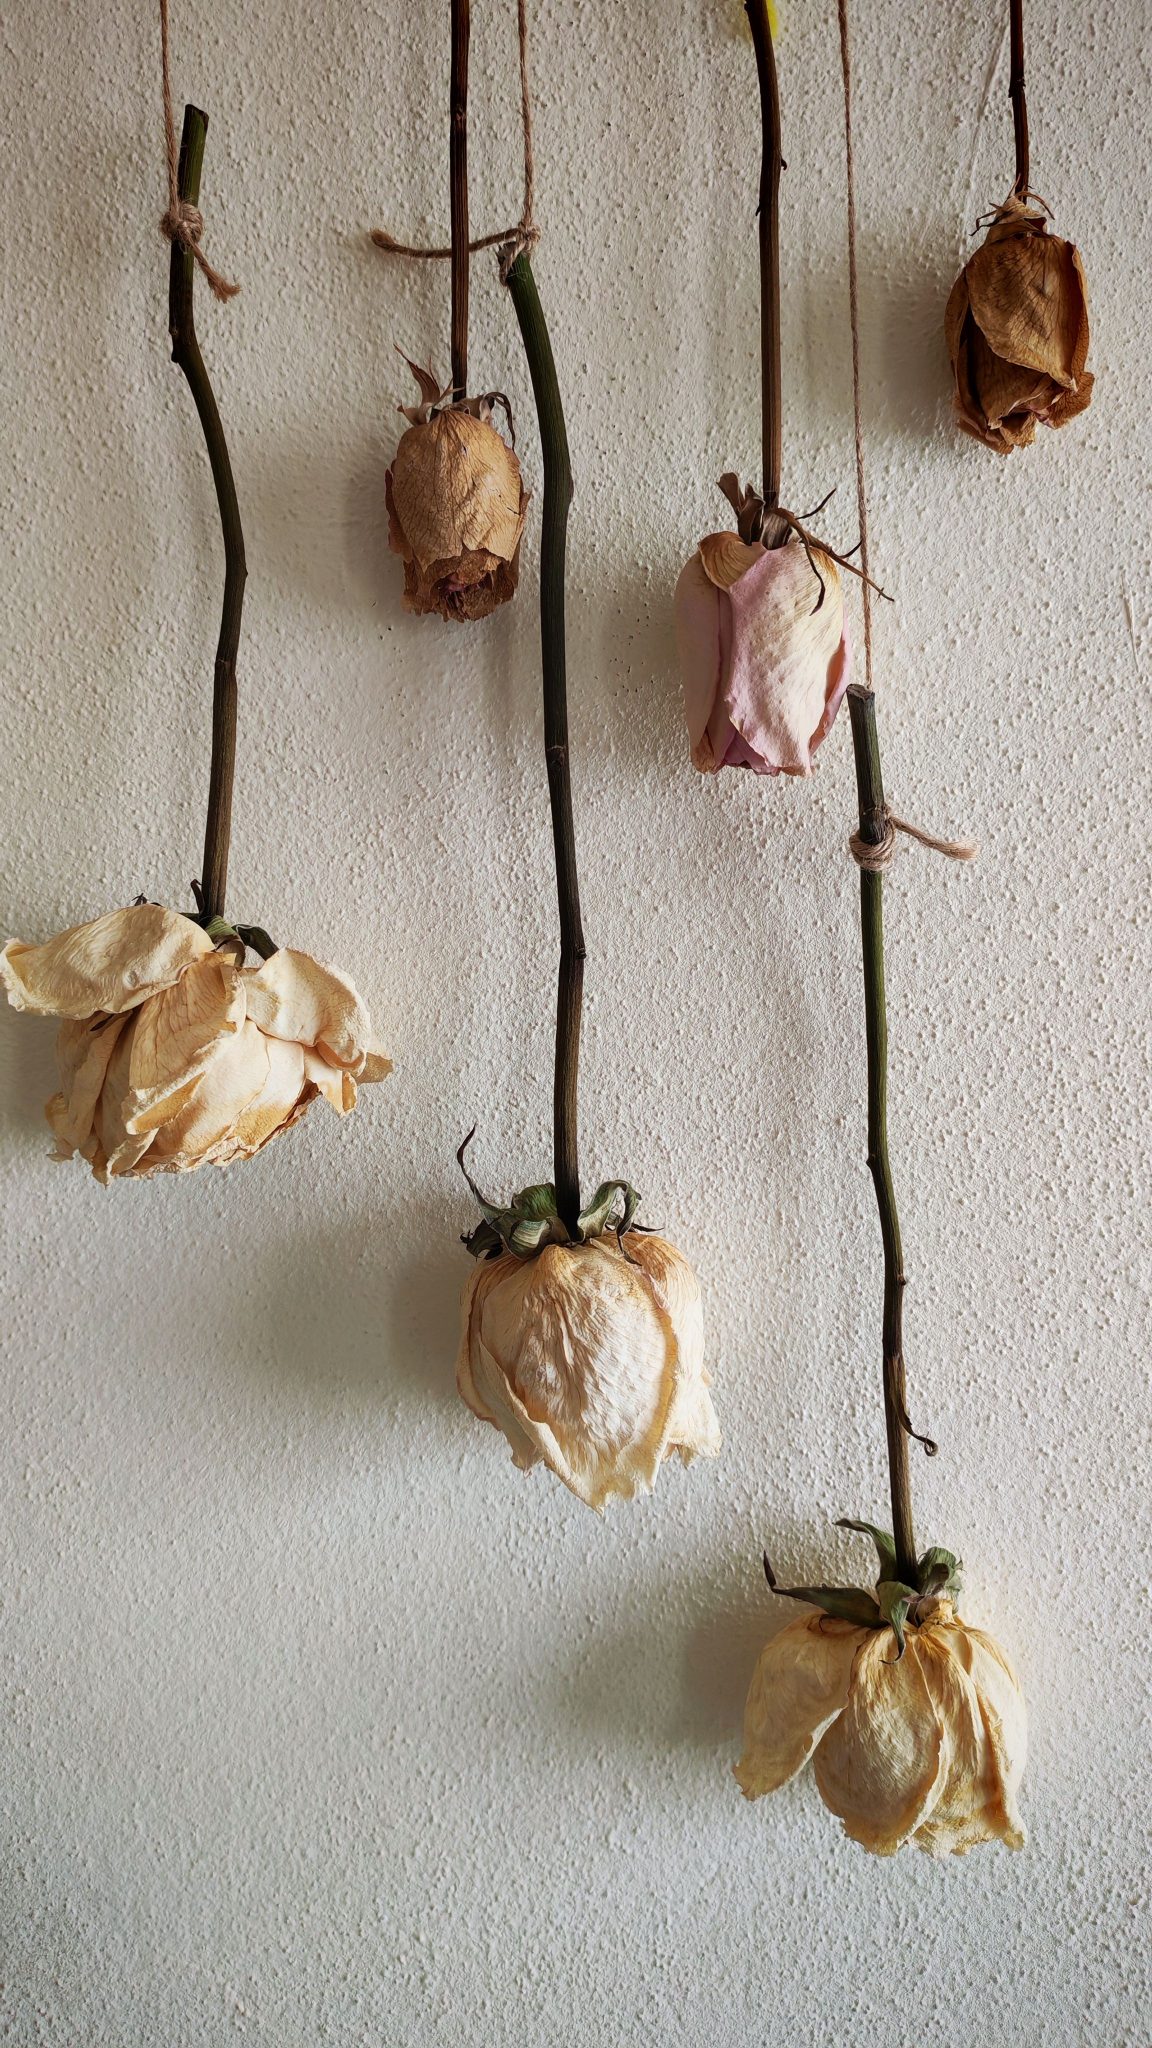
Dried flowers are an elegant, low-cost way to add texture and melancholy beauty to halls and nooks. Air-dry bouquets by hanging them upside down in a dark, ventilated spot for about two weeks, then trim stems and bind bunches with twine. Hang them singly or in a small row for a cultivated, botanical look. Consider using muted stems like wheat, lavender, or hydrangea for longevity. Dried arrangements require almost no maintenance and bring subtle, natural interest to vertical spaces where living plants might not thrive.
Key Design Elements
- Hang freshly cut stems upside down in a dark, airy place to dry.
- Bind trimmed stems with twine and hang in a grouped arrangement.
- Choose sturdier stems like lavender or wheat for longer-lasting displays.
Pro Tip: Spritz dried flowers lightly with hairspray to reduce shedding and keep petals intact while preserving natural movement.
20. Mock Up Your Wall with Cardboard Templates
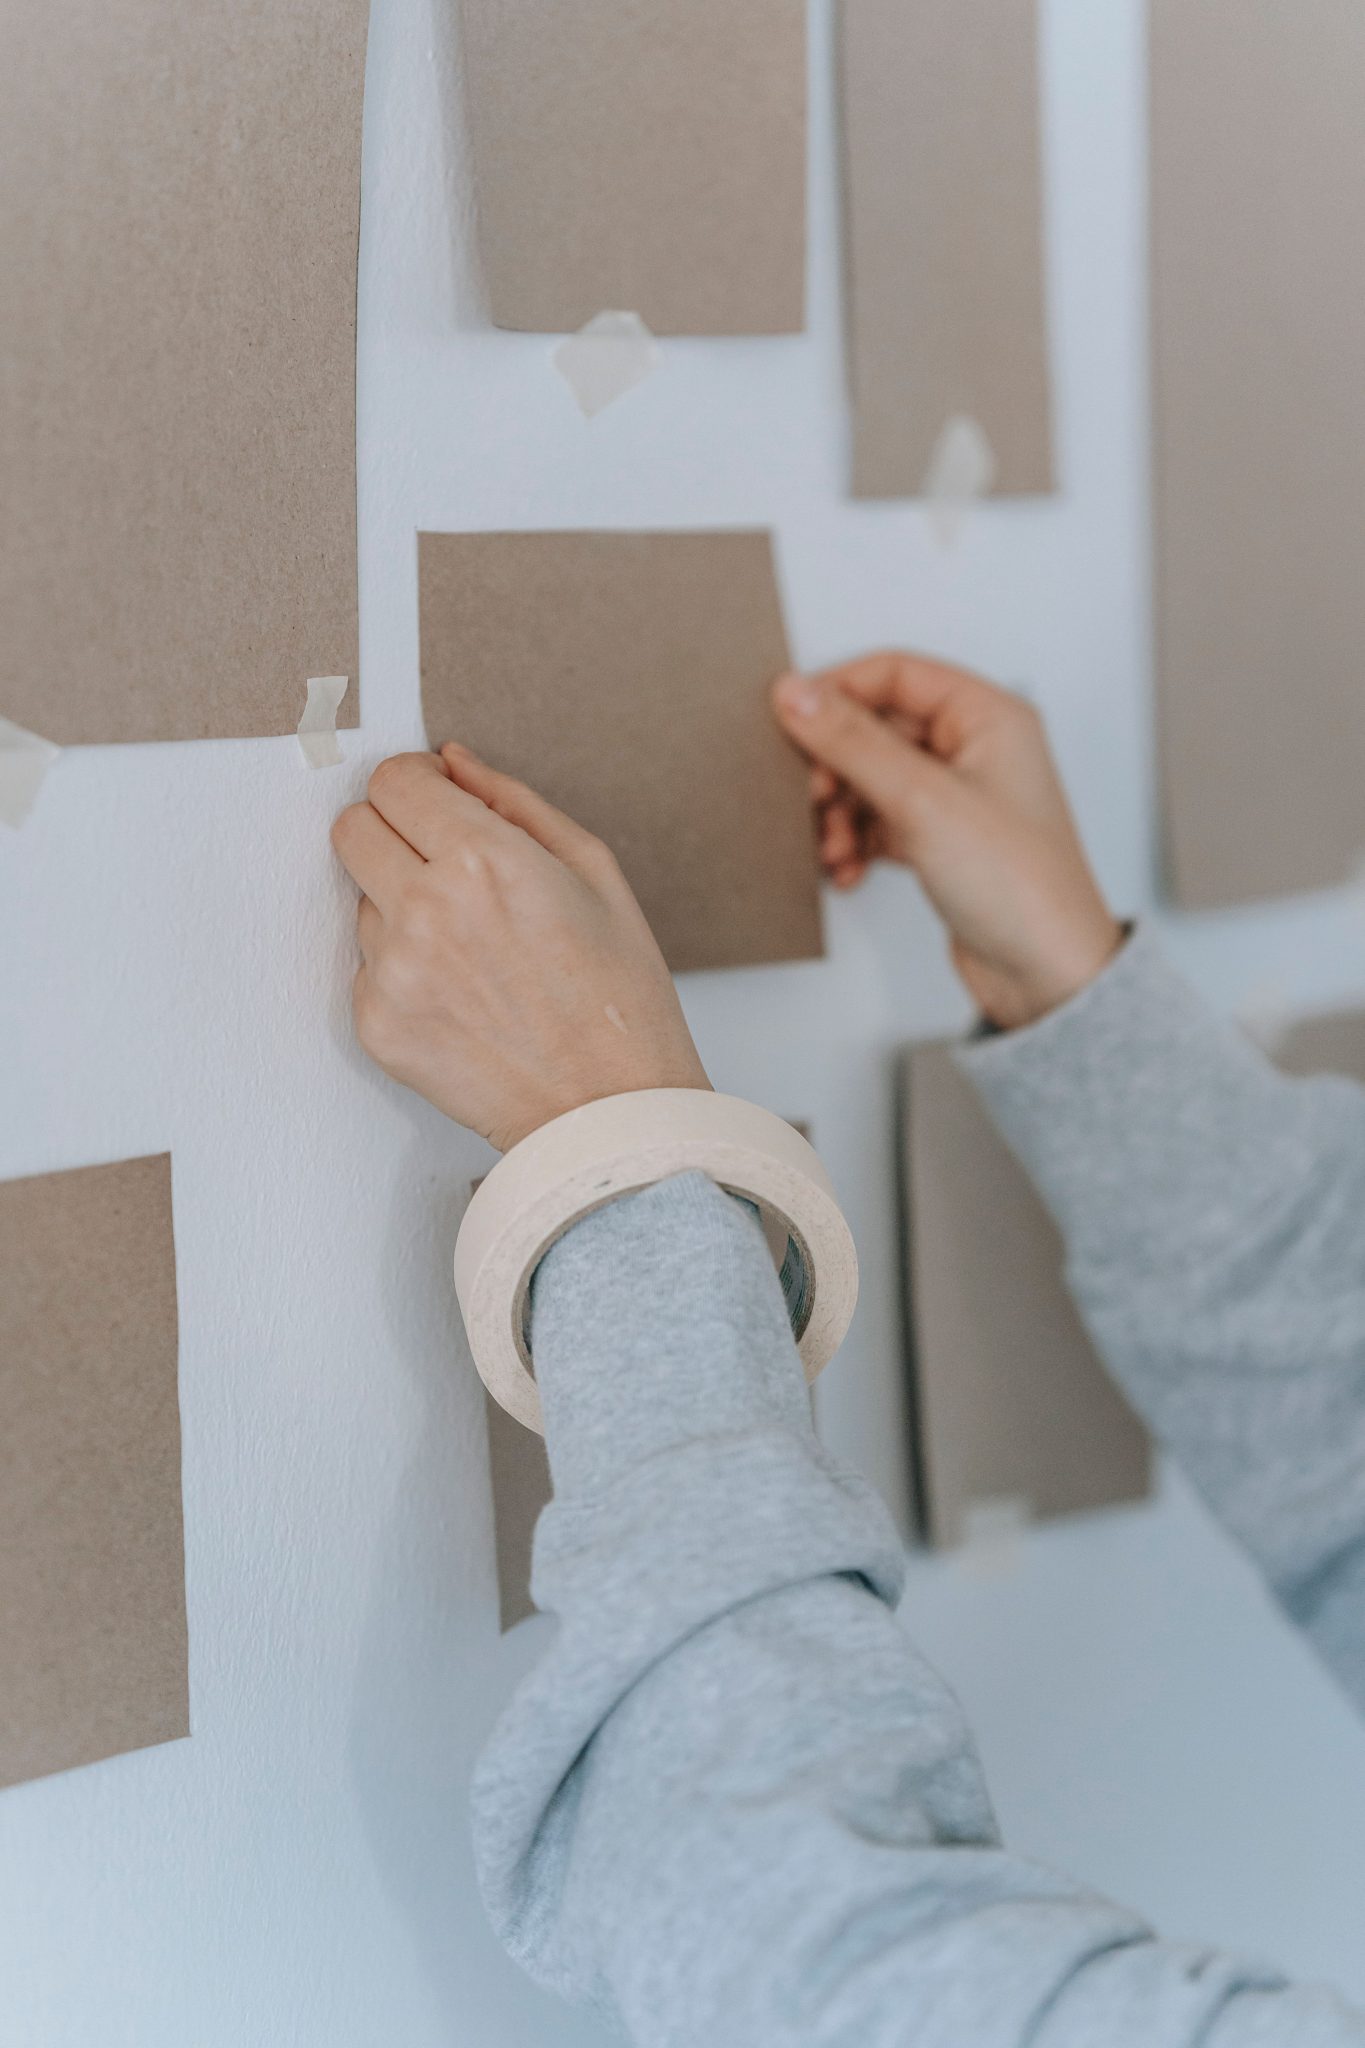
Cut cardboard or paper shapes to the exact dimensions of frames or wall pieces and tape them to the wall to preview a layout without committing to nails. Move templates around until spacing and scale feel right; view from a seated and standing perspective to ensure balanced sightlines. Mark the center points for drilling and photograph the arrangement as a reference. This pre-planning step prevents unnecessary holes and keeps installations precise, especially when working with grouped pieces or asymmetrical arrays. It’s the simplest way to avoid mistakes and arrive at a confident finished layout.
Key Design Elements
- Cut cardboard to match each piece’s dimensions and tape it up with painter’s tape.
- View the mock-up from multiple vantage points before finalizing placement.
- Photograph the arrangement and mark drill points to guide installation.
Pro Tip: Label each cardboard template with its corresponding frame number and hanging hardware location to speed up the transfer from mock-up to final placement.
Conclusion
Small, thoughtful projects have an outsized impact when they address scale, placement, and cohesion. Start with one focal change—a large canvas, a styled shelf, or a framed keepsake—and layer additional touches from this list until the room feels intentionally composed. Many of these ideas reuse objects you already own or rely on inexpensive materials, so progress is economical and customizable.
Treat decorating as a series of small experiments: mock up layouts first, work in layers, and rotate elements seasonally. Over time, these modest updates build a space that looks polished and personal without a designer budget.