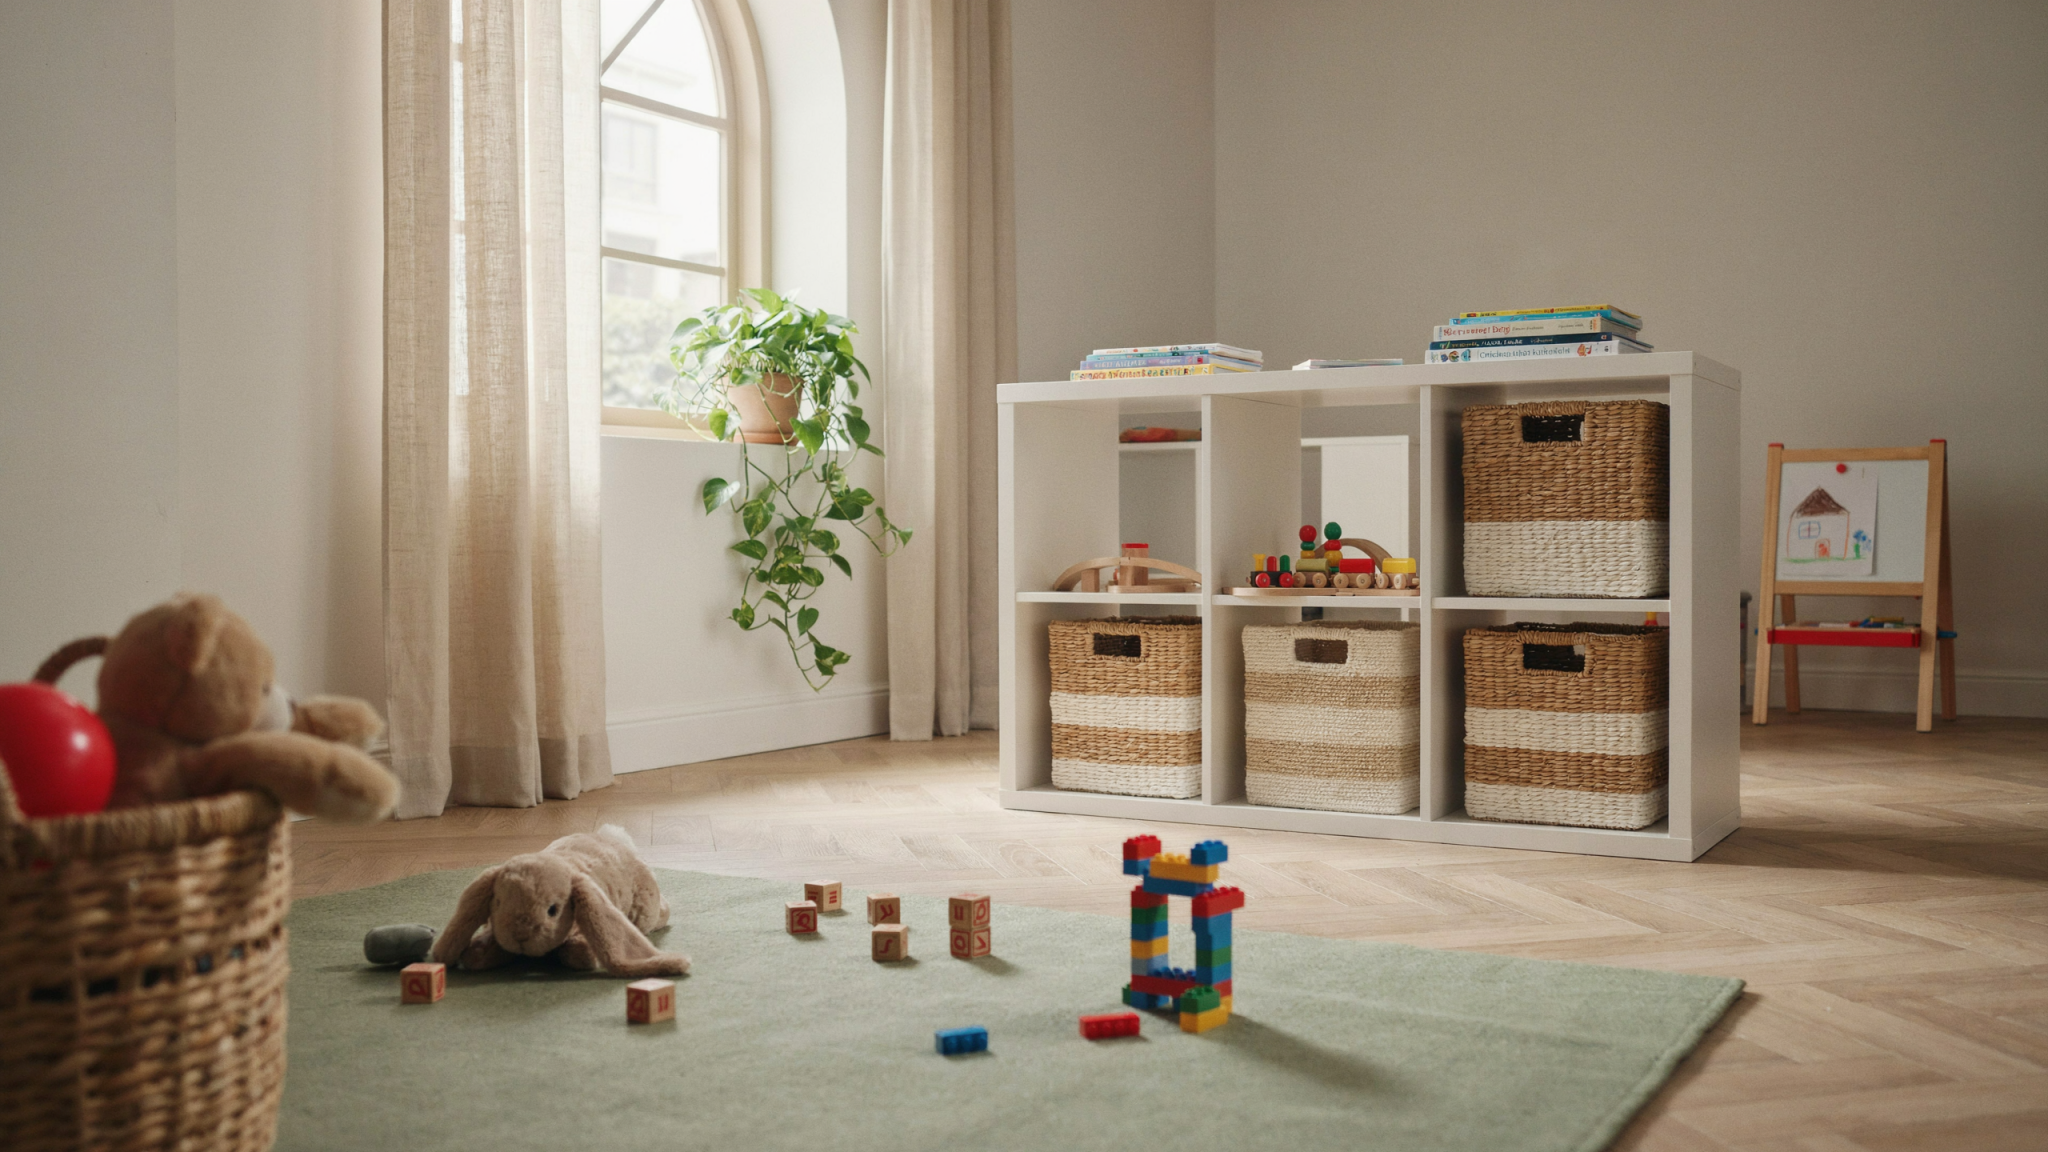
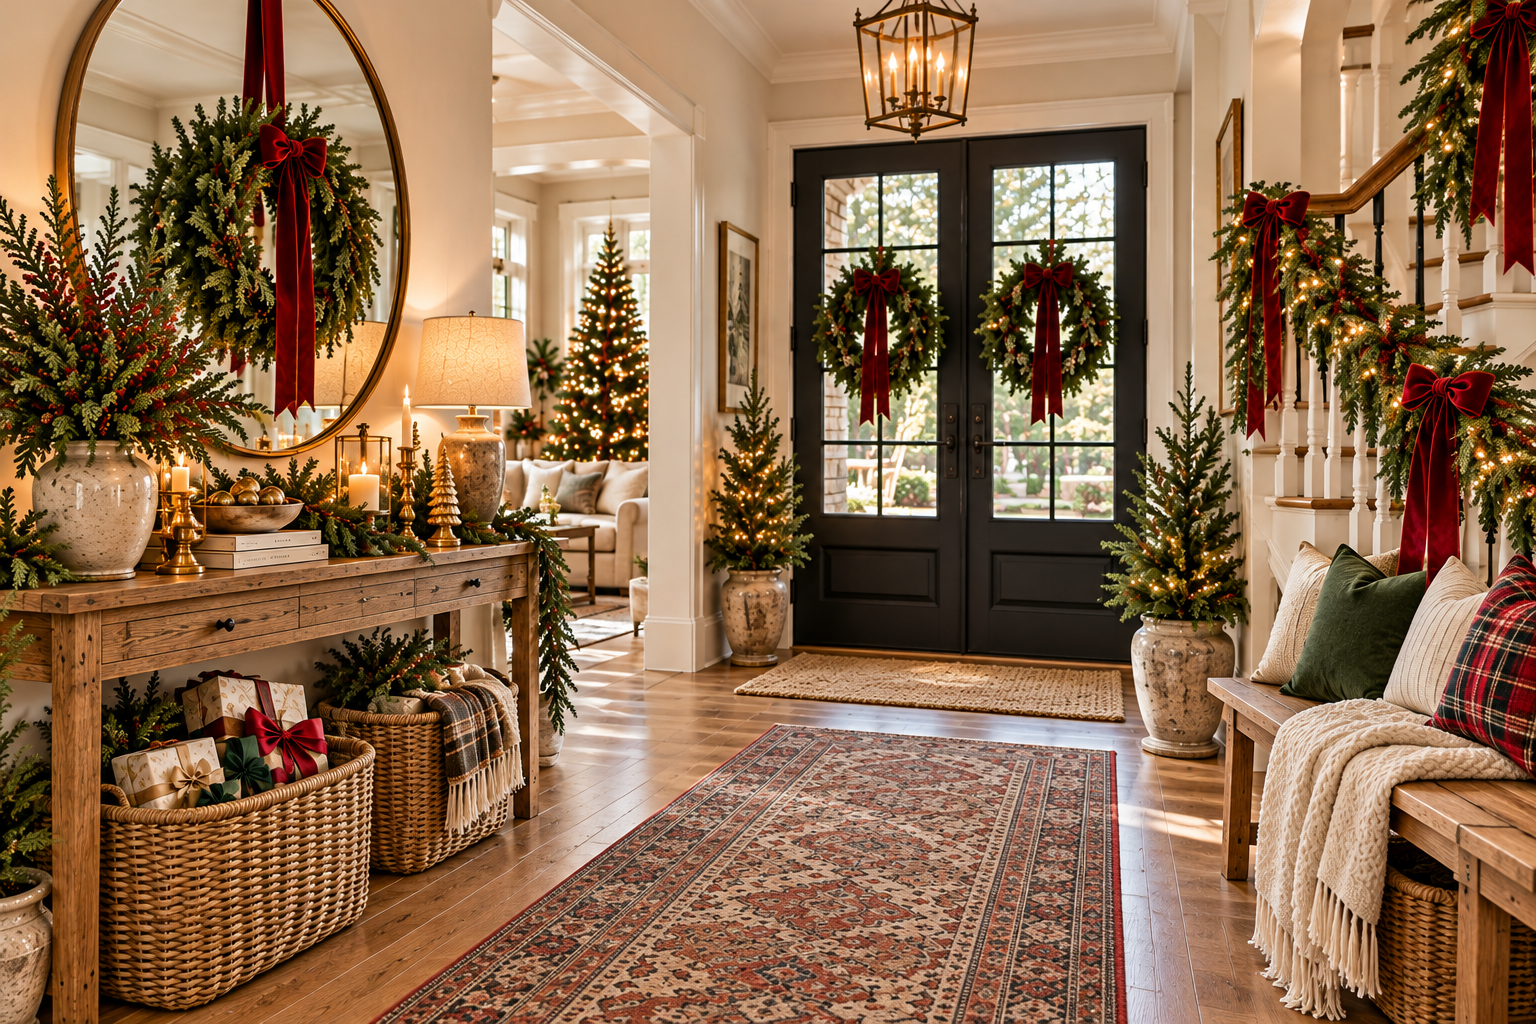
If you love IKEA for its affordability but crave custom-built style and smarter storage, the PAX system is your secret weapon. With a few clever tweaks, paint, and hardware choices, these modular wardrobes can become anything from a polished built-in closet to a cozy reading nook—without the contractor price tag.
This guide collects 18 fresh, do-it-yourself PAX hacks that are practical, photogenic, and perfect for sharing on Pinterest. Each project includes simple ideas, actionable tips, and a pro tip so you can tailor the hack to your home and skill level—whether you’re a weekend DIYer or a seasoned maker.
PAX Planning Checks Before You Buy
Measure the narrowest wall width, lowest ceiling point, depth, and door-opening space. Assembly clearance can differ from the finished frame height, and sliding doors need their own clearances. Check the manual for your exact frame generation and IKEA’s PAX planning guidance.
Treat the ideas below as layout inspiration, not interchangeable construction plans. Keep wardrobe frames intact; use compatible interiors and required wall attachments. Independently design any adjacent desk or bench rather than expecting a wardrobe to support a person.
For fillers and visual integration, use our built-ins planning guide. If your closet cannot accommodate a frame, try storage upgrades within the space you already have.
1. Home Office Command Center from PAX Units

Turn PAX panels and drawers into a streamlined office hub that hides clutter and presents a professional face for meetings. Modular shelving and drawer inserts keep supplies, files, and equipment organized, while the exterior can be styled to look like custom cabinetry. This solution is ideal for open-plan homes where a tidy office makes a big visual impact.
- Use a bank of PAX frames with a mix of drawers and open shelving to store paper, tech, and craft supplies separately.
- Install file rails inside a deep drawer and use labeled magazine files on shelves for quick retrieval.
- Add doors or fabric-covered panels to hide messy zones and keep client-facing areas pristine.
Pro Tip: Anchor units to the wall and run cable grommets through the back panels to keep power cords tidy and hidden for a polished, professional finish.
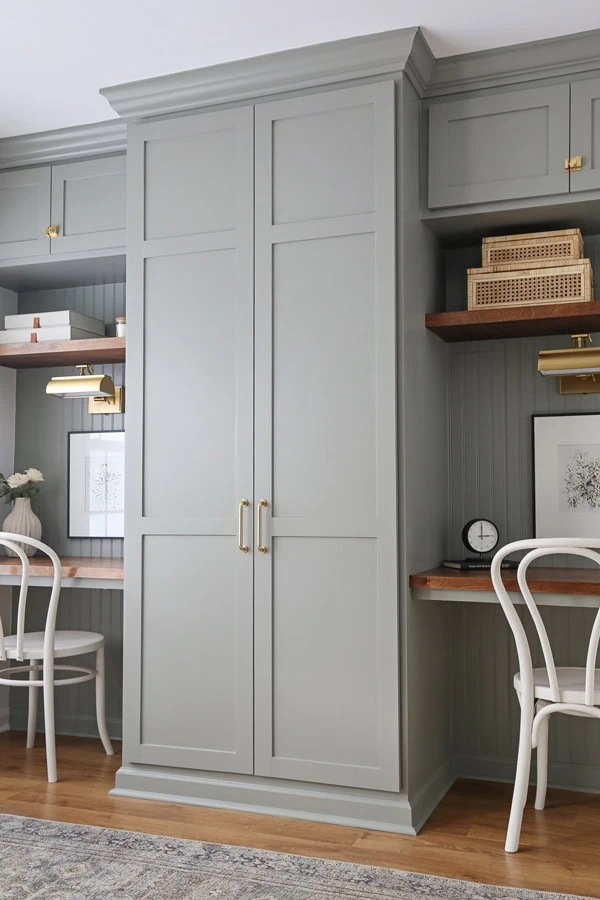
2. Full-Wall Closet Storage: Maximize a Whole Wall

When you have the space, convert an entire wall into a continuous storage system using multiple PAX frames side-by-side. This creates the look of a built-in wardrobe with massive capacity for clothes, shoes, and accessories. Planning zones—like long-hang, stacked shelves, and drawer banks—makes the layout feel custom and luxurious.
- Plan sections: allocate space for long garments, folded stacks, shoes, and seasonal bins before ordering parts.
- Paint or crown-mold the top to blend the units into the room and create a seamless built-in appearance.
- Install LED strip lighting above each section to showcase outfits and improve visibility.
Pro Tip: Measure twice and leave room for door swing or sliding tracks; if space allows, choose sliding doors for a cleaner, space-saving look.
3. Wallpaper Mural Over PAX: Turn Storage into Artwork

Use a panoramic wallpaper mural applied across PAX doors to convert plain storage into a dramatic focal wall. When doors line up perfectly, the mural reads as one continuous scene, drawing the eye and adding personality. It’s a high-impact option for bedrooms and living rooms that want an artistic touch without structural changes.
- Choose a repeatable mural pattern and cut panels to align images across door seams for a flawless flow.
- Use a covering compatible with the actual door finish, testing adhesion and removal on a spare part before applying it across the doors.
- Use an additional coating only if the covering manufacturer specifies a compatible product; test the complete finish combination first.
Pro Tip: Lay the doors flat and assemble the mural off-site for precision matching, then rehang the doors to preserve the continuity of the scene.
4. Reach-In Makeover: Maximize Every Inch

A shallow reach-in closet becomes surprisingly capable when reconfigured with PAX internals: add narrow shelves, a higher rod, and smart dividers to eliminate wasted space. The trick is to stack functional zones—accessories, folded items, and long garments—so every inch contributes. This is perfect for hall closets or secondary bedrooms where space is limited.
- Raise the hanging rod to create a top shelf for seasonal bins and tuck a lower rod for shirts and pants.
- Use pull-out baskets or sliding shoe racks that make the most of narrow depths and improve accessibility.
- Include vertical dividers to prevent community-of-clothes chaos and keep folded stacks neat.
Pro Tip: Install a shallow ledge or lip at the back to stop items from sliding out; it’s a tiny detail that keeps everything aligned and tidy.
5. Corner Couture: Glam Hardware for an Angled PAX Unit

Make a corner PAX installation feel intentional and boutique by swapping standard pulls for oversized, statement hardware. Bold knobs, decorative knockers, or leather straps instantly elevate minimalist white units into a designer-looking corner wardrobe. This is a low-cost upgrade that delivers high-style impact.
- Choose hardware with scale—large knobs or elongated pulls visually anchor a corner unit.
- Mix finishes: pair matte cabinetry with brass or black hardware for contrast and depth.
- Ensure hardware placement respects door geometry so handles align across adjoining doors.
Pro Tip: Test hardware on a spare door or scrap of plywood to check comfort and function before drilling into your finished wardrobe.
6. Family-Ready Mudroom with PAX

Pair intact PAX wardrobes in a suitable dry entry area with a separately supported bench and wall-mounted hooks. The wardrobes provide enclosed storage; the bench must be designed to support people independently. Check the room conditions and the exact units’ care instructions before choosing them.
- Use a complete bench rated for seating, or have one designed with its own support. Keep PAX frames intact beside it and support hooks or cubbies separately as specified.
- Keep wet coats and shoes in a separate suitable drying area; a basket does not protect the wardrobe from moisture.
- Label cubbies or use color-coded bins for each family member to streamline morning routines.
Pro Tip: Install removable, washable bench cushions and a kickplate along the base to protect high-traffic surfaces and simplify cleaning.
7. Vanity Glam: Add a Statement Mirror to Your PAX

Place a securely mounted mirror and a separate dressing table beside PAX storage to create a dressing station. Mirrors with character—ornate frames, sculptural shapes, or backlit LED—transform PAX doors into a focal area for grooming and outfit checks. Pair with drawers for makeup and jewelry to keep the surface clutter-free.
- Use a mirror door specifically compatible with the frame, or mount a separate mirror to a suitable wall using its specified hardware. Do not add a heavy mirror to an ordinary door without documented compatibility.
- Choose a separate dressing table with suitable drawers; keep wardrobe drawers in their compatible frames.
- Include adjustable lighting—dimmable LEDs or side sconces—for flattering, practical illumination.
Pro Tip: If wall-mounting a heavy mirror, secure it to studs or use heavy-duty anchors so the mirror stays safely supported over time.
8. Pair PAX Storage With an Independently Supported Window Seat

Place full-height wardrobe storage beside a separately designed bench. Do not cut a wardrobe down and assume a plywood top makes it safe for seating. The bench needs its own frame, fixings, and support for people.
Check window operation, access, and ventilation, and keep the bench clear of required escape routes. Plan cushion height and usable seating depth before construction. Choose a complete rated bench or have a carpenter design one to fit.
Layout inspiration below: the seat requires independent structural support.
9. Fashion-Forward Walkway Wardrobe for the Style-Obsessed
Design a boutique-style wardrobe using PAX frames dedicated to shoes, accessories, and curated outfits. Incorporated jewelry trays, divided drawers, and clear shoe shelving keep everything visible and ready to wear. The result is a dressing space that prioritizes display and function in equal measure for anyone who treats their wardrobe like an exhibit.
- Install shallow drawers with velvet-lined trays for jewelry and sunglasses to prevent scratching.
- Use angled or clear acrylic shoe shelves to display footwear while keeping them dust-free.
- Create a central mirror wall and dedicated outfit zones (work, weekend, evening) so selections are fast and intentional.
Pro Tip: Do not attach a library ladder to a wardrobe frame. Use an appropriate freestanding step stool, or have any ladder system designed with independent structural support.
10. Cozy Windowless Kids’ Reading Nook with PAX
When a bright window isn’t available, create a snug reading corner by dedicating one PAX unit to books and adding soft seating at its base. Use warm paint, string lights, and cushions to make the space magical and inviting. This is a great way to encourage reading while keeping children’s books organized and accessible.
- Install shallow, face-out shelves at kid height for picture books to foster independent selection.
- Use compatible lighting installed with its specified clearances and accessible connections; LED fittings still require heat management.
- Place a separate floor cushion or pouf beside the wardrobe; shelves and wardrobe bases are not seats.
Pro Tip: Keep the reading area open and clear of loose cords or draped fabric. Position lighting and furniture so children can use the space without climbing wardrobe shelves.
11. Seamless Built-In Look: Painted and Flush PAX

Make PAX look permanently integrated by painting the frames to match trim and adding filler strips to hide gaps. Consistent door reveals and coordinated trim can create a more integrated appearance. Use compatible doors and fittings; this cosmetic treatment does not establish an increase in resale value.
- Use paintable caulk in seams and add quarter-round or crown molding to close gaps at the ceiling and floor.
- Keep hinges and doors compatible with the exact PAX frame and door system. Adjust the specified hinges for even reveals rather than fitting generic replacement hinges.
- Prime melamine surfaces before painting and use a high-quality brush or spray for a smooth result.
Pro Tip: Remove doors and hardware before painting to avoid drips; paint doors flat on sawhorses for an even, brush-free finish.
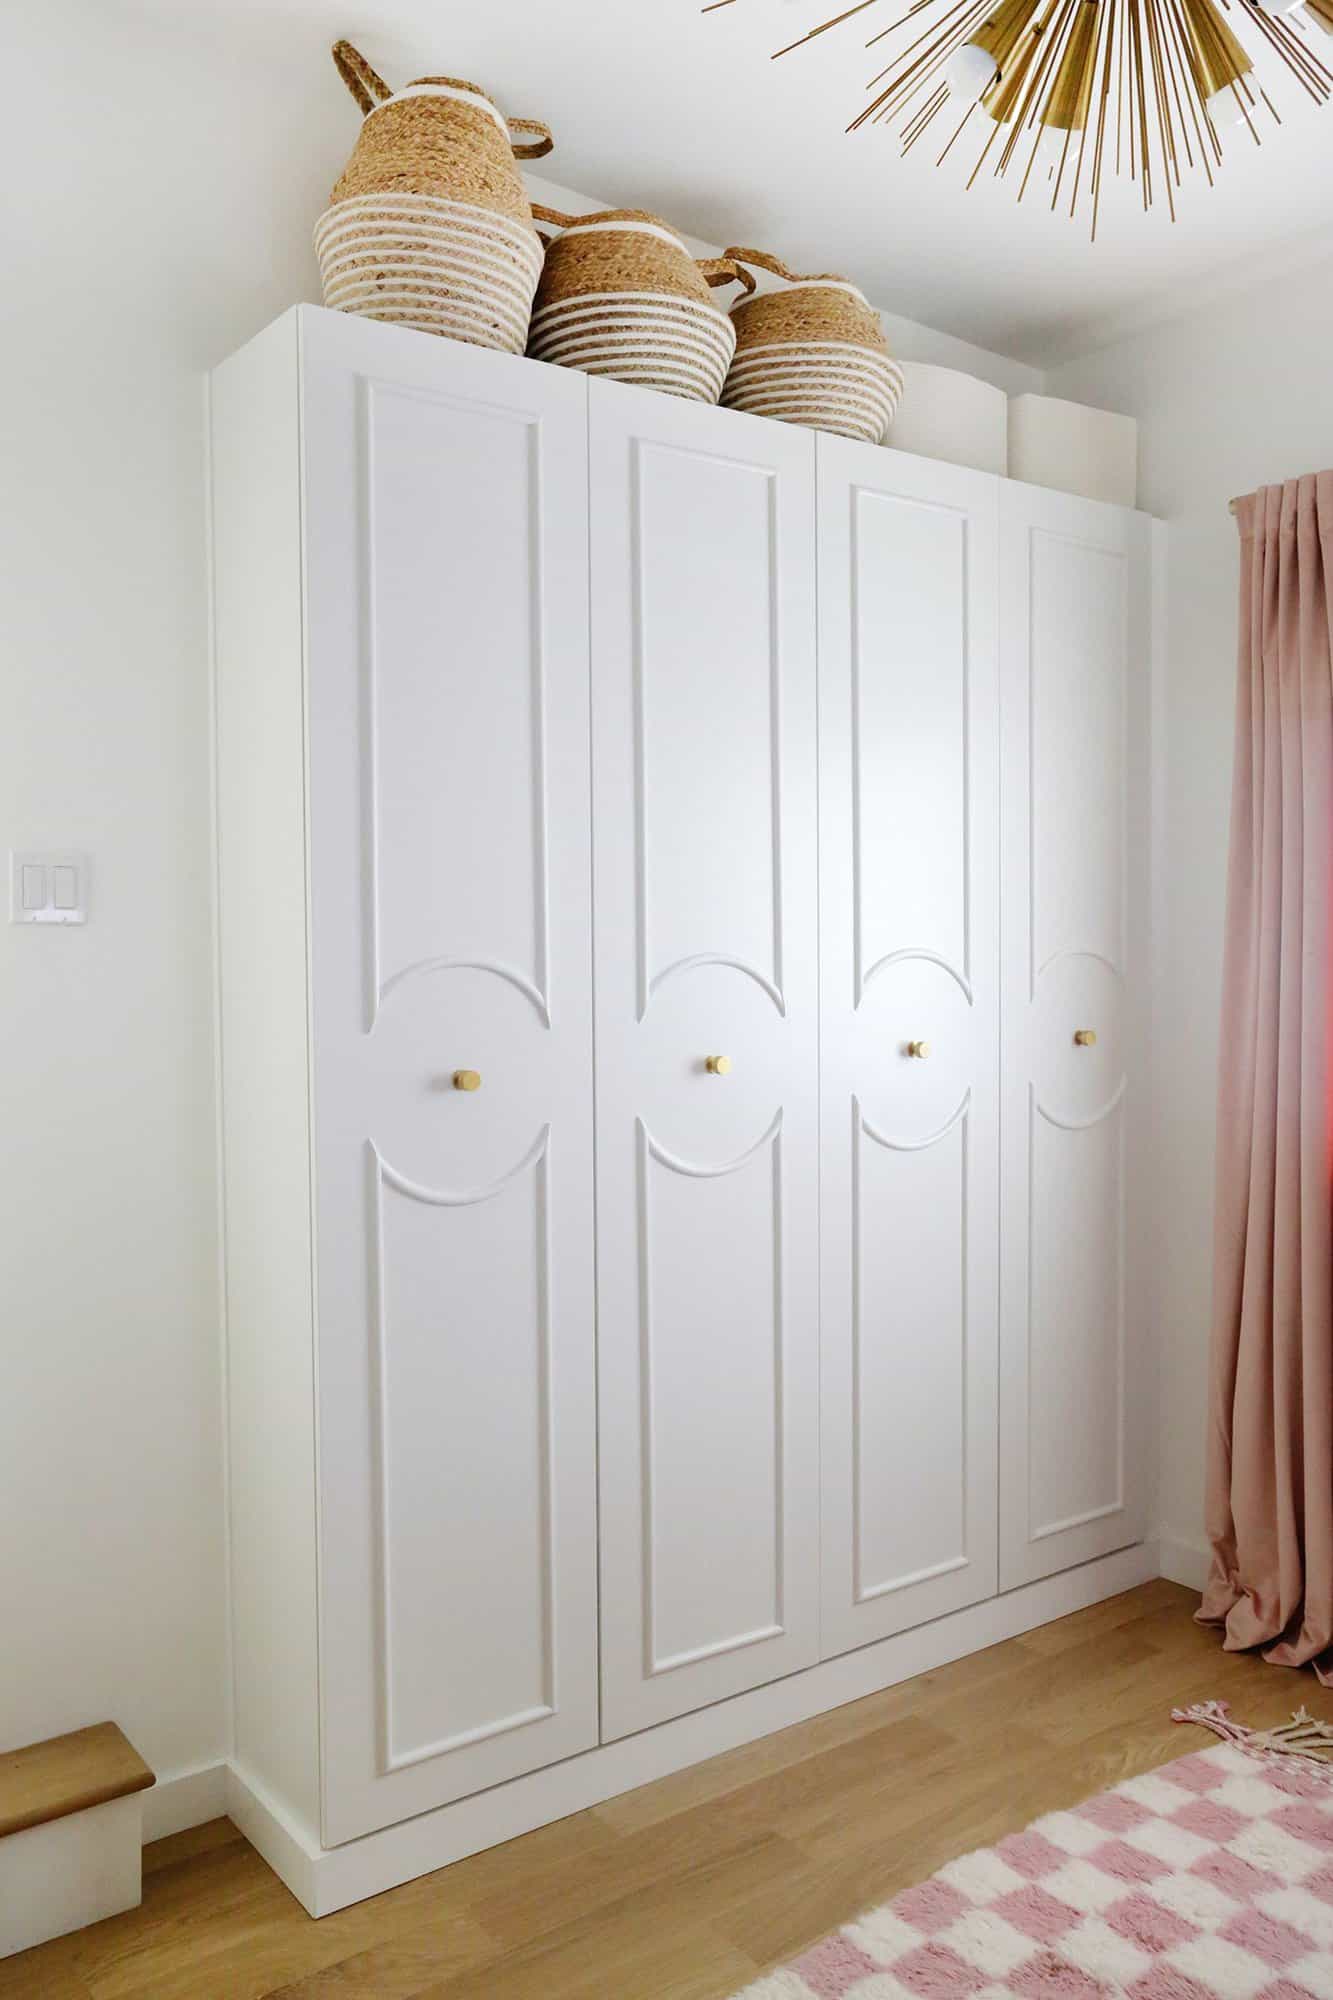
12. Chic Patterned Doors: Wallpaper Upgrades for PAX

Refresh plain PAX doors with peel-and-stick wallpaper or fabric to introduce pattern and color without permanent changes. This quick swap is perfect for renters or anyone who loves seasonal shifts in decor. Bold patterns on door panels create a focal point and are surprisingly easy to update when tastes evolve.
- Measure and cut wallpaper panels slightly oversized, then trim after application for crisp edges.
- Test removable wallpaper on a matching spare surface first. Adhesives and removal can damage a factory finish, even when a product is labeled removable.
- Mix matte and metallic patterns to add dimension—metallic accents catch light on evening and make the doors pop.
Pro Tip: Apply wallpaper to doors laid flat to prevent seams from misaligning; use a hard squeegee to eliminate air bubbles for a professional finish.
13. Make Your Own Walk-In with PAX Modules

Arrange intact PAX frames side by side to form a custom walk-in closet that fits your floor plan and habits. Mix hanging, shelving, drawers, and open cubbies to tailor the space to your wardrobe mix. This approach gives you the flexibility of a bespoke closet without the price tag of a full custom build.
- Sketch zones for long wear, folded items, accessories, and shoes, then assign PAX sizes accordingly.
- Use paintable caulk at seams and matching trim to create a built-in aesthetic across multiple units.
- If space permits a folding island, choose a purpose-built unit with documented support for its top. Do not turn tall wardrobe frames into an island or assume they can support a heavy slab.
Pro Tip: Place a moisture-absorbing sachet in enclosed drawers and use breathable storage bins to keep garments fresh in a closely packed walk-in.
14. Whimsical Princess Closet for Growing Kids

Design a compact, fairy-tale wardrobe using PAX adapted to a child’s height and imagination: low rods, accessible drawers, and a matching petite vanity. Choose playful colors, decals, or crown moldings to make the space enchanting but practical. As your child grows, adjustable internals let the closet evolve without a full redo.
- Set rods and shelves at reachable heights and include a small mirror so kids can dress independently.
- Incorporate labeled bins for costumes, shoes, and accessories to simplify clean-up and playtime.
- Use removable, kid-safe hardware and soft-close drawers to reduce pinches and noise.
Pro Tip: Install adjustable shelving and removable drawer organizers now so the closet can transition easily from toddlers to teens without major modifications.
15. Masculine Minimalist: Sleek PAX for Gentlemen

Create a refined, masculine closet with dark finishes, clean lines, and purposeful organization. Opt for deep drawers, tie and belt racks, and open shelving to display shoes and accessories in a calm, curated way. Subtle hardware and matte paints produce a streamlined aesthetic that still maintains excellent function.
- Choose charcoal, navy, or wood-look finishes and pair with black or gunmetal hardware for a bold look.
- Install tie, belt, and watch organizers in one dedicated column to keep accessories neat and visible.
- Use fabric bins in neutral tones on high shelves to store off-season items without visual clutter.
Pro Tip: Install a pull-out valet rod for outfit planning and to air garments after wear—simple, elegant, and highly useful.
16. Use Wardrobe Storage Only in a Suitable Dry Laundry Area

Before choosing PAX, confirm the exact unit’s suitability for the room and follow its care instructions. Paint or a liner does not make a wardrobe waterproof or protect particleboard from a leak.
Keep it away from splashes and required appliance service, heat, and ventilation clearances. Use compatible inserts within documented loads, and keep detergents in original labeled packaging secured away from children. Use cabinetry designed for damp locations where moisture exposure cannot be avoided.
17. Create a Dry Dressing Station Beside PAX Storage

Use PAX for clothing and accessories beside a separate dressing table in a dry bedroom. Keep enough knee and chair space to sit comfortably, and leave wardrobe drawers and doors free to open.
PAX drawers need their compatible frame and runners; they are not generic inserts for the empty space under a bathroom vanity. For a sink area, choose bathroom-rated cabinetry with dimensions and plumbing clearances suited to the installation.
18. Fit Intact PAX Frames Beside Awkward Spaces

Choose a frame that fits beneath the lowest usable ceiling point with the required assembly and door clearances. Leave an angled gap above an intact frame and use removable decorative fillers if appropriate; do not cut structural panels to follow the slope.
If no frame fits, use purpose-built storage rather than rebuilding a wardrobe with generic brackets. Keep under-stair services and access panels reachable, and have structural or fire-protection requirements checked before enclosing the area.
Final Thoughts
The IKEA PAX system is one of the most flexible and budget-friendly ways to create custom storage solutions that look far more expensive than they cost. Whether you want a boutique wardrobe, a cozy nook, or a heavy-duty mudroom, these hacks show how small changes—hardware, paint, internal organizers, or a wallpaper panel—can make a big difference.
Pick one idea that solves a current pain point in your home and start small: measure carefully, plan your zones, and add one or two high-impact details like lighting or statement hardware. With a little creativity and basic tools, you’ll have a functional, beautiful, and very Instagram-worthy PAX installation in no time.
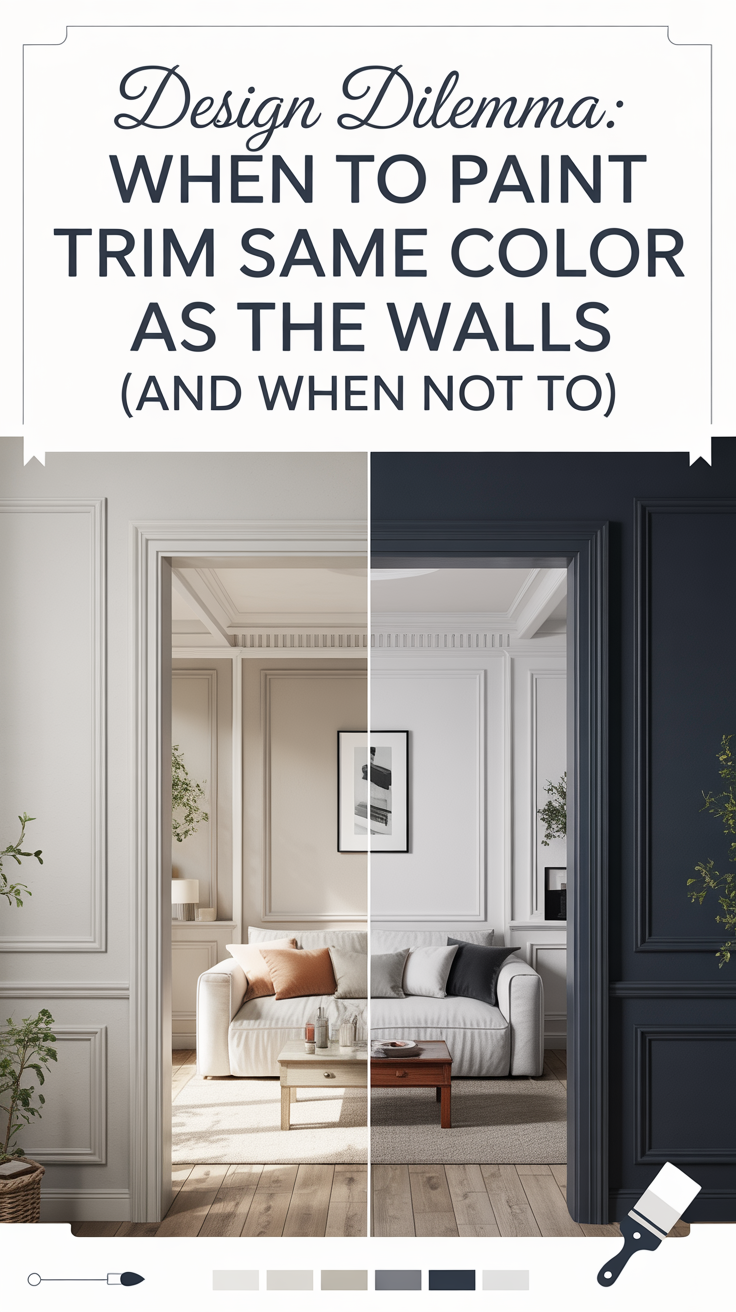
For the finishing details, compare handles and pulls in our cabinet hardware guide. To decide whether the wardrobe should blend into the room, use our wall-and-trim color guide before sampling a finish.