
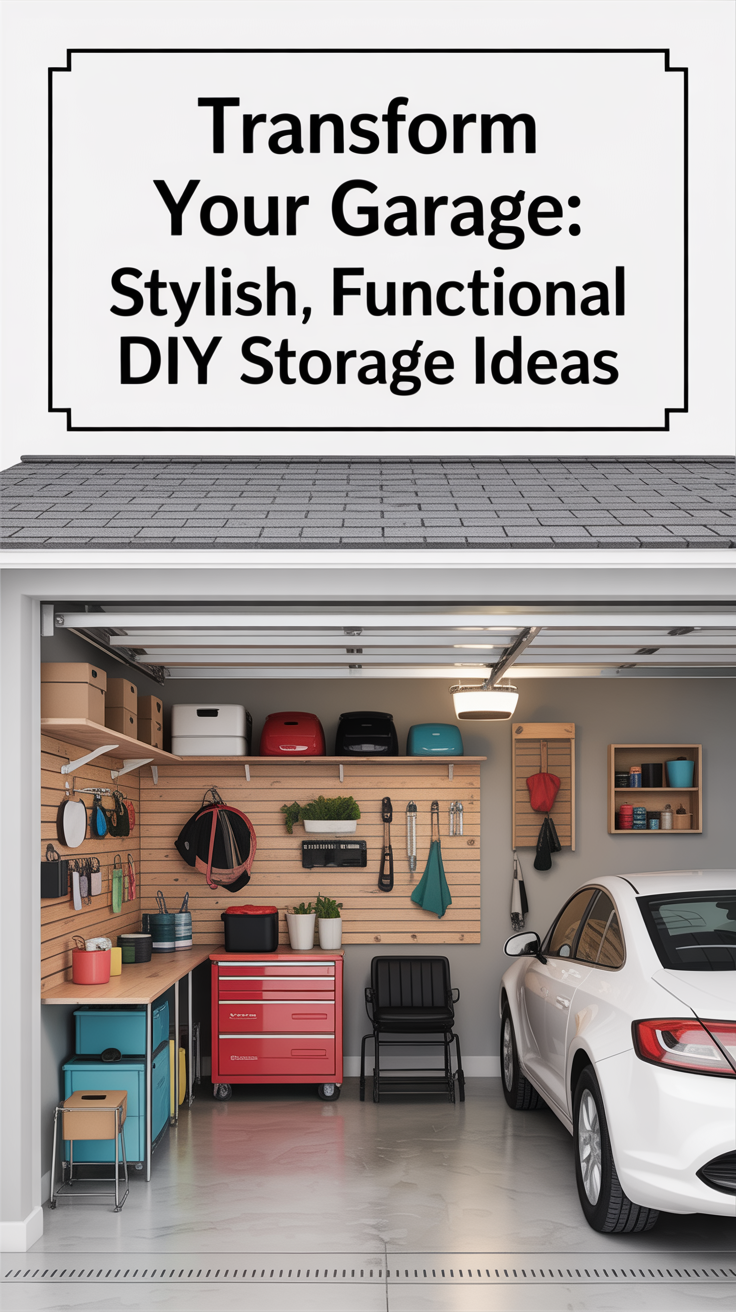
Garages are often the most underutilized and cluttered spaces in our homes. They tend to become a catch-all for holiday decorations, sports gear, tools, and everything in between. The problem? Many garages end up looking messy, chaotic, and completely uninspiring. But here’s the secret: a functional garage doesn’t have to sacrifice style. With a few strategic upgrades, you can turn your garage from a cluttered afterthought into a polished, organized space that you’ll actually want to show off. I can tell you guys are hungry for more garage room makeover tips (if you haven’t read this post, it’s worth checking out as well!)
Today I’m going to combine three of the most popular concepts into a single, massive DIY garage storage overhaul. I’ll walk you through creating a stylish garage wall storage system, adding hidden storage, and transforming your garage entryway—all achievable over a weekend or two, without breaking the bank. Plus, I’ll share detailed tips, step-by-step instructions, and design hacks that make this project approachable for any homeowner, especially those on a budget.
1. Why Garage Organization Matters
Before we dive into the projects, let’s talk about why garage organization is worth your time:
Efficiency and convenience: Knowing exactly where your tools, sports equipment, or seasonal decor are saves time and stress. No more hunting for a lost hammer or digging through boxes to find holiday ornaments.
Increased home value: A well-organized garage feels intentional and polished. If you’re planning to sell your home, a tidy garage is a subtle but effective selling point. Potential buyers often look at the garage as extra storage space—make it feel functional.
Stress reduction: Clutter creates visual chaos, which can affect your mood. Walking into a clean, organized garage has a surprisingly calming effect, especially after a long day at work.
With the right strategy, a garage can be more than just storage—it can be a functional extension of your home’s style, combining practicality with visual appeal.

2. Start With a Clean Slate
You can’t create a gorgeous garage system without first clearing out the clutter. Here’s how to get started in a way that sets you up for success:
Step 1: Declutter
Sort items into four categories: keep, donate, toss, or relocate. Be ruthless. If you haven’t used it in a year, it probably doesn’t need to stay. Consider seasonal rotations—store holiday decorations in labeled bins so they don’t take up everyday space.
Step 2: Deep Clean
Sweep, mop, or even power wash your garage floor. Clean walls, windows, and corners to remove cobwebs and dust. A clean canvas makes all the difference when installing storage systems and gives you a fresh starting point for styling.
Step 3: Assess Your Space
Measure your garage walls, ceiling height, and doorways. Take note of electrical outlets, lighting, and windows. Sketch a simple layout to plan where storage systems, benches, and hidden compartments will go.
Pro tip: Photograph your garage before starting. A before-and-after photo series is satisfying and inspiring—you’ll see just how much of a difference these upgrades make.
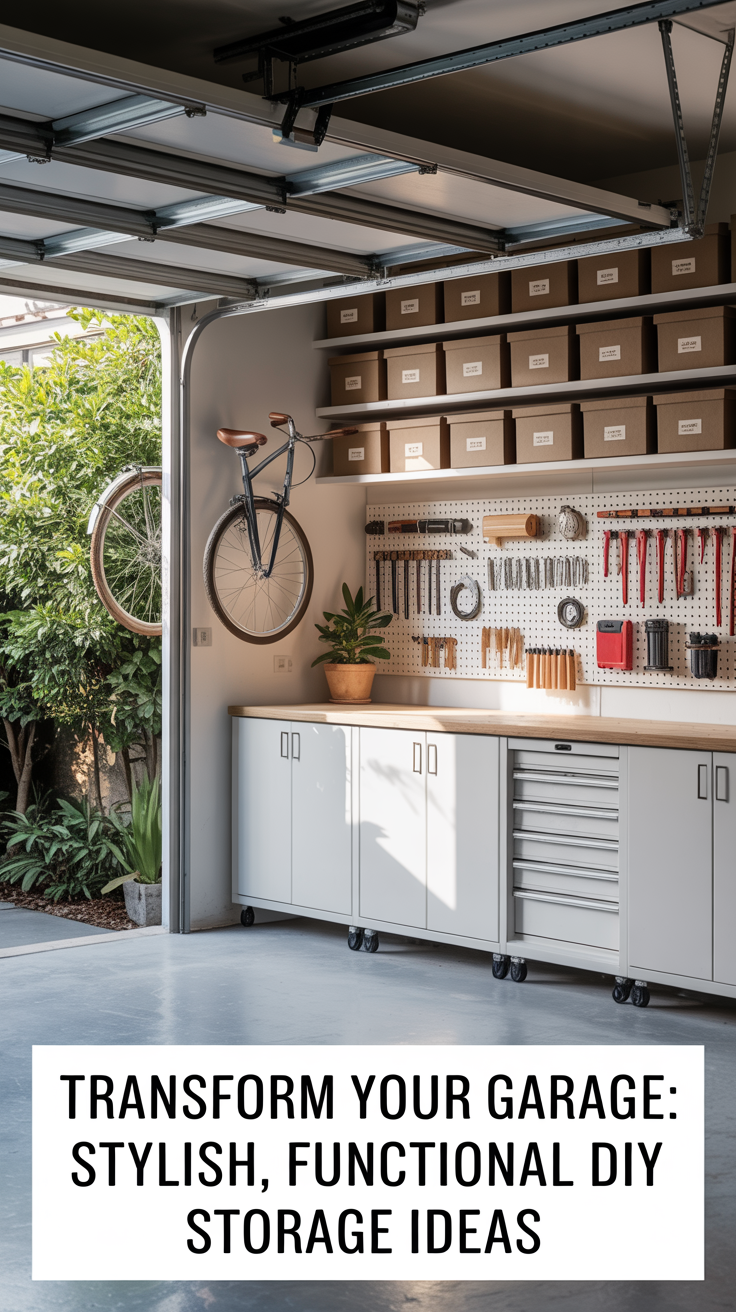
3. DIY Garage Wall Storage System
A wall storage system maximizes vertical space and keeps frequently used items at eye level. This is one of the most impactful ways to make a garage both functional and visually appealing.
Choosing Your System
There are several wall storage options depending on your needs:
Pegboards: Affordable and versatile, pegboards are perfect for tools, gardening supplies, and sports gear. You can move hooks, baskets, and shelves as needed. Paint the pegboard in a bright or neutral tone for a polished look.
Slatwall Panels: Sleek and modern, these can hold hooks, baskets, and shelves. They’re great for heavy-duty items and provide a customizable design that grows with your storage needs.
Open Shelving: Wood or metal shelves are excellent for larger items like storage bins, seasonal decorations, or bins of sports gear. Consider painting the shelves or using matching bins for a more curated appearance.
Installation Tips
Start with a layout plan: Decide where each category of items will live. Group tools, sports gear, and seasonal decorations separately to reduce visual chaos.
Use studs for mounting: Heavy-duty storage requires secure fastening. Mark and drill into studs rather than drywall to ensure shelves and hooks can hold weight.
Combine storage types: Mix hooks for bikes, baskets for smaller items, and shelves for bulk storage. This layered approach makes it easy to organize items of varying sizes.
Styling Tips
Paint pegboards or slatwalls to match your garage color scheme. White or light gray brightens the space and makes it feel cleaner.
Use matching storage bins or baskets for a curated look. Labeling them keeps it practical.
Group items by category: sporting goods in one area, tools in another, and seasonal decorations on higher shelves.
By thoughtfully organizing your walls, you can transform an otherwise cluttered area into a Pinterest-worthy garage feature.
4. Weekend Project: Hidden Storage for a Polished Look
Now that your walls are organized, it’s time to think about hidden storage. These small projects can make a big difference in visual appeal:
Benches With Built-In Storage
A simple garage bench can double as hidden storage for shoes, kids’ gear, or seasonal items. Here’s how:
Start with a simple wooden bench or repurpose a sturdy IKEA bench.
Add a hinged lid or removable top to store items out of sight.
Paint or stain it to match your garage walls for a seamless, integrated look.
Cabinet Systems
Affordable cabinets: IKEA or builder-grade cabinets work well for hiding unsightly items like paint cans, cleaning supplies, or sports equipment.
Add crown molding or trim to elevate the look and mimic built-in storage.
Install a countertop to create a small work surface or drop zone for packages, mail, or grocery bags.
Vertical Hiding Spots
Overhead shelves are perfect for storing items you rarely use, like seasonal decorations or camping gear.
Keep storage uniform with labeled bins or boxes for a cohesive, organized appearance.
These projects are quick, functional, and can elevate the overall feel of your garage. They also make a significant difference in your garage’s aesthetic by hiding clutter and providing a clean, intentional look.
5. Transform Your Garage Entryway
Your garage entryway is often the first impression people get when entering from the garage. Making it functional and welcoming is key:
Mudroom-Style Setup
Add hooks for coats, bags, and backpacks.
Include a small bench with storage for shoes or seasonal gear.
Use baskets or bins for items like keys, sunglasses, and mail.
- Be sure to check out my posts here and here for more detailed tips on for a DIY mudroom garage setup!
Flooring Upgrades
Durable, easy-to-clean flooring like interlocking tiles or an indoor-outdoor rug instantly upgrades the look.
Choose a neutral color to make the space feel larger and cohesive with the rest of the garage.
Lighting
Bright, warm lighting sets the tone for a welcoming space.
Consider under-cabinet or wall-mounted lights to highlight storage areas and create a polished, functional look.
By transforming your entryway, your garage becomes both practical and visually appealing, doubling as a mini mudroom for your home.
6. Budget-Friendly Materials and Hacks
You don’t need a massive budget to create a garage that looks designer-level:
Paint: A fresh coat instantly brightens the space. Consider two-tone walls to visually separate storage areas.
DIY Shelving: Use plywood and brackets for custom shelves without spending a fortune.
Repurpose Furniture: Benches, bookcases, and small cabinets can be adapted for garage use.
Hardware Upgrades: New handles or hooks add polish to any IKEA or thrifted storage item.
Extra tip: Many budget-friendly storage systems look high-end with just a bit of paint, updated hardware, and styling.
7. Styling Your Garage
It’s not just about function—style matters. Here’s how to make your garage Pinterest-worthy:
Color coordination: Keep bins, baskets, and shelves in a cohesive color palette.
Labeling: Stylish labels on bins and baskets keep things organized and visually appealing.
Greenery: A small potted plant or two softens the space. Even garages benefit from a touch of nature.
Artwork: Hang framed prints, vintage signs, or DIY chalkboards to add character.
These small touches create the feeling that your garage is intentional and curated rather than simply a storage space.
8. Weekend Makeover Timeline
To make this actionable, here’s how you can tackle it over a weekend:
Friday Evening: Declutter, deep clean, and measure walls. Plan layout and identify key storage zones.
Saturday Morning: Install wall storage system (pegboards, slatwalls, or shelves) and paint if needed.
Saturday Afternoon: Add hidden storage solutions like benches, cabinets, or overhead shelves.
Sunday Morning: Transform garage entryway with hooks, benches, and flooring upgrades.
Sunday Afternoon: Style with bins, baskets, labels, plants, and artwork for a polished look.
By Sunday evening, your garage will feel completely transformed—functional, organized, and beautiful.
9. Extra Tips for Longevity
Regular maintenance: Spend 10–15 minutes each week tidying up. Returning items to their designated spots keeps the space functional.
Seasonal swaps: Rotate sports gear, holiday decor, and other seasonal items to maintain organization year-round.
Lighting upgrades: Motion-sensor lights or LED strips make accessing items easier, especially in winter.
Keep it flexible: Choose storage systems that can adapt as your needs change over time.
10. Before-and-After Inspiration
Visual proof is one of the most compelling ways to show off your garage transformation. Include:
Photos of cluttered garages versus the finished organized space.
Close-ups of hidden storage hacks like benches, cabinets, and overhead racks.
Styled shots of your garage entryway as a mini mudroom or welcoming landing zone.
These visuals not only inspire but also make your project highly shareable on Pinterest.
11. Why These DIY Garage Upgrades Go Viral
Achievable in a weekend: Promises a quick transformation without months of labor.
Budget-friendly: Most upgrades cost less than $500–$1000, making them accessible to a wide audience.
Style + function: Combines aesthetic appeal with practical solutions, perfect for first-time homeowners or busy families.
Tangible before-and-after results: Everyone loves seeing a messy space transformed into a polished, usable area.
A garage doesn’t have to be a dark, cluttered, and uninviting space. With thoughtful planning, a few key DIY upgrades, and attention to styling, your garage can become one of your favorite parts of your home. From wall storage systems to hidden cabinets and a welcoming garage entryway, these projects are practical, beautiful, and achievable—perfect for Pinterest inspiration or your next weekend project.
Now it’s your turn: pick one wall, one bench, or one area of your garage and start transforming it this weekend. The end result? A garage that is organized, stylish, and Instagram-ready.


