If you’ve been admiring that rich, stone-like texture in modern interiors, you’ve likely noticed Roman Clay popping up everywhere. From accent walls to fireplaces, furniture, and even custom range hoods, this plaster-like finish adds depth, warmth, and timeless elegance to any space. The good news? You don’t need to be a professional to achieve it. In this article, we’ll walk you step-by-step through how to DIY Roman Clay in your own home, while sharing tips, tricks, and design inspiration along the way.
What is Roman Clay?
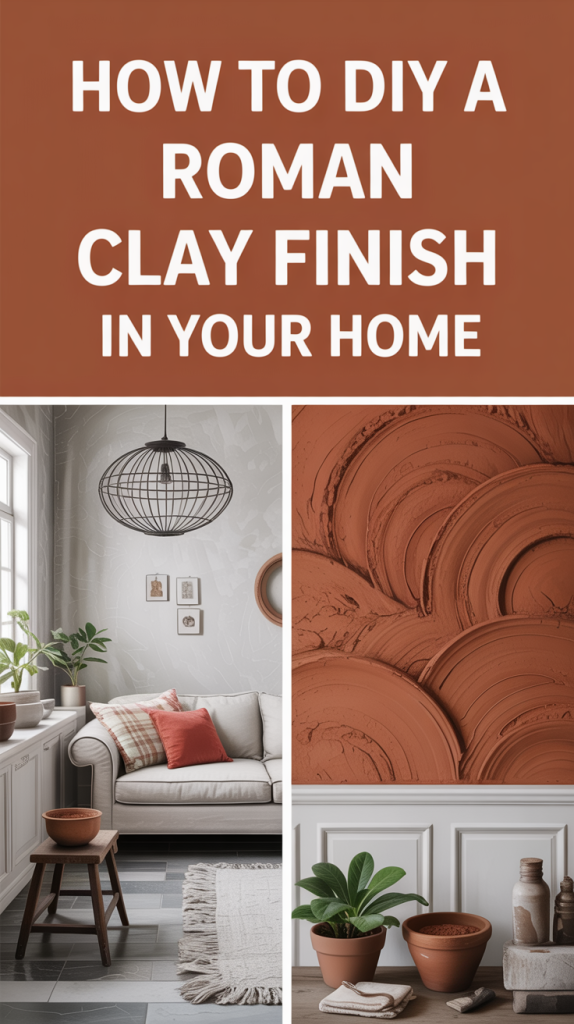
Roman Clay is a decorative plaster product that creates a soft, textured finish reminiscent of stone or traditional European plaster walls. Unlike paint, it’s meant to highlight natural variations in color and texture, giving surfaces a luxurious, handcrafted appearance. The finish works on walls, ceilings, furniture, built-ins, and recently, we’ve been seeing it as a favorite trend for custom range hoods, creating stunning focal points in kitchens that feel both artisanal and high-end.
Benefits of Roman Clay
Tactile Depth: Its soft, velvety texture changes subtly depending on lighting and angle.
Versatility: Perfect for walls, furniture, cabinetry, fireplaces, and accent features.
Trending in Design: Custom range hoods and accent walls are some of the most exciting applications we’re seeing in modern interiors.
Customizable Colors: From soft neutrals to deep moody hues, you can tailor the color to your aesthetic.
DIY-Friendly: Minimal tools are required, and mistakes can often be corrected with sanding or additional coats.
Eco-Friendly: Many modern formulations are water-based, low-VOC, and safe for indoor use.
Timeless: Works beautifully with modern, farmhouse, rustic, or eclectic styles.
Tools and Materials You’ll Need
Before starting your Roman Clay project, gather the following supplies:
Portola Roman Clay in your chosen color (or another brand you prefer)
Roman Clay Topcoat
Putty knives (3” and 4” recommended)
Sanding block or 220-grit sandpaper
Large sponge or tiling sponge (optional for rounded areas)
Painter’s tape
Primer (stain-blocking recommended, such as Kilz or Portola primer)
Drop cloths and protective coverings

Step-by-Step Guide to Applying Roman Clay
Step 1: Prep Your Surface
Start by cleaning and priming the area where you’ll be applying the clay. Whether it’s a wall, a piece of furniture, or a custom range hood, priming ensures better adhesion and a more even color. If your surface is particularly porous, you may want to apply two coats of primer.
Step 2: Apply the First Coat
Roman Clay has a consistency similar to runny toothpaste. Using your smaller putty knife, scoop a small amount and transfer it to a larger knife. Begin applying thin, overlapping strokes, almost like creating X’s across the surface. Take your time in corners or edges, as these areas can be trickier to cover.
For rounded surfaces or custom cabinetry edges, consider using a sponge to gently press the clay into place. This technique allows for more organic textures and prevents scraping or uneven lines.
Step 3: Sand Lightly
Once the first coat is dry, use a 220-grit sanding block to lightly smooth any rough areas. Sand gently, as Roman Clay sands very easily. The goal is not to flatten the texture but to refine it and remove any high points.
Step 4: Apply Additional Coats
Most projects benefit from two to three coats. For the second coat, apply in the same overlapping motion, and don’t be afraid to layer texture or vary stroke direction slightly. You can use a sponge or your fingers to soften edges and blend areas seamlessly. A third coat can deepen the color and add richness to the texture. After each coat dries, lightly sand to maintain a uniform, polished look.
Step 5: Topcoat for Protection
While Roman Clay is often left unsealed for a matte, natural finish, applying a topcoat is recommended for high-traffic areas or surfaces that may need occasional cleaning, like a kitchen range hood or furniture. The topcoat enhances durability while maintaining the soft, tactile finish. Apply with long, overlapping strokes, ensuring even coverage. Allow to dry thoroughly before use.
Design Inspiration and Applications
Roman Clay is one of those finishes that instantly elevates a space. Here’s how designers are using it today:
Accent Walls: Behind beds, sofas, or dining areas for subtle luxury.
Fireplaces: Adds depth without heavy stonework.
Furniture: Cabinets, sideboards, or console tables gain a handcrafted appeal.
Custom Range Hoods: A rising trend in kitchen design, Roman Clay transforms hoods into artisanal focal points, mimicking stone or plaster finishes while remaining fully customizable.
Ceilings: Adds character to flat surfaces and draws the eye upward.
Entryways or Hallways: Creates a welcoming, high-end impression with minimal effort.
Tips for Achieving the Best Results
Don’t Fear Texture: The beauty of Roman Clay is in its imperfections. Avoid trying to make every stroke perfect.
Vary Your Tools: Putty knives for flat surfaces, sponges for curves, and even your fingers for blending small areas.
Plan Your Color: Lighter colors show less variation, while darker hues give more depth and dimension.
Layer Thoughtfully: Apply multiple thin coats rather than one thick coat for better texture and durability.
Take Your Time: Let each coat dry fully to see the true effect. Patience yields a more professional finish.
Think Outside the Box: Don’t limit Roman Clay to walls—it’s perfect for creative projects, including furniture and statement kitchen elements.
Transitioning Your Roman Clay Space for Seasonal Style
One of the joys of a Roman Clay finish is how beautifully it interacts with seasonal decor. Here’s how to make it work throughout the year:
Fall: Pair with warm textiles, pumpkins, rich florals, and brass accents. Roman Clay complements the muted and natural color palette of autumn.
Thanksgiving: Add a festive tablescape or centerpiece in complementary shades, letting the textured wall or furniture act as a subtle, sophisticated backdrop.
Winter: Introduce cozy layers, metallic accents, and greenery. The depth of Roman Clay enhances candlelight and holiday decor, giving your space a warm, inviting feel.
This flexibility ensures your investment in a Roman Clay finish remains relevant and visually stunning year-round.
Common Questions About Roman Clay
Q: Can I use Roman Clay outdoors?
A: Traditional Roman Clay is intended for indoor use only. For outdoor projects, consider a lime wash or other weather-resistant plaster.
Q: How long does it take to complete a project?
A: For a wall or medium-sized piece, plan for two to three days to account for multiple coats and drying times. Smaller items, like furniture or cabinetry, can be completed in a day.
Q: Do I need to seal it?
A: Sealing is optional but recommended for high-touch surfaces. Topcoats maintain durability without altering the matte, textured look.
Q: Can I DIY it if I’ve never done plaster work before?
A: Absolutely! Roman Clay is forgiving. Mistakes can be sanded, blended, or corrected with additional coats. The process is surprisingly user-friendly for beginners.
Roman Clay is more than just a decorative finish—it’s a statement of texture, depth, and timeless design. Whether you’re looking to elevate walls, furniture, fireplaces, or even custom range hoods, it brings a handcrafted, luxurious quality to any space. The application is approachable, and with a bit of patience, you can achieve a professional, high-end look.
By following these steps, experimenting with tools and texture, and integrating seasonal styling, you’ll create a space that feels warm, inviting, and uniquely yours. So grab your putty knives, select your favorite color, and transform your home with the rich, tactile beauty of Roman Clay.