Bathroom lighting is one of the most underestimated elements of home design. People often spend hours choosing the perfect tiles, vanities, mirrors, and hardware—only to finish the space with basic overhead lighting that does nothing to enhance the design or improve day-to-day function.
Yet lighting is the single most important factor that determines whether your bathroom feels luxurious or lackluster. The right lighting elevates finishes, flatters skin tones, enhances visibility, prevents shadows, and transforms the entire atmosphere of the room. Bad lighting, however, can make even a gorgeous bathroom feel cold, dated, or impractical.
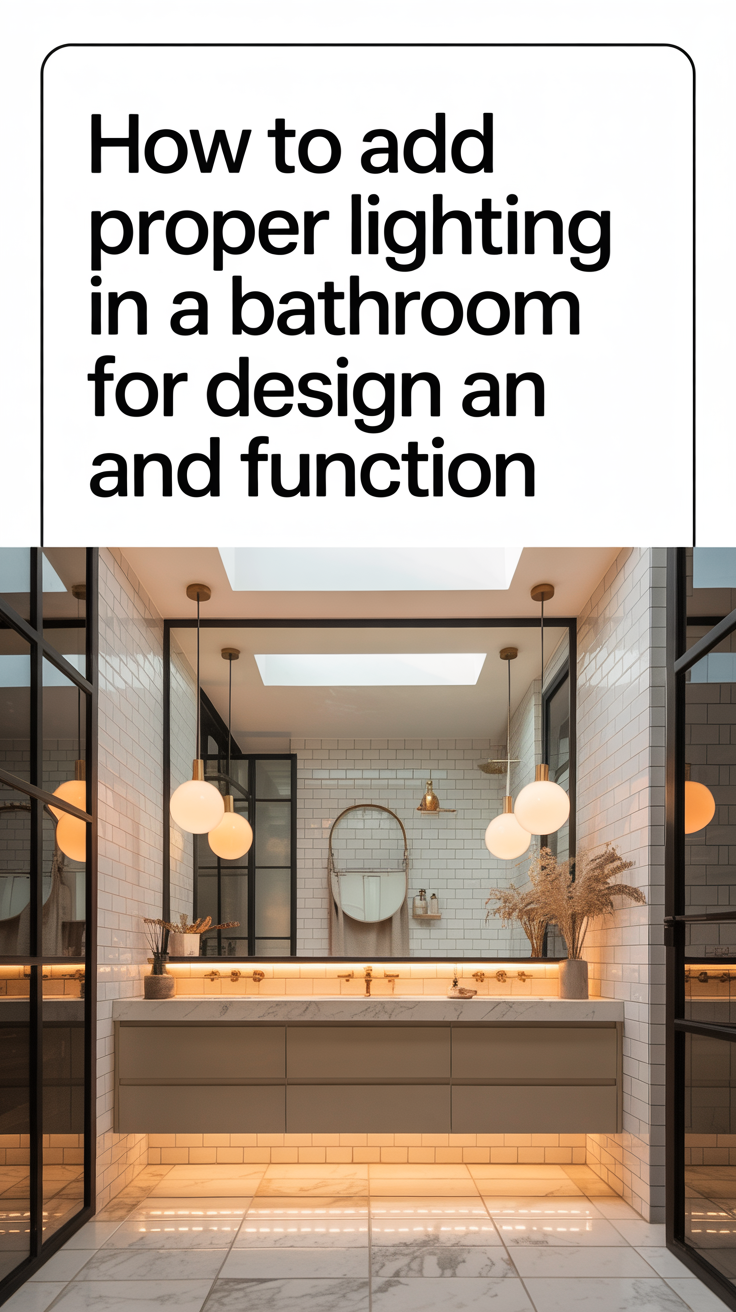
This guide will teach you everything you need to know about adding proper bathroom lighting—how to layer it, the best lighting temperatures, fixture placement, vanity lighting rules, shower lighting safety, and how to achieve a high-end spa-like look.
Let’s dive in.
Why Bathroom Lighting Matters More Than You Think
Bathrooms are functional spaces—but they’re also deeply personal ones. It’s where you start and end your day, where you get ready for work, where you relax with a bath, and where lighting has a direct impact on how you look and feel.
Here’s why bathroom lighting is critical:
1. You need functional lighting for tasks
Shaving
Makeup application
Skincare
Hair styling
Cleaning
Proper vanity lighting ensures your reflection is accurate, flattering, and free of harsh shadows.
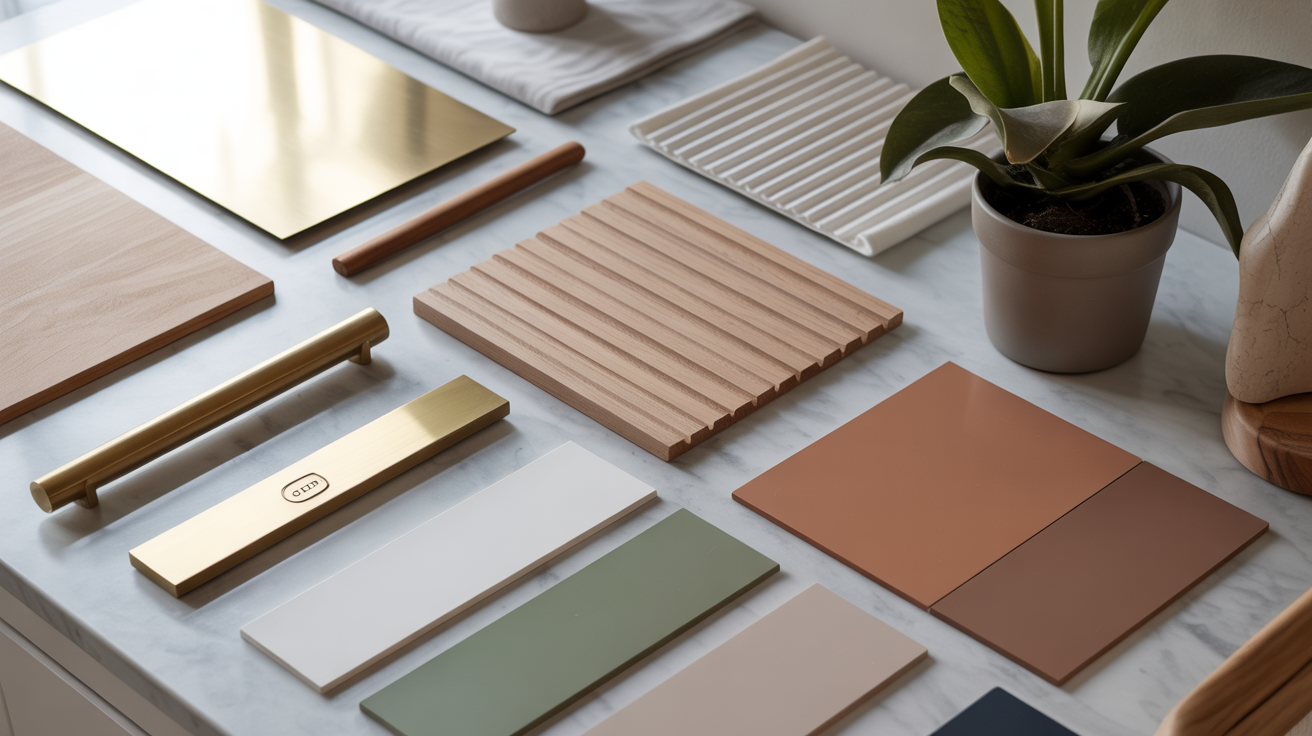
2. Good lighting enhances materials
Stone, tile, grout, wallpaper, painted walls, and wood look vastly different depending on lighting. The right lighting:
Highlights textures
Makes colors appear richer
Reduces glare
Shows true color
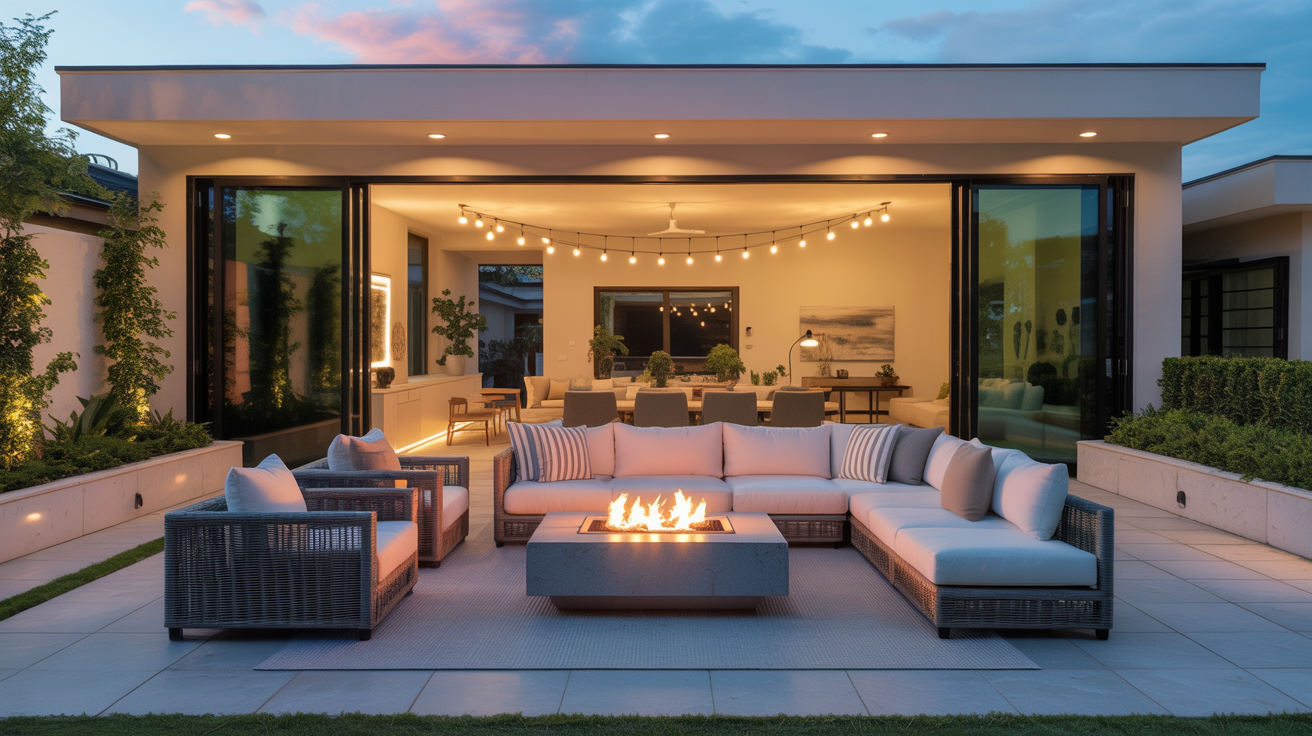
3. It sets the mood
Warm lighting creates a spa-like ambiance. Bright neutral lighting wakes you up. Layered lighting gives flexibility.
4. Lighting affects safety
Proper light prevents falls, especially around showers, wet spaces, and low-light late-night bathroom trips.
5. It makes your space look more expensive
Lighting is one of the highest ROI upgrades in any remodel.
Now, let’s break down exactly how to build the perfect bathroom lighting plan.
Three Essential Layers of Bathroom Lighting
Just like a beautifully designed kitchen or living room, a bathroom needs more than one type of lighting. Designers use three lighting layers:
1. Ambient Lighting (General Illumination)
This is the overall light that fills the room—the baseline level of brightness.
Examples:
Recessed ceiling lights
A central flush-mount ceiling fixture
LED ceiling panels
Integrated lighting in exhaust fans
Ambient lighting sets the foundation and ensures the room is bright enough for everyday use.
2. Task Lighting (Focused, Functional Light)
Task lighting is essential at the vanity, where precision matters most.
Examples:
Vertical sconces
LED mirrors
Backlit mirrors
Vanity bar lights
Hollywood-style perimeter lights (modern versions)
Task lighting should eliminate shadows and light your face evenly.

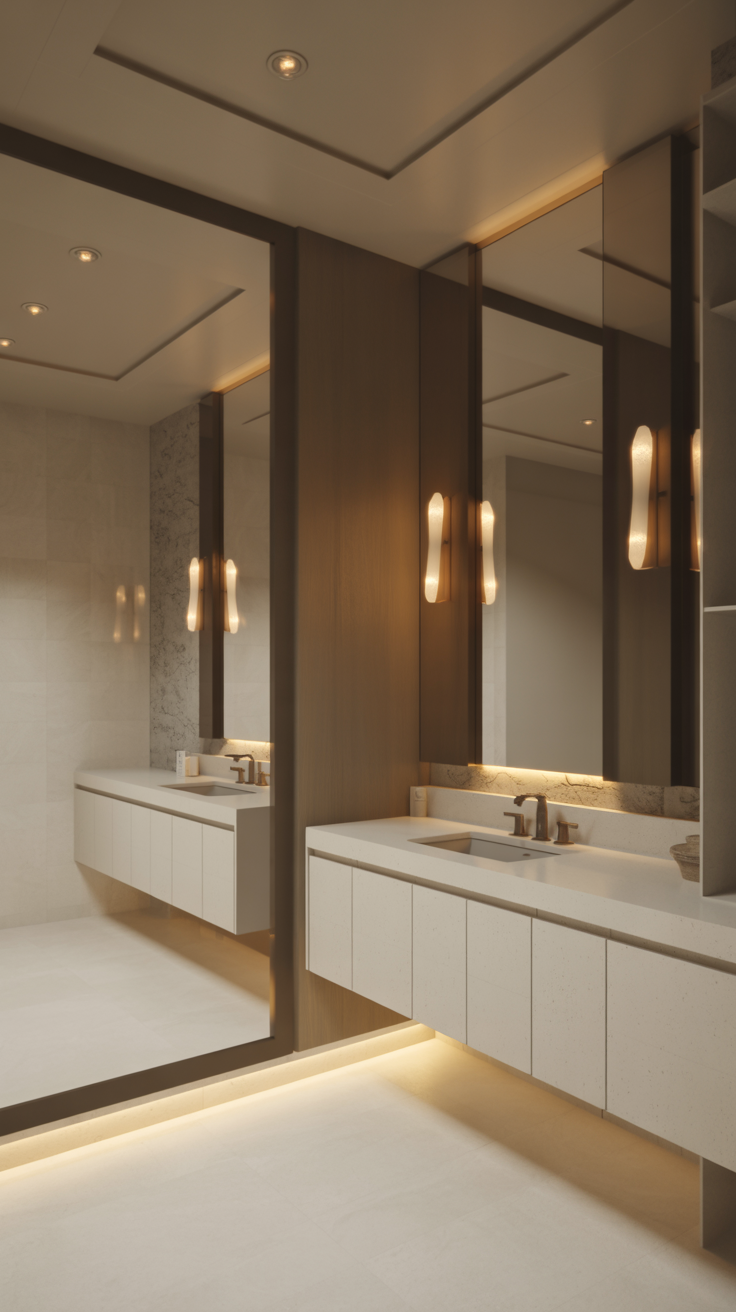
3. Accent Lighting (Mood & Luxury)
Accent lighting takes a bathroom from “nice” to “wow.”
Examples:
Under-vanity toe-kick lighting
LED strips in alcoves or niches
Backlit floating mirrors
Pendant lights over a tub
Wall washer lights
Cove lighting
These layered details create a spa-like, design-forward atmosphere.
When all three layers work together, the bathroom feels bright, functional, high-end, and cohesive.
The Best Lighting Temperature for Bathrooms
Most homeowners get this part wrong—and it’s why their vanity lighting looks harsh, cold, or unflattering.
Recommended Bathroom Lighting Temperature: 3000K–4000K
3000K → Warm neutral, flattering, softer on skin tones
3500K → Ideal balance between warm and cool
4000K → Clean, daylight-like, great for grooming
Avoid:
2700K (too warm/yellow for accurate makeup application)
5000K–6500K (too blue, makes skin tones look washed out)
Ideal setup:
Vanity area (task lighting): 3500K–4000K
Ambient lighting: 3000K–3500K
Accent lighting: 2700K–3000K for spa vibes
This gives you perfect function and beautiful mood lighting.
How to Light the Vanity Properly (The Most Important Part)
Vanity lighting is where most homeowners struggle. Too often, they install only an overhead fixture—or mount a single vanity bar that casts shadows downward.
To avoid that, follow the rules below.
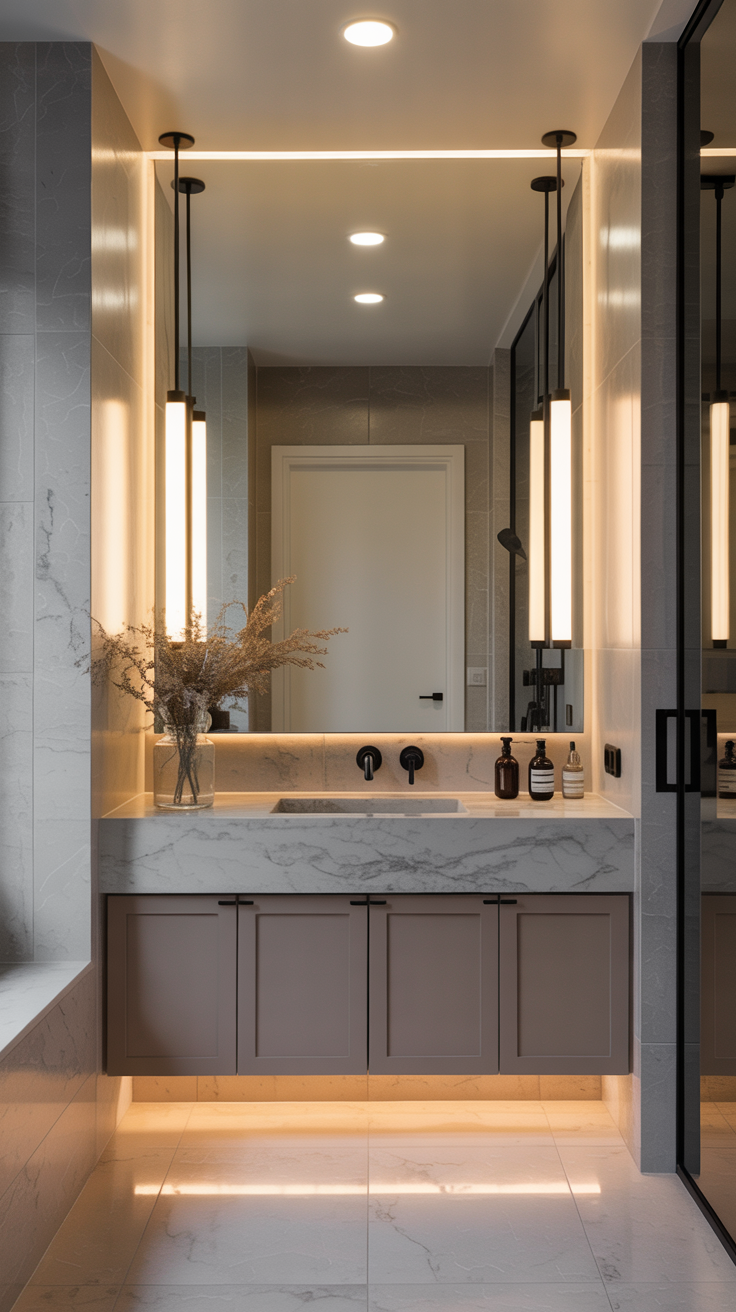
1. Light the Face Evenly From Both Sides
This is a core design principle.
The best setup:
Two vertical sconces mounted on either side of the mirror
Center of each sconce at 65–70 inches from the floor
Lights spaced 28–36 inches apart
Why this works:
Prevents harsh shadows on the face
Minimizes under-eye shadows
Mimics natural daylight coming from both sides
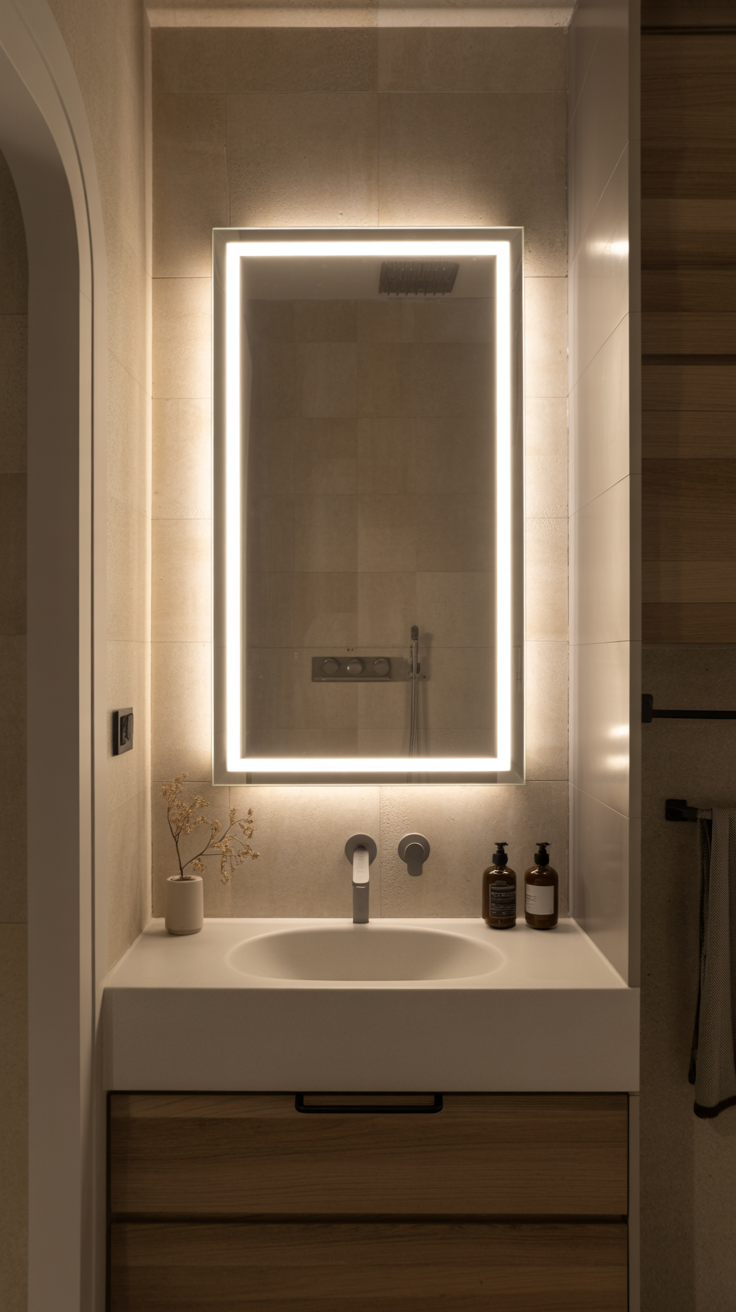
2. If Side Sconces Aren’t Possible, Use a Lighted Mirror
Lighted mirrors are excellent for compact bathrooms or modern designs.
Choose:
Front-lit (perimeter lighting) for soft, shadow-free illumination
Backlit (wall glow only) plus additional task lighting
3. Vanity Bars Should Be Mounted Correctly
A vanity bar should:
Be mounted 75–80 inches from the floor
Be the width of the mirror or slightly smaller
Use frosted shades to prevent glare
Avoid bars that shine light directly down onto your forehead—this creates shadowing and makes makeup harder to apply.
4. Use High-CRI Bulbs
CRI = Color Rendering Index (0–100)
Choose CRI 90+
This ensures:
True skin tones
Accurate makeup colors
Natural-looking reflection
A high CRI bulb is just as important as temperature.
5. Dimmers Are Mandatory
Dim your vanity lighting to:
Relax during a bath
Avoid blinding nighttime brightness
Create gentle morning light
Dimmers instantly make even a basic bathroom feel luxurious.
How to Add Proper Lighting in the Shower
Lighting in wet areas must follow safety requirements, but it’s absolutely worth including because it makes the space feel clean and functional.
Shower Lighting Rules
Use damp-rated or wet-rated recessed lights
Install one recessed light per shower (large showers may need two)
Choose 3000K–3500K for a natural glow
Avoid bulbs that cast overly cool blue tones
Optional upgrades:
LED niche lighting
Soft accent lighting behind tile lips
Rain shower accent lighting
Pro Tip:
Aim lighting toward the shower wall—not straight down on your head—to avoid unflattering shadows.
Lighting Around the Tub (Freestanding or Built-in)
A soaking tub is a luxury moment—and lighting enhances it dramatically.
Options:
A pendant light above a freestanding tub
Wall sconces nearby
Cove lighting
LED strip lighting behind tub accents
Safety Warning:
Keep pendants and chandeliers well outside wet zones according to local electrical codes.
When done correctly, you create magazine-worthy ambiance.
Ambient Lighting Done Right
Ambient lighting is the foundation of the bathroom. It should be bright enough to illuminate the space without relying solely on vanity lights.
Best ambient lighting options:
Recessed lights spaced strategically
Flush mount ceiling fixture
Integrated lighting in the exhaust fan
Modern LED ceiling panels

Spacing rule:
Recessed lights should be placed about 4–5 feet apart depending on the ceiling height.
Avoid:
Too many recessed lights (airport runway effect)
Only one light in the center of the room
Harsh downlighting on mirrors
Your goal: balanced, shadow-free distribution.
Accent Lighting: The Secret to a Spa-Like Bathroom
Accent lighting gives the bathroom depth, dimension, and mood. These design details make the room feel custom.
Top ways to add accent lighting:
1. Under-Vanity Lighting
LED strips under a floating vanity or baseboard create:
Soft nighttime lighting
A luxurious hotel effect
Safety illumination for late-night bathroom trips
2. Backlit Mirrors
They cast a beautiful glow and soften shadows.
3. Niche Lighting
Perfect for:
Showers
Above built-in shelves
Beside tubs
Choose a warm 2700K accent.
4. Toe-Kick Lights
Running LED strips under cabinetry gives a subtle floating effect.
5. Ceiling Cove Lighting
Hidden LED strips add high-end ambiance.
Accent lighting doesn’t replace functional lighting—it enhances and elevates it.
Choosing the Right Bulbs for Bathroom Lighting
You could have the perfect fixture layout but ruin it with the wrong bulbs.
Checklist for the best bulbs:
3000K–4000K temperature
CRI 90+
LED for efficiency & longevity
Dimmable
Frosted or diffused (avoid clear bulbs that cause glare)
Avoid:
Blue-white 5000K bulbs
CFL bulbs (harsh color rendering)
Clear filament LEDs in vanity bars
Good bulbs are the simplest way to dramatically improve your bathroom.
Mirror + Fixture Pairing Guide
Choosing the wrong combination can lead to imbalanced light.

1. Round Mirrors
Pair with:
Vertical sconces
Backlit mirrors
Pendants (placed carefully)
2. Rectangular Mirrors
Pair with:
Two side sconces or one long vanity bar
LED front-lit mirrors
3. Double Sinks
Options:
One sconce per side of each mirror
One shared triple-light bar centered over each mirror
Two backlit mirrors with overhead ambient lighting
4. Large Single Mirrors
Use:
Mounted mirror sconces
Integrated lighting
Ceiling-mounted task lighting
Mirror shape and size dictate lighting placement.

Small Bathroom Lighting: Special Rules
Small bathrooms often struggle with shadows and dark corners. Use these tricks:
1. Use bright ambient lighting
More is better in a small space.
2. Use front-lit mirrors
They eliminate the need for multiple fixtures.
3. Add wall wash lighting
It brightens walls and makes the room feel larger.
4. Avoid dark corners
A single overhead light is not enough—layer your lighting.
Large Bathroom Lighting: Special Strategies
Larger bathrooms need more lighting variety to avoid dead spots.
Tips:
Use multiple recessed lights
Add sconces for the vanity plus ambient fixtures
Include accent lighting at the tub, walls, or ceiling
Use dimmers for every zone
Large bathrooms look best with lighting “zones” rather than one big wash of light.
Common Bathroom Lighting Mistakes to Avoid
Most design disaster photos online share the same problems. Skip these pitfalls:
One overhead light only
Creates shadows, glare, and uneven lighting.
Lights mounted too high over the mirror
Causes unwanted shadows on the face.
Using 5000K+ lighting
Makes the bathroom feel like a hospital.
Using clear bulbs
Creates harsh, unflattering lighting.
No dimmers
Every bathroom should have adjustable lighting.
Ignoring shower lighting
Showers should not be cave-dark.
Forgetting accent lighting
It’s what makes the space feel luxurious and complete.
Placing fixtures without considering mirror size
Proportions matter.
Avoiding these errors ensures your bathroom looks intentional and polished.
Design Tips for a High-End, Functional Bathroom Lighting Plan
Here are the tips designers use to achieve magazine-worthy lighting:
Add layers of light—not just overheads
Layering creates depth and drama.
Follow the Kelvin rule
3000K–4000K gives the best balance.
Add dimmers to every zone
Morning vs. nighttime lighting needs differ.
Install two vertical sconces at the vanity
It’s the most flattering and functional option.
Use LED strips wisely
Great for niches, under vanities, and behind mirrors.
Match metal finishes
Sconces, mirrors, and hardware should coordinate.
Use lighting to highlight architectural features
Coves, niches, beams, arches, textures.
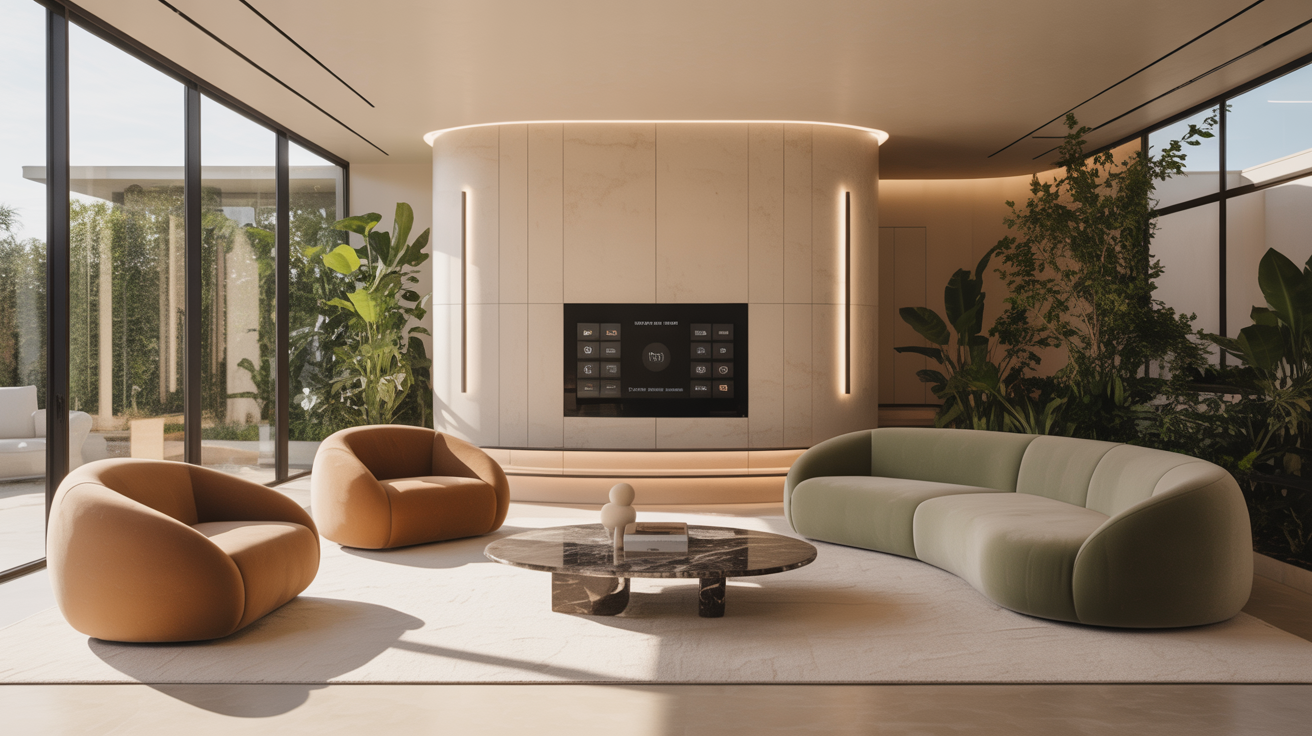
Use smart lighting if possible
Scene settings transform the bathroom instantly.
A Sample Lighting Plan for a Perfect Bathroom
Here’s an example layout designers love using in remodels:
Vanity Area
Two 3000–3500K vertical sconces
Backlit mirror for soft glow
All lights on dimmers
Ambient
Three recessed lights spaced evenly
3000K bulbs
One recessed light in shower
Shower
Damp-rated recessed LED light
3500K bulb
Accent
Toe-kick LED strip under vanity
Niche lighting in shower
Optional pendant above soaking tub
This layout delivers beauty + function + flexibility.
Mastering Bathroom Lighting for Beauty & Function
Bathroom lighting is not just about visibility—it’s about experience. The right choices elevate how you look in the mirror, how your design materials shine, and how the space makes you feel every single day.
When you layer your lighting, choose the right temperatures, and follow smart fixture placement, your bathroom becomes:
More functional
More flattering
More relaxing
More modern
More luxurious
Great lighting transforms a bathroom far more than any expensive tile or décor piece ever could.