

Let’s be honest, we all have it. That digital folder on your computer bursting with thousands of photos, snapshots from years gone by. It’s funny, growing up I always felt like my parents were always behind a lens. Some may have a real-life shoebox (or an entire room for my parents!) overflowing with photos. So when it comes to actually getting these photos off our phones, out of shoeboxes, and onto our walls, we freeze. Suddenly, the question becomes overwhelming: How do you display a lifetime of love without creating a cluttered mess? How do you make your personal photos look like intentional, beautiful art instead of just… stuff?
Good news. I think we’ve figured out how to celebrate those family photos with style. Don’t think of your photos as sentimental clutter and start seeing them for what they are: your own personal art collection. With a few insider tricks, you can transform those cherished memories into a sophisticated, soulful, and stunning feature in your home. Ready for a masterclass in turning your family history into high design? Let’s do this.

Step One: Play Curator
Before you even think about frames or hammers, the first step is to become the curator of your own life. Truly, this is is the fun part! Pour a glass of wine, put on some music, and start sifting through your photos. You’re not looking for perfection; you’re looking for feeling. The goal is to find the images that make you smile, the ones that tell a story, the ones that capture a personality in a single, unscripted moment.
Go for the Real Moments: Forget the awkward, “everyone say cheese” portraits and go for candid. That shot of your kids dissolving into laughter, your partner caught in a quiet, thoughtful moment, the joyful chaos of a family dinner. These are the images that feel alive. My tip? Shoot more videos and pull out stills to grab the right moment. It’s a pressure-free way to capture those fleeting, authentic expressions that are impossible to pose.
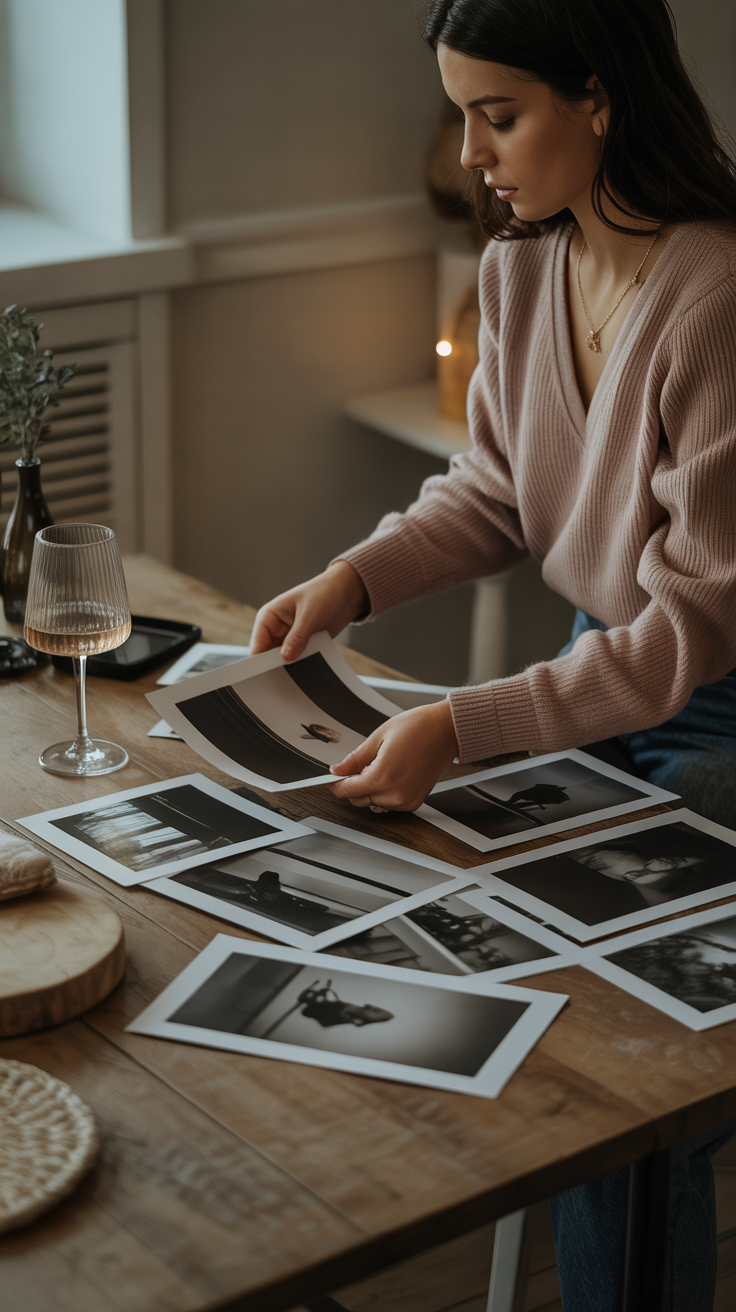
The Magic of Black and White: So, you’ve got a photo from a sunny beach trip, another from a dimly lit birthday party, and a third from a fluorescent-lit school play. The colors are all over the place. My tip? Go with black and white. Converting your photos to a monochrome palette is the fastest way to create a cohesive, elegant collection. It instantly unifies images from different times and places, making them feel like they belong together. Plus, it’s incredibly forgiving, hiding a multitude of sins like digital graininess or weird lighting. Suddenly, your random assortment of photos looks like a curated art exhibit. It’s the great equalizer, turning your iPhone snapshots into something that could hang in a gallery.
The Gallery Wall: Your Wall, Your Story
The gallery wall is a classic for a reason, it’s a fantastic way to make a big impact and tell a rich story. But a great gallery wall doesn’t just happen; it’s planned. Here are a couple of strategies I swear by.
The Clean Grid: If you’re a Type A who loves clean lines and symmetry, the grid is your best friend. This involves using identical frames and hanging them in a perfect, geometric arrangement (think a neat square or a long, orderly row). It’s a polished, architectural look that feels incredibly high-end. This look works beautifully in modern spaces, offices, or anywhere you want to make a bold, graphic statement. It’s clean, it’s confident, and it looks like you really know what you’re doing. The key here is consistency. Use all black and white photos, or all color photos. And measure, measure, measure (and level, level, level)! The spacing between the frames needs to be exact for the grid to have that sharp, intentional effect. My favorite hack is to use painters tape to lay out my grid before nailing any holes.
The Free-Spirited Salon Wall: If a perfect grid feels too rigid for you, embrace the relaxed, eclectic vibe of a salon-style wall. Go ahead and mix and match frames of different sizes, materials, and styles. The trick to making it look cool and collected, not chaotic, is to find a common thread. Maybe it’s a shared color family in the frames (like warm woods and golds), or maybe you use the same color mat in every frame. A great pro-tip is to lay out your entire collection on the floor first. Start with your biggest piece in the middle, and then build out from there, playing with the arrangement until it feels balanced and just right. Take a photo of your floor layout before you start hammering nails, TRUST ME. This look is perfect for homes with personality, where a little bit of organized chaos feels right at home.
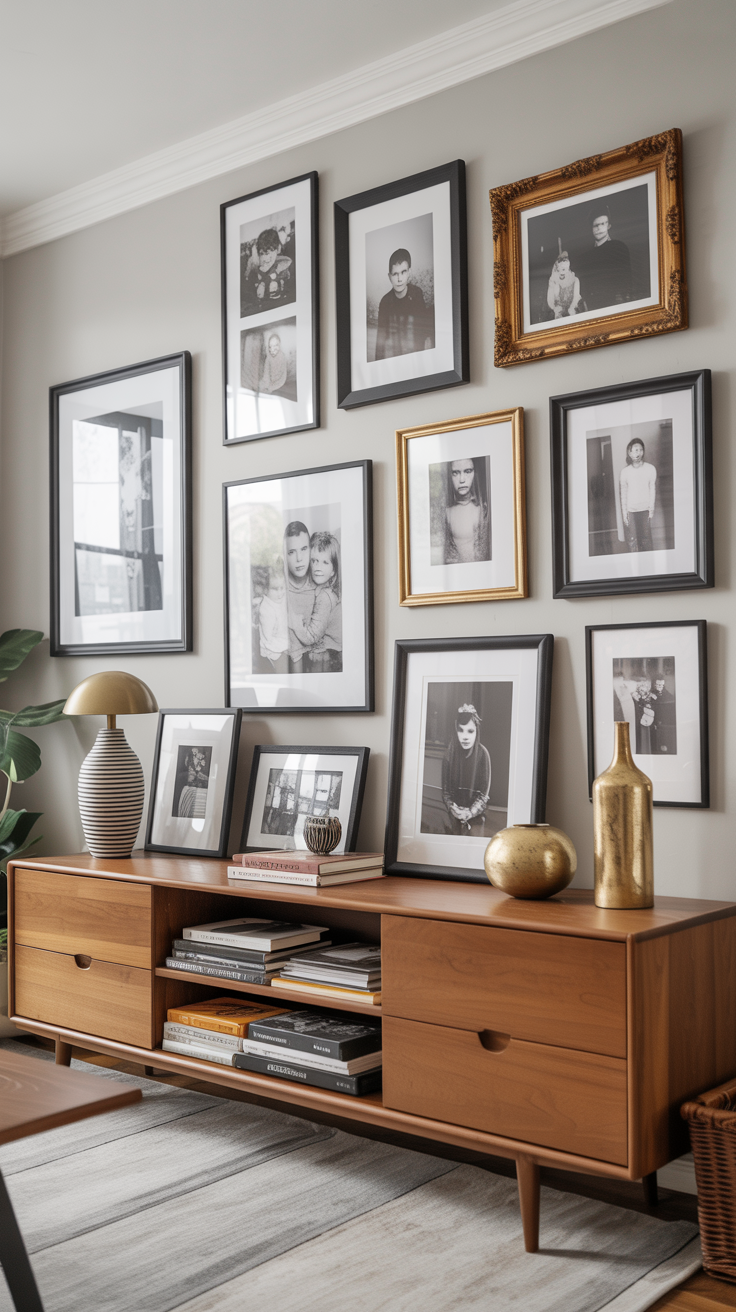
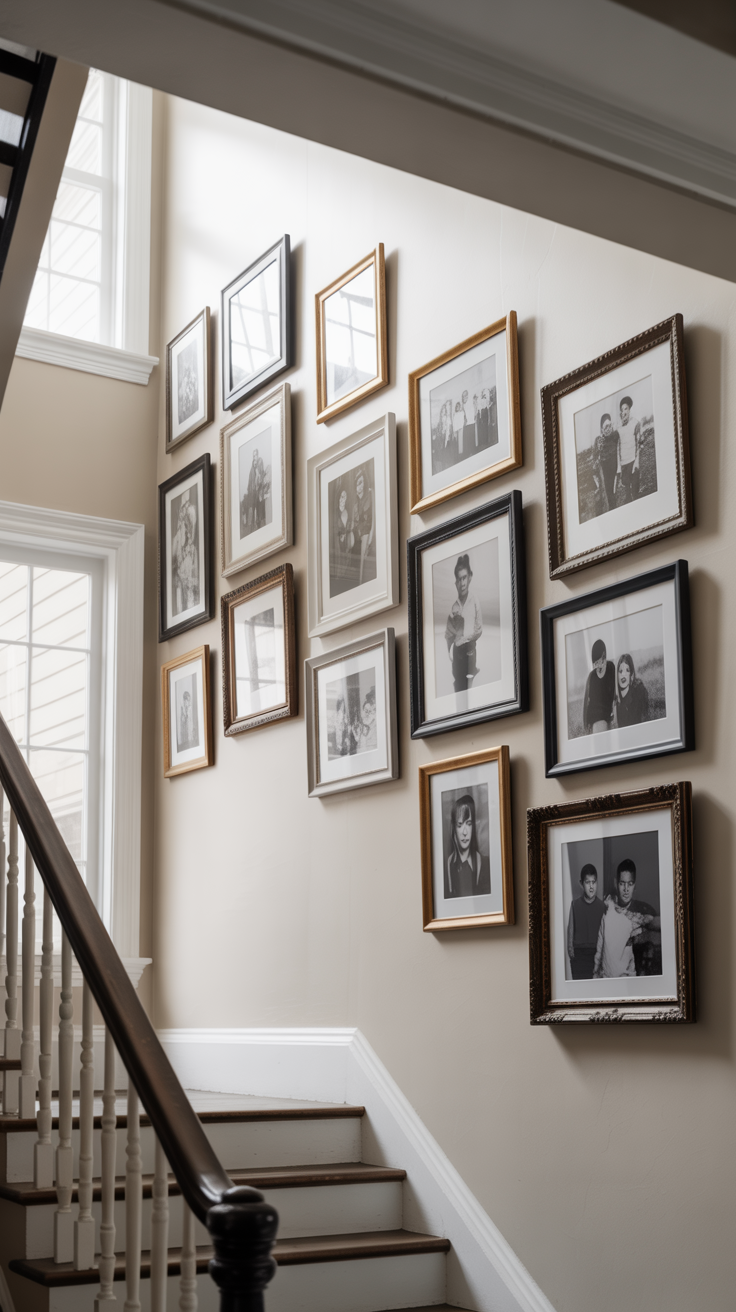
A Stairway of Memories: The wall along your staircase is prime real estate for a photo display. It’s a natural journey, and your photos can tell a story as you walk up or down. You can arrange them chronologically to create a visual timeline of your family’s growth, or just mix and match favorite moments. The key is to hang them so they follow the upward slope of the stairs, creating a pleasing line that draws your eye along the path. I love this look for hallways and stairs because the images naturally unfold as you move through the space. It creates a real life memory lane, sparking conversations and stories.
Tell a Story with Your Photos
Speaking of sharing stores, one of the most powerful things you can do with your photo display is to think like a storyteller. Rather than just hanging up random favorites, consider grouping your photos in a way that creates a narrative.
The Timeline Approach: This is especially beautiful on a long hallway or staircase. Start with the oldest photos, maybe your grandparents or parents in their youth, and progress through time to the present day. It’s a powerful visual representation of your family’s journey, and it creates a sense of legacy. It’s also a great conversation starter when guests visit.
Theme It Out: Another fun approach is to create themed collections. Maybe you dedicate a wall to travel, showcasing photos from all the adventures your family has taken. Or create a collection around a specific color palette, choosing photos that all feature similar hues. You could even do a “summer wall” or a “holiday wall” that you update seasonally. The possibilities are endless, and it keeps your displays feeling fresh and intentional.
Celebrate the Generations: One of the most moving ways to display photos is to honor different generations side by side. Pair a photo of your grandmother as a young woman with a photo of your daughter at the same age. Create a display that showcases all the matriarchs or patriarchs of your family. This kind of display isn’t just decorative, it’s deeply meaningful, creating a visual bridge between past and present.
Think Beyond the Wall: Fresh Ideas for Your Photos
Gallery walls are great, but they’re not the only game in town. Don’t be afraid to use photos in all sorts of creative ways that feel modern, fresh, and totally doable.
The Lone Star: Sometimes, one is all you need. A single, oversized photograph can have more impact than a dozen smaller ones. And sometimes it has other visual effects like making a space feel larger or the ceiling feel taller. The trick is to choose the right image. This isn’t the place for a tight, formal portrait. Think bigger. Maybe a breathtaking landscape from a family trip, a dramatic black-and-white shot of your kids running on the beach, a moody silhouette at sunset. Blown up to a large scale, this kind of photo becomes a true piece of art, a personal and powerful statement that can anchor an entire room. I’d veer toward more scenic family photos rather than close-up portraits which can feel a bit overwhelming, especially in a central part of the living space.
The Ledge Life: If you’re a commitment-phobe when it comes to hanging art, go photo-ledge. These slim shelves are a designer’s dream because they offer ultimate flexibility. You can lean a collection of framed photos, overlap them, and mix in other little treasures like small plants, candles, or souvenirs. My daughter’s bedroom also features a collection of ledges to display her troll collection–such a fun way to display all forms of art. It’s a low-stakes way to create a display that feels layered, personal, and easy to change whenever the mood strikes. I like to use ledges in varying lengths to create a cohesive but not-too-uniform look, mixing both black and white and color photos for visual interest.
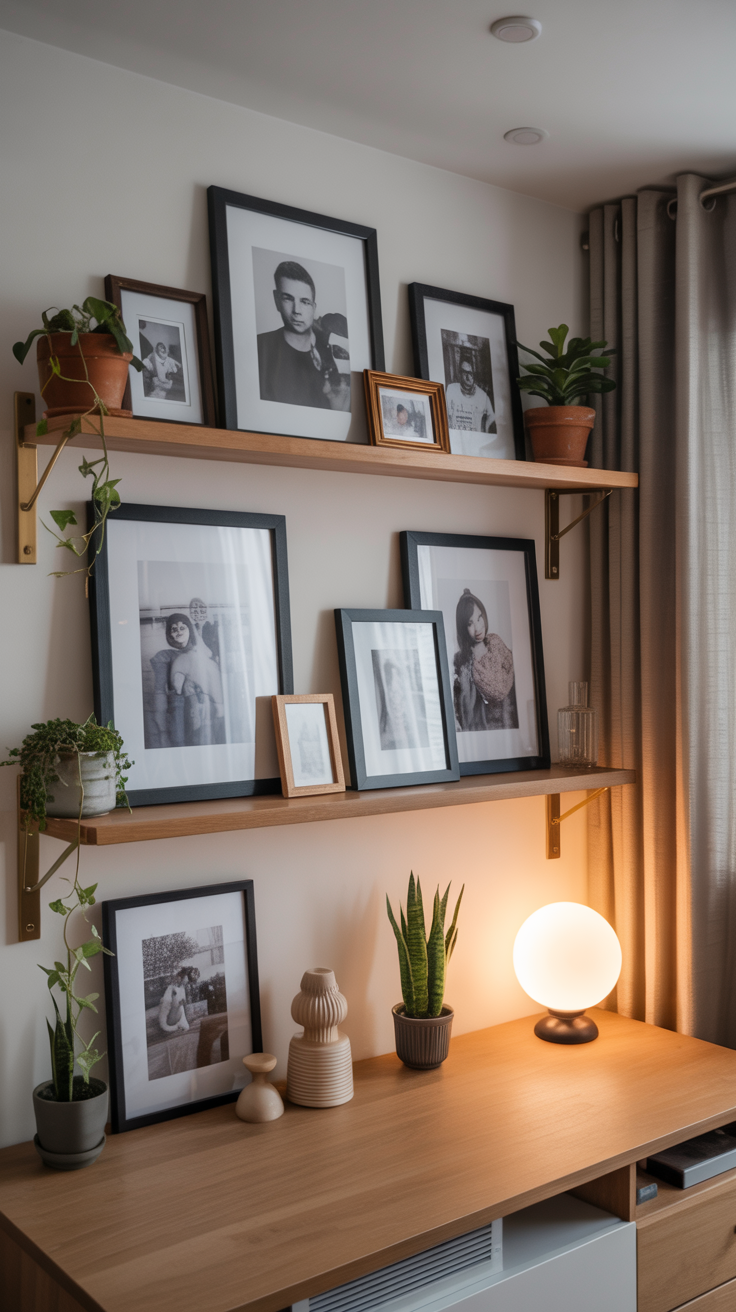
Tabletop Treasures: Don’t forget about the surfaces in your home! A small, curated collection of photos on a console table, a nightstand, or tucked into a bookshelf adds such a warm and intimate touch. Designer Ellie Christopher loves this move, noting that a little trio of frames on a bedside table feels “intimate and collected.” Play with different frame materials and heights to create a stylish little vignette that tells a story. Mix a sleek acrylic frame with a vintage brass one, or pair a modern black frame with a rustic wood one. The contrast adds interest and keeps it from feeling too matchy-matchy.

The Polaroid Moment: Polaroids are and have been having a major moment. Did you know you can print your iPhone photos as Polaroids now? Polaroids make for the coolest, most casual displays. Pin them directly to the wall, float-mount them in a grid, or clip them to a string with mini clothespins. Ther