Let’s have a little heart-to-heart about your sofa. The one that has faithfully served as the hub of your home—the movie-night command center, the nap-time sanctuary, the makeshift home office, and the front-row seat to life’s little dramas. It’s seen it all: the spilled glasses of wine, the sneaky midnight snacks, the muddy paw prints, and the countless hours of cozying up with a good book. Our furniture works hard for us, and frankly, it often shows.
I had a moment of reckoning last week. The sun streamed into our living room, hitting our beloved white swivel chairs at just the right angle, and I saw it: a faint, ghostly map of every coffee spill, every dog nap, every moment of life lived a little too carelessly. It was time for an intervention. Spring is in the air, and with it comes that primal urge to throw open the windows, clear out the dust, and make everything feel new again. And nothing, I mean nothing, transforms a room quite like reviving your upholstery from the brink.
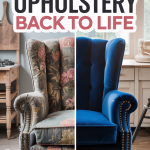
This isn’t just about aesthetics; it’s about reclaiming your space. It’s about creating a home that feels as good as it looks, a sanctuary that is genuinely clean, not just “looks clean.” Over the years, I’ve developed a tried-and-true method for deep cleaning our furniture, a process that breathes new life into tired fabrics and makes even thrifted finds feel fresh and new. Forget spending a fortune on professional services or, even worse, replacing a perfectly good piece of furniture. With a little bit of know-how and some elbow grease, you can work miracles. So, let’s roll up our sleeves and dive into the nitty-gritty of upholstery deep cleaning. I promise, the results are more than worth it.
The Unseen Grime: Why a Deep Clean is Non-Negotiable
We are diligent about cleaning our homes. We wipe down counters, we vacuum the floors, we wash our bedding. But our upholstered furniture often gets a pass, becoming the silent collector of our daily lives. It’s easy to ignore because, unlike a dusty shelf or a dirty floor, the grime is often invisible. But trust me, it’s there.
Think about it. Our sofas and chairs are where we relax after a long day, where our pets curl up for a nap, where we binge-watch our favorite shows with a bowl of popcorn. Over time, they absorb a shocking amount of… well, life. We’re talking about a fine layer of dust that settles deep within the fibers, pet dander and hair that weaves itself into the fabric, and the lingering ghosts of meals past. And let’s not even talk about the body oils and sweat that inevitably transfer from our skin to the fabric. It’s a cringe-worthy thought, but it’s the reality.
A simple vacuuming session only scratches the surface. A true deep clean is like an exorcism for your furniture, drawing out the deep-seated dirt, allergens, and odors that have taken up residence. It’s not just about making your furniture look better; it’s about making your home healthier and extending the life of your investment. A clean sofa is a happy sofa, and a happy sofa makes for a happy home.
My Battle-Tested, Step-by-Step Guide to Upholstery Revival
Alright, let’s get down to business. This is my personal five-step process for tackling even the most intimidating upholstery cleaning projects. It’s a method I’ve honed over years of trial and error, and it has never let me down.
Step 1: Decode Your Furniture’s DNA (Check the Fabric Code)
Before you even think about touching a cleaning solution to your beloved armchair, you need to play detective. Tucked away somewhere, usually under a cushion or on the frame, is a small tag with a secret code. This is the manufacturer’s cleaning code, and it is the single most important piece of information in this entire process. Ignoring it is like ignoring the care instructions on a cashmere sweater—a recipe for disaster.
Here’s the breakdown of these crucial letters:
- W: Stands for “Water.” This is the green light you’re hoping for. It means you can safely use water-based cleaners.
- S: Stands for “Solvent.” This means you need to use a solvent-based cleaner, like rubbing alcohol. Water is the enemy here and can leave behind a nasty ring or cause the color to bleed.
- WS: The best of both worlds. You can use either a water-based or a solvent-based cleaner.
- X: This is the red light. It means vacuum only. No water, no solvents, no exceptions. Any liquid could cause permanent damage.
If you can’t find a tag, or if you’re dealing with a vintage piece with a mysterious past, always, always test your chosen cleaning method on a small, hidden spot first. The back of the skirt or the underside of a cushion are perfect for this. It’s a small step that can save you from a world of regret.
Step 2: The Great Excavation (Vacuum Like You Mean It)
Now it’s time for the archaeological dig. This is so much more than a quick once-over. You need to get in there with the passion of a treasure hunter. Arm yourself with your vacuum’s upholstery and crevice tools and prepare to be horrified and deeply satisfied by what you find. That crevice tool is your best friend—use it to get deep into the seams, along the welting, and under the cushions. This is where the crumbs, the pet hair, and the lost remote controls of yesteryear are hiding.
My Pro-Tip for Pet Parents: Before you even turn on the vacuum, do a pass with a pet hair remover or a simple rubber glove. Just put on the glove, dampen it slightly, and wipe it over the fabric. You’ll be amazed at how it grabs and clumps the stubborn pet hair that seems to weave itself into the very soul of the fabric. Then, go in with the vacuum to suck it all up. It’s a two-step process that makes all the difference.
Step 3: The Stain-Busting Triage (Spot Treat with Precision)
With the surface-level debris gone, it’s time to address the more stubborn blemishes. For fabric upholstery, I have a two-pronged attack. My first line of defense is a gentle DIY solution: a simple mixture of warm water, a few drops of clear dish soap, and a splash of white vinegar in a spray bottle. It’s surprisingly effective on a wide range of common stains. Lightly mist the stain—don’t saturate it—and gently blot with a clean microfiber cloth. Never, ever scrub, as this can damage the fabric fibers and push the stain deeper.
For more stubborn stains, I bring out the big guns: a dedicated upholstery stain remover. My personal favorite is Folex. It has saved me from countless potential disasters, from red wine to coffee to mystery toddler goo. For leather, the approach is different. A simple wipe-down with a damp cloth and a mild soap is often all you need. The key is to follow up immediately with a good leather conditioner. Leather is a skin, and it needs to be moisturized to prevent it from drying out and cracking. I swear by Leather CPR; it cleans and conditions in one step and brings a beautiful, supple feel back to tired leather.
Step 4: The Deep Cleanse (Steam, Shampoo, or Wash)
Once the stains are gone, it’s time for the main event: the all-over deep clean. This is where you’ll lift away the invisible layer of grime and restore the freshness to your furniture. The method you choose will depend on your fabric code and your personal preference.
- For the Steam-Powered Clean: If your fabric is water-safe (W or WS), a fabric steamer is a fantastic tool. The hot steam works to break down dirt and kill dust mites without using any harsh chemicals. The key is to move slowly and methodically, working in small sections. Let the steam do the work. You’ll see the fabric darken as it becomes damp, and then lighten as it dries. It’s a deeply satisfying process.
- For the Shampoo Showdown: An upholstery shampooer is another excellent option for water-safe fabrics. We have a portable one that has earned its keep a hundred times over, especially with two dogs and a love for white furniture. The machine works by spraying a cleaning solution into the fabric and then sucking the dirty water back up. It’s a bit like a tiny carpet cleaner for your furniture. The most important rule here is to avoid over-saturating the fabric. A light, even pass is all you need. The goal is to clean, not to soak.
- For the Slipcover Salvation: If you were wise enough to choose slipcovered furniture, your job is infinitely easier. There is nothing more satisfying than unzipping those covers and tossing them into the washing machine. This is my preferred method whenever possible. A word of caution, though: always check the label first. Even if the label says “dry-clean only,” I’ve often had success washing slipcovers on a delicate cycle with cold water. The trick is to never put them in the dryer. The heat will shrink them, and you’ll never get them back on. Instead, put them back on your furniture or cushions while they are still slightly damp. This allows them to stretch and dry to a perfect, custom fit.
No matter which method you choose, airflow is your best friend during the drying process. Open the windows, turn on a fan, and let the fresh air work its magic. Your furniture needs to dry completely to prevent any mildewy smells from developing.
Step 5: The Final Flourish (Deodorize and Freshen)
This final step is the icing on the cake, the little bit of magic that leaves your furniture smelling as fresh as it looks. I learned this trick from my husband, Emmett, whose mom used to clean houses for a living. She had a secret weapon she called “carpet sprinkle,” and we’ve adapted it for our upholstery. It’s a simple, natural, and incredibly effective DIY deodorizer.
My Go-To Upholstery Freshening Powder:
- ½ cup of baking soda
- 10-15 drops of your favorite essential oil (I love a calming lavender or a bright, clean lemon)
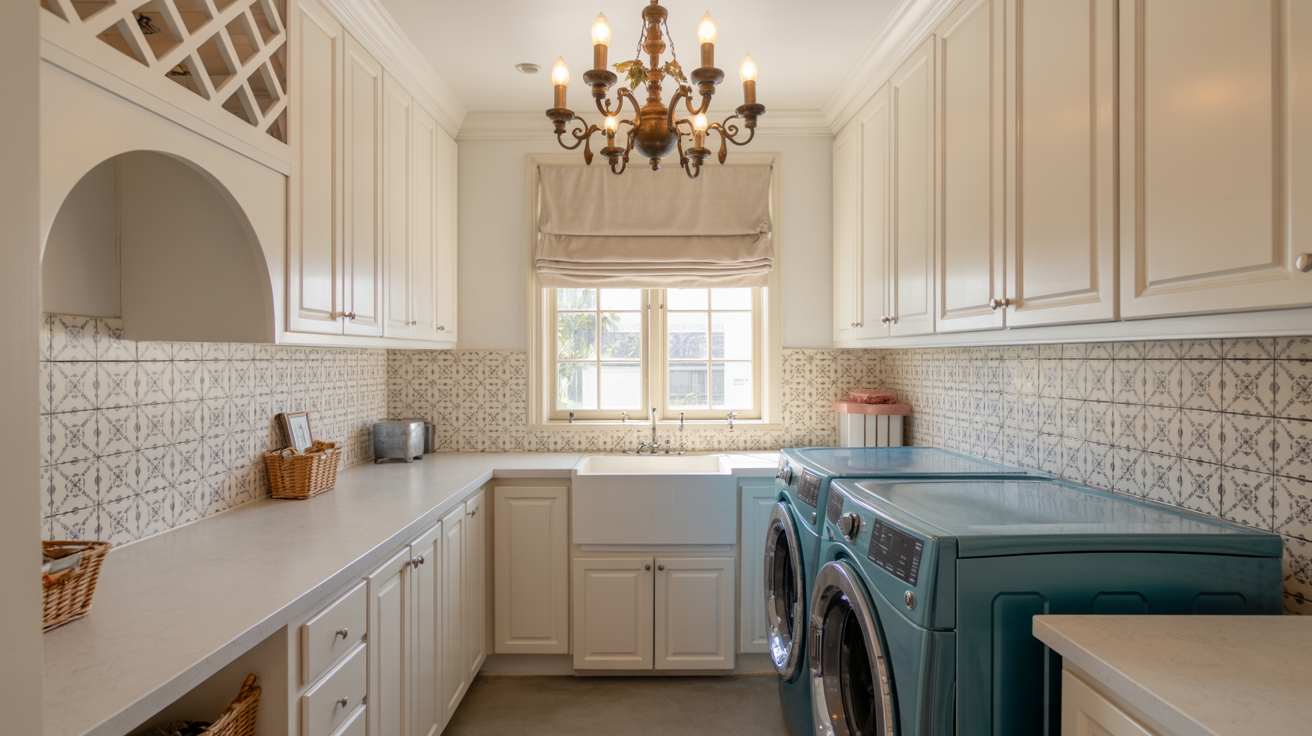
Simply mix the baking soda and essential oil in a jar with a shaker lid (an old spice jar works perfectly). Sprinkle it lightly over your completely dry upholstery, let it sit for about 15-20 minutes to work its odor-absorbing magic, and then vacuum it up thoroughly. I keep a pre-mixed jar of this in our laundry room at all times. It’s a little bit of old-school wisdom that works better than any store-bought freshener I’ve ever tried.
The Seasonal Shift: Effortless Ways to Refresh Your Living Room for Spring
With your furniture now sparkling clean, the stage is set for the final, most joyful part of the process: the seasonal refresh. This is where we bid farewell to the heavy, cozy layers of winter and welcome the light, airy spirit of spring. It’s amazing how a few simple, intentional swaps can completely transform the mood of a room, making it feel brighter, fresher, and full of life.
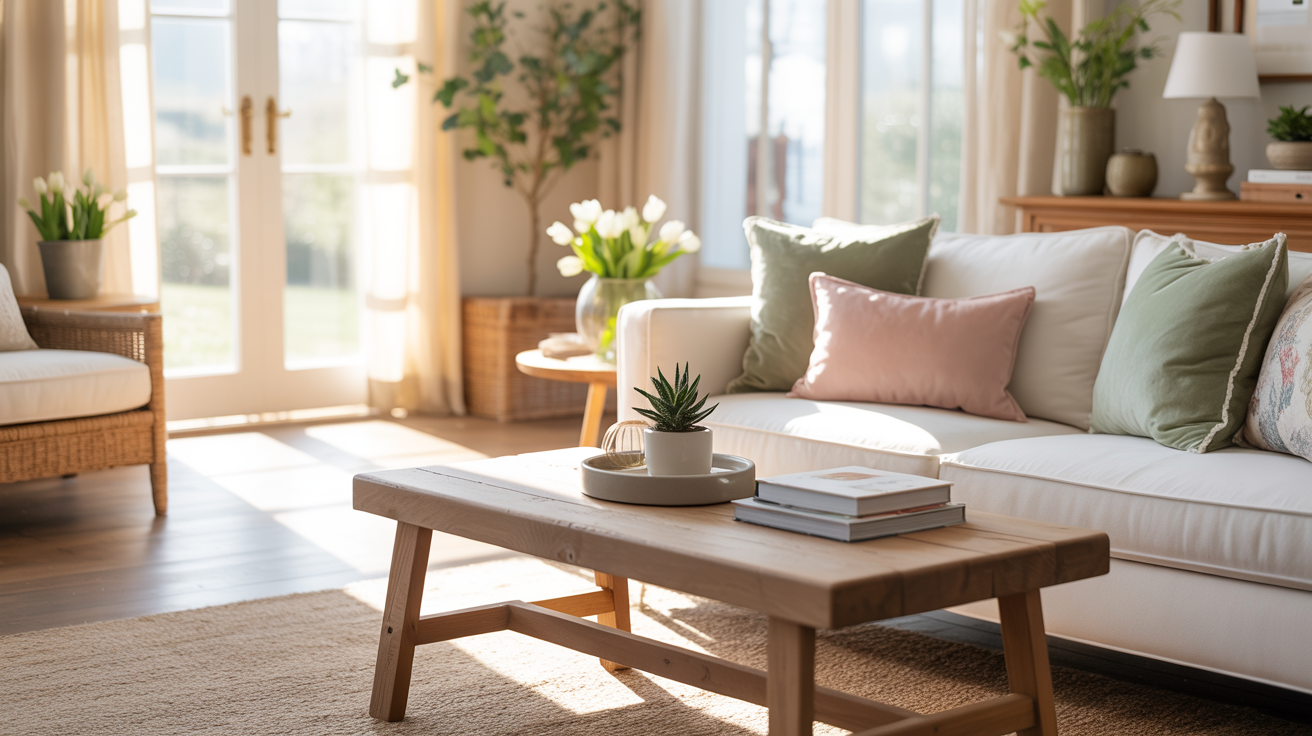
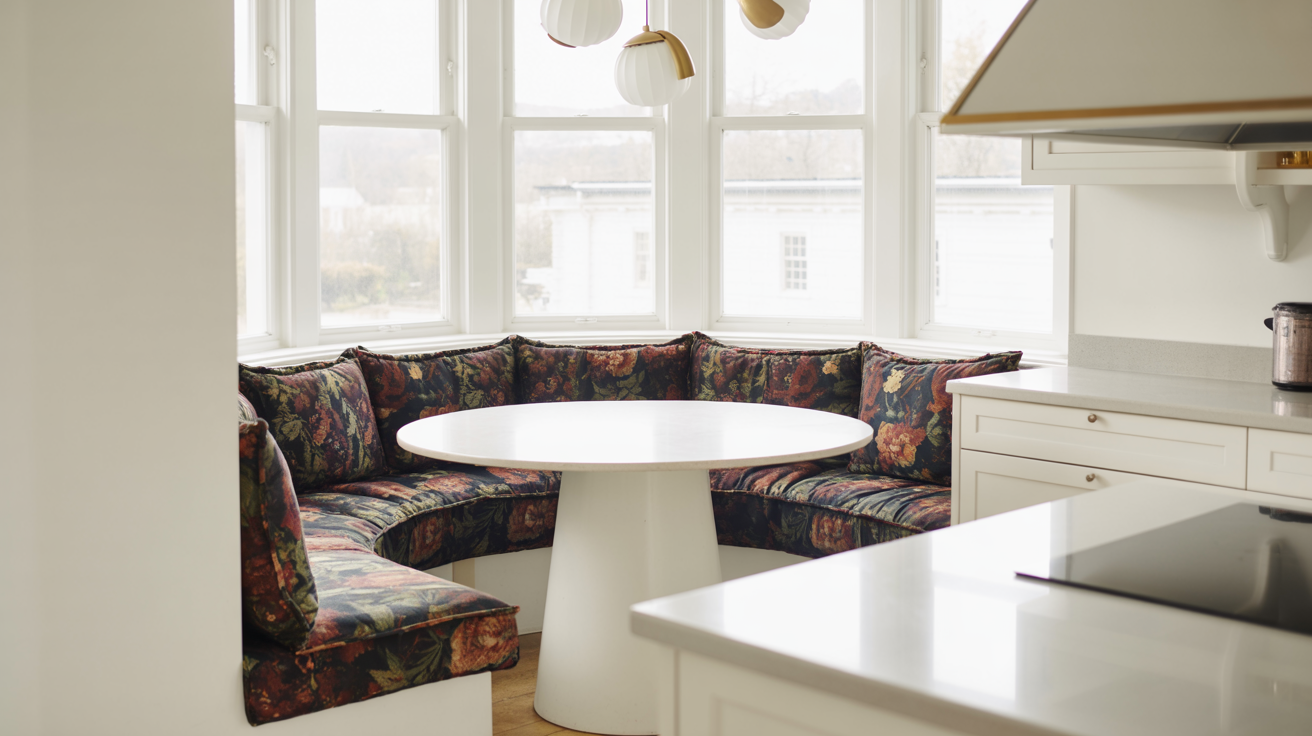
- The Great Textile Swap: There is a deep, instinctual satisfaction in packing away the heavy wool throws and velvet pillow covers of winter. It’s a tangible signal that a new season has arrived. I love to replace them with lighter, more breathable fabrics. Think crisp linen, soft cotton, and gauzy wovens. This is also a wonderful opportunity to play with color. Even if your overall palette is neutral, a few throw pillows in a soft, spring-like hue—a pale blush, a gentle sage green, a sunny buttercup yellow—can breathe new life into a room.
- Bring the Outdoors In: After a long, gray winter, I crave the sight of something green and growing. A simple vase of tulips on the coffee table, a branch of cherry blossoms on the mantel, or a pot of fragrant hyacinths on a side table can instantly brighten a room and your mood. And don’t feel like you have to have a green thumb to enjoy the benefits of nature. The world of faux botanicals has come a long way. A high-quality faux olive tree in a beautiful ceramic pot or a realistic-looking fern can provide that touch of green without any of the maintenance.
- Scent as a Decorating Tool: We often forget that scent is one of the most powerful tools in our decorating arsenal. It can instantly transport us, evoke a memory, and set a mood. For spring, I love to switch out my heavier, spicier winter candles for something fresh, crisp, and clean. Think citrusy notes of grapefruit and bergamot, delicate floral scents like peony and lilac, or the clean, classic fragrance of fresh linen. It’s an invisible layer of decor that makes a huge impact.
- Lighten Up Your Layers: Take a look at the decorative objects in your living room. The heavy, dark wood tray on your ottoman, the chunky knit basket holding your magazines. These are opportunities for a seasonal swap. Replace the dark wood with a lighter-toned rattan or a sleek marble tray. Swap the chunky knit for a light, airy woven basket. These small changes in texture can make your whole room feel lighter and more open.
A clean, refreshed living room is more than just a pretty space. It’s a mood booster, a signal to our brains that a new season of growth and possibility is here. It’s a reminder that our homes are not static spaces, but living, breathing environments that can and should evolve with us through the seasons of our lives.
Your Burning Questions, Answered
I get a lot of questions about this process, so I wanted to create a little space to address some of the most common ones. Think of this as a friendly chat over a cup of coffee (which we will be very careful not to spill on our newly cleaned sofas).
How often do you really need to do this?
In a perfect world with no pets, no kids, and no red wine, you could probably get away with a deep clean once a year. But we don’t live in that world, do we? In our house, with two dogs who believe the sofa is their personal kingdom, I find that a twice-a-year deep clean is the sweet spot. I typically tackle it once in the spring, to wash away the winter grime, and once in the fall, right before the holiday season kicks into high gear. If you have a particularly busy household with lots of little ones, you might find that a quarterly clean is necessary to keep things feeling fresh. The real answer is: when it starts to look or feel a little dingy, it’s time.
Can I really just throw my cushion covers in the wash?
This is where I tell you to proceed with caution, but also share a little secret. The official, responsible answer is: only if the fabric label explicitly says you can. Many, many cushion covers are labeled “dry-clean only.” Now, for the unofficial, “I’m a rebel” answer: I have absolutely washed slipcovers that were labeled dry-clean only, and they have lived to tell the tale. The key is to be smart about it. I always test one, small, insignificant cushion cover first. I wash it on the most delicate cycle with cold water, and then—and this is the most important part—I let it air dry. Never, ever put it in the dryer unless you want a doll-sized version of your cushion cover. I put it back on the cushion insert while it’s still slightly damp, which helps it stretch back to its original shape. It’s a bit of a gamble, but sometimes, it pays off beautifully.
What are your secret-weapon tools for daily maintenance?
Beyond the deep-cleaning arsenal, I have a few everyday heroes that I rely on to keep our furniture looking its best between cleanings. First, a good lint roller is non-negotiable, especially for pet owners. I also have a fabric shaver, which is a magical little device that safely shaves off the pilling and fuzz that can make fabric look old and worn. It’s incredibly satisfying to use and can make a tired piece of furniture look brand new again. It’s one of those “where has this been all my life?” tools.
A Home That Breathes with You
There is a profound sense of accomplishment that comes from stepping back and admiring your handiwork—a living room that feels lighter, brighter, and breathes with a newfound freshness. This process, this ritual of deep cleaning and refreshing our spaces, is about so much more than just aesthetics. It’s an act of care, a way of honoring the home that shelters and supports us. It’s about creating a sanctuary that not only looks beautiful but also feels genuinely good to be in.
This warmer weather, combined with the happy chaos of preparing for house guests, was the catalyst I needed to finally tackle this project. It’s one of those tasks that can feel daunting, but the reward is always, without fail, worth the effort. There’s a lightness in my step as I walk through our living room now, a quiet joy in knowing that it’s truly, deeply clean.
I hope this guide has demystified the process and given you the confidence to tackle your own upholstery. It’s a powerful skill to have, the ability to breathe new life into the furniture you love. So, put on your favorite playlist, gather your tools, and embrace the satisfaction of a job well done. Your home, and your future self, will thank you for it.