

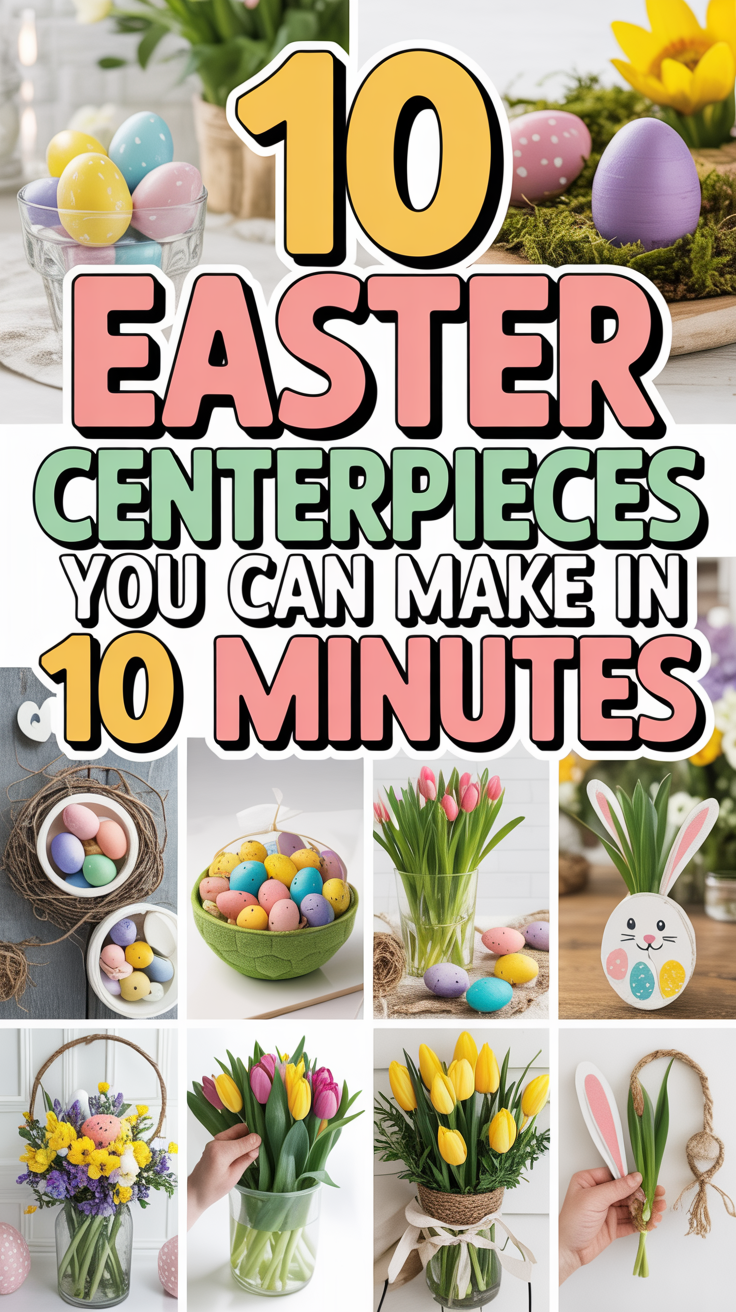
Easter is a time of renewal, celebration, and gathering with loved ones. As you plan your Easter brunch or dinner, creating a beautiful and inviting atmosphere is key to making the day feel special. While elaborate decorations can be stunning, they often require significant time and effort. But what if you could create a beautiful Easter centerpiece in just 10 minutes? It’s not only possible, but it’s also a fun and creative way to add a personal touch to your holiday table. Today I want to share 10 simple, yet elegant, Easter centerpiece ideas that you can create in 10 minutes or less, leaving you more time to enjoy the holiday with your family and friends.
These ideas are designed to be accessible to everyone, regardless of your crafting skills or the materials you have on hand. I’ll covere a range of styles, from classic and elegant to rustic and whimsical, ensuring that you’ll find the perfect centerpiece to complement your Easter table. Also read on for tips and variations for each idea, allowing you to customize your creation and make it truly your own.
1. The Classic Tulip Arrangement
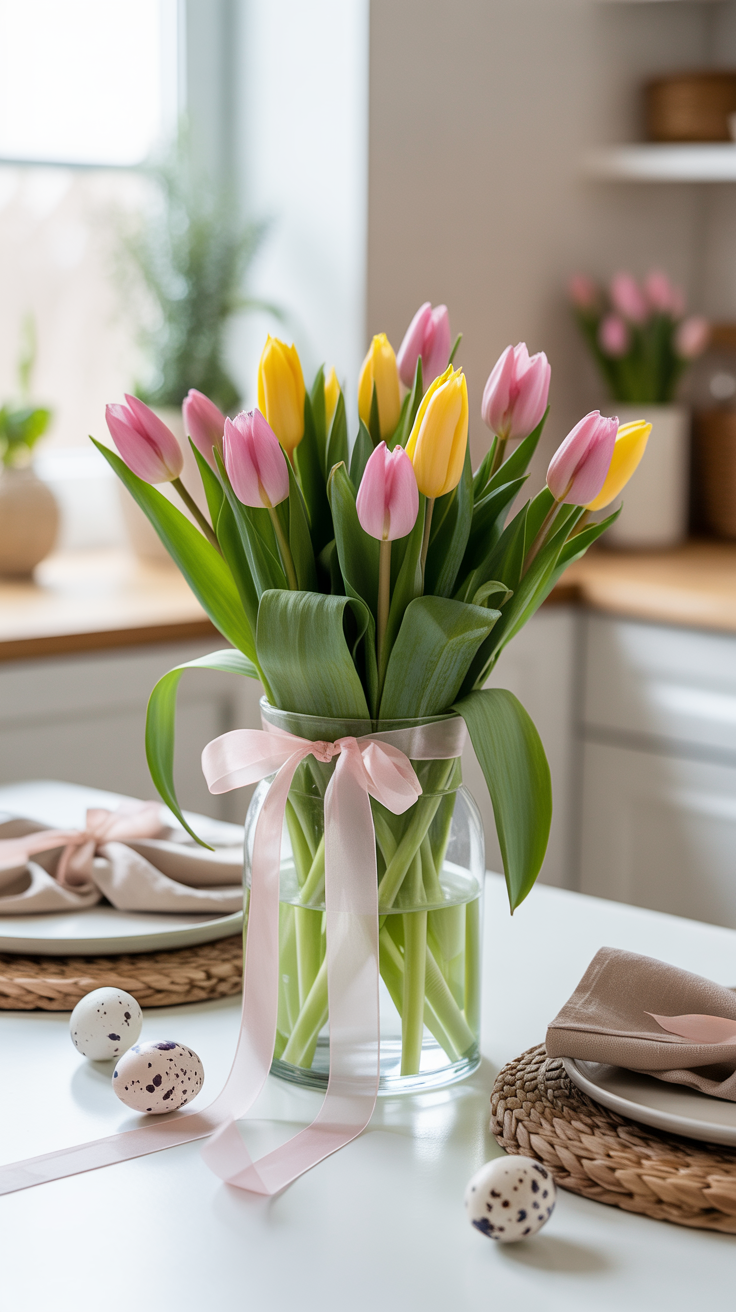
There’s nothing quite like the simple elegance of fresh tulips to welcome spring and celebrate Easter. This classic centerpiece is incredibly easy to assemble and brings a vibrant touch of color to any table. Tulips are a quintessential spring flower, and their graceful, cup-shaped blooms are a symbol of new beginnings and the arrival of warmer weather. A simple arrangement of fresh tulips can instantly brighten up your dining space and create a cheerful and inviting atmosphere for your Easter gathering.
Materials:
- A clear glass vase
- A bunch of fresh tulips (about 10-20 stems)
- Water
Instructions:
- Fill your vase with fresh, cool water, about two-thirds full. It’s important to use cool water, as warm water can cause the tulips to open too quickly and shorten their lifespan.
- Trim the tulip stems at an angle to your desired height. This allows the flowers to absorb more water and stay fresh longer. Removing any leaves that will be below the waterline will also help to keep the water clean and prevent bacterial growth.
- Arrange the tulips in the vase. You can create a tight, compact arrangement or a more loose and natural look. Don’t be afraid to let the tulips bend and droop naturally; this can add to their charm and create a more organic feel.
Variations:
- For a pop of color, tie a pastel-colored ribbon around the vase. A simple bow can add a touch of elegance and tie the centerpiece in with your overall color scheme.
- Mix and match different colors of tulips for a more vibrant and playful arrangement. Choose a color palette, such as shades of pink and purple, or create a more eclectic look with a variety of bright and cheerful hues.
- Add a few stems of baby’s breath or other filler flowers for a fuller look. Waxflower, with its delicate white or pink blossoms, is another excellent choice that complements tulips beautifully.
- For a more modern and minimalist look, use a tall, cylindrical vase and arrange the tulips in a single, dramatic line.
2. The Rustic Egg Nest
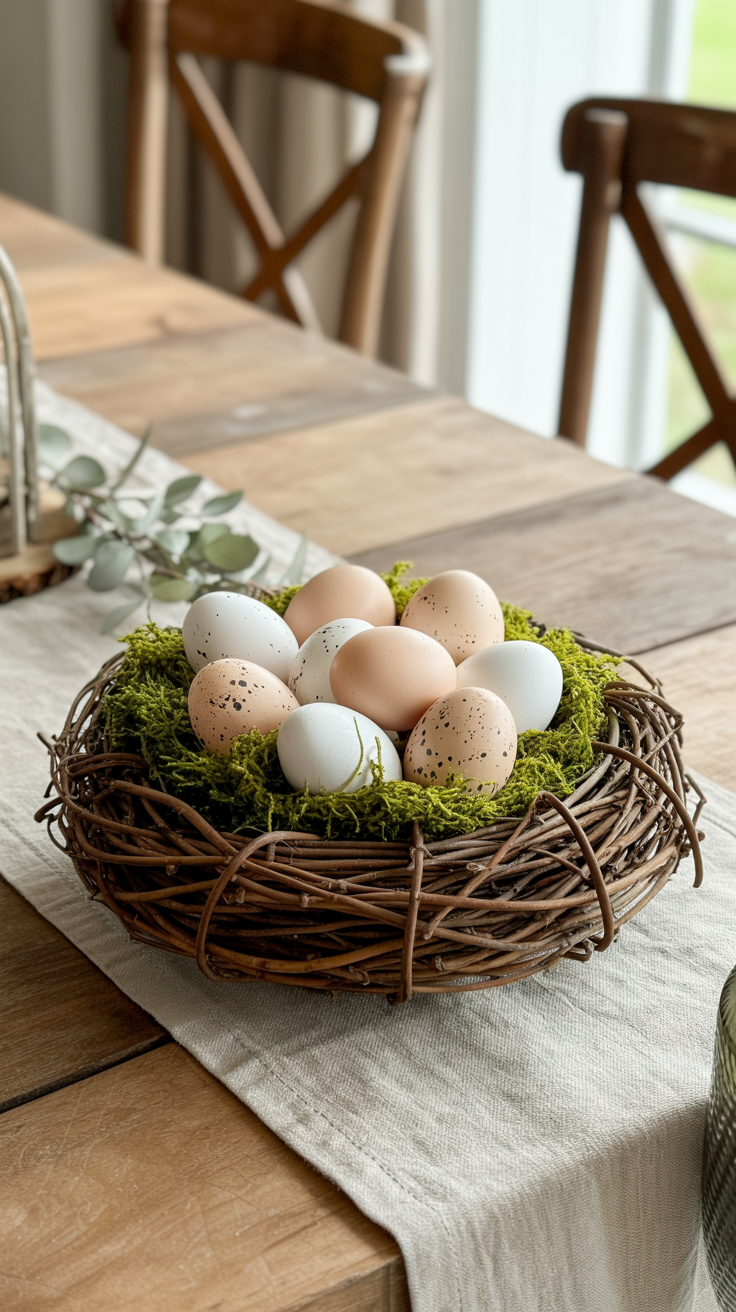
This charming centerpiece brings a touch of nature indoors and creates a cozy, rustic feel. It’s a versatile idea that can be adapted to suit your personal style and the materials you have on hand. The egg is a powerful symbol of new life and rebirth, making it a particularly fitting element for your Easter table. This centerpiece is a wonderful way to celebrate the season and bring a bit of the outdoors in.
Materials:
- A small grapevine wreath or a shallow bowl
- Faux moss or Easter grass
- A variety of decorative eggs (speckled, pastel, or metallic)
Instructions:
- If you’re using a wreath, place it on a flat surface. If you’re using a bowl, you’re ready to start filling it. A grapevine wreath provides a natural and rustic base, while a simple ceramic or wooden bowl can create a more polished look.
- Create a nest-like base by filling the wreath or bowl with faux moss or Easter grass. You can also use natural materials like twigs, dried leaves, or even shredded paper for a more eco-friendly option.
- Arrange the decorative eggs in the center of the nest. You can group them together or scatter them for a more natural look. Consider using a mix of sizes and colors to create visual interest.
Variations:
- Add a small, decorative bird figurine or a few feathers to the nest for a more realistic touch. You can find these at most craft stores.
- Incorporate small flowers or greenery into the nest for a pop of color and texture. A few sprigs of fresh lavender or some small, delicate wildflowers can add a beautiful and fragrant touch.
- Use a cloche to cover the nest for a more elegant and sophisticated look. This will also help to protect the centerpiece and keep it dust-free.
- For a personalized touch, you can use hand-painted or decorated eggs. This is a great activity to do with children in the days leading up to Easter.
3. The Elegant Candle Display
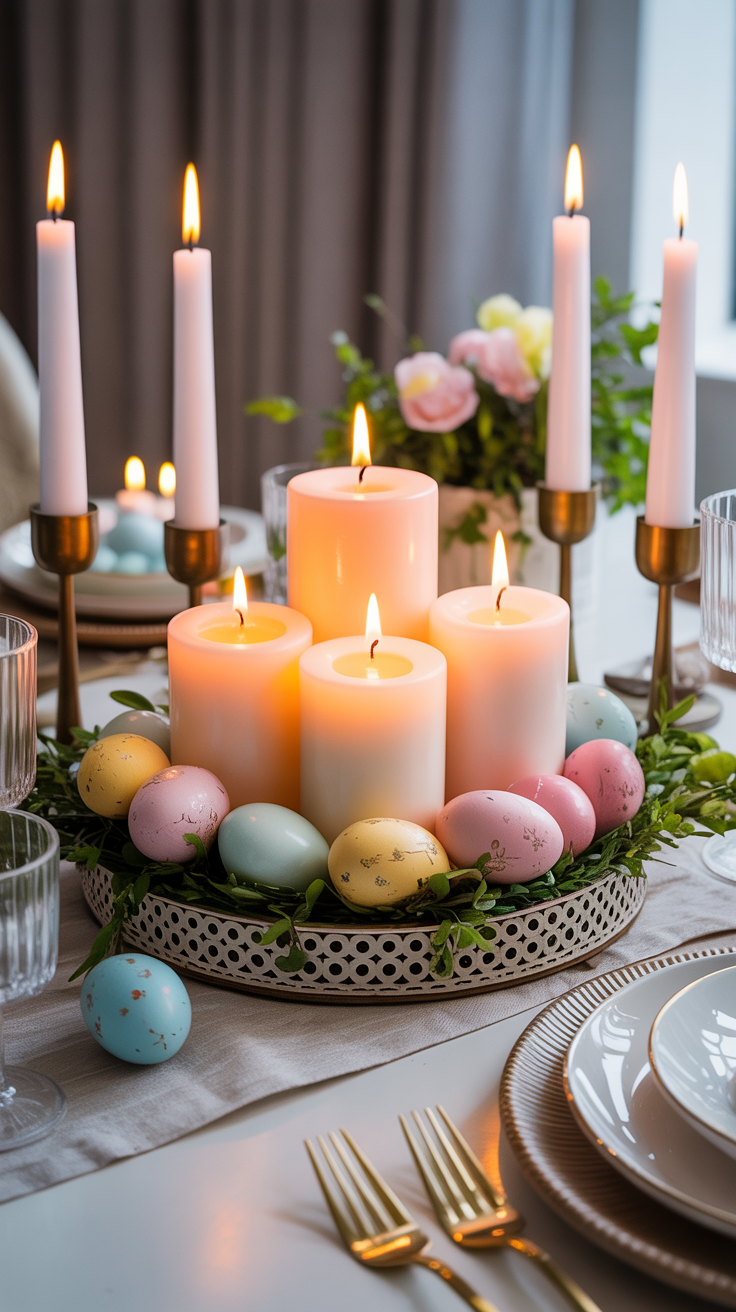
Candles create a warm and inviting ambiance, making them a perfect addition to your Easter table. This simple yet elegant centerpiece can be easily customized to match your decor. The soft, flickering light of a candle can create a sense of intimacy and warmth, making your Easter meal feel even more special. This centerpiece is a wonderful way to create a cozy and inviting atmosphere for your guests.
Materials:
- A set of pillar candles in varying heights
- A decorative tray or platter
- Small decorative elements like Easter eggs, flower petals, or greenery
Instructions:
- Arrange the pillar candles on the tray, with the tallest candle in the center. This will create a sense of balance and visual hierarchy.
- Scatter your chosen decorative elements around the base of the candles. You can use a variety of materials to create a look that is both beautiful and personal.
- For a touch of sparkle, you can add some glitter or metallic confetti. A light dusting of gold or silver glitter can add a touch of glamour and sophistication.
Variations:
- Use scented candles in spring fragrances like lavender, vanilla, or fresh linen to enhance the sensory experience. The subtle fragrance will add another layer of ambiance to your Easter gathering.
- Wrap the candles with decorative ribbon or twine for a more rustic look. You can also use lace or burlap for a more vintage-inspired feel.
- Place the candles in glass hurricanes for a more formal and polished centerpiece. This will also help to protect the flames from drafts and make the centerpiece safer.
- For a more natural look, you can use a wooden slab or a piece of slate as a base for your candle display.
4. The Cheerful Jelly Bean Jar
This colorful and playful centerpiece is a feast for the eyes and is sure to be a hit with both kids and adults. It’s a fun and easy way to add a pop of color to your Easter table. The bright colors of the jelly beans are a celebration of spring and the joy of the Easter season. This centerpiece is a wonderful way to add a touch of fun and whimsy to your holiday decor.
Materials:
- A large, clear glass jar or vase
- A smaller, narrower vase that fits inside the larger one
- An assortment of colorful jelly beans
- Fresh flowers
Instructions:
- Place the smaller vase inside the larger one, making sure it’s centered. This will create a space for the jelly beans.
- Fill the space between the two vases with colorful jelly beans, creating a vibrant and festive border. You can create a random mix of colors or create a layered effect by adding one color at a time.
- Fill the inner vase with water and arrange your favorite fresh flowers. The flowers will appear to be floating in a sea of colorful jelly beans.
Variations:
- Use other colorful candies like M&Ms, pastel-colored marshmallows, or even layers of different colored sand. The possibilities are endless!
- Instead of fresh flowers, you can use a pillar candle in the inner vase for a warm and glowing centerpiece. The candlelight will illuminate the jelly beans and create a beautiful and magical effect.
- Tie a ribbon around the top of the jar that complements the colors of the jelly beans. A simple bow can add a touch of elegance and tie the centerpiece in with your overall color scheme.
- For a more sophisticated look, you can use a single color of jelly beans, such as all white or all yellow.
5. The Whimsical Bunny Garden
Create a miniature Easter wonderland with this whimsical and charming centerpiece. It’s a delightful project that allows you to get creative and build a tiny world on your tabletop. This centerpiece is a wonderful way to capture the magic and wonder of the Easter season. It’s a project that can be enjoyed by both children and adults, and the end result is a charming and unique decoration for your Easter table.
Materials:
- A small tray or platter
- Faux grass or moss
- Small bunny figurines
- Miniature carrots, eggs, and other small decorative elements
Instructions:
- Create a lush green base on your tray by covering it with faux grass or moss. You can also use a piece of green felt or fabric.
- Arrange the bunny figurines in the “garden,” creating a playful scene. You can have them hopping, eating carrots, or simply enjoying the spring day.
- Add miniature carrots, eggs, and other small decorations to complete your whimsical Easter garden. You can find these at most craft stores or in the dollhouse section.
Variations:
- Create a small “Carrot Patch” sign to add a fun detail to your garden. You can make this out of a small piece of wood or cardboard.
- Use a small, decorative fence to enclose your bunny garden. This will help to create a sense of a self-contained world.
- Incorporate small, battery-operated fairy lights to add a magical glow to your centerpiece. The soft, twinkling lights will create a sense of wonder and enchantment.
- For a more natural look, you can use real moss and small, live plants in your bunny garden.
6. The Simple and Sweet Peeps Bouquet
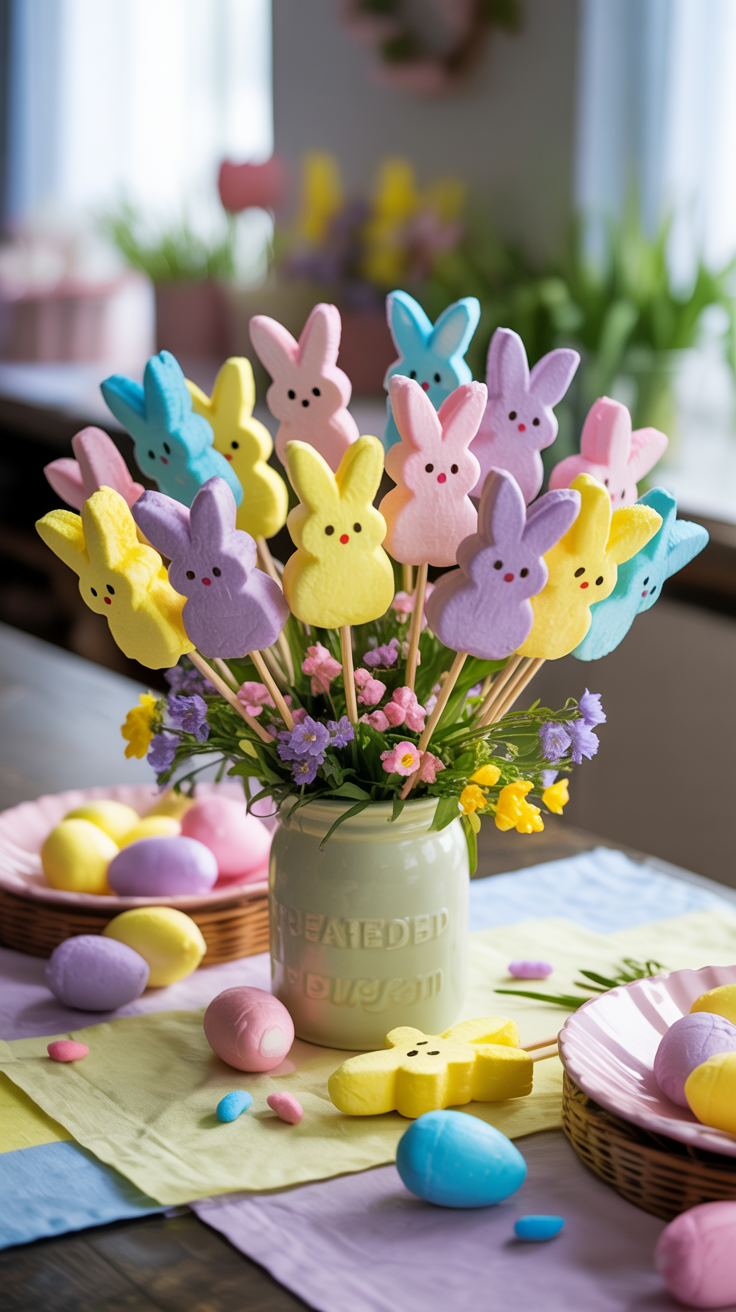
Peeps are an iconic Easter treat, and they can also be used to create a fun and colorful centerpiece. This simple and sweet bouquet is a no-fuss way to add a touch of whimsy to your table. Peeps are a nostalgic and beloved part of the Easter tradition for many people. This centerpiece is a fun and lighthearted way to celebrate the holiday and bring a smile to your guests’ faces.
Materials:
- A vase or mason jar
- Wooden skewers
- An assortment of colorful Peeps
- Optional: ribbons or bows
Instructions:
- Carefully insert a wooden skewer into the bottom of each Peep. Be gentle to avoid tearing the marshmallow.
- Arrange the Peeps skewers in the vase, creating a colorful and festive bouquet. You can vary the heights of the skewers to create a more dynamic arrangement.
- You can add a ribbon or bow around the vase for an extra decorative touch. A simple bow in a coordinating color can add a touch of polish to your centerpiece.
Variations:
- Fill the bottom of the vase with jelly beans or other small candies for added color and texture. This will also help to hold the skewers in place.
- Alternate the Peeps with other treats on skewers, like marshmallows or fruit. Strawberries, grapes, and melon balls are all great choices.
- Use a variety of Peeps shapes, like bunnies and chicks, for a more diverse bouquet. You can also find Peeps in a variety of colors, so you can create a bouquet that matches your decor.
- For a more sophisticated look, you can use a single color of Peeps, such as all yellow or all pink.
7. The Fragrant Herb Bundle
For a centerpiece that is both beautiful and aromatic, consider a simple bundle of fresh herbs. This natural and understated arrangement brings a touch of the outdoors in and fills the air with a delightful fragrance. The scent of fresh herbs can be both calming and invigorating, and it&#