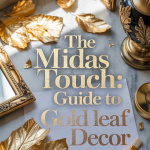
For centuries, gold has been a symbol of luxury, opulence, and timeless beauty. From the gilded tombs of ancient pharaohs to the illuminated manuscripts of medieval monks and the ornate palaces of the Baroque period, the radiant allure of gold leaf has captivated humanity. This ancient art form, known as gilding, is not just a relic of the past; it is experiencing a remarkable resurgence in the world of interior design. Far from being confined to museums and historic homes, gold leaf is making a bold statement in modern spaces, adding a touch of glamour and sophistication to everything from furniture and mirrors to everyday decorative objects. What was once a craft reserved for master artisans is now more accessible than ever, empowering DIY enthusiasts and designers alike to bring the Midas touch into their own homes.
So let’s demystify the art of gold leafing. I’m going to to walk through the essential materials, from the different types of leaf to the necessary adhesives and sealants. I’ll provide a detailed, step-by-step tutorial on the application process so you have the confidence to tackle your own gilding projects. Finally, we will delve into a treasure trove of designer ideas, offering inspiration for transforming mirrors, picture frames, furniture, and more into stunning, gilded masterpieces.
A Gleaming History: The Allure of Gold
The practice of gilding is thousands of years old, with evidence found in Egyptian tombs dating back to 2300 B.C. The Egyptians believed gold was the “flesh of the gods,” and they used it extensively to decorate sarcophagi, funeral masks, and furniture for the afterlife, believing its incorruptible nature would grant immortality. Throughout history, this association with divinity and permanence continued. In medieval Europe, monks painstakingly applied gold leaf to religious manuscripts, the reflective surfaces illuminating the sacred texts and elevating them beyond mere words. During the Renaissance and Baroque periods, gilding reached new heights of extravagance, covering the walls, ceilings, and furniture of palaces like Versailles, a clear and dazzling display of power and wealth.
So why is this ancient craft finding such resonance today? The modern revival of gold leaf is, in part, a reaction against the cool, understated minimalism that has dominated design for years. There is a collective yearning for warmth, for personality, and for a touch of glamour in our personal spaces. Gold leaf, with its inherent richness and historical weight, offers a perfect antidote to the generic. It connects us to a long tradition of craftsmanship and artistry, allowing us to imbue our homes with a sense of history and a story that feels both personal and profound.
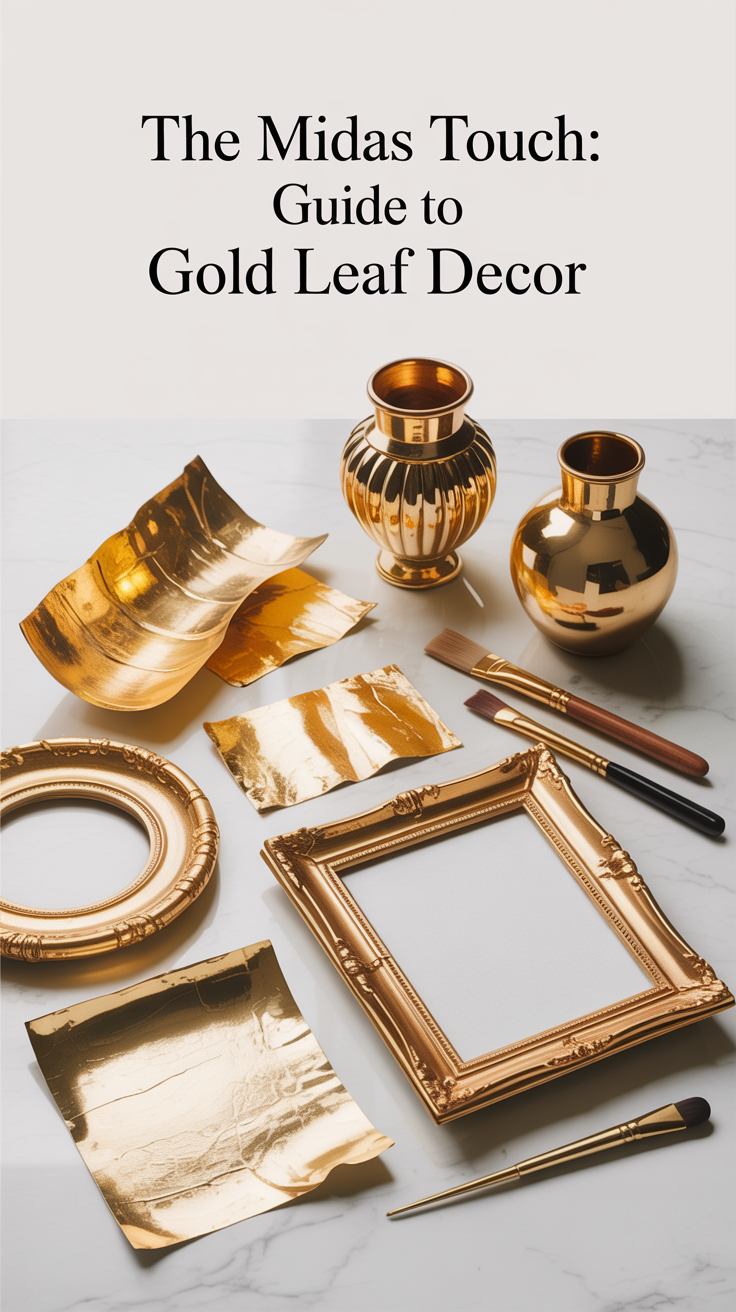
Understanding Your Materials: A Gilder’s Toolkit
Before embarking on a gilding project, the first and most crucial decision is choosing the type of leaf to use. The two primary options are genuine gold leaf and imitation gold leaf, but within those categories, there are further distinctions that can impact your project.
Genuine Gold Leaf: The Authentic Choice
As the name suggests, genuine gold leaf is crafted from real gold. Through a meticulous, time-honored process called goldbeating, pure gold is hammered into incredibly thin sheets. The purity of gold is measured in karats, and genuine gold leaf is available in a range from 6 to 24 karats. The karat value is determined by the other metals alloyed with the gold, typically silver and copper. A higher karat value, such as 23.75k or 24k, indicates a purer gold content, resulting in a richer, warmer hue and, most importantly, a natural resistance to corrosion and tarnishing. Lower karat gold leaf, which contains more silver or copper, will have a slightly different color (like the pale shimmer of “white gold” or the rosy glow of “rose gold”) and is more susceptible to oxidation over time.
Loose Leaf vs. Transfer Leaf: Genuine gold leaf comes in two main formats:
- Loose Leaf: These are individual sheets of gold leaf placed between thin sheets of rouged paper. They are incredibly delicate and are traditionally handled with a special tool called a gilder’s tip, a flat brush made of squirrel hair. Loose leaf is best for intricate, carved surfaces where the leaf needs to be molded into crevices.
- Transfer Leaf (or Patent Leaf): These sheets are lightly pressed onto a backing of tissue paper. This makes them much easier to handle, as you can hold the tissue paper and apply the leaf directly to the surface. Transfer leaf is ideal for flat surfaces or less detailed projects and is the recommended choice for beginners working with real gold.
Pros of Genuine Gold Leaf:
- Unmatched Beauty: The luster, depth, and color of real gold leaf are unparalleled. It possesses a warmth and brilliance that imitation leaf cannot fully replicate.
- Durability and Longevity: High-karat gold (23k and above) is the noblest of metals and will not tarnish or corrode. This makes it the only suitable choice for exterior projects, such as architectural details or outdoor statues, where it can last for 30 years or more. It is also ideal for high-end interior pieces that are meant to become heirlooms.
Cons of Genuine Gold Leaf:
- Cost: As a precious metal, genuine gold leaf is significantly more expensive than its imitation counterpart.
- Delicacy: It is incredibly thin and fragile, requiring a more delicate touch and a bit more practice to handle effectively.
Imitation Gold Leaf: The Accessible Alternative
Imitation gold leaf, also known as composition leaf, Dutch metal, or Dutch gold, contains no real gold. It is typically made from a brass alloy, a combination of copper and zinc. While it is a convincing substitute, there are key differences in its properties and performance.
Pros of Imitation Gold Leaf:
- Affordability: This is the primary advantage of imitation leaf. Its low cost makes it an excellent choice for beginners, large-scale projects, or decorative items where the investment in real gold is not warranted.
- Ease of Handling: Imitation leaf is slightly thicker and more robust than genuine gold leaf, making it easier for beginners to handle without tearing.
Cons of Imitation Gold Leaf:
- Tarnishing: Because it is made of brass, imitation gold leaf will oxidize and tarnish over time when exposed to air. It will develop a dull, sometimes greenish, haze. Therefore, it is absolutely essential to seal imitation gold leaf with a protective varnish.
- Appearance: While it provides a beautiful gold-like finish, it lacks the deep, rich luster of real gold. The color can sometimes appear slightly cooler or more brassy.
- Not for Exterior Use: Due to its susceptibility to tarnishing, imitation leaf should only be used for interior projects.
When to Choose Which: For most DIY home decor projects, such as picture frames, mirror frames, vases, and furniture accents, imitation gold leaf is the perfect choice. It is affordable, easy to work with, and when properly sealed, provides a beautiful and durable finish. Reserve genuine gold leaf for special, heirloom-quality pieces, projects that will be handled frequently, or any exterior application.
The Art of Gilding: A Comprehensive How-To
With a little patience and the right materials, anyone can master the art of gilding. This step-by-step guide will walk you through the entire process, from preparation to the final, gleaming finish.
Step 1: Gathering Your Tools and Materials
Having everything ready before you begin is key to a smooth process. Here’s what you’ll need:
- Metal Leaf: Choose imitation gold leaf for most projects. It comes in books of individual sheets, often separated by tissue paper.
- Gilding Adhesive (or “Size”: This is the special glue used to adhere the leaf to the surface. A water-based size is recommended for beginners as it is easy to use and clean up.
- Brushes: You will need at least two types of soft-bristled brushes: a small artist’s brush to apply the adhesive and a larger, softer brush (like a mop brush or a dedicated gilding brush) to smooth the leaf and brush away the excess.
- Sealer/Varnish: A clear, non-yellowing, water-based varnish is crucial for protecting imitation gold leaf from tarnishing. Look for products specifically designed for sealing metal leaf.
- Surface Preparation Supplies: Depending on your object, you may need sandpaper (various grits), wood filler, primer, and a base coat of paint.
Step 2: Preparing the Surface
A flawless gilded finish begins with a perfectly prepared surface. Gold leaf is incredibly thin and will highlight any imperfections underneath.
- Clean: The surface must be completely clean, dry, and free of dust, grease, or debris.
- Smooth: Sand the surface until it is as smooth as possible. Fill any cracks or holes with wood filler and sand smooth. For a truly professional, mirror-like finish (known as a “water gild” finish, though that’s a more advanced technique), artisans apply multiple layers of gesso and sand it to a glass-like smoothness.
- Prime and Paint (Optional but Recommended): While you can apply gold leaf to almost any surface, applying a base coat of paint can dramatically affect the final look. A traditional base color is a deep red or ochre (often called “bole”), which gives the gold a warm, rich undertone and makes any small cracks or holidays (missed spots) look intentional and aged. For a brighter look, you could use a yellow or grey base. Allow the paint to dry completely.
Step 3: Applying the Adhesive (Sizing)
This is the most critical stage of the process. The goal is to apply a thin, even layer of adhesive and let it dry to the perfect level of tackiness.
- Using your small artist’s brush, apply a very thin, even coat of the gilding size to the area you want to gild. Avoid letting the adhesive pool in crevices. A common mistake is applying the size too thickly, which can cause the leaf to “drown” and appear wrinkled.
- Let the size dry. When first applied, water-based size will appear milky white. As it dries, it will turn clear. The drying time can vary from 15 minutes to an hour, depending on the brand, thickness of application, and humidity.
- Test for “Tack”: The size is ready when it is no longer wet but has become tacky, like the back of a sticky note. Gently touch the surface with the back of your knuckle. If it feels sticky but no adhesive comes off on your skin, it is ready for the leaf. This is the crucial window of opportunity. If it’s still wet, the leaf will dissolve. If it’s completely dry, it won’t stick at all.
Step 4: Laying the Leaf
Working with gold leaf requires a delicate touch and a draft-free environment. Turn off any fans or air conditioners.
- Carefully pick up a sheet of gold leaf. You can handle imitation leaf by the corners, but it is very fragile. The sheets are often attached to a piece of tissue paper, which can make handling easier.
- Gently lay the sheet onto the tacky surface. Don’t press it down hard yet. Simply let it make contact with the adhesive.
- Continue laying sheets, slightly overlapping the edges to ensure full coverage. Don’t worry about wrinkles or cracks at this stage; they add to the character of the piece.
Step 5: Burnishing and Smoothing
Once the entire surface is covered with leaf, it’s time to smooth it down and remove the excess.
- Take your large, soft brush and gently pounce or swirl over the surface. This will press the leaf firmly into the adhesive and into any detailed crevices.
- As you brush, the excess, overlapping pieces of leaf (known as “skewings”) will break away. Continue brushing until the surface is smooth and all the loose bits have been removed. You can collect these skewings to patch any small missed spots.
Step 6: Sealing for Longevity
This final step is non-negotiable when using imitation gold leaf. Sealing will protect your beautiful work from tarnishing and abrasion.
- Ensure all loose leaf particles have been brushed away.
- Using a clean, soft brush, apply a thin, even coat of your clear water-based sealer. Be gentle so as not to scratch the leaf.
- Allow the first coat to dry completely. For items that will be handled or cleaned often, a second coat is recommended for added durability.
Troubleshooting Common Issues
- Wrinkles: Small wrinkles are part of the charm, but large ones can be smoothed out during the burnishing stage. If the size was too wet, wrinkles are more likely.
- Holidays (Missed Spots): If you find a bare patch, simply apply a tiny amount of size with a fine-tipped brush, wait for it to tack up, and apply a small piece of your collected skewings.
- Leaf Won’t Stick: The size has likely dried past its tacky stage. You will need to reapply a thin layer of size to that area and try again.
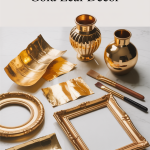
Designer Looks: Gold Leaf Ideas for Your Home
Now for the fun part: transforming ordinary objects into extraordinary works of art. Here are some designer-inspired ideas for incorporating gold leaf into your decor.
Mirrors: A Reflection of Elegance
A gilded mirror can act as a stunning focal point in any room, from an entryway to a bathroom.
- The Antiqued Frame: To achieve a classic, aged look, you don’t need perfect coverage. After applying the leaf, you can gently distress the finish with fine steel wool in some areas to let the dark base coat show through. Applying a dark wax over the sealed leaf and buffing it off will also settle into the crevices, enhancing the details and creating a beautiful patina.
- The Modern Geometric: Take a simple, plain-framed mirror and use painter’s tape to create a geometric pattern like stripes or chevrons. Apply the gold leaf within the taped-off sections for a chic, contemporary look that combines modern design with classic glamour.
- The Eglomise Effect: This is the art of gilding on the reverse side of glass. For a truly unique mirror, you can apply gold leaf to the back of a piece of glass, then distress it from the back before sealing. The result is a beautifully antiqued, mottled mirror with a soft, ethereal glow.
Picture Frames: Elevating Your Art and Memories
Gilding a picture frame can elevate the art within it and turn a simple photograph into a treasured display.
- Highlighting Ornate Details: For a vintage, intricately carved frame, apply gold leaf only to the raised details. This highlights the craftsmanship of the frame without being overwhelming, creating a beautiful contrast with the original wood or a painted finish.
- The Subtle Inner Bevel: For a more understated look, apply gold leaf only to the thin inner bevel of a simple, modern frame. This creates a delicate, luminous border that draws the eye inward, directly to the artwork or photograph.
- Color Blocking: Paint a simple, flat-faced frame in a bold, matte color like navy blue, emerald green, or even black. Then, gild one or two sides of the frame for a dramatic, modern, color-blocked effect.
Furniture: From Drab to Dramatic
Give a tired piece of furniture a glamorous new life with the strategic use of gold leaf.
- The Campaign Dresser: Transform a simple dresser into a chic campaign-style piece by gilding the corners and adding brass hardware. This is a classic look that never goes out of style.
- The Gilded Tabletop: For a true statement piece, gild the entire top surface of a console or side table. Paired with a simple base, this creates a luxurious focal point.
- The Secret Interior: For a delightful surprise, paint the exterior of a cabinet or armoire in a subtle color, but gild the entire interior. When the doors are opened, they reveal a dazzling, luminous space, perfect for a home bar or displaying treasured objects.
Beyond Frames: Other Gold Leaf Decor Ideas
The possibilities for gold leaf are limited only by your imagination.
- Decorative Objects: Scour thrift stores for simple ceramic vases, bowls, or lamps. A touch of gold leaf can turn them into chic, expensive-looking accessories. You can gild the inside of a bowl for a surprising flash of light, or create a pattern on the outside of a vase.
- Abstract Wall Art: Purchase a blank canvas and create your own abstract art. Apply thick acrylic paint or plaster to create texture, and once dry, gild the raised areas. This creates a sophisticated, one-of-a-kind piece of art for your walls.
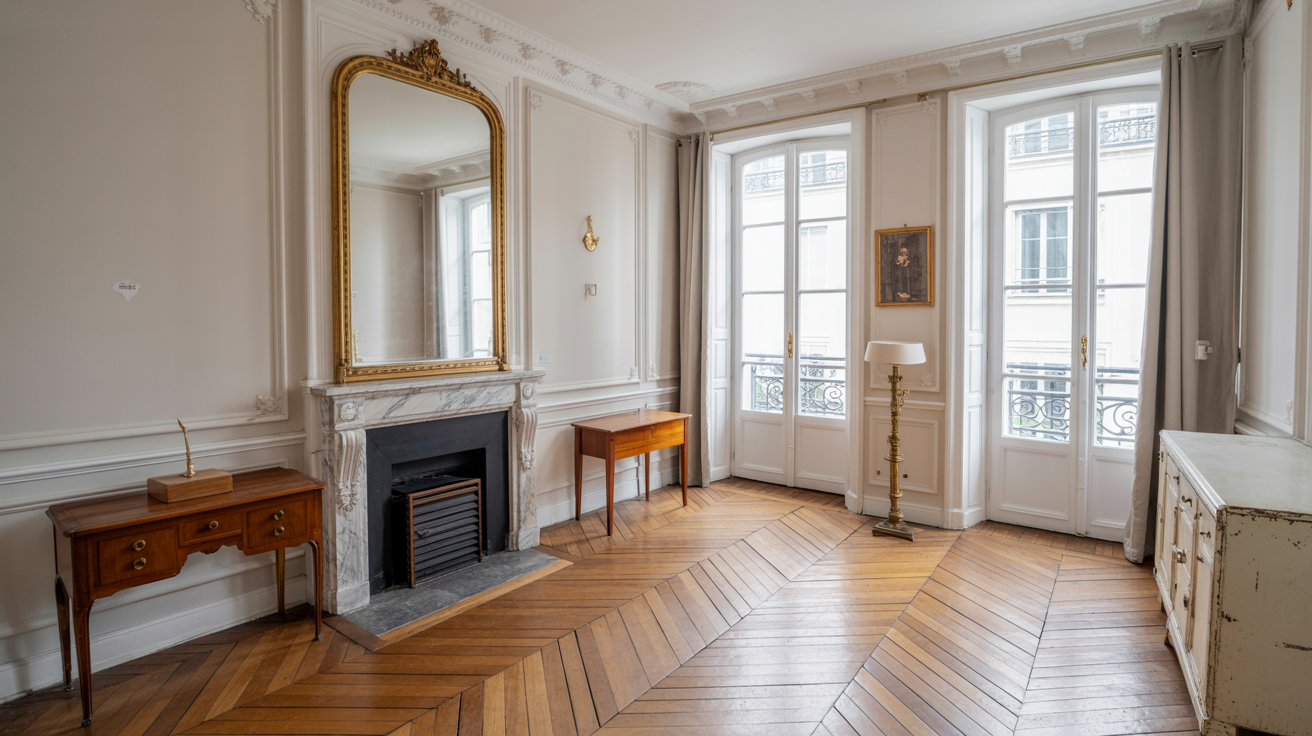
- Architectural Details: For a truly grand statement, consider gilding architectural elements in your home. A gilded ceiling medallion can add a touch of historic grandeur to a dining room, while a gilded fireplace mantel can create a luxurious and inviting focal point in a living room.
Caring for Your Gilded Treasures
Proper care will ensure your gilded creations remain beautiful for years to come.
- Dusting: Dust gilded surfaces regularly with a very soft, dry cloth or a feather duster. Never use abrasive cloths or harsh dusting sprays.
- Cleaning: For sealed imitation gold leaf, you can gently wipe the surface with a slightly damp cloth if necessary. Avoid harsh chemical cleaners, which can damage the sealer and the leaf underneath. For unsealed genuine gold leaf, cleaning should be left to a professional, as it is incredibly delicate.
- Avoid Abrasion: Treat your gilded items with care. Avoid placing them in high-traffic areas where they are likely to be scratched or bumped.
Embrace Your Inner Alchemist
Gold leafing is more than just a craft; it is a form of alchemy, a magical process that transforms the ordinary into the extraordinary. It offers a unique opportunity to infuse your home with a sense of history, luxury, and personal style. In a world of mass production, the act of gilding is a deliberate choice to create something unique and lasting. It is a nod to the past and a bold statement for the future of design. With the accessibility of modern materials and a little bit of guidance, the timeless beauty of a gilded finish is within your reach. So, don’t be intimidated by its precious appearance. Embrace the process, have patience with the delicate leaves, and get ready to add a touch of the Midas touch to your own corner of the world. Your home, and the objects within it, will shine all the brighter for it, reflecting not just light, but your own creativity and care.