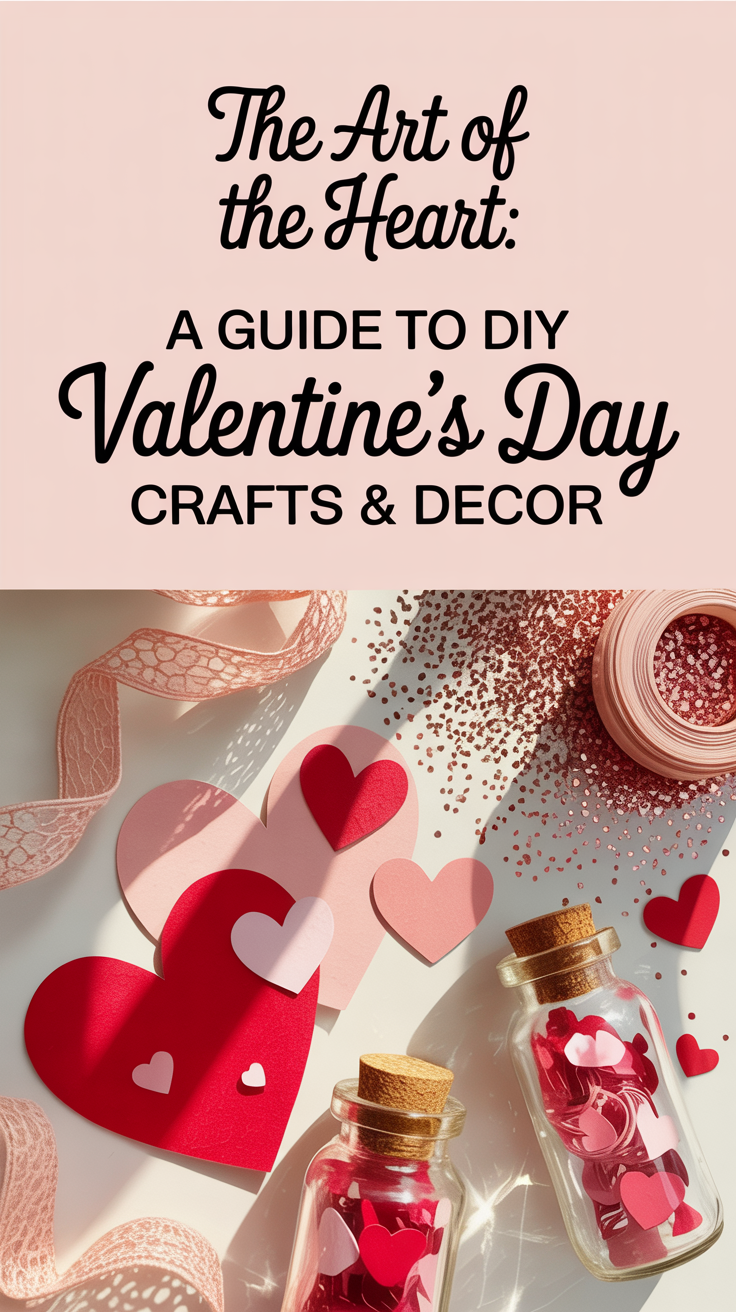
With all the commercially produced cards and shrink-wrapped chocolates, there is a growing desire to reclaim the heart of Valentine’s Day. This year, let’s trade the store-bought for the sentimental, the generic for the genuine. The true magic of Valentine’s Day lies not in how much you spend, but in how much love you put into your celebration. And what better way to infuse the day with personal meaning than by creating something beautiful with your own two hands?
DIY crafts are more than just a way to pass the time; they are a form of expression, a mindful practice, and a powerful way to show you care. A handmade gift or decoration carries a story. It holds the memory of the time spent choosing materials, the focus in the cutting and pasting, and the love that guided its creation. It’s a tangible piece of your affection, a keepsake that will be cherished long after the last chocolate has been eaten.
Here is your invitation to get creative. Let’s discuss a several fun and accessible DIY projects, perfect for crafters of all ages and skill levels. Whether you’re looking to transform your home into a romantic haven with whimsical garlands and elegant centerpieces, or you want to create a heartfelt, handmade gift for someone special, you’ll find inspiration here. So, put on some music, clear a space on your table, and let’s fill this Valentine’s Day with the unparalleled warmth of the handmade.
Part 1: Paper Hearts & Whimsical Garlands – Easy Crafts for All Ages
Paper is the humble hero of the crafting world. It’s accessible, affordable, and endlessly versatile. These projects are perfect for a cozy afternoon with the kids or a relaxing solo crafting session. They require minimal supplies—mostly paper, scissors, and string—but the results are wonderfully festive and full of charm.
1. The Classic 3D Heart Garland
This is a timeless craft that creates a stunning visual effect. The three-dimensional hearts seem to float in the air, adding depth and texture to your decor. It’s perfect for draping over a mantelpiece, across a doorway, or as a backdrop for a Valentine’s photo booth.
Materials Needed:
- Cardstock in various shades of red, pink, and white
- A heart-shaped stencil or cookie cutter (or you can draw freehand)
- Pencil
- Scissors
- A sewing machine or a needle and sturdy thread (like embroidery floss)
Step-by-Step Instructions:
- Create the Hearts: Using your stencil, trace dozens of hearts onto your cardstock. Aim for a consistent size for a uniform look, or vary the sizes for a more whimsical feel. For each 3D heart you want to create, you will need three to four paper hearts of the same size.
- Cut Them Out: Carefully cut out all the traced hearts. This is a great task for older children who are confident with scissors. For a faster method, you can stack a few sheets of cardstock and cut through them at once.
- Stack and Sew: Take three or four heart cutouts and stack them perfectly on top of one another. This stack will become a single 3D heart on your garland.
- Stitch the Seam: This is where the magic happens. Carefully feed your stack of hearts through a sewing machine, stitching a straight line directly down the center of the hearts. Do not cut the thread. Simply lift the presser foot, pull a few inches of thread, and feed your next stack of hearts through. Continue this process, leaving a consistent amount of thread (e.g., 3-4 inches) between each 3D heart, until your garland reaches the desired length.
- No-Sew Method: If you don’t have a sewing machine, you can achieve a similar effect by hand. Using a needle and sturdy thread, make a simple running stitch down the center of your stacked hearts. Tie a knot at the bottom of each heart to secure it in place before moving to the next one.
- Fluff and Hang: Once your garland is complete, gently fold the layers of each heart outward along the stitch line to create the 3D effect. Hang your beautiful creation and admire your work!
Pro-Tip: For a more rustic or literary feel, use pages from an old book, sheet music, or even maps instead of colored cardstock. The printed text adds a layer of visual interest and sophistication.
2. The Simple Paper Heart Chain
Reminiscent of the paper chains we all made as children, this craft is incredibly simple and perfect for little hands. It’s a wonderful way to count down the days to Valentine’s Day or to simply create long, festive streamers to decorate a room.
Materials Needed:
- Construction paper or cardstock in Valentine’s colors
- Ruler
- Pencil
- Scissors
- Stapler or glue stick
Step-by-Step Instructions:
- Cut the Strips: Cut your paper into strips of equal length and width. A good starting size is 1 inch wide and 8 inches long.
- Form the First Heart: Take one strip of paper and fold it in half to create a crease in the middle. Unfold it. Bring the two ends inward to meet at the center crease, forming the top curves of a heart. Secure the ends together at the point with a single staple.
- Link the Next Heart: Take a second strip of paper and thread it through the top loops of the first heart. Fold this second strip in half and bring the ends to the center, just as you did before, securing it with a staple. You now have two interlocked hearts.
- Continue the Chain: Repeat the process, linking each new heart through the one before it. Continue until your chain is as long as you desire.
Make it a Family Activity: Turn this into a “love chain.” Before you form each heart, have family members write a short message on the inside of the paper strip—something they love about their family, a happy memory, or a reason they are grateful. It turns a simple decoration into a meaningful expression of family love.
3. The Paint Chip Banner
This is a brilliantly simple and modern-looking craft that requires no artistic skill, just a trip to your local hardware store. The gradient of colors on a paint chip sample creates a beautiful and sophisticated ombre effect.
Materials Needed:
- Paint chip samples in shades of red, pink, and purple
- A heart-shaped craft punch (or scissors and a stencil)
- A small hole punch
- Twine or ribbon
Step-by-Step Instructions:
- Gather Your Samples: Head to the paint section of a hardware or home improvement store and collect a variety of paint chip samples. Be mindful and only take a few of each color.
- Punch the Hearts: Use your heart-shaped craft punch to punch hearts from the paint chips. If you don’t have a punch, you can trace and cut them by hand. Try to position your punch to capture the beautiful gradient of colors on each chip.
- Punch the Holes: Use a small hole punch to create two holes at the top of each heart.
- String the Banner: Thread your twine or ribbon through the holes in the hearts. You can arrange them in a random pattern or create a deliberate ombre effect, moving from light pink to deep red.
- Secure and Hang: Space the hearts evenly along the twine. To keep them from sliding around, you can place a small piece of clear tape on the back of the twine. Hang your chic and modern banner on a wall or across a bookshelf.
Part 2: Wreaths, Centerpieces, and Table Decor – Elevating Your Valentine’s Ambiance
While garlands and banners add a touch of festive fun, a well-chosen wreath or a beautiful centerpiece can instantly elevate the atmosphere of your home, making it feel truly special and intentional. These projects are about creating a focal point for your celebration, a beautiful anchor for your Valentine’s decor. They can range from simple and rustic to lush and romantic, but they all serve to welcome love into your home.
1. The Rustic-Chic Twig Wreath
A beautiful alternative to traditional evergreen wreaths, a heart-shaped twig wreath offers a touch of natural, rustic charm. It’s wonderfully minimalist on its own or can serve as a beautiful base for further embellishments. This project brings a little bit of the outdoors in and creates a piece that can often be displayed long after Valentine’s Day has passed.
Materials Needed:
- A heart-shaped grapevine wreath form (available at most craft stores)
- Floral wire
- A variety of materials for embellishment, such as:
- Faux or dried flowers (like baby’s breath, small roses, or lavender)
- Greenery (eucalyptus, ivy, or fern)
- Small wooden heart cutouts
- A wide ribbon for hanging (burlap, satin, or velvet)
Step-by-Step Instructions:
- Plan Your Design: Before you start attaching anything, lay your wreath form on your work surface and arrange your embellishments. Decide if you want to cover the entire wreath, create a small, asymmetrical cluster on one side, or add just a few simple accents.
- Create Small Bundles: Take small cuttings of your chosen greenery and flowers and group them into little bundles. Wrap the stems tightly together with a small piece of floral wire. Creating these mini-bouquets first makes it much easier to attach them to the wreath and achieve a fuller, more professional look.
- Attach the Bundles: Starting with your largest elements (like eucalyptus branches), attach the bundles to the grapevine wreath form using floral wire. Tuck the wire into the twigs so it’s not visible. Layer the smaller bundles on top, working in one direction to create a natural, flowing look. Overlap the bundles to hide the stems and wire of the previous one.
- Add Accent Pieces: Once your main floral and greenery elements are in place, add your smaller accents. Use a hot glue gun to attach wooden hearts or dried flower heads.
- Attach the Ribbon: Create a loop with your chosen ribbon and attach it to the top of your wreath for hanging. A beautiful, high-quality ribbon can be the perfect finishing touch.
Styling Your Wreath: Hang your wreath on your front door to welcome guests, above your mantelpiece as a focal point, or on an empty wall in your dining room or entryway. The natural, understated beauty of this wreath makes it a versatile piece of decor.
2. The Romantic Floating Candle Centerpiece
This centerpiece is incredibly simple to assemble but looks stunningly elegant and romantic. The combination of water, light, and natural elements creates a serene and magical ambiance, perfect for a Valentine’s dinner table.
Materials Needed:
- A large, clear glass vase or a wide, shallow glass bowl
- Distilled water (it will stay clearer than tap water)
- Floating candles (tea lights in a metal casing will also work)
- Filler elements, such as:
- Fresh cranberries
- Small rosebuds or other flower heads
- Sprigs of rosemary or other greenery
- Slices of lemon or orange
Step-by-Step Instructions:
- Arrange Your Fillers: Place your chosen filler elements in the bottom of your glass vessel. Don’t overcrowd it; a few well-placed items will look more elegant than a jumble.
- Add the Water: Slowly fill the vessel with distilled water, being careful not to disturb your arrangement too much. Leave about two inches of space at the top.
- Place the Candles: Gently place your floating candles on the surface of the water. They should float freely among the submerged elements.
- Light and Enjoy: Just before you sit down for dinner, light the candles. The light will flicker and reflect off the water and glass, creating a beautiful, dynamic glow.
Safety First: Never leave burning candles unattended. Ensure your filler elements are fully submerged and not close to the flame.
3. The Tiered Tray of Love
Tiered trays are a staple in modern farmhouse decor, and they provide the perfect canvas for a contained and charming Valentine’s display. The fun of a tiered tray is in curating a collection of small, love-themed objects and arranging them in a visually pleasing way.
Materials Needed:
- A two or three-tiered tray
- A collection of small, Valentine-themed decorative items. The key is to have a variety of heights, shapes, and textures.
Ideas for Fillers:
- Small signs with words like “Love,” “XOXO,” or “Be Mine”
- A mug with a heart on it
- A small vase with a few sprigs of baby’s breath
- A bowl of conversation heart candies or Hershey’s Kisses
- Rolled-up “love letters” tied with twine
- Small, faux plants or succulents
- A string of wooden beads with a heart-shaped tassel
- A few small, framed photos
Step-by-Step Assembly:
- Start with the Base: Place your largest, anchor items on the bottom tier first. This might be a sign, a mug, or a small plant.
- Work Your Way Up: Place your medium-sized items on the top tier(s).
- Fill in the Gaps: Use your smallest items—like loose candies, small wooden hearts, or greenery—to fill in the empty spaces. Let some items, like the bead garland, drape over the edges to add movement and interest.
- Stick to a Color Palette: For a cohesive look, stick to a consistent color palette. The classic red, pink, and white is always a winner, but you could also opt for a more modern black, white, and blush pink scheme.
- Edit and Adjust: Step back and look at your arrangement. Does it feel balanced? Is there a good mix of textures and heights? Don’t be afraid to move things around until it feels just right.
This centerpiece can be placed on a kitchen island, a coffee table, or an entryway console to add a concentrated dose of Valentine’s cheer to any corner of your home.
Part 3: Gifts from the Heart – Creating Lasting Keepsakes
While decorations set the mood, a handmade gift is a direct and personal expression of love. A keepsake gift is something that can be held onto and treasured, a physical reminder of a special bond. These projects are all about creating something with a specific person in mind, infused with personal touches and happy memories.
1. The “I Love You Because…” Jar
This is a simple concept with a profound impact. It’s a gift that keeps on giving, offering a burst of love and affirmation whenever it’s needed. It’s a perfect gift for a partner, a parent, or even a child, as it focuses on specific, personal reasons for your affection.
Materials Needed:
- A beautiful glass jar with a lid
- Decorative paper (or plain paper you can decorate yourself)
- A fine-tipped pen
- Ribbon or twine
- A tag for labeling the jar
Step-by-Step Instructions:
- Decorate the Jar: You can keep it simple or get elaborate. Tie a ribbon around the neck of the jar, create a custom label, or even use glass paint to add a design.
- Prepare Your Notes: Cut your decorative paper into small, uniform strips. The number of strips is up to you. You could aim for 30 notes (one for each day of the month), 52 notes (one for each week of the year), or even 365 notes (a truly ambitious and incredible gift).
- Write Your Reasons: This is the most important part. On each slip of paper, write a different reason why you love the person. Be specific. Instead of just “You are kind,” try “I love the way you always know how to make me laugh when I’m feeling down.” Think about shared memories, personality traits you admire, and the little things they do that make you smile.
- Fill the Jar: Fold or roll up each note and place it in the jar.
- Add the Finishing Touches: Secure the lid, attach a tag that reads “I Love You Because…” or “Open a smile when you need one,” and your heartfelt gift is ready.
This gift becomes a wellspring of joy, a resource your loved one can turn to on a tough day for an instant reminder of how much they are loved.
2. The Custom Photo Memory Box
In our digital age, physical photographs have become precious objects. This project creates a beautiful, personalized home for your most cherished photo memories.
Materials Needed:
- A plain wooden or sturdy cardboard box with a lid
- Acrylic paint or Mod Podge and decorative paper
- A selection of your favorite printed photographs
- Other mementos (ticket stubs, postcards, handwritten notes)
- A fine-tipped permanent marker
Step-by-Step Instructions:
- Decorate the Box: Paint the box in a color that you know the recipient will love. Alternatively, you can use Mod Podge to cover the box with decorative paper, maps of a meaningful place, or even photocopies of letters.
- Personalize It: Paint their name, a significant date, or a meaningful quote on the lid of the box.
- Curate Your Memories: Select a collection of photos that tell a story. It could be the story of your relationship, a favorite vacation, or their childhood.
- Add Context: On the back of each photograph, use a permanent marker to write the date, the location, and a short memory associated with the picture. This is what transforms a simple box of photos into a treasure trove of stories.
- Include Other Mementos: Intersperse the photos with other flat mementos that add to the story. A ticket stub from your first concert together, a dried flower from a bouquet, or a postcard from a shared trip all add texture and depth to the collection.
- Arrange and Present: Neatly stack the photos and mementos inside the box. You can tie a ribbon around the stack to keep it organized.
This gift is an invitation to sit down together, go through the memories one by one, and relive the beautiful moments that have shaped your bond.
3. The Art of the Handmade Card
Never underestimate the power of a handmade card. It’s a small canvas on which you can express a world of love. A handmade card stands out and shows a level of care that a store-bought card simply cannot match.
Materials Needed:
- Blank cardstock, folded in half
- An assortment of decorative materials: washi tape, buttons, ribbon, glitter, watercolor paints, etc.
- A good quality pen for your message
Creative Card Ideas:
- The Washi Tape Heart: Create a simple, modern design by tearing strips of different patterned washi tapes and arranging them in the shape of a heart on the front of the card.
- The Button Bouquet: Glue a small bunch of green twine or embroidery floss to the card to act as stems. Then, glue a variety of small, colorful buttons at the top to create a whimsical “bouquet of flowers.”
- The Fingerprint Heart: A perfect one for kids to make. Have them dip their index fingers in pink or red ink or paint. Press one fingerprint onto the paper, then a second one overlapping it at an angle to create a perfect little heart.
- The Watercolor Wash: Create a beautiful, soft background by painting a simple watercolor wash on the front of the card. Once it’s dry, write a simple message like “I love you” in a beautiful script over the top.
The Most Important Part: The most crucial element of any card is the message inside. Take the time to write a heartfelt, personal note. Share a favorite memory, express your gratitude, and tell them exactly what they mean to you. Your words are the true gift.
Crafting a Season of Love
As you fold the paper, string the beads, and write your notes, you are doing more than just making crafts. You are weaving your love, time, and attention into the very fabric of your Valentine’s celebration. You are creating an atmosphere of warmth and a legacy of cherished memories. The beauty of a DIY Valentine’s Day is that it is perfectly imperfect. A slightly crooked heart on a garland or a smudge of paint on a card is not a flaw; it is a mark of authenticity. It is the signature of the human hand and the loving heart that created it.
This year, embrace the joy of making. Let these projects be a starting point for your own creativity. Mix and match ideas, experiment with different materials, and, most importantly, have fun. Whether you create one small card or decorate your entire home, the effort you put into making this Valentine’s Day personal and handmade will be a gift in itself, a beautiful and tangible expression of the love you have for the special people in your life.