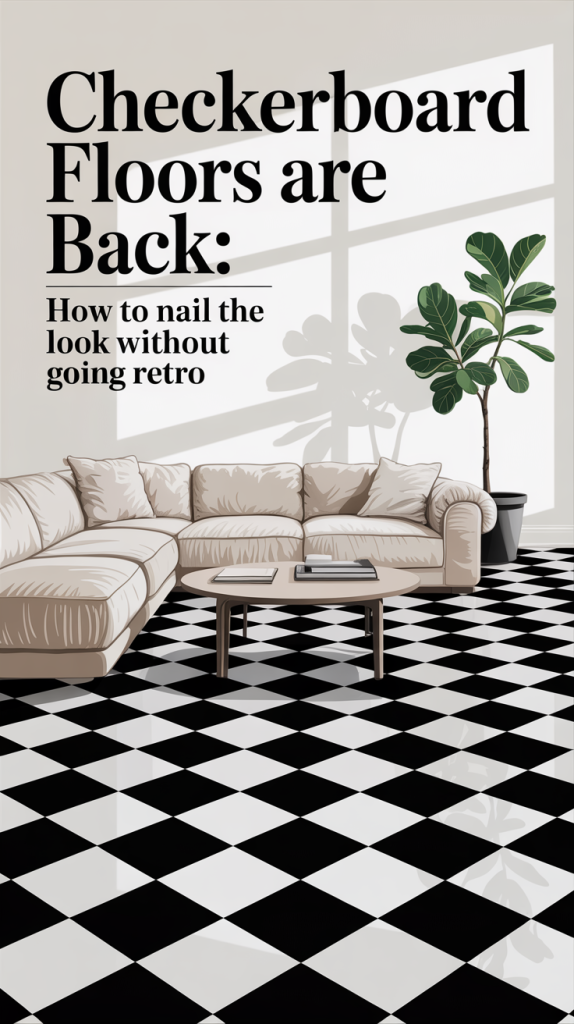
The Comeback of Checkerboard Floors
Checkerboard floors are officially having a moment. Once associated with diners, 1950s kitchens, and retro bathrooms, this bold pattern has been reimagined by designers in 2025 as chic, modern, and surprisingly versatile. From sleek marble kitchens to playful laundry rooms, checkerboard is being spotted everywhere — but with a fresh twist that feels stylish, not dated.
If you’ve been eyeing this trend on Pinterest and wondering how to pull it off in your own home, you’re in the right place. We’re breaking down everything you need to know about checkerboard floors — from material choices and color palettes to room-by-room styling ideas — plus a step-by-step DIY guide for painting your own budget-friendly version.

Why Checkerboard Floors Are Trending Again
Interior design in 2025 is all about blending bold personality with timeless classics. Checkerboard floors tick both boxes: they’re rooted in history but adaptable enough to feel brand new.
Here’s why they’re back in a big way:
Visual impact: The high-contrast pattern creates instant drama and structure.
Versatility: Checkerboard works with everything from modern minimalism to cottagecore.
Customization: Move beyond black-and-white with soft neutrals, earthy tones, or even bold color combos.
Designer-approved: High-end homes and boutique hotels are using checkerboard to make a statement.

Choosing the Right Materials
One of the easiest ways to keep checkerboard from feeling “retro diner” is choosing the right materials.
Marble Checkerboard
Luxe, polished, and timeless
Popular in entryways, kitchens, and bathrooms
Adds instant sophistication
Try veined white marble with deep green or gray for a European vibe
Porcelain or Ceramic Tile
Affordable and durable
Wide range of finishes (matte, glossy, textured)
Great for high-traffic areas like mudrooms and kitchens
Painted Floors
Perfect for DIY lovers on a budget
Works well on wood or concrete
Adds charm in cottages, rentals, or creative spaces
Vinyl or Peel-and-Stick
Budget-friendly and renter-approved
Easy installation, temporary option
Great for testing the trend without commitment
Color Palettes to Modernize the Look
Checkerboard doesn’t have to be stark black and white. The modern twist comes from experimenting with color.
Neutral Tones
Beige + ivory
Gray + white
Cream + taupe
Earthy Pairings
Terracotta + cream
Sage green + ivory
Warm brown + beige
Bold Statements
Navy + pale blue
Coral + ivory
Forest green + black
Monochrome
Tone-on-tone (like light gray + charcoal)
Creates depth without overwhelming the space
Room-by-Room Ideas
Kitchens
Use marble or porcelain for durability
Pair with simple cabinetry to let the floor shine
Add brass or matte black hardware for contrast
Bathrooms
Go high-drama with small-scale checkerboard tile
Try earthy stone tiles for a spa-like retreat
Pair with clawfoot tubs or modern vanities
Entryways
Set the tone with a bold checkerboard foyer
Works beautifully with natural light and tall ceilings
Add a console table with vintage styling
Living Rooms
Large-format checkerboard tiles feel modern
Stick to neutral or earthy tones for warmth
Add plush rugs layered over sections for coziness
Laundry Rooms/Mudrooms
Peel-and-stick vinyl is a great option
Adds character to an often-overlooked space
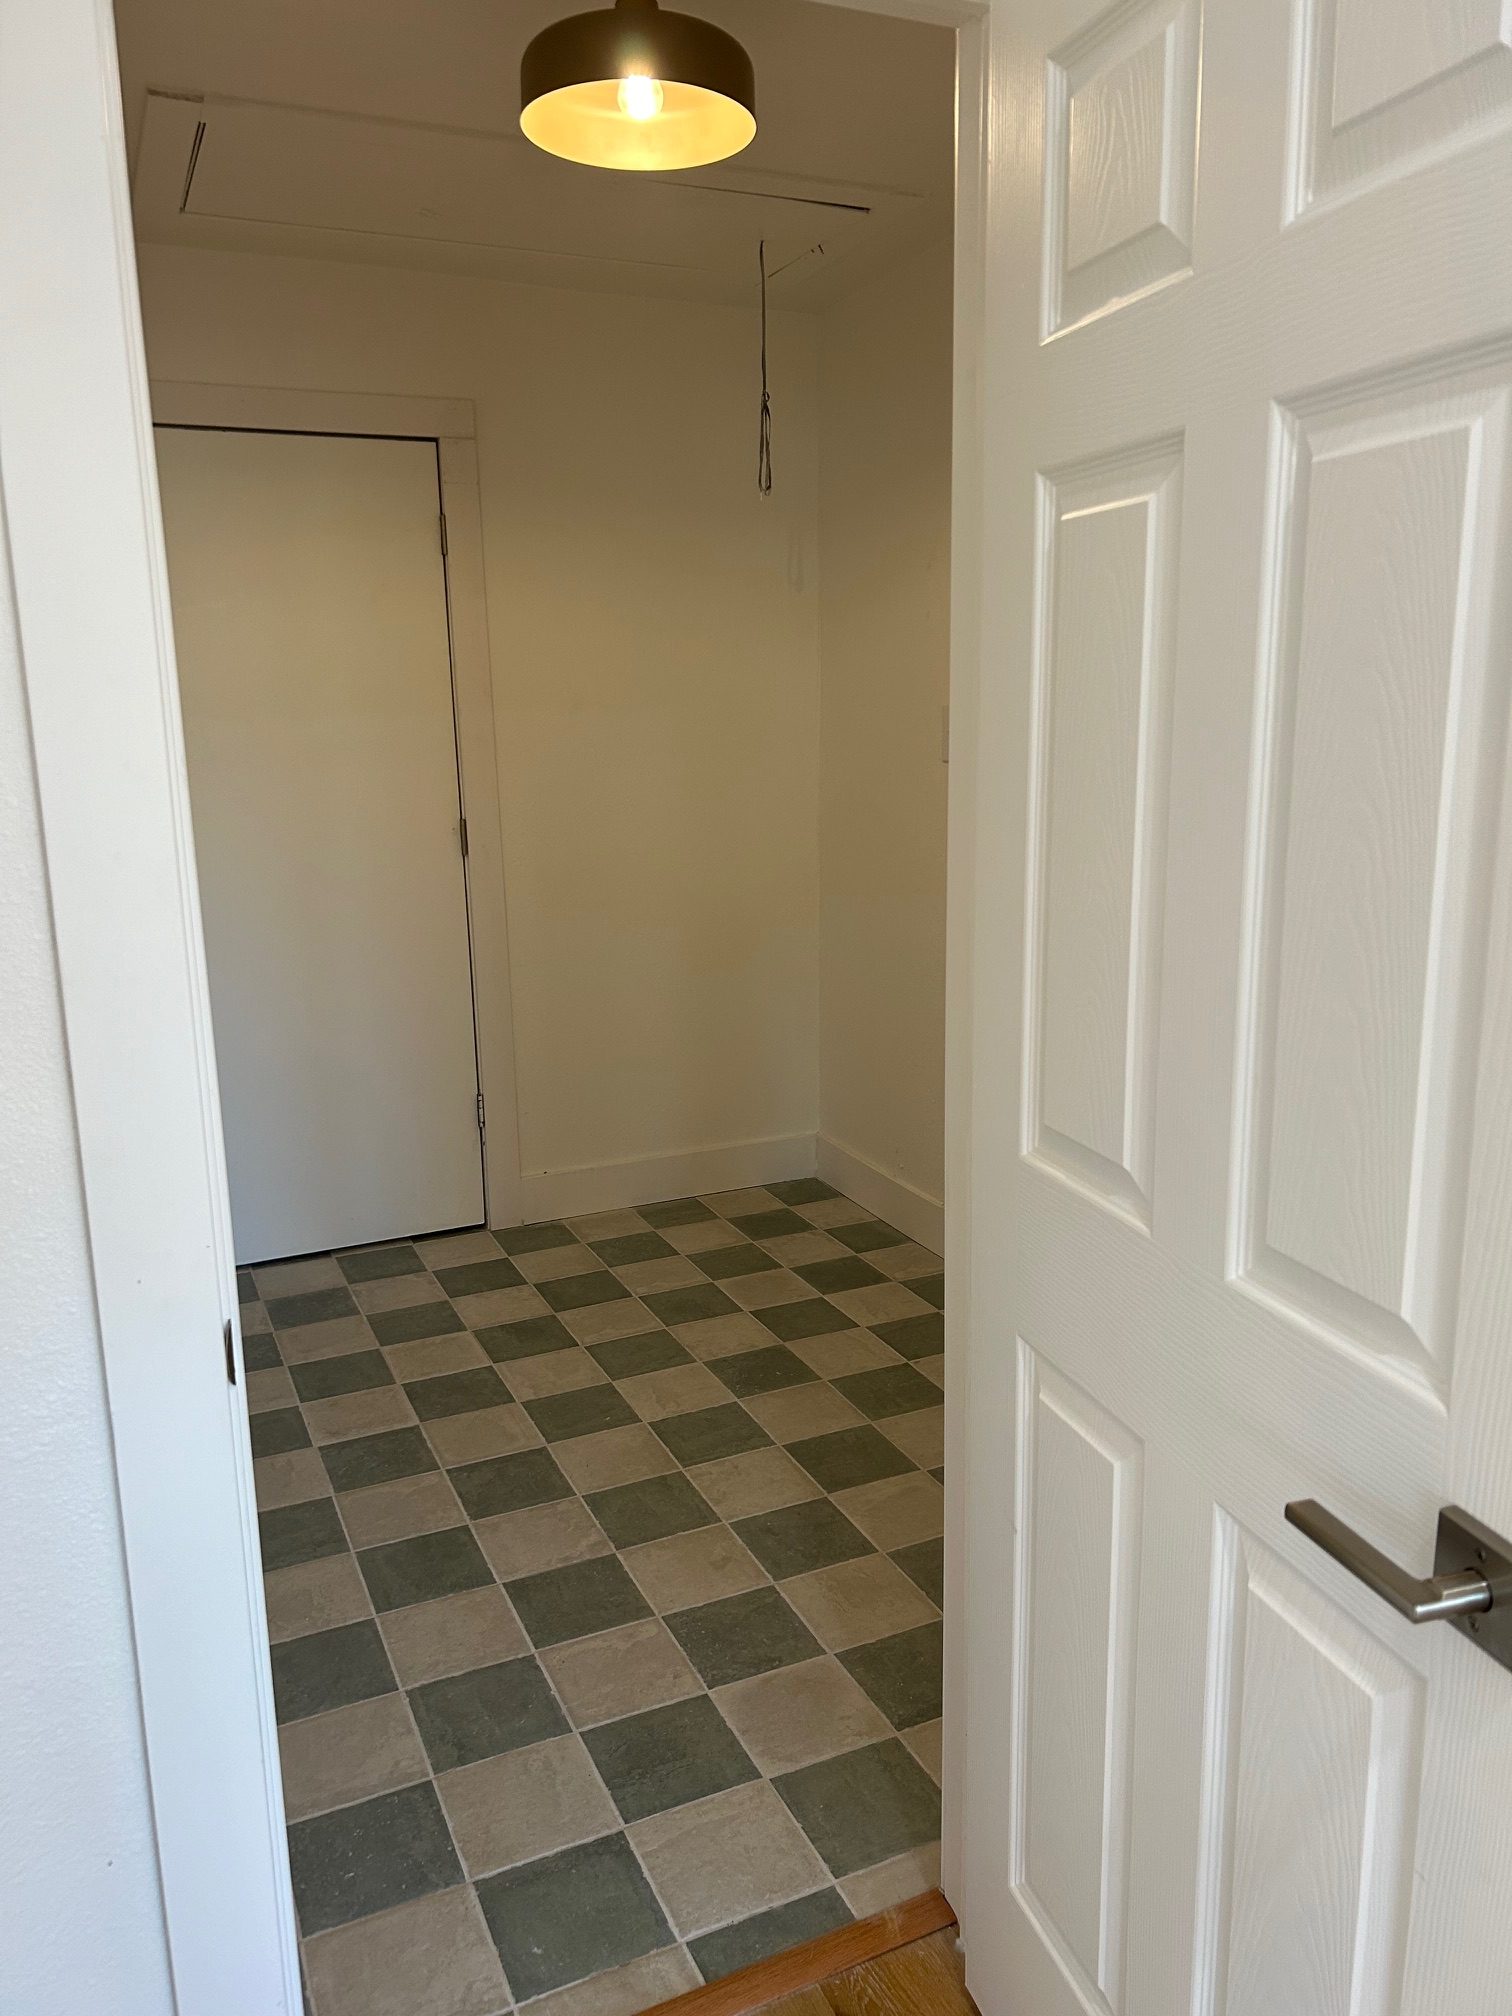
We added checkboard floors to one of our flips a while back, if you’re been following while, #flippinbrushy. All I am able to find now is a progress picture (so apologies) but I love how they turned out! What do you think of the green and greige combo?
Styling Tips to Avoid the Retro Trap
Checkerboard can lean kitschy if not styled thoughtfully. Here’s how to keep it chic:
Balance with simplicity: Keep walls and cabinetry clean and minimal.
Choose matte finishes: Glossy black-and-white tiles scream 1950s diner — opt for matte or textured finishes.
Go big with scale: Large tiles feel modern, while tiny tiles can feel old-school.
Layer in texture: Pair with natural wood, linen curtains, and woven accents for warmth.
Play with borders: Consider framing your checkerboard with solid tiles for a tailored finish.
DIY Guide: How to Paint Checkerboard Floors in 10 Steps
Painting your own checkerboard floor is one of the easiest ways to embrace the trend without breaking the bank. Whether you’re working with wood, vinyl, or concrete, here’s a step-by-step process:
Materials Needed
Painter’s tape
Measuring tape and chalk line
Level and square
Floor paint in two contrasting colors (porch paint or durable enamel)
Paint rollers and brushes
Primer (if painting raw wood or concrete)
Polyurethane or floor sealer
Step 1: Prep the Surface
Clean your floor thoroughly with soap and water. If needed, sand lightly to create a smooth, paintable surface.
Step 2: Prime
Apply a coat of primer and let it dry fully. This ensures the paint sticks and lasts longer.
Step 3: Base Coat
Paint the entire floor in your lighter color. Let dry completely (usually overnight).
Step 4: Measure and Mark
Using a measuring tape, mark out squares of equal size across the floor. Most checkerboards use 12×12 or 18×18-inch squares.
Step 5: Snap Chalk Lines
Use a chalk line to snap straight lines both horizontally and vertically, creating a grid. Double-check with a level to ensure accuracy.
Step 6: Tape Off Squares
Using painter’s tape, carefully outline every other square to form the checkerboard pattern.
Step 7: Paint the Dark Squares
Fill in the taped squares with your darker color using a roller for smooth coverage. Use a brush for edges.
Step 8: Second Coat
Apply a second coat once the first is fully dry for even coverage.
Step 9: Remove Tape
Carefully peel off the tape before the second coat dries completely to avoid pulling up dried paint.
Step 10: Seal It
Once everything is dry, apply 2–3 coats of polyurethane or floor sealer for durability. Let cure for at least 48 hours before heavy use.
Pro tip: For extra precision, start painting in the middle of the room and work your way outward so the squares stay aligned.
Inspo from Real Homes
Modern Farmhouse Kitchen: Warm gray and cream checkerboard floor paired with shaker cabinets and brass accents.
Parisian Bathroom: Black-and-white marble checkerboard with freestanding tub and vintage sconces.
Playful Laundry Room: Sage green and white vinyl tiles with butcher block counters.
Scandi-Inspired Living Room: Beige and off-white checkerboard layered with neutral furniture and wool rugs.
Budget Breakdown
Marble: $15–$40 per sq. ft.
Porcelain/Ceramic: $5–$15 per sq. ft.
Vinyl/Peel-and-Stick: $1–$5 per sq. ft.
Painted DIY: $50–$200 total depending on supplies
Checkerboard Floor Alternatives
Not ready for the full commitment? Try these ideas:
Checkerboard Rugs: Easy to swap out, low-risk
Accent Walls: Painted or wallpaper checkerboard feature wall
Tabletops or Backsplashes: Smaller areas with checkerboard flair
Checkerboard floors are proof that good design always comes back — but the trick is reimagining it for today. Whether you go luxe with marble, creative with paint, or practical with vinyl, this pattern adds instant personality and structure to your home.
The key is balance: pair bold floors with simple walls, neutral tones, and layered textures to avoid the retro trap. With the right styling, checkerboard floors can feel modern, timeless, and totally Pinterest-worthy.