Beautifully simple, family-friendly crafts that make your home feel elevated and personal this holiday season.
The Art of Slowing Down: My Take on Handmade Holidays
There’s a quiet magic in the moment you pull out the craft supplies and light a candle while the world outside hums with holiday noise. I’ve learned that the most beautiful homes don’t rely on perfection or elaborate styling — they rely on intention.
This December, instead of overdecorating or overbuying, consider creating a space that feels personal, sensory, and a little bit nostalgic. The scent of dried oranges, the texture of linen ribbon, the soft glow of candles flickering beside hand-painted ornaments — these are the moments that create warmth far beyond design trends.
When you bring your kids into that process, something shifts. Suddenly, a garland isn’t just greenery — it’s a memory strung together. An ornament isn’t just décor — it’s a keepsake of tiny fingerprints and laughter.
This is what I love about design that invites participation. It becomes a shared experience, one where creativity, beauty, and family intersect. Below, I’m sharing five of my favorite December DIY projects — family-friendly, affordable, and sophisticated enough to fit seamlessly into a polished, design-forward home.
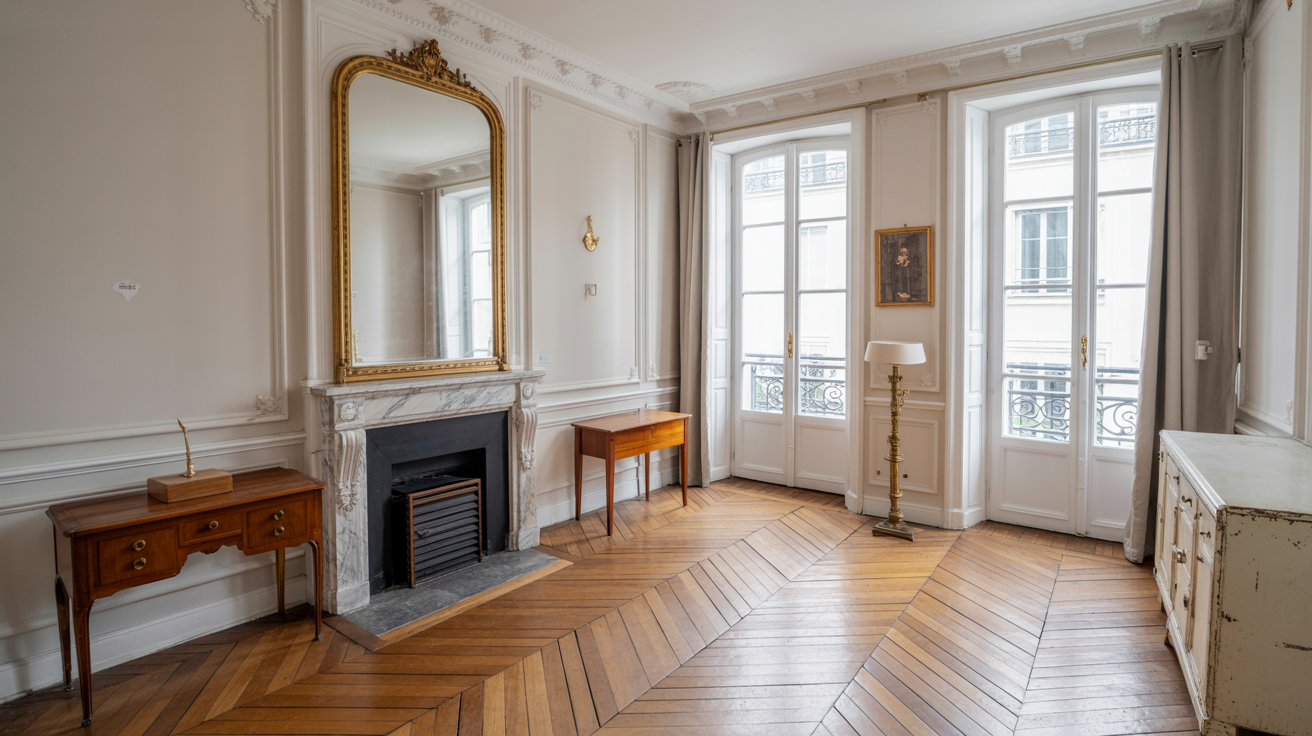
Each project is anchored in texture, natural materials, and timeless color palettes. Think Scandinavian calm meets English countryside comfort — cozy, layered, but never cluttered.

1. Salt-Dough Ornaments with a Designer Finish
Design aesthetic: Scandinavian minimalism meets heirloom charm.
Salt-dough ornaments are often a child’s first Christmas craft — simple, tactile, endlessly customizable. But when you apply a designer’s lens, the results feel elevated and intentional.
Imagine a tree dressed in neutral tones, accented with handmade ornaments that catch the light just so — matte white stars, soft gray hearts, maybe a few gold-dusted initials. It’s sentimental and stylish.
Materials
2 cups all-purpose flour
1 cup salt
1 cup warm water
Rolling pin and parchment paper
Cookie cutters (stars, moons, trees, or minimalist geometric shapes)
Straw or skewer
White, gray, or blush chalk paint
Fine brush, metallic pen, or gold leaf flakes
Jute twine or linen ribbon
Steps
Combine flour, salt, and water until smooth.
Roll out to ¼-inch thickness and let your kids cut shapes.
Use a straw to make holes for hanging.
Bake at 200°F for 2–3 hours or until completely dry.
Once cool, paint in matte tones or let your kids use metallic accents sparingly.
Add twine or ribbon and hang.
Design Note
Keep a restrained palette — soft whites, muted pinks, champagne gold — and vary texture rather than color. Pair these ornaments with linen ribbon and clear glass baubles for a tree that feels cohesive and calm.
Pro Tip
Create a tradition: stamp each ornament with initials and year before baking. Next December, you’ll have a timeline of your family’s creativity evolving.
2. Eucalyptus & Pinecone Garland
Design aesthetic: Natural, organic, and effortless — like something styled in a countryside cottage with candles glowing nearby.
Garland is one of those design details that can transform a room. The trick is finding the sweet spot between fresh and refined. A eucalyptus and pinecone garland is understated but stunning — perfect for mantels, sideboards, or draped across the dining table.
The scent alone sets a tone. That crisp pine mingling with eucalyptus and candlelight feels grounding. And because it’s built in sections, kids can easily help without overwhelming the aesthetic.
Materials
Fresh or faux eucalyptus
Pinecones (store-bought or foraged)
Floral wire or thin jute
Scissors
Optional: silk ribbon in sage, ivory, or wine
Steps
Bundle small clusters of eucalyptus and attach pinecones with wire.
Connect bundles end-to-end until your garland reaches desired length.
Tie silk ribbon at each end for a soft, tailored finish.
Drape or lay flat across your chosen surface.
Designer Detail
Mix in cedar or olive branches for dimension. If you’re using faux stems, weave in real greenery for scent and texture — that high/low mix makes all the difference.
Display Ideas
Frame a mirror with it for a romantic entry moment.
Layer over a linen table runner with votives for instant ambiance.
Wrap lightly around your banister with tiny bells tied in.
Parent Tip
Let your kids handle the pinecones — they love the tactile feel, and it keeps small hands safely away from shears.
3. Painted Milk Bottles as Candleholders
Design aesthetic: Vintage farmhouse meets modern minimalism.
Every designer I know has a secret love for turning simple glassware into something styled. This project takes everyday milk bottles (or mason jars) and transforms them into sculptural candleholders.
It’s the kind of understated beauty that anchors a vignette — perfect for dining tables, consoles, or kitchen islands.
Materials
Recycled glass milk bottles
Matte acrylic paint (ivory, slate, olive, or taupe)
Painter’s tape
Taper candles
Twine or ribbon
Optional: small pine sprigs, dried orange slices, or cinnamon sticks
Steps
Clean and dry bottles thoroughly.
Tape off neck area for a dipped-paint look.
Paint the base in soft, matte tones.
Once dry, remove tape for a crisp edge.
Add candles, securing with melted wax if loose.
Tie twine and greenery around the neck.
Styling Tip
Group bottles in odd numbers (3 or 5) for visual balance. Use mixed heights and colors for an organic, collected look.
Design Note
These bottles make a perfect transition piece — keep them out past the holidays with neutral candles for a cozy winter look.
4. Homemade Advent Calendar Pockets
Design aesthetic: Scandinavian simplicity with a handmade soul.
There’s something deeply nostalgic about counting down to Christmas. This project captures that excitement in a way that’s both chic and sentimental.
Instead of the store-bought plastic variety, imagine a row of linen pockets strung across a mantel — each holding a tiny surprise or handwritten note. It’s clean, beautiful, and endlessly customizable.
Materials
24 linen pouches or muslin bags
Stamps or iron-on numbers
Wooden dowel or branch
Twine and mini clothespins
Small trinkets or notes
Steps
Label each bag from 1–24.
Let your kids decorate a few (keep extras minimal for cohesion).
Fill each with a mix of tiny treats or handwritten prompts like “Make hot cocoa tonight.”
Hang from twine using clothespins.
Design Tip
Stick with one tonal palette — ivory, blush, sage, or gray. Add a ribbon in silk or velvet for a hint of luxury.
Pro Tip
Save the bags each year and refill them — a sustainable, sentimental ritual that grows with your kids.

5. Winter Terrarium Scenes
Design aesthetic: Whimsical but polished — like a snow globe that fits your aesthetic.
These terrariums are mesmerizing to make and easy to personalize. Kids love arranging the scenes, while adults appreciate how effortlessly chic they look on a coffee table or shelf.
Materials
Glass jars or cloches
Faux snow or Epsom salt
Mini trees, wooden houses, or figurines
Optional: fairy lights
Steps
Layer the “snow” in the base.
Arrange trees and figurines to create depth.
Add fairy lights or a candle nearby for warmth.
Styling Note
Cluster multiple terrariums together on a tray for a collected look. Add brass candlesticks or greenery to ground the sparkle.
Parent Tip
Use plastic figurines or wooden pieces so your kids can safely rearrange without worry.
6. Bonus: Dried Orange & Cinnamon Garland
Design aesthetic: Rustic European charm — sunlit, fragrant, and timeless.
Nothing fills a home with December warmth like dried citrus. It’s simple, inexpensive, and impossibly photogenic.
Materials
4 oranges, thinly sliced
Parchment paper and baking sheet
Twine
Cinnamon sticks, star anise
Steps
Bake orange slices at 200°F for 2–3 hours.
Thread onto twine, alternating with spices.
Hang across windows, mantels, or over doorways.
hot tip(!): Layer with eucalyptus garland for a fresh-meets-fragrant combo. The light that filters through the oranges at sunset is pure magic.
How to Keep Handmade Looking High-End
A beautifully styled home doesn’t mean sterile. The best design walks the line between crafted and curated. Here’s how:
Keep repetition intentional. Cluster similar crafts in one zone rather than scattering them.
Choose organic materials. Linen, jute, wood, and glass feel sophisticated even when handmade.
Control the palette. Limit yourself to 3–4 colors, and mix textures instead of hues.
Balance kid energy with calm design. Let kids go wild on one craft, then style it subtly — e.g., display painted ornaments in a ceramic bowl instead of on every branch.
When the creative energy settles, step back and look at the scene: the crafts, the smiles, the warm chaos of family. This is what timeless design really means — not just what you see, but what you feel when you walk into a space.
A Home That Holds Memory
In design, we talk endlessly about color palettes, proportions, and finishes — but during the holidays, emotion becomes the most powerful element of all.
A handmade garland draped across the mantel, a child’s thumbprint pressed into salt dough, the faint scent of orange and cinnamon drifting through the kitchen — these are the quiet details that turn a house into a home.
So this December, design with your heart as much as your eye. Let the kids paint outside the lines. Layer imperfection with beauty. Your home will thank you — and your memories will be better for it.