A delightful new trend is bubbling up from the depths of our collective nostalgia, offering a much-needed dose of playful escapism. Pinterest’s 2026 “Gimme Gummy” aesthetic has arrived, and it’s a vibrant, joyful rebellion against the years of sleek, muted minimalism that have dominated our visual landscape. This trend is a full-blown sensory explosion, a celebration of translucent colors, bouncy textures, and candy-inspired forms that speak directly to our inner child. Driven by the creative energies of Gen Z and Millennials, the “Gimme Gummy” movement is about more than just aesthetics; it’s a feeling. It’s the satisfying squish of a gummy bear between your fingers, the mesmerizing way light dances through a piece of jelly, and the pure, unadulterated joy of a candy store. It’s a maximalist fantasy come to life, a celebration of all things fun, colorful, and unapologetically extra. This aesthetic encourages us to embrace ‘dopamine dressing’ and ‘dopamine decor,’ choosing items that are not just visually appealing but also bring a genuine sense of happiness and delight.
Let’s talk about the core characteristics of this aesthetic, exploring its color palette, materials, and the Y2K nostalgia that fuels it. Next I want to show you how to bring it to life with 10 DIY projects that are as fun to make as they are to look at. From translucent resin jewelry to a DIY jelly blush, these projects will help you transform your accessories, beauty routine, and living space into a “Gimme Gummy” wonderland.
First, What is the “Gimme Gummy” Aesthetic?
The “Gimme Gummy” aesthetic is a multi-sensory celebration of all things tactile, translucent, and joyfully squishy. At its heart, this trend is a direct and playful response to the clean, sterile lines of minimalism that have long reigned supreme. It’s an “ASMR overload,” as Pinterest aptly describes it, that finds delight in the forgotten textures of childhood. Imagine the satisfying spring-back bite of a gummy candy, the cool, smooth glide of a jelly shoe, or the mesmerizing way light filters through a brightly colored, translucent object. This aesthetic is a full-bodied experience, a departure from the purely visual, that embraces 3D elements, bold and playful styles, and an overarching sense of unadulterated fun. It taps into the rise of sensory-focused content online, where the sounds and textures of objects are just as important as their appearance. This focus on tactility offers a comforting and grounding experience in an increasingly digital world.
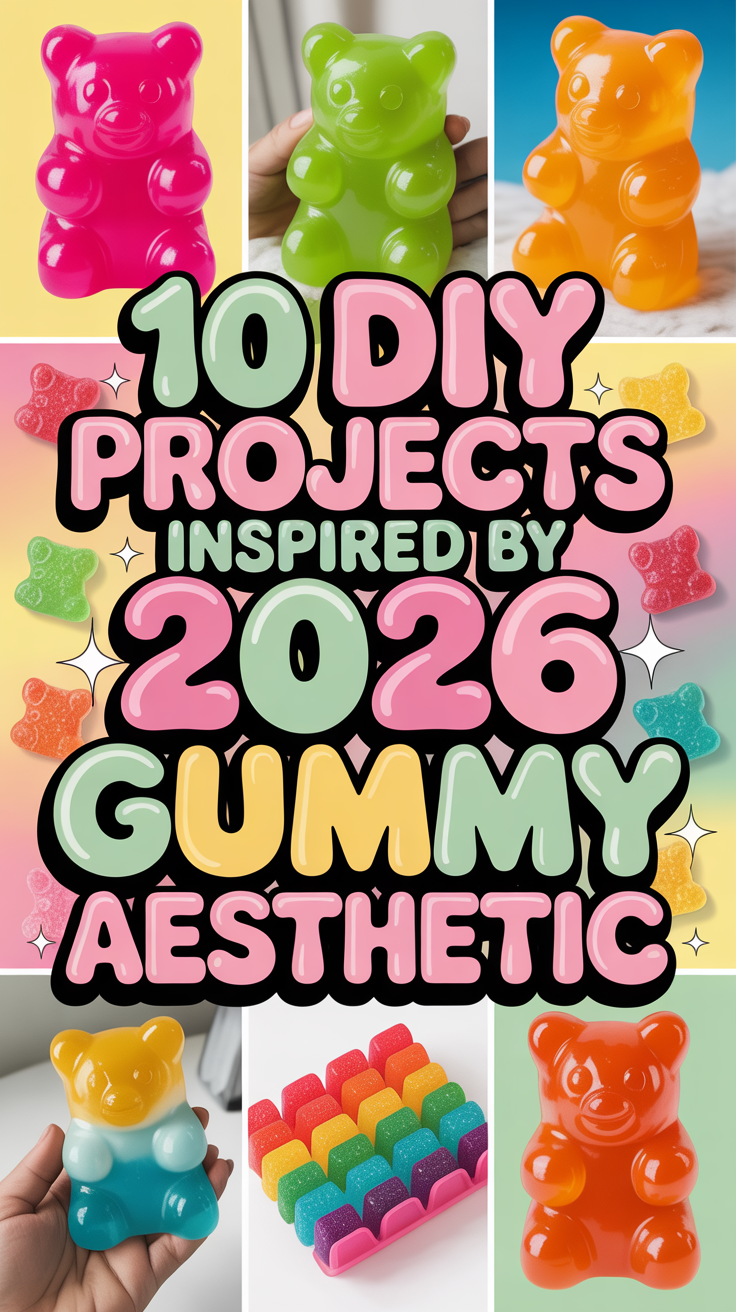
The color palette is a vibrant mix of bright, saturated hues and soft, translucent pastels. Imagine the glowing, candy-colored world of a gummy bear factory, with shades of pink, purple, blue, yellow, and orange all coming together in a delightful, rainbow-inspired explosion. The materials used to achieve this look are just as important as the colors. Epoxy resin, with its ability to be both crystal clear and brightly colored, is a cornerstone of the trend. Gelatin and agar agar, traditionally used in food, are now being repurposed for beauty and craft projects, lending their unique jelly-like consistency to everything from blushes to decorative objects. Silicone, with its soft, bendy properties, also plays a key role, especially in the creation of phone cases and other tactile accessories. This aesthetic is deeply rooted in Y2K nostalgia, a time when translucent tech, inflatable furniture, and glittery everything reigned supreme. It’s a modern take on that playful era, updated for a new generation that is eager to embrace the fun, the frivolous, and the fantastically gummy.
10 DIY Projects to Embrace the Gummy Aesthetic
1. Translucent Resin Gummy Bear Jewelry
Nothing screams “Gimme Gummy” more than jewelry that looks good enough to eat. Creating your own translucent resin gummy bear jewelry is a fantastic way to dive headfirst into this trend. These charming, candy-inspired pieces are perfect for adding a pop of color and playfulness to any outfit. The process is surprisingly simple, and the results are incredibly satisfying. You can create a whole collection of gummy bear necklaces, earrings, and charms in every color of the rainbow.
Materials Needed:
To get started, you will need a clear epoxy resin kit, a silicone gummy bear mold, translucent resin dyes or alcohol inks, glitter (optional), jewelry findings such as necklace chains, earring hooks, and jump rings, mixing cups and stirring sticks, and protective gloves and eyewear.
Step-by-Step Process:
Begin by preparing your workspace in a well-ventilated area, making sure to protect your surfaces and wear gloves and eyewear. Mix the resin according to the package directions, then add your desired translucent dye and optional glitter. Carefully pour the mixture into the gummy bear mold and allow it to cure completely, which typically takes 24 hours. Once cured, de-mold the gummy bears and attach them to your jewelry findings.
2. DIY Jelly Blush
The “Gimme Gummy” aesthetic isn’t just about what you can see; it’s also about what you can feel. The trend has made its way into the beauty world with the rise of jelly-textured makeup. This DIY jelly blush is the perfect way to get that dewy, translucent glow. It’s a fun, easy project that uses natural ingredients to create a buildable, long-lasting cheek tint with a satisfyingly bouncy texture.
Materials Needed:
For this project, you will need one teaspoon of unflavored gelatin, two tablespoons of hot water, one teaspoon of glycerin, natural food coloring or beet root powder for color, and a small, clean container for storage.
Step-by-Step Process:
To create the blush, dissolve the gelatin in hot water, then stir in the glycerin. Add your desired amount of natural food coloring or beet root powder to achieve the perfect shade. Pour the mixture into a clean container and refrigerate for at least an hour, or until it has set into a firm jelly.
Application Tips:
To apply your DIY jelly blush, simply swirl a clean finger or a makeup brush over the surface of the blush and then dab it onto the apples of your cheeks. The color is buildable, so you can start with a sheer wash of color and add more for a more intense look. The jelly texture will give your skin a fresh, dewy finish that is perfect for the “Gimme Gummy” aesthetic.
3. Custom Translucent Phone Case
Your phone is an extension of your personal style, so why not give it a “Gimme Gummy” makeover? A custom translucent phone case is a great way to protect your phone while also showing off your creative flair. This project allows you to embed all sorts of fun and colorful elements into a clear phone case, creating a one-of-a-kind accessory that is sure to turn heads.
Materials Needed:
You will need a clear phone case, clear epoxy resin, dried flowers, glitter, confetti, or other small decorative elements, mixing cups and stirring sticks, and protective gloves and eyewear.
Step-by-Step Process:
Start by cleaning your clear phone case and arranging your chosen decorative elements inside. Mix a small amount of clear epoxy resin according to the package directions and pour a thin layer over your design. Allow the resin to cure completely on a level surface. For a more dimensional look, you can add a second layer of embellishments and resin once the first has cured.
4. Gummy Bear Lamp Makeover
Give your home decor a playful and whimsical touch with a gummy bear lamp makeover. This project is a fantastic way to upcycle a thrifted lamp and turn it into a statement piece that perfectly embodies the “Gimme Gummy” aesthetic. By attaching colorful resin gummy bear charms to a simple lamp base, you can create a unique and eye-catching piece that will bring a smile to your face every time you turn it on.
Materials Needed:
To begin, you will need a thrifted lamp with a simple base, resin gummy bear charms (which you can make yourself using the first project in this article), a strong adhesive like E6000 or a hot glue gun, and optional spray paint in a color of your choice.
Step-by-Step Process:
First, prepare your lamp by cleaning it and, if desired, applying a fresh coat of spray paint. Once dry, plan your design by arranging the resin gummy bear charms on the lamp base. Attach the charms one by one using a strong adhesive, and allow the adhesive to dry completely.
5. Jelly-Inspired Nail Art
Take the “Gimme Gummy” trend to your fingertips with a jelly-inspired nail art look. This style is all about creating a translucent, see-through effect that mimics the look of colorful jelly. It’s a fun and playful way to experiment with color and texture, and it’s surprisingly easy to achieve at home. With a few simple gel polish techniques, you can create a salon-worthy manicure that is sure to get you noticed.
Materials Needed:
For this manicure, you will need a sheer, translucent gel polish in a color of your choice, a gel base coat and top coat, a UV or LED lamp, small 3D nail art charms like jelly beads or tiny gummy bears (optional), and nail art glue if you are using charms.
Step-by-Step Process:
Begin by prepping your nails and applying a gel base coat, curing it under a UV or LED lamp. Apply two to three thin coats of your chosen sheer, translucent gel polish, curing each layer to build up the color and create a jelly-like effect. If desired, attach 3D nail art charms with nail art glue and cure. Finish with a layer of gel top coat and cure for a glossy, long-lasting manicure.
6. Translucent Resin Coasters
Bring the “Gimme Gummy” aesthetic to your coffee table with a set of custom translucent resin coasters. This project is a great way to experiment with resin on a larger scale and create a functional piece of art for your home. The process is similar to making resin jewelry, but on a slightly larger scale. You can create a set of coasters in a single color or mix and match for a more eclectic look.
Materials Needed:
To create your own translucent resin coasters, you will need a clear epoxy resin kit, silicone coaster molds in a shape of your choice, translucent resin dyes or alcohol inks, optional decorative elements like dried flowers or glitter, mixing cups and stirring sticks, and protective gloves and eyewear.
Step-by-Step Process:
Prepare your workspace and mix the epoxy resin according to the package directions. Add your desired translucent dyes and decorative elements, then pour the mixture into your coaster molds. Use a heat gun to remove any bubbles and allow the resin to cure completely, which may take up to 48 hours. Once cured, de-mold your new coasters.
7. DIY Gummy Candy (Kohakutou Crystal Candy)
Embrace the edible side of the “Gimme Gummy” trend by making your own Kohakutou, a traditional Japanese crystal candy. This beautiful confection is made from agar-agar, a vegan gelatin substitute, and has a unique texture that is crunchy on the outside and chewy on the inside. It’s a fun and delicious project that is sure to impress your friends and family.
Materials Needed:
To make your own Kohakutou, you will need one teaspoon of agar-agar powder, one cup of water, two cups of sugar, natural food coloring, optional flavor extracts, a small saucepan, and a rectangular glass or silicone pan.
Step-by-Step Process:
Begin by dissolving the agar-agar in water in a small saucepan. Bring the mixture to a boil, then add the sugar and simmer until thickened. Remove from the heat and add your desired food coloring and flavor extracts. Pour the mixture into a greased pan and allow it to set at room temperature. Once firm, cut the candy into your desired shapes and let them dry on a parchment-lined baking sheet for 2-3 days, until a crunchy outer shell has formed.
8. Jelly Hair Accessories
Channel your inner ‘90s kid with a set of Y2K-inspired jelly hair accessories. This project is a fun and easy way to create custom hair clips that are perfect for adding a pop of color and personality to your hairstyle. Using resin and a few simple jewelry-making techniques, you can create a whole collection of hair clips in a variety of shapes and colors.
Materials Needed:
For this project, you will need a clear epoxy resin kit, silicone molds in various shapes (stars, hearts, flowers, etc.), translucent resin dyes or alcohol inks, glitter or iridescent flakes, blank hair clips, a strong adhesive like E6000, mixing cups and stirring sticks, and protective gloves and eyewear.
Step-by-Step Process:
Prepare your workspace and mix a small amount of clear epoxy resin. Add your desired translucent dyes and glitter, then pour the mixture into your silicone molds. Allow the resin to cure for 24 hours, then de-mold the shapes and attach them to blank hair clips using a strong adhesive.
9. Translucent Acrylic Wall Art
Elevate your home decor with a stunning piece of translucent acrylic wall art. This project allows you to play with color, light, and shadow to create a unique and modern piece of art that perfectly captures the “Gimme Gummy” aesthetic. By layering different colored acrylic sheets, you can create a sense of depth and dimension that will change throughout the day as the light in your room changes.
Materials Needed:
To create this piece, you will need several sheets of translucent acrylic in different colors, a clear acrylic sheet for the base, a saw or a laser cutter for cutting the acrylic, acrylic cement or a strong, clear adhesive, and wall mounting hardware.
Step-by-Step Process:
First, design your artwork and cut your colored acrylic sheets into the desired shapes. Arrange the cut pieces on the clear acrylic base sheet, and once you are happy with the composition, adhere them using acrylic cement or a strong, clear adhesive. Finally, attach wall mounting hardware to the back of the base sheet and hang your new artwork.
10. Bouncy Resin Keychains
Create a fun and functional accessory that you can take with you wherever you go with a bouncy resin keychain. This project uses a special type of flexible resin to create a squishy, tactile keychain that is a joy to play with. You can create a keychain in any shape or color you like, and it’s a great way to use up any leftover resin from your other projects.
Materials Needed:
For this project, you will need a flexible or “bendy” epoxy resin kit, silicone molds in various shapes, translucent resin dyes or alcohol inks, keychain hardware (key rings, chains, and eye screws), mixing cups and stirring sticks, and protective gloves and eyewear.
Step-by-Step Process:
In a well-ventilated workspace, mix the flexible resin according to the package directions. Add your desired translucent dyes, then pour the mixture into your silicone molds. Allow the resin to cure completely, which may take longer than standard resin. Once cured, de-mold the shapes and attach the keychain hardware.
Tips for Success with Gummy Aesthetic Projects
Working with resin and other materials to create “Gummy” inspired projects can be a lot of fun, but there are a few things to keep in mind to ensure your projects are successful and safe. Always work in a well-ventilated area and wear protective gear, such as gloves and eyewear, to protect yourself from fumes and spills. When working with resin, it is crucial to measure your resin and hardener accurately and to mix them thoroughly to ensure a proper cure. To avoid bubbles in your finished pieces, mix the resin slowly and use a heat gun to pop any that rise to the surface. Finally, be patient and allow your creations to cure completely according to the manufacturer’s instructions.
The “Gimme Gummy” aesthetic is a joyful and playful trend that encourages us to embrace our creativity and have fun with our personal style and home decor. It’s a celebration of color, texture, and nostalgia, and it’s a welcome departure from the more serious and minimalist trends of the past. The 10 DIY projects in this article are just a starting point. Don’t be afraid to experiment with different colors, materials, and techniques to create your own unique “Gimme Gummy” inspired creations. So go ahead, get your hands dirty, and embrace the squishy, bouncy, and utterly irresistible world of the “Gimme Gummy” aesthetic. You might just be surprised at what you can create.