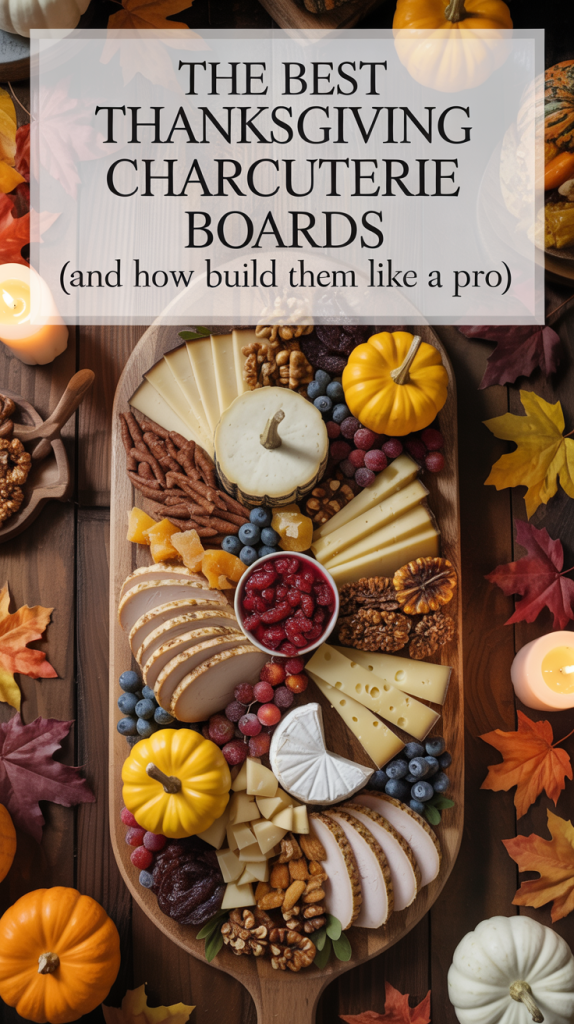
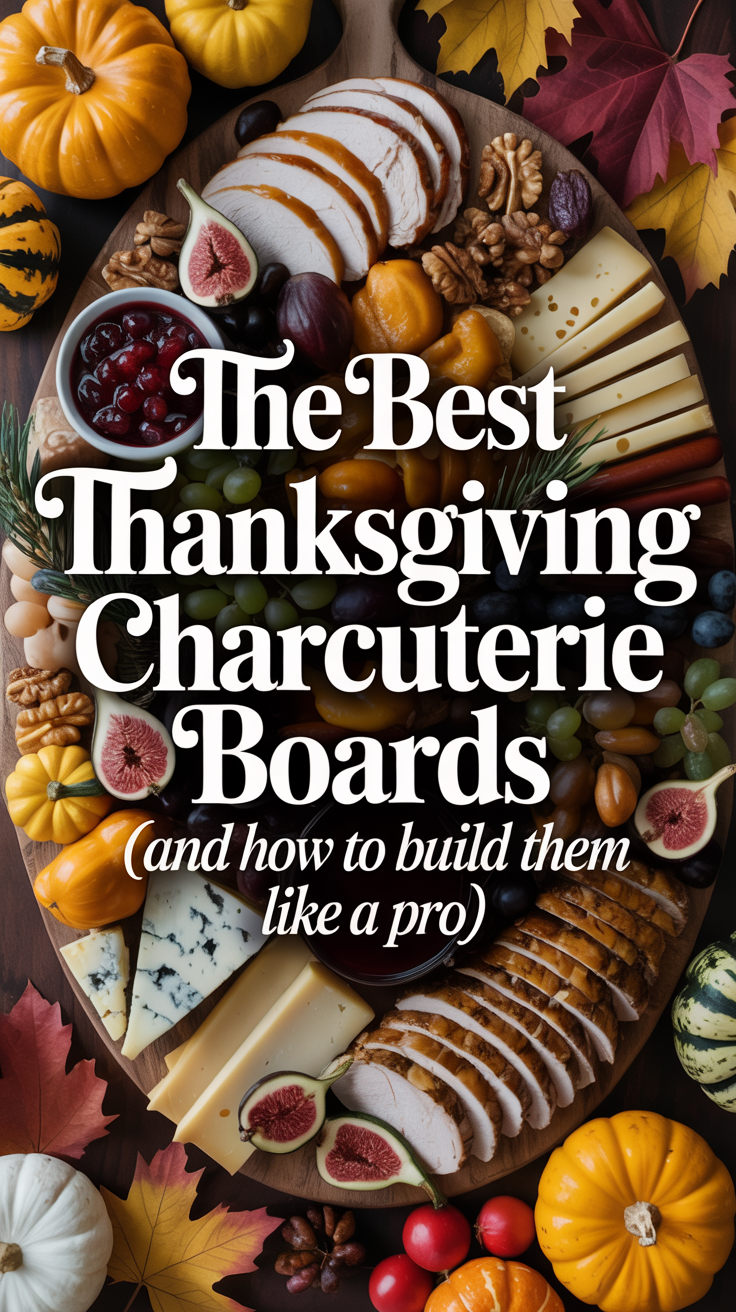
Grazing boards are Pinterest gold—think autumnal color palettes and seasonal ingredients
Thanksgiving is the perfect excuse to indulge in beautiful, abundant food—but you don’t have to spend hours in the kitchen to wow your guests. Enter the Thanksgiving charcuterie board: a grazing table that’s visually stunning, crowd-pleasing, and entirely Instagrammable. With autumnal colors, seasonal ingredients, and simple styling tricks, you can create a board that feels luxurious and effortless at the same time.
Whether this is your first Thanksgiving or you’re a seasoned host, this step-by-step guide will help you build a board that looks like it came straight out of a design magazine while keeping prep stress-free.
Why Charcuterie Boards are the Ultimate Thanksgiving Starter
Charcuterie boards are more than just a trend—they’re functional, social, and visually striking. Here’s why they work so well for Thanksgiving:
Visual Appeal: The combination of colors, textures, and heights creates an immediate “wow” factor.
Flexibility: They can include meats, cheeses, fruits, nuts, and sweets, allowing guests with different tastes to nibble freely.
Stress-Free Hosting: Boards can be prepped hours (or even a day) in advance, freeing up time for cooking main dishes.
Conversation Starter: They invite grazing and mingling, keeping energy high before the main course.
Step 1: Choose Your Board
The foundation of a charcuterie board is just as important as the ingredients. The right board sets the stage for your design and helps guide the flow of grazing.
Board Ideas:
Wooden Boards: Classic, rustic, and perfect for fall. Think maple, acacia, or walnut.
Marble Slabs: Sleek, modern, and perfect for cheeses that you want to keep cool.
Tiered Boards: Great for smaller spaces or when you want to add height to your presentation.
Tray Alternatives: Large platters, cutting boards, or even slate tiles work in a pinch.
Pro Tip: For a Pinterest-worthy board, choose a size that allows ingredients to breathe—crowding can make the board look messy.

Step 2: Pick Your Autumnal Color Palette
Color is crucial for a festive and appealing board. Thanksgiving boards shine when they use warm, seasonal hues:
Deep Reds: Cranberries, pomegranate seeds, red grapes, dried cherries.
Oranges & Yellows: Persimmons, pumpkin hummus, cheddar, bell peppers.
Neutrals: Nuts, crackers, breadsticks, brie.
Greens: Fresh herbs, grapes, figs, or a sprig of rosemary for garnish.
A cohesive palette helps your board feel curated rather than random.
Step 3: Select Your Ingredients
A winning Thanksgiving charcuterie board balances flavors, textures, and seasonal ingredients. Divide ingredients into four categories: cheese, cured meats, accompaniments, and sweets.
1. Cheeses
Aim for three to five different types with varying textures and flavors:
Soft & Creamy: Brie, Camembert, chèvre
Hard & Nutty: Aged cheddar, manchego, gouda
Blue Cheese: Gorgonzola or Roquefort for depth
Seasonal Cheese Tip: Pumpkin-infused cheeses or smoked cheddar for autumnal flair
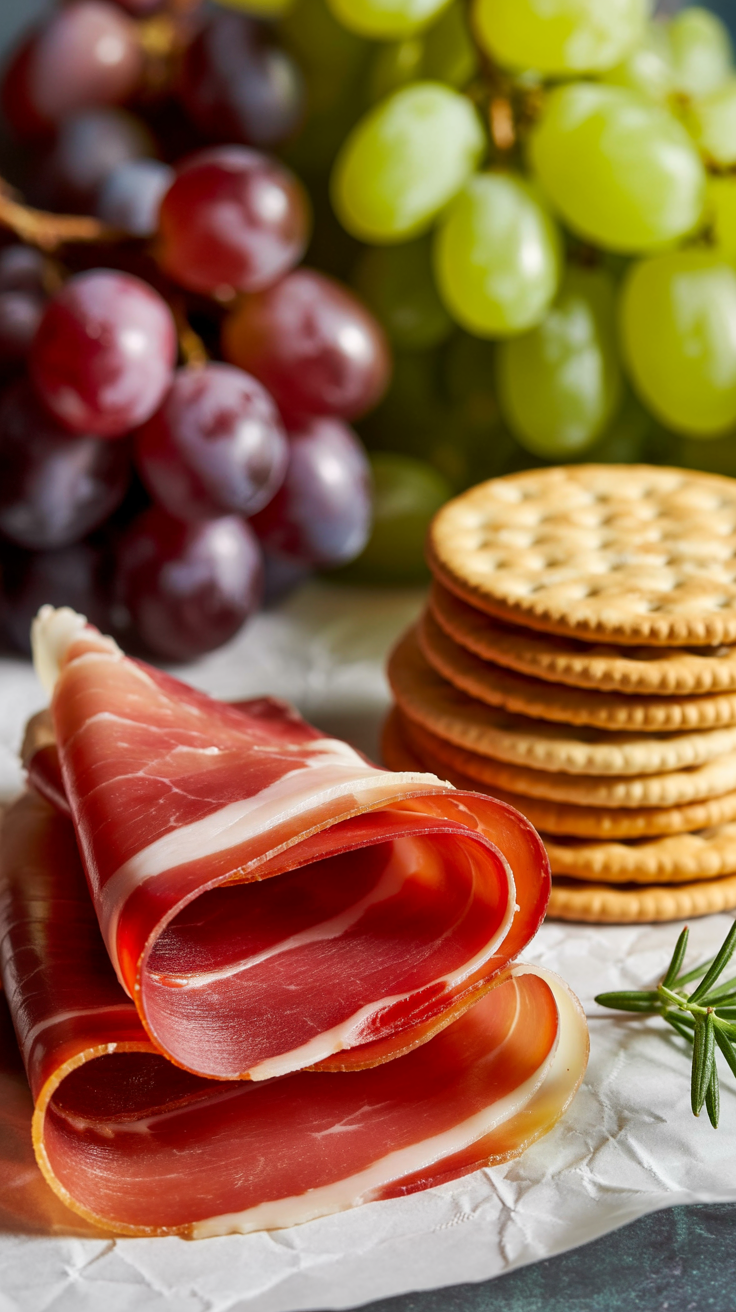
2. Cured Meats
Provide variety in texture and flavor:
Prosciutto
Salami (mild or spicy)
Soppressata
Chorizo slices for a smoky touch
Pro Tip: Fold or roll meats for height and dimension—it’s an easy way to make the board look dynamic.
3. Accompaniments
These round out the board with crunch, sweetness, or acidity:
Fresh Fruit: Apples, pears, grapes, figs
Dried Fruit: Apricots, cranberries, or dates
Nuts: Candied pecans, walnuts, or almonds
Pickled Items: Olives, cornichons, or pickled onions
Spreads: Honey, fig jam, or pumpkin butter
Crackers & Bread: Baguette slices, breadsticks, or crackers with seeds
4. Sweets
Add a little indulgence to make the board feel festive:
Mini pumpkin tarts
Chocolate bark with cranberries or pistachios
Cinnamon-dusted nuts
Caramel popcorn
Pro Tip: Keep some ingredients small or in bowls to avoid messiness and make it easier for guests to grab items.
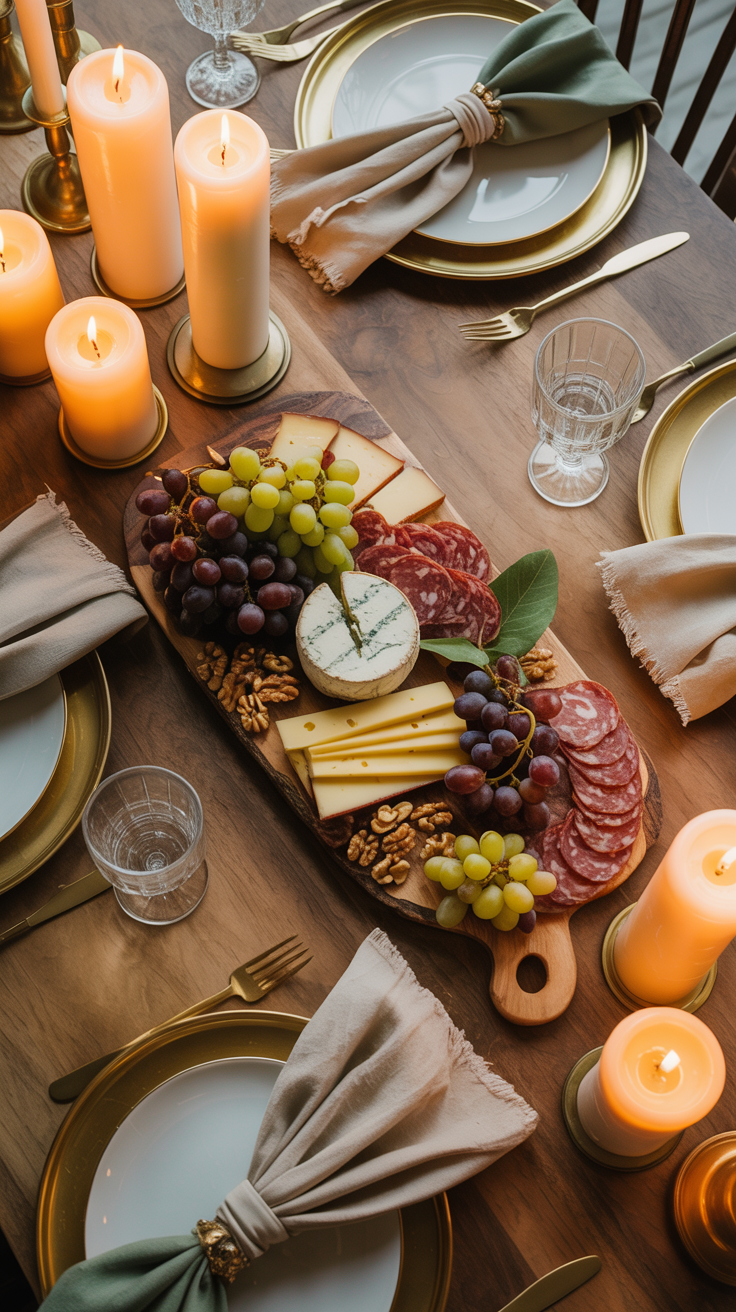
Step 4: Build Your Board Like a Pro
Arranging a board is an art form, and the goal is to balance aesthetics with functionality. Here’s a simple strategy:
Start With Bowls: Place small bowls of spreads, nuts, and pickles first—these create anchor points.
Add Cheese: Place wedges, slices, or rounds next to bowls, leaving space for knife access.
Layer Meats: Fold or roll slices and place them in little clusters.
Fill With Fruit & Veggies: Scatter grapes, sliced apples, and dried fruit to fill gaps and create color contrast.
Add Bread & Crackers: Arrange along the edges or in small stacks for easy reach.
Finish With Garnishes: Fresh herbs, edible flowers, or sprigs of rosemary add texture and height.
Pro Tip: Think of your board like a painting: balance color, shapes, and height across the entire surface.
Step 5: Seasonal Twists to Elevate Your Board
To make your board truly memorable, incorporate unexpected, seasonal touches:
Roasted Pumpkin Cubes: Toss with olive oil and thyme for a savory-sweet addition.
Spiced Nuts: Cinnamon, nutmeg, or maple-glazed pecans scream autumn.
Mini Apple Slices with Brie & Honey: Bite-sized combinations are easy to grab.
Fig & Prosciutto Skewers: Easy for guests and visually stunning.
Cranberry & Goat Cheese Crostini: Add vibrant red and creamy texture.
These ingredients not only taste amazing but also reinforce the Thanksgiving theme.
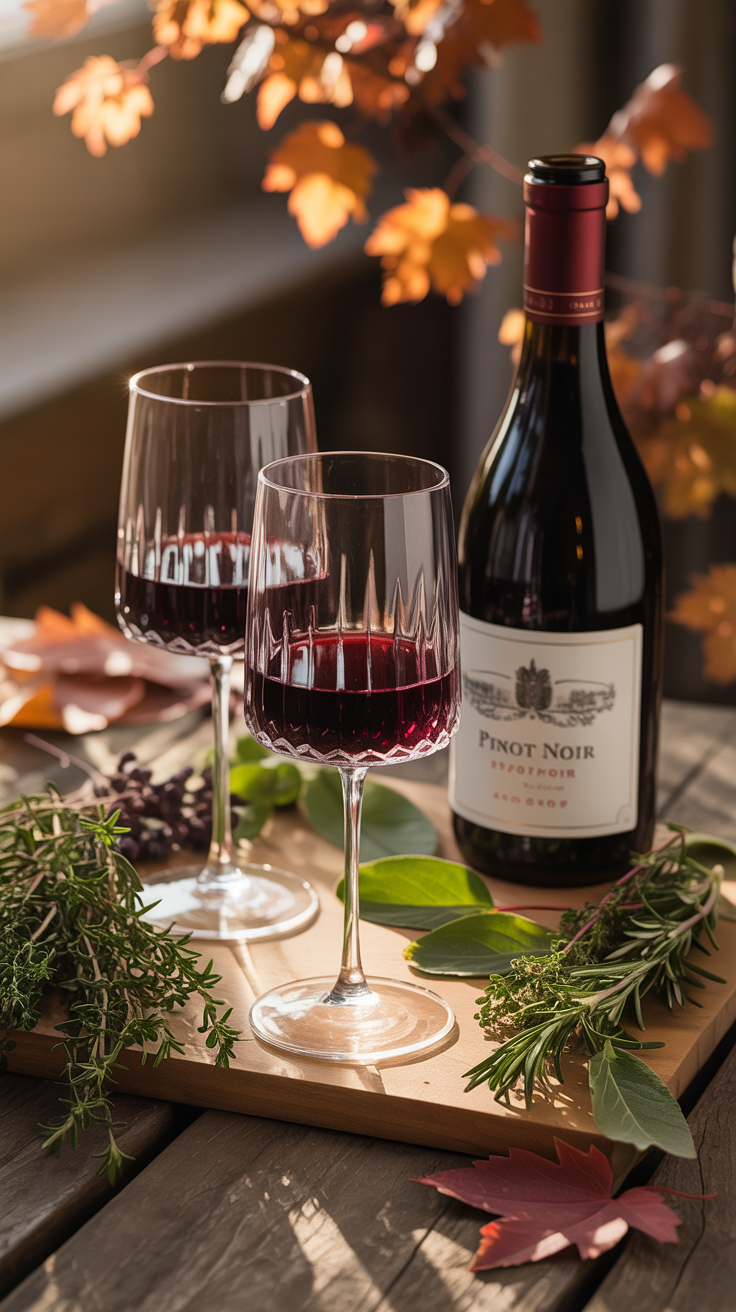
Step 6: Drink Pairings
Charcuterie boards pair perfectly with both wine and non-alcoholic beverages:
Wine: Pinot Noir, Chardonnay, or a sparkling rosé
Cocktails: Apple cider sangria or bourbon-spiced punch
Non-Alcoholic: Sparkling apple cider, cranberry spritz, or herbal iced tea
Pro Tip: Include a few glasses at different heights or a small pitcher station to keep the setup chic yet functional.
Step 7: Styling Your Board for Pinterest
Presentation is key. A few easy tips can make your board look magazine-ready:
Layer Heights: Stack crackers, fold meats, and prop bowls at different levels.
Textures: Mix smooth cheeses, rough breads, glossy grapes, and matte nuts.
Garnish Strategically: Fresh herbs or microgreens create visual depth.
Mind the Color Flow: Avoid clustering all reds or all oranges—distribute colors evenly.
Pro Tip: Leave small gaps for guests to reach items easily without making it look empty.
Step 8: Hosting Tips for Stress-Free Grazing
A charcuterie board is meant to relieve stress, not add it. Here’s how to make it effortless:
Prep Ahead: Slice meats and cheeses the day before.
Use Small Bowls: Prevent messes and control portioning.
Label Ingredients: Guests appreciate knowing what they’re eating.
Replenish During Dinner: Keep extra supplies nearby to refill without a mess.
Step 9: Game-Changing Variations
Once you master the classic board, mix things up:
Vegetarian-Only Boards: Roasted veggies, hummus, cheeses, and fruits
Dessert Boards: Mini pies, cookies, chocolate, and caramel-dipped apples
Breakfast Boards: Think mini muffins, pastries, cheeses, fruit, and nuts for Thanksgiving morning or brunch
Step 10: Cleaning and Storage Tips
Even with a stunning setup, cleanup doesn’t have to be stressful:
Use Disposable Parchment: Line boards for easy cleanup.
Store Leftovers Smartly: Wrap cheeses in wax paper and keep nuts in airtight containers.
Freeze Extras: Leftover roasted veggies can become soups or omelets later.
A Thanksgiving charcuterie board is a perfect blend of style, flavor, and accessibility. You don’t need a professional chef or a massive budget—focus on seasonal ingredients, cohesive color palettes, and thoughtful placement.
Your board becomes more than just an appetizer—it’s a centerpiece that draws people together, encourages mingling, and makes your Thanksgiving unforgettable.
With these tips, you’ll be ready to host a board that’s Pinterest-worthy, delicious, and stress-free, leaving your guests impressed and satisfied.