A dedicated craft room for kids is a dream come true for both children and parents alike. It fosters creativity, encourages independent play, and keeps craft supplies contained in one designated space. Whether you have a whole room to dedicate or just a small corner, these tips will help you design an organized, functional, and inspiring craft space for your little ones. We completed our craft room a few months ago and it is now one of the most used rooms in the house!
1. Choose the Right Space
The best craft room is one that is easily accessible and comfortable for kids to use. Look for an area with good natural lighting and enough room for a table and storage. If an entire room isn’t an option, consider using part of a playroom, a corner of a living room, or even a closet that can be transformed into a crafting nook. Ensure the space has proper ventilation, especially if kids will be using glue, paint, or other materials with strong odors.
2. Invest in Kid-Friendly Furniture
Comfortable and practical furniture is key to an effective craft room setup. Consider these essentials:
- A sturdy table: A wipeable surface that’s large enough for multiple kids to work on at once. Look for tables with adjustable height options to grow with your child.
- Comfortable seating: Adjustable chairs or stools that accommodate different heights. Bean bags or floor cushions can also be added for more relaxed crafting activities.
- Storage shelves or cubbies: Open shelving allows kids to easily access supplies. Ensure they are at a child-friendly height to encourage independence.
- A drying rack: Essential for paint projects to dry without smudging, preventing messes on other surfaces.
- A rolling workstation: A mobile cart with a built-in work surface can be a great addition, providing flexibility to move supplies as needed.
3. Organize Supplies with Smart Storage Solutions
Keeping craft supplies tidy is the secret to a stress-free craft room. Use these organization strategies:
- Clear plastic bins: Label them for easy identification, making it simple for kids to find and return supplies.
- Drawer organizers: Great for separating small items like beads, googly eyes, and buttons. Consider stackable organizers to maximize space.
- Hanging storage: Pegboards, wall-mounted baskets, and magnetic strips can free up table space while keeping supplies within reach.
- Rolling carts: Perfect for portable storage and easy cleanup. Use different tiers for different craft categories, such as painting supplies on one level and paper crafts on another.
- Mason jars and small containers: Use them for storing tiny supplies like pom-poms, glitter, and sequins. Keep them sorted by color or type for easy access.
- Labeled bins and baskets: Assigning designated spots for each supply type will make cleanup faster and easier for kids.
4. Sort and Declutter Regularly
Craft supplies tend to multiply quickly. To prevent clutter:
- Sort supplies into categories like painting, coloring, sculpting, and building. Consider using color-coded bins to make identification even easier.
- Discard dried-out markers, broken crayons, and empty glue bottles.
- Donate unused or excess supplies to schools, daycare centers, or charities.
- Set up a seasonal decluttering system to keep the craft space functional and clutter-free.

5. Create a Kid-Friendly Cleanup System
Teaching kids to clean up after crafting helps maintain an organized space. Make cleanup easy by:
- Using labeled bins for different types of supplies.
- Keeping a small trash can and recycling bin nearby for quick disposal.
- Assigning each child a task to encourage teamwork in tidying up.
- Implementing a “5-minute tidy-up” rule at the end of each crafting session.
- Using a fun incentive chart to reward kids for keeping the space clean.
6. Add Personal Touches for Inspiration
Make the craft room a space that inspires creativity by adding:
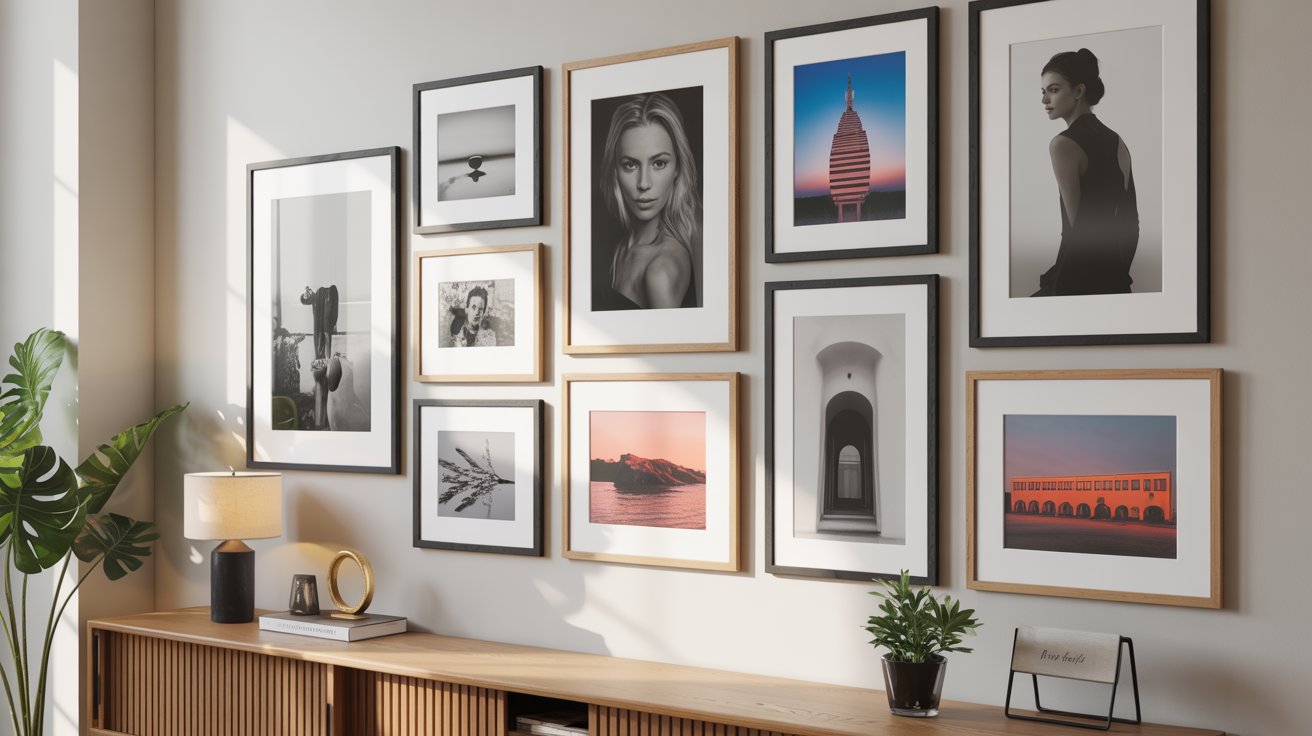
- A gallery wall: Display kids’ artwork to encourage their creativity and give them a sense of pride.
- A chalkboard or whiteboard: Perfect for sketching ideas, writing craft project plans, or keeping track of upcoming projects.
- Fun decor: Use colorful rugs, wall decals, and playful patterns to make the space inviting.
- A themed crafting station: If your child has a favorite theme, such as outer space or nature, incorporate elements into the decor to enhance creativity.
- A crafting inspiration board: Hang up pictures, quotes, and ideas to spark new creative projects.
7. Rotate Craft Supplies to Keep Things Fresh
To keep kids engaged, rotate craft supplies every few months. Store some materials in a separate bin and swap them out periodically to keep things exciting. This prevents boredom and ensures all supplies get used.
- Store seasonal supplies separately and bring them out when needed.
- Introduce new craft materials gradually instead of all at once to maintain interest.
- Keep a surprise bin with new or forgotten supplies to encourage creative exploration.

8. Incorporate Multi-Purpose Storage and Workspaces
If the craft room also serves as a homework or play area, consider:
- Foldable tables or drop-down desks: Save space when not in use, making the room more versatile.
- Storage ottomans: Double as seating and supply storage, maximizing functionality.
- Chalkboard-painted walls: A creative space for drawing and brainstorming directly on the wall.
- Convertible furniture: A desk that can double as an art easel or a bookcase with pull-out work surfaces can make the room even more functional.
9. Stock Up on Essential Craft Supplies
Make sure your craft room has the basics so kids can create without interruption. Some must-haves include:
- Plenty of paper (construction paper, cardstock, sketchbooks)
- Scissors (kid-safe and regular)
- Pencils, erasers, and sharpeners
- Washable markers, crayons, and colored pencils
- Glue sticks and liquid glue
- Tape and staplers
- Felt, fabric scraps, and yarn
- Clay, Play-Doh, and modeling tools
- Stickers, stencils, and stamps
- Paints, brushes, and palettes
10. Encourage Independent Creativity
A well-organized craft room should allow kids to explore their creativity without constant adult supervision. Encourage independence by:
- Storing frequently used supplies at child-friendly heights.
- Creating designated “work zones” for different types of projects (e.g., a painting corner, a paper craft station, etc.).
- Providing inspiration books or instructional guides for kids to follow.
- Allowing kids to choose and plan their own projects.
Crafting plays a significant role in child development at different stages. Here’s how various crafts benefit children, along with specific activities and materials:
Toddlers (Ages 1-3)
- Benefits: Improves motor skills, hand-eye coordination, and sensory exploration.
- Activities: Finger painting, tearing paper, playdough molding, sponge stamping.
- Materials: Non-toxic paint, large crayons, safety scissors, sensory bins, textured fabrics.
Preschoolers (Ages 3-5)
- Benefits: Enhances fine motor skills, creativity, and hand strength.
- Activities: Cutting with safety scissors, gluing shapes, beading large beads, coloring.
- Materials: Child-safe scissors, glue sticks, pipe cleaners, coloring books, stickers.
Elementary (Ages 6-9)
- Benefits: Develops problem-solving skills, patience, and creative thinking.
- Activities: Origami, sewing simple stitches, model-building, basic woodworking.
- Materials: Origami paper, kid-friendly sewing kits, wood craft kits, fabric swatches.
Preteens (Ages 10-12)
- Benefits: Fosters independence, creativity, and perseverance.
- Activities: DIY jewelry making, knitting, pottery, advanced painting techniques.
- Materials: Jewelry wire and beads, knitting needles and yarn, pottery clay, acrylic paints.
Designing a craft room that is functional, organized, and kid-friendly will make crafting more enjoyable for everyone. With the right setup, your children will have a dedicated space to express their creativity while keeping the mess under control. Whether you have a small corner or an entire room to dedicate, these tips will help create an inspiring and organized craft space. Happy crafting!