
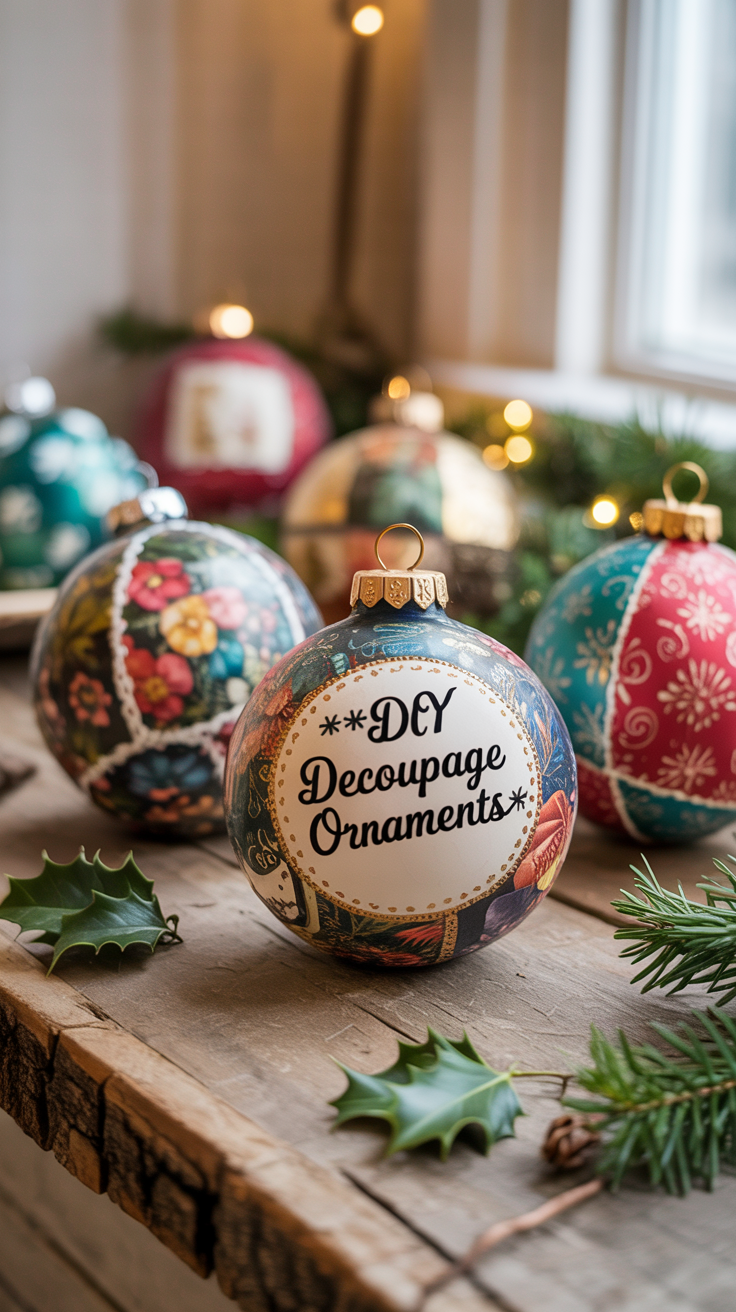
The holidays always sneak up on me, but one of my favorite ways to slow down and savor the season is with a good old-fashioned craft session. There’s just something about making things by hand that makes Christmas feel a little more meaningful. This year, I wanted to add something fresh and personal to our tree, so I tried my hand at DIY decoupage ornaments—and friends, I am obsessed.
These ornaments are simple, affordable, and endlessly customizable. Plus, they have that high-end look you’d find in a boutique holiday shop without the price tag. Whether you’re decorating a tall tree in your living room, adding a few special touches to a small tabletop tree, or making a batch as gifts, these decoupage ornaments are a win.
Why DIY Ornaments?
Store-bought ornaments are beautiful, but making your own lets you:
-
Match your tree’s exact color palette or theme
-
Repurpose fabric scraps, leftover napkins, or paper for a budget-friendly craft
-
Create personalized, meaningful ornaments to keep or gift
-
Start a new family tradition that gets everyone involved
When my kids saw me working on these, they wanted to join in immediately. They picked their own patterned napkins, and while the results weren’t “perfect,” they were so proud to see their creations hanging on the tree. That’s what makes these ornaments special—the little imperfections give them charm and character.
Supplies You’ll Need
The beauty of this project is that you really don’t need much. A quick trip to the craft store (or even shopping your stash at home) will cover it.
-
Clear or white ornaments (plastic or glass—plastic is easier for beginners and safer with kids)
-
Fabric scraps or decorative napkins (cotton works great, and patterned napkins are surprisingly easy)
-
Mod Podge (matte or satin finish)
-
Small paintbrush
-
Scissors
-
Optional: metallic Rub ‘n Buff, ribbon, twine, or small embellishments like charms or beads
Step-by-Step: Making Your Own Decoupage Ornaments
Step 1: Cut Your Fabric or Paper
Cut fabric into 1.5-inch strips, or tear napkins into manageable pieces. For curved surfaces, snip small slits along the edges—this helps the fabric lay flat against the ornament.
Step 2: Apply the First Layer
Brush Mod Podge directly onto the ornament and press one strip or piece down, smoothing as you go. It won’t look perfect right away—trust the process!
Step 3: Fill In the Gaps
Add more pieces, slightly overlapping to cover the surface. For almond-shaped spaces, cut small patches of fabric or paper. Work slowly, pressing down edges with your brush.
Step 4: Seal and Smooth
Brush a final coat of Mod Podge over the entire ornament to seal. It goes on white but dries clear, leaving a smooth finish.
Step 5: Finishing Touches
Paint the ornament’s top with gold or silver Rub ‘n Buff, tie on velvet or silk ribbon, or even add charms for a personalized look.
Creative Variations
One of the best things about this project is how versatile it is. Here are a few fun ideas to try:
-
Rustic Style: Use plaid flannel fabric and finish with twine instead of ribbon
-
Elegant & Luxe: Choose jewel-toned napkins, then add velvet bows and metallic paint details
-
Whimsical Look: Mix mismatched fabrics for a patchwork effect that feels playful and cozy
-
Personalized Gifts: Write names or dates on the fabric with a fabric pen before sealing. These make wonderful keepsakes for grandparents or teachers
How to Style Your Handmade Ornaments
Once you’ve made a few (or a dozen!), the fun part is decorating with them.
-
On the tree: Cluster three or four together for a designer look
-
As gift toppers: Tie one onto a wrapped present with ribbon
-
In a bowl or basket: Use them as part of your holiday centerpiece
-
On a garland: Attach them with ribbon and drape across a mantel or doorway
Making It a Family Tradition
These ornaments are simple enough for kids to join in, and it’s such a lovely way to spend time together during the busy holiday season. You could make it a tradition: every year, each person in the family makes one ornament. Over time, you’ll build a collection that tells your family’s story—like a scrapbook, but for your tree.
Tips & Troubleshooting
-
Fabric too thick? Stick with cotton—it’s easier to mold around the ornament
-
Paper tearing? Use smaller pieces and a lighter touch with your brush
-
Wrinkles showing? Don’t stress. Once dry, most wrinkles fade, and the rustic look adds charm
-
Want more shine? Use gloss Mod Podge instead of matte
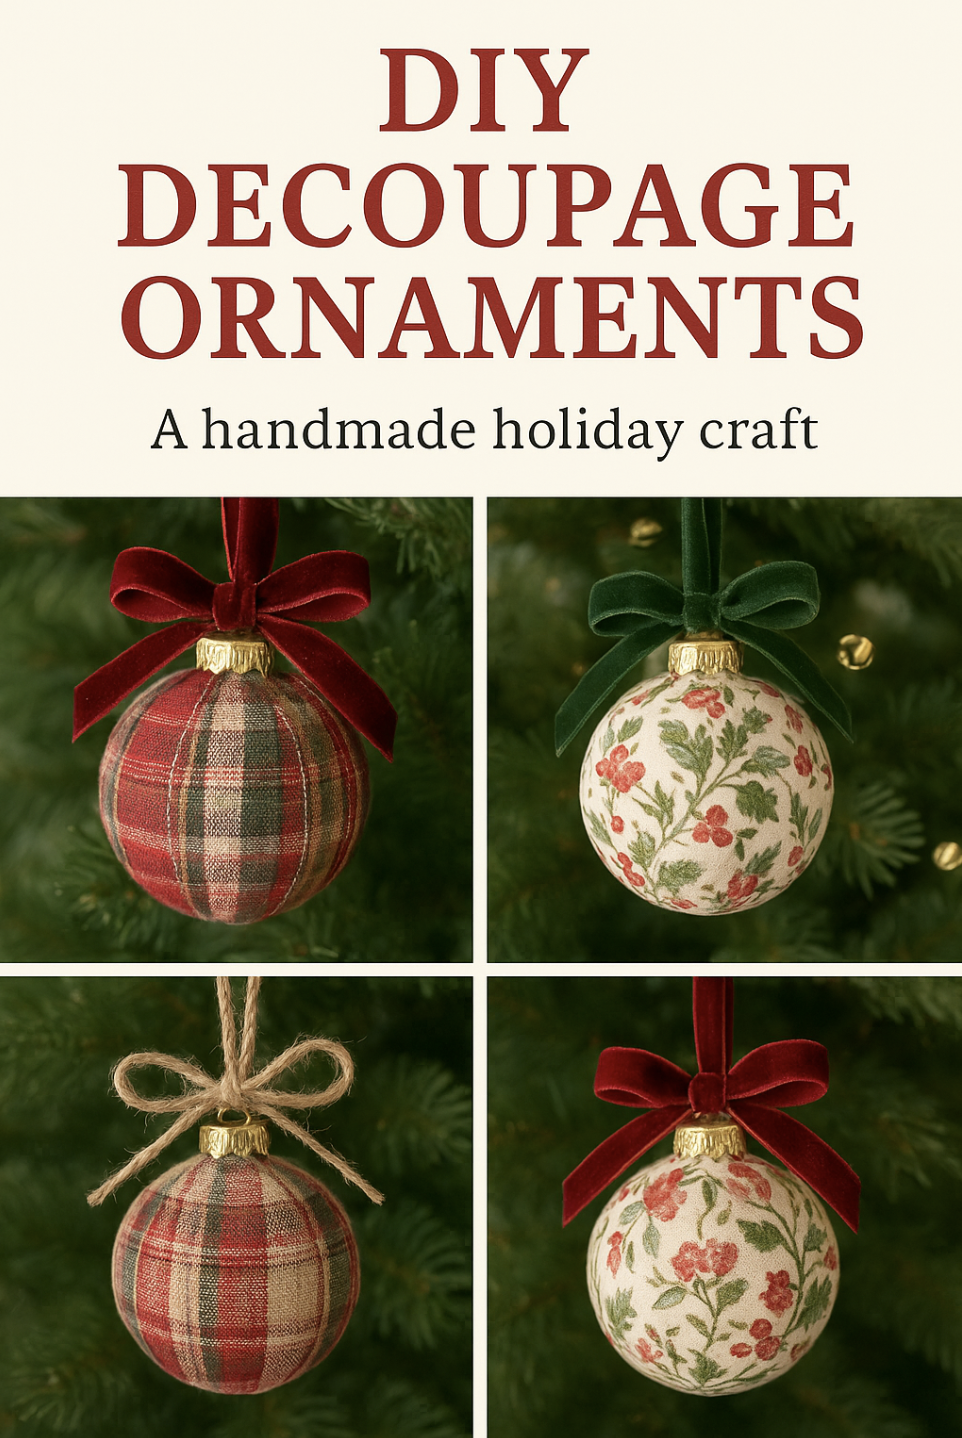
The Finished Look
When you step back and see these decoupage ornaments sparkling on the tree, you’d never guess they were handmade from scraps and glue. They have that polished, boutique feel while still being one-of-a-kind. Every time I look at them, I’m reminded of the quiet joy of slowing down and creating something with my own two hands. And isn’t that what the holidays are all about?
DIY decoupage ornaments are more than just a holiday craft—they’re a chance to add meaning, creativity, and warmth to your holiday season. Whether you’re crafting solo with a cup of tea, gathering friends for a craft night, or pulling the kids in for a family project, this is one DIY that delivers big impact with little effort.
So grab some Mod Podge, turn on the Christmas music, and let the holiday magic begin.


