

Anthropologie and Terrain have mastered a style that feels natural and enchanted—bridging bohemian warmth, woodland magic, and upscale, unexpected textures. Their holiday wreaths are legendary: asymmetrical, lush, layered, and always a little wild. They look like something gathered from the forest floor… yet somehow still editorial enough for a magazine cover.
If you’ve ever looked at one of those stunning $168–$298 wreaths and thought, I wish I could make that, good news—you absolutely can. And honestly? Yours might even be better.
If you read my posts on Christmas decor trends here and here, you know that this year is all about handmade pieces, nostalgia and also… wreaths (of all sizes!). So today I’ll walk you through exactly how to DIY an Anthropologie x Terrain–inspired holiday wreath, with:
materials and styling inspiration
guidance for Anthropologie-esque color palettes
step-by-step layering instructions
tips for adding artistic, high-end elements
techniques that make your wreath look designer-level, not craft-store
variations (winter woodland, berry maximalist, moody luxe, and gilded botanicals)
how to hang & style your wreath like a merchandiser
This is your complete, creative guide to making a wreath that looks equal parts handmade and high-style—something that feels special, soulful, and truly one-of-a-kind.
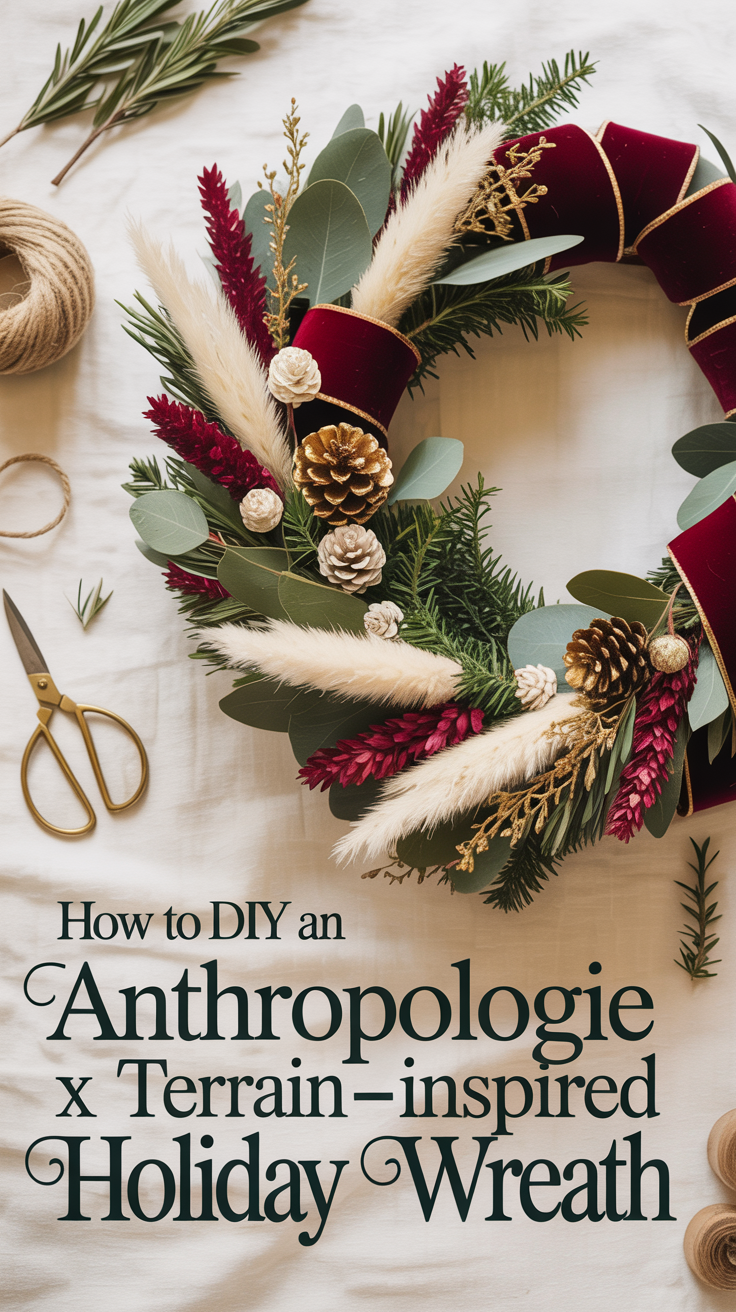
Why the Anthropologie x Terrain Look Works
Before we begin crafting, it helps to understand their signature wreath philosophy. A&T wreaths tend to share a few common themes:
1. Asymmetry Over Perfection
Their wreaths often feel organic—full on one side, airy on the other. Nothing is too matchy, too polished, or too tightly packed.
2. Natural Elements with Elevated Twists
Think botanicals you might find on a woodland walk… but enhanced with luxe details:
metallic-dipped leaves
velvet ribbons
frosted berries
unexpected florals
dried citrus
feathers, pods, and seed clusters
3. Soft, Romantic Color Palettes
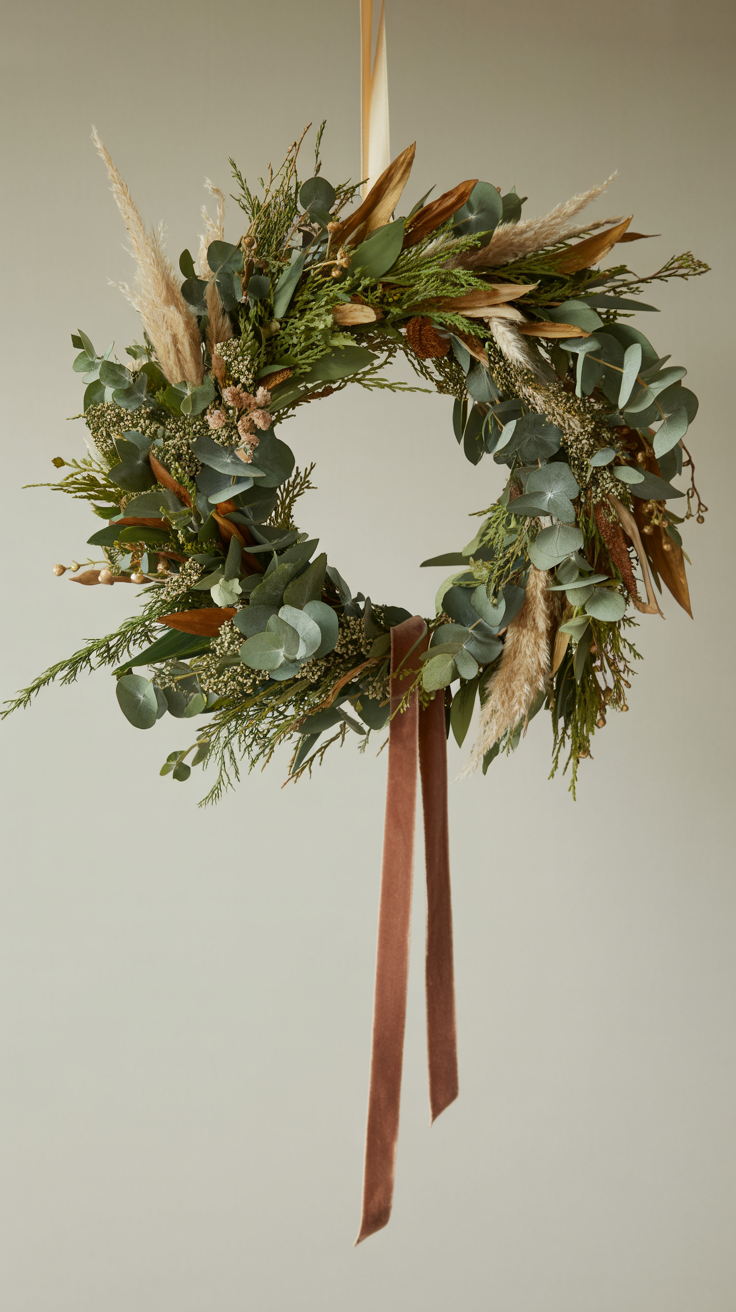
Anthropologie rarely uses the classic red-and-green approach. Instead, they lean into:
sage, eucalyptus, olive
rust, ochre, and warm terracotta
dusty blush
deep indigo and midnight blues
gold and champagne
frosted whites
4. Textural Variety
Terrain’s botanical designers think in textures the way painters think in brushstrokes. The result is wreaths filled with:
soft greenery
woody elements
sparkly bits
feathery plumes
wispy branches
clusters of berries
It’s this mix that makes the designs feel curated and layered.
5. A Slightly “Wild” Flair
Anthropologie’s wreaths often look like they’re still growing. Pieces stick out unevenly. Branches sweep dramatically. There’s movement and life.
Your DIY wreath will capture all of these qualities—and you’ll learn exactly how to layer and arrange like a Terrain merchandiser.
Materials You’ll Need
You can customize these, but here’s a baseline Anthropologie-inspired list.
The Base
Grapevine wreath (14″, 18″, or 24″ – 18″ is most versatile)
Terrain loves grapevine because it feels natural, rustic, handmade, and not overly structured.
Greenery (Real or Faux)
Choose 2–4 types:
eucalyptus (seeded, silver dollar, or baby blue)
cedar branches
pine or fir
olive branches
juniper (with berries if available)
magnolia leaves (fresh or faux)
Focal Textures
Choose 2–3 varieties:
dried florals (strawflower, lunaria, amaranth, bunny tails)
dried citrus slices
pampas or mini pampas plumes
dried hydrangea heads
preserved ruscus
Accent Botanicals
Choose 2–4:
faux or dried berries (navy, blush, gold, white, or rust)
pinecones
lotus pods
eucalyptus pods
feathers (optional—very Terrain)
small gilded or frosted botanicals
Artistic/Anthropologie-Style Embellishments
Choose 1–2:
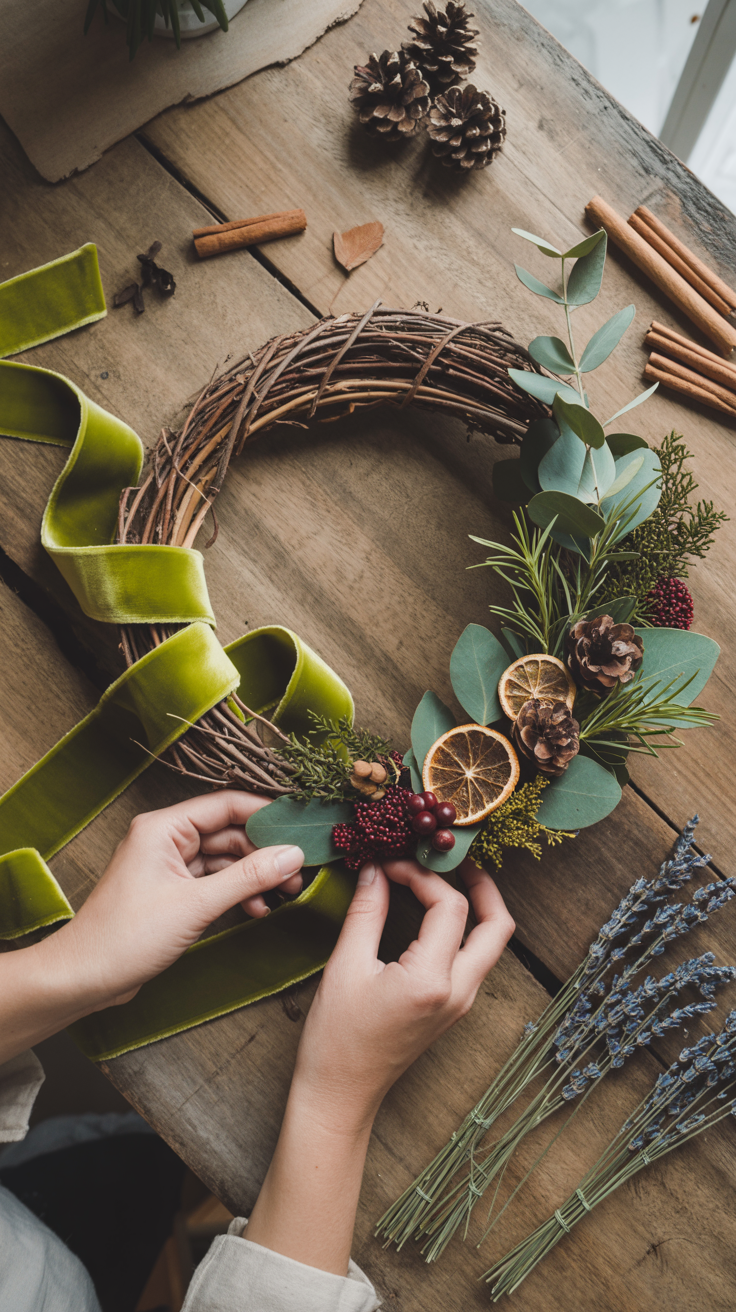
gold-dusted leaves
metallic enamel-dipped pinecones
velvet ribbon (3–5 yards)
linen or silk ribbon for bow or tails
tiny bells
brass charms
hand-painted or aged ornaments
Tools
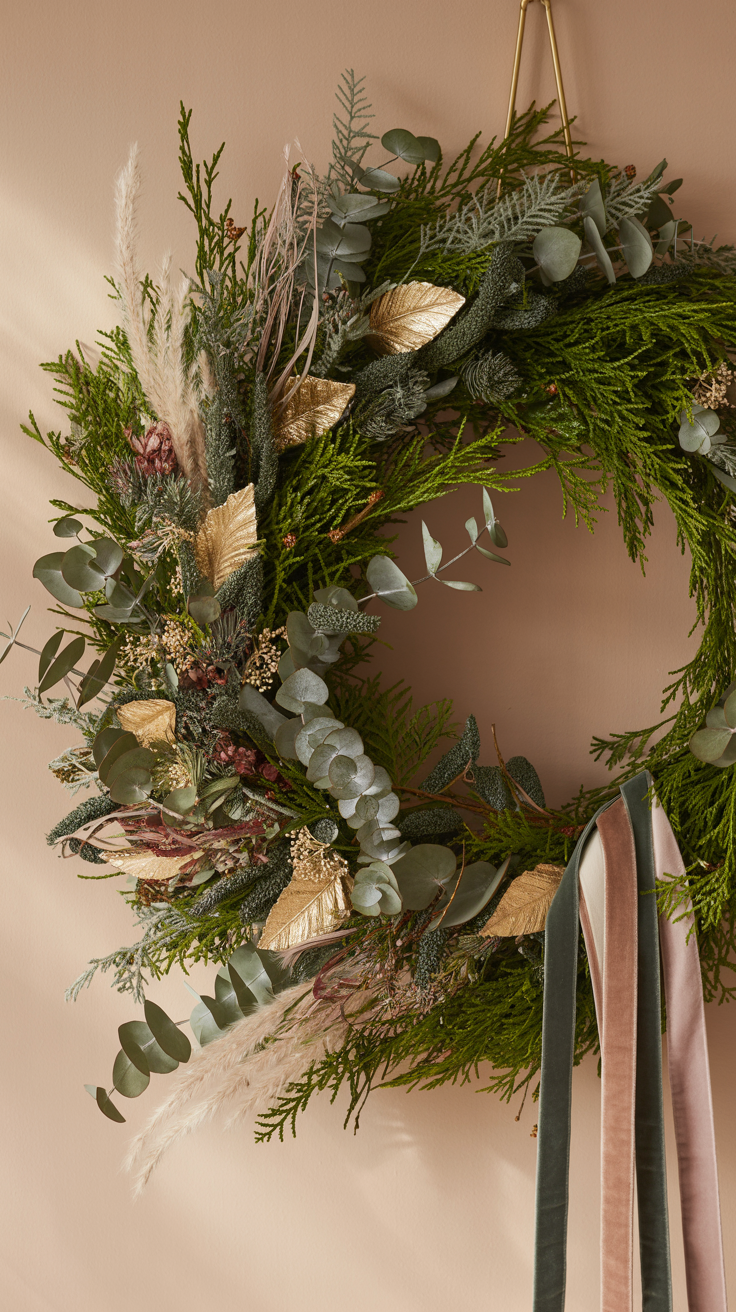
floral wire (green or brown)
hot glue gun
pruning shears
floral tape
wire cutters
gloves (for sticky sap!)
Before You Start: Choose Your Style Direction
Anthropologie’s aesthetic has several branches. Here are five you can lean into:
Style Option 1: “Winter Woodland Forager”
A natural, slightly wild style—cedar, juniper, dried oranges, pinecones, mushrooms, and twigs. Earthy and enchanting.
Style Option 2: “Gilded Botanicals”
Gold-dusted magnolia leaves, metallic berries, champagne ribbon, and velvet bows. Luxe but not gaudy.
Style Option 3: “Moody Indigo & Midnight Green”
A deep, dramatic palette using navy berries, dusky eucalyptus, dried thistle, and charcoal ribbon.
Style Option 4: “Blush & Frosted Neutrals”
Anthropologie loves this combo. Think pale pinks, dusty blush, ivory berries, soft sage greens, and white-washed pinecones.
Style Option 5: “Berry-Forward Maximalist”
Berries exploding from one side, layered textures, lots of movement and drama.
STEP-BY-STEP: How to Make Your Terrain-Inspired Wreath
Below is a full 3,000-word guide detailing each part of the design process like a true floral stylist.
STEP 1: Prep Your Base Like a Designer
Lay your grapevine wreath flat on a table. Turn it around until you find the most visually appealing “front.” Grapevine wreaths have natural curves, gaps, and clusters—use these to your advantage.
Tips:
The thickest, most knotted part should go at the bottom—this grounds the design.
Thin, airy sections are great for sweeping branches or asymmetrical ends.
Check that your wreath hangs straight—adjust by trimming vine or adding a loop of wire for hanging.
This step is small but important: designers always prep the base thoughtfully.
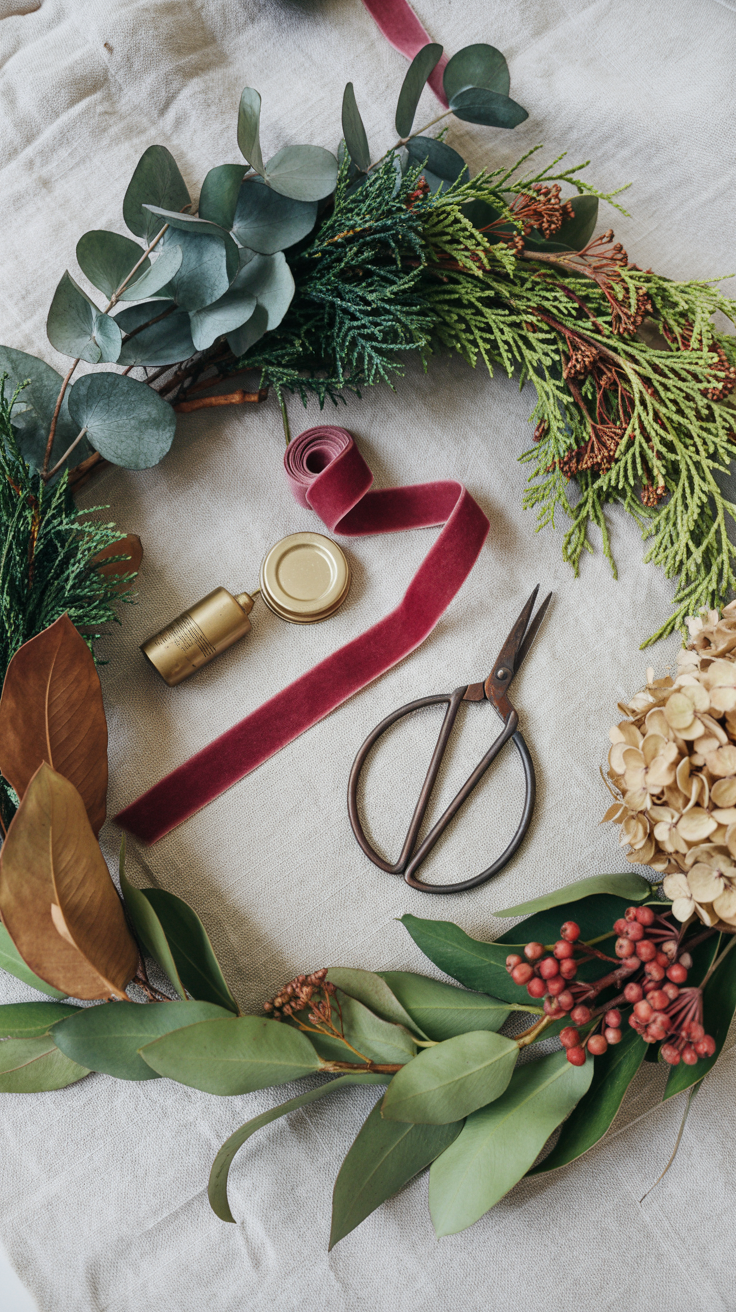
STEP 2: Create Your “Base Greenery” Layer
This is where your wreath begins to build shape and structure.
Choose 2–3 greenery varieties:
1 soft (cedar, eucalyptus, olive)
1 structured (pine, magnolia, juniper)
optional: something wispy (baby’s breath, airy grasses, ruscus)
Technique:
Trim each greenery piece to 8–12 inches.
Insert the stems directly into the grapevine base—this anchors them naturally.
Wire only when needed—Terrain-style wreaths look more natural when wired sparingly.
Follow a loose crescent or diagonal arc. Anthropologie wreaths rarely go fully symmetrical.
Visual goal:
You want a wreath that looks like it’s growing in a specific direction—slightly fuller on one side, slightly lighter on the opposite.
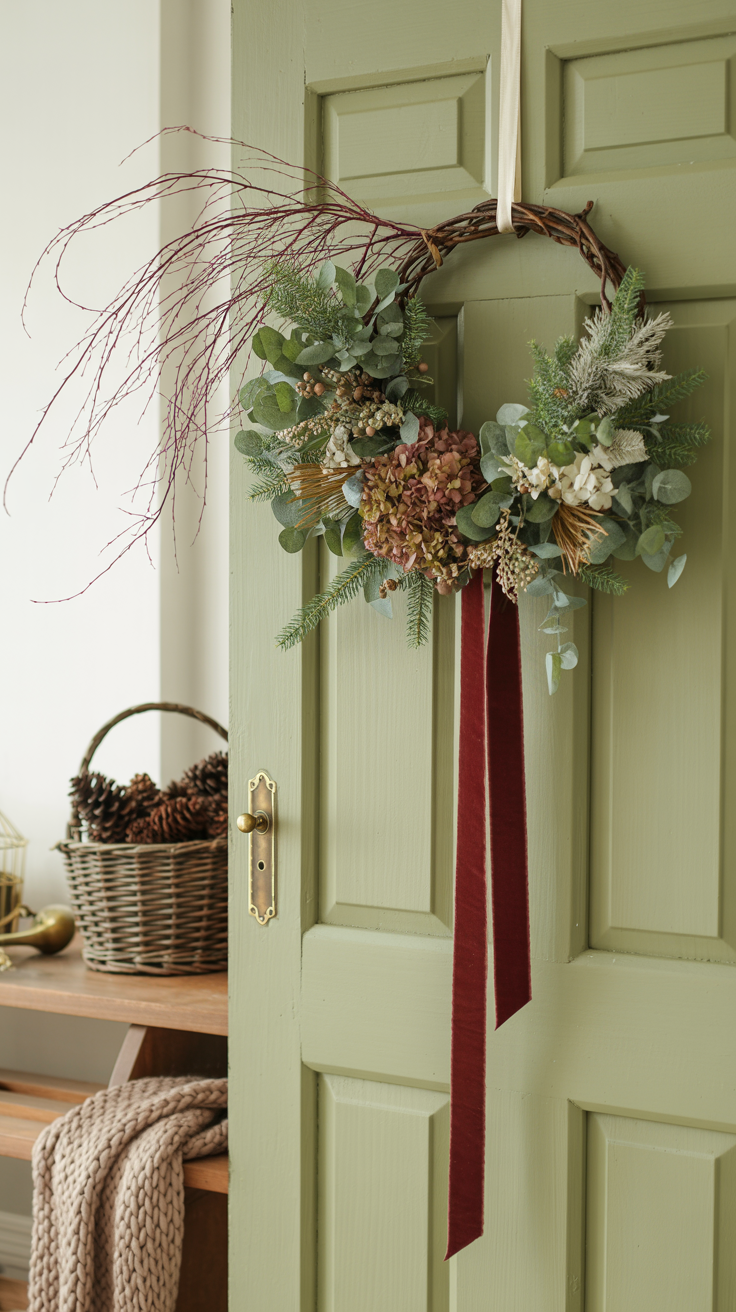
Designer secret:
Layer greenery in clusters, not evenly spaced points. Clusters soften the design and make it look intentional.
STEP 3: Add “Focal Textures” for Drama
Now that your greenery is set, you’ll add the very Terrain-inspired elements: dried florals, grasses, pods, and botanicals.
Choose at least 2:
dried hydrangea heads
dried thistle
bunny tails