

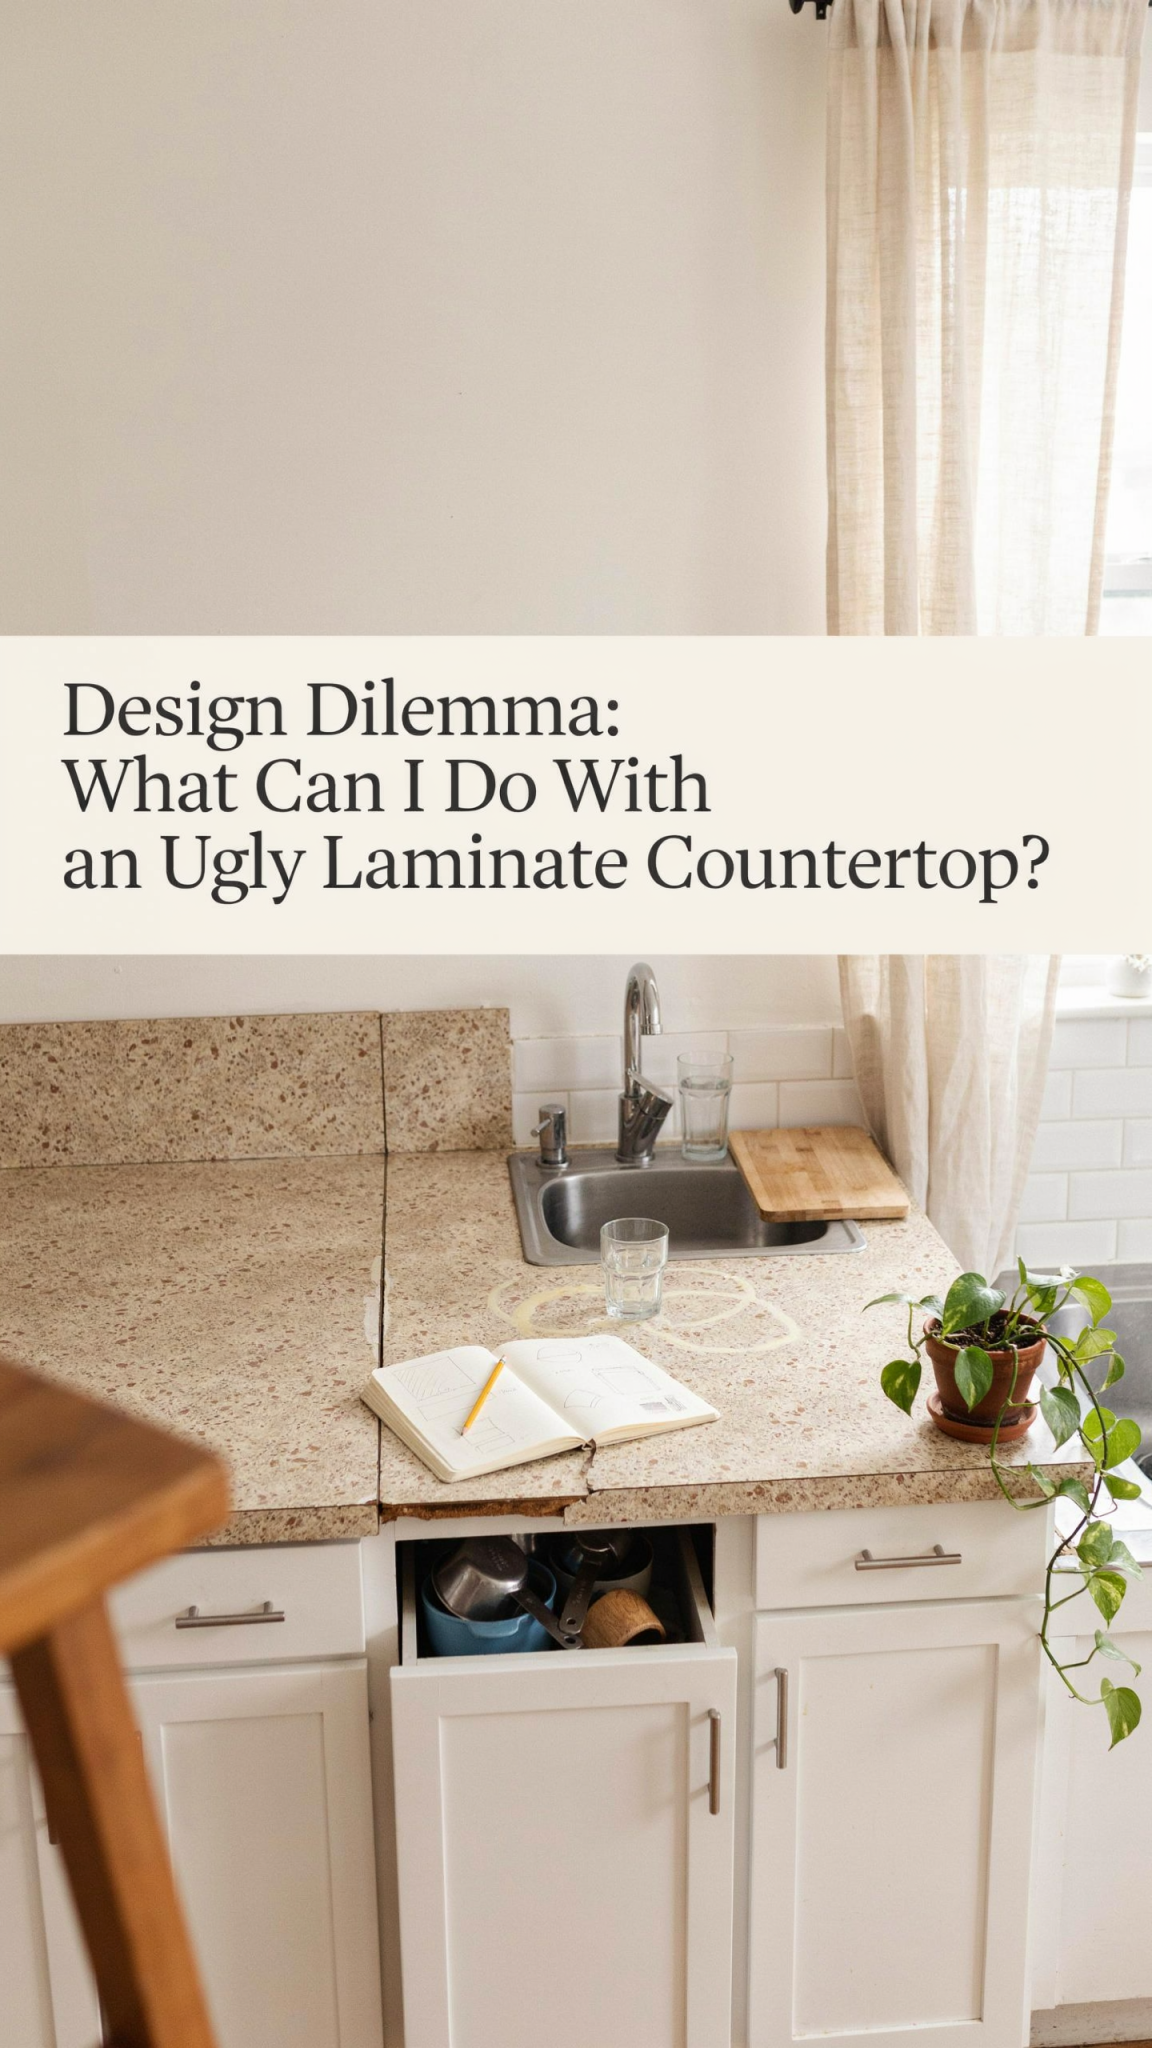
An ugly laminate countertop can make an otherwise functional kitchen feel dated, temporary, or simply not like you. Maybe the surface is a faded beige, a busy faux-marble pattern, or a color that belonged to a previous decade. Maybe the edges are chipped, the finish is dulled, or years of cooking have left behind stains that no amount of scrubbing can erase. Whatever the reason, you do not necessarily need to demolish the cabinets, hire a fabricator, or spend thousands of dollars on stone to get a better-looking workspace.
Laminate countertops are often treated as a design dead end, but they are more adaptable than they appear. With the right prep and a realistic understanding of the material, you can refresh the surface, disguise an unappealing pattern, change the color, or replace the top without replacing the entire kitchen. The best solution depends on the countertop’s condition, your budget, the amount of time you have, and how long you want the makeover to last.
The first step is not choosing a paint color. It is deciding whether the existing countertop is a good candidate for an upgrade.
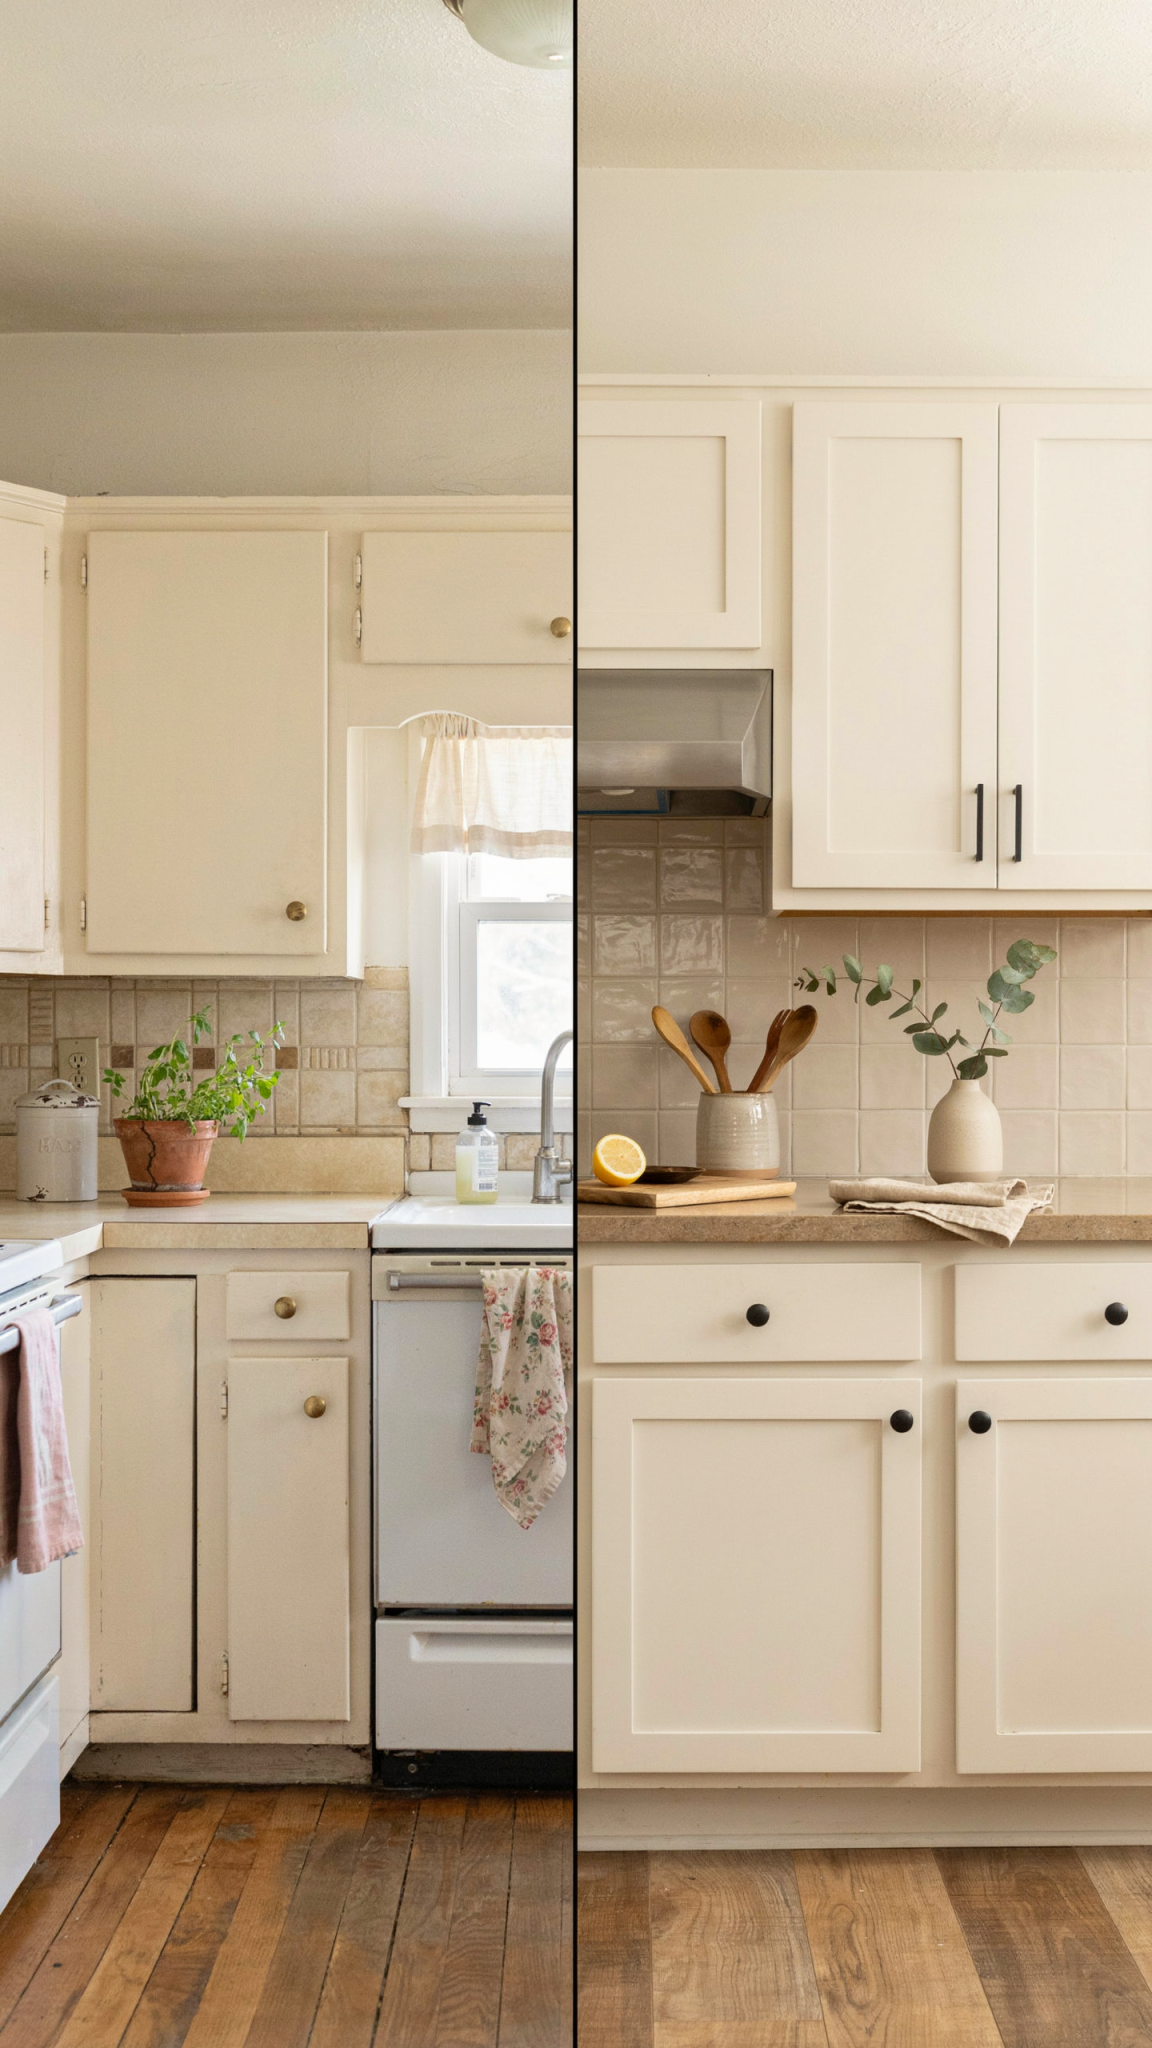
Start With an Honest Condition Check
A cosmetic makeover works best when the laminate is structurally sound. Look closely at the entire counter, especially around the sink, dishwasher, cooktop, seams, and backsplash. Small scratches, discoloration, and dated colors are usually manageable. Loose sections, swollen particleboard, deep burns, and extensive water damage are more serious.
Press gently along the front edge and near the sink. If the surface flexes, bubbles, or lifts away from the substrate, moisture may have penetrated underneath. Inspect the underside of the countertop inside the cabinets for dark staining, crumbling material, or signs of persistent leaks. A few minor chips can be filled and sanded, but a countertop that is soft or badly warped will continue to deteriorate beneath any new coating.
The distinction matters because many countertop refinishing products create a new surface but do not repair a failing base. Covering water damage may make the counter look better for a short time, but it does not solve the source of the problem.
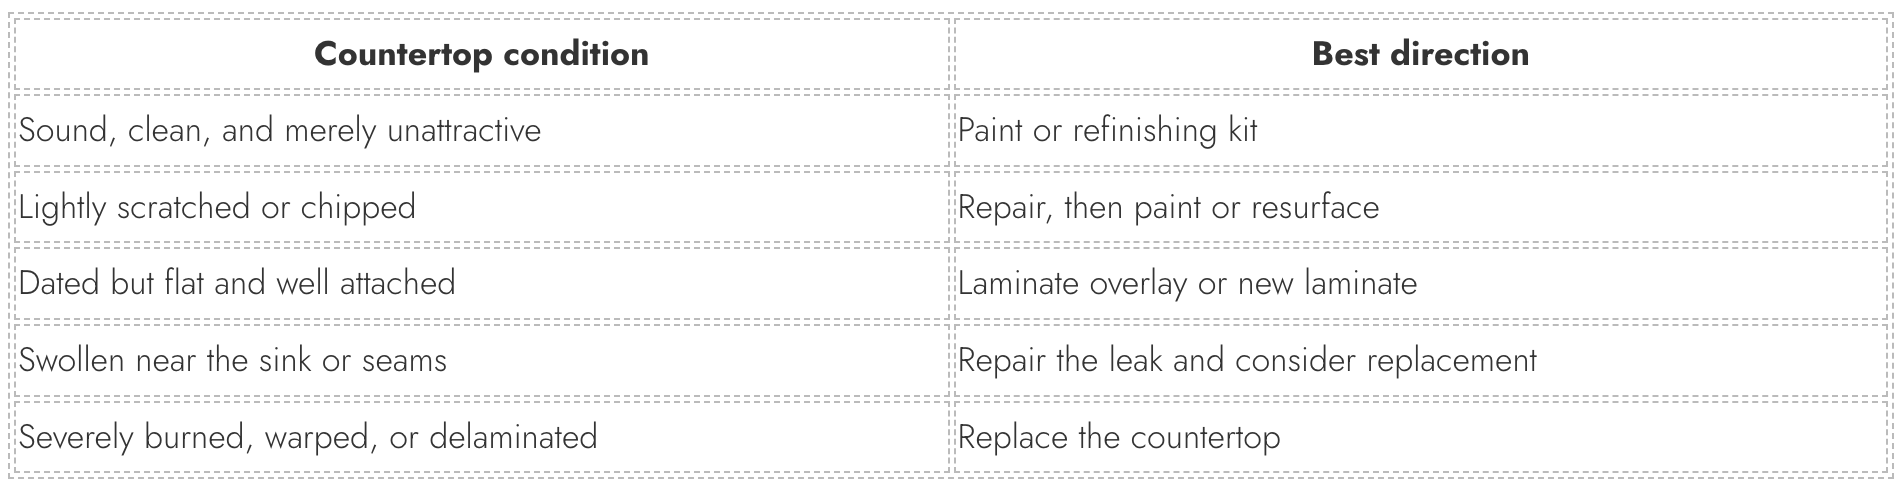
If the counter is fundamentally solid, you have several practical options. If it is failing, spend your money on replacement rather than an elaborate disguise.
Option One: Paint the Countertop
Painting is the most accessible way to change an ugly laminate countertop. It can produce a dramatic visual improvement for relatively little money, especially in a rental-friendly or budget-conscious renovation. The finished result will not behave exactly like factory laminate, quartz, or natural stone, but a carefully prepared and properly sealed painted surface can be attractive and serviceable.
The key is to use a system designed for countertops or other hard, heavily used surfaces. Ordinary wall paint is not formulated to withstand repeated wiping, standing water, kitchen spills, heat, and abrasion. A countertop coating may be sold as a single product, a two-part system, or a kit that includes primer, decorative chips or mineral effects, and a protective topcoat. Follow the product’s instructions rather than mixing brands casually.
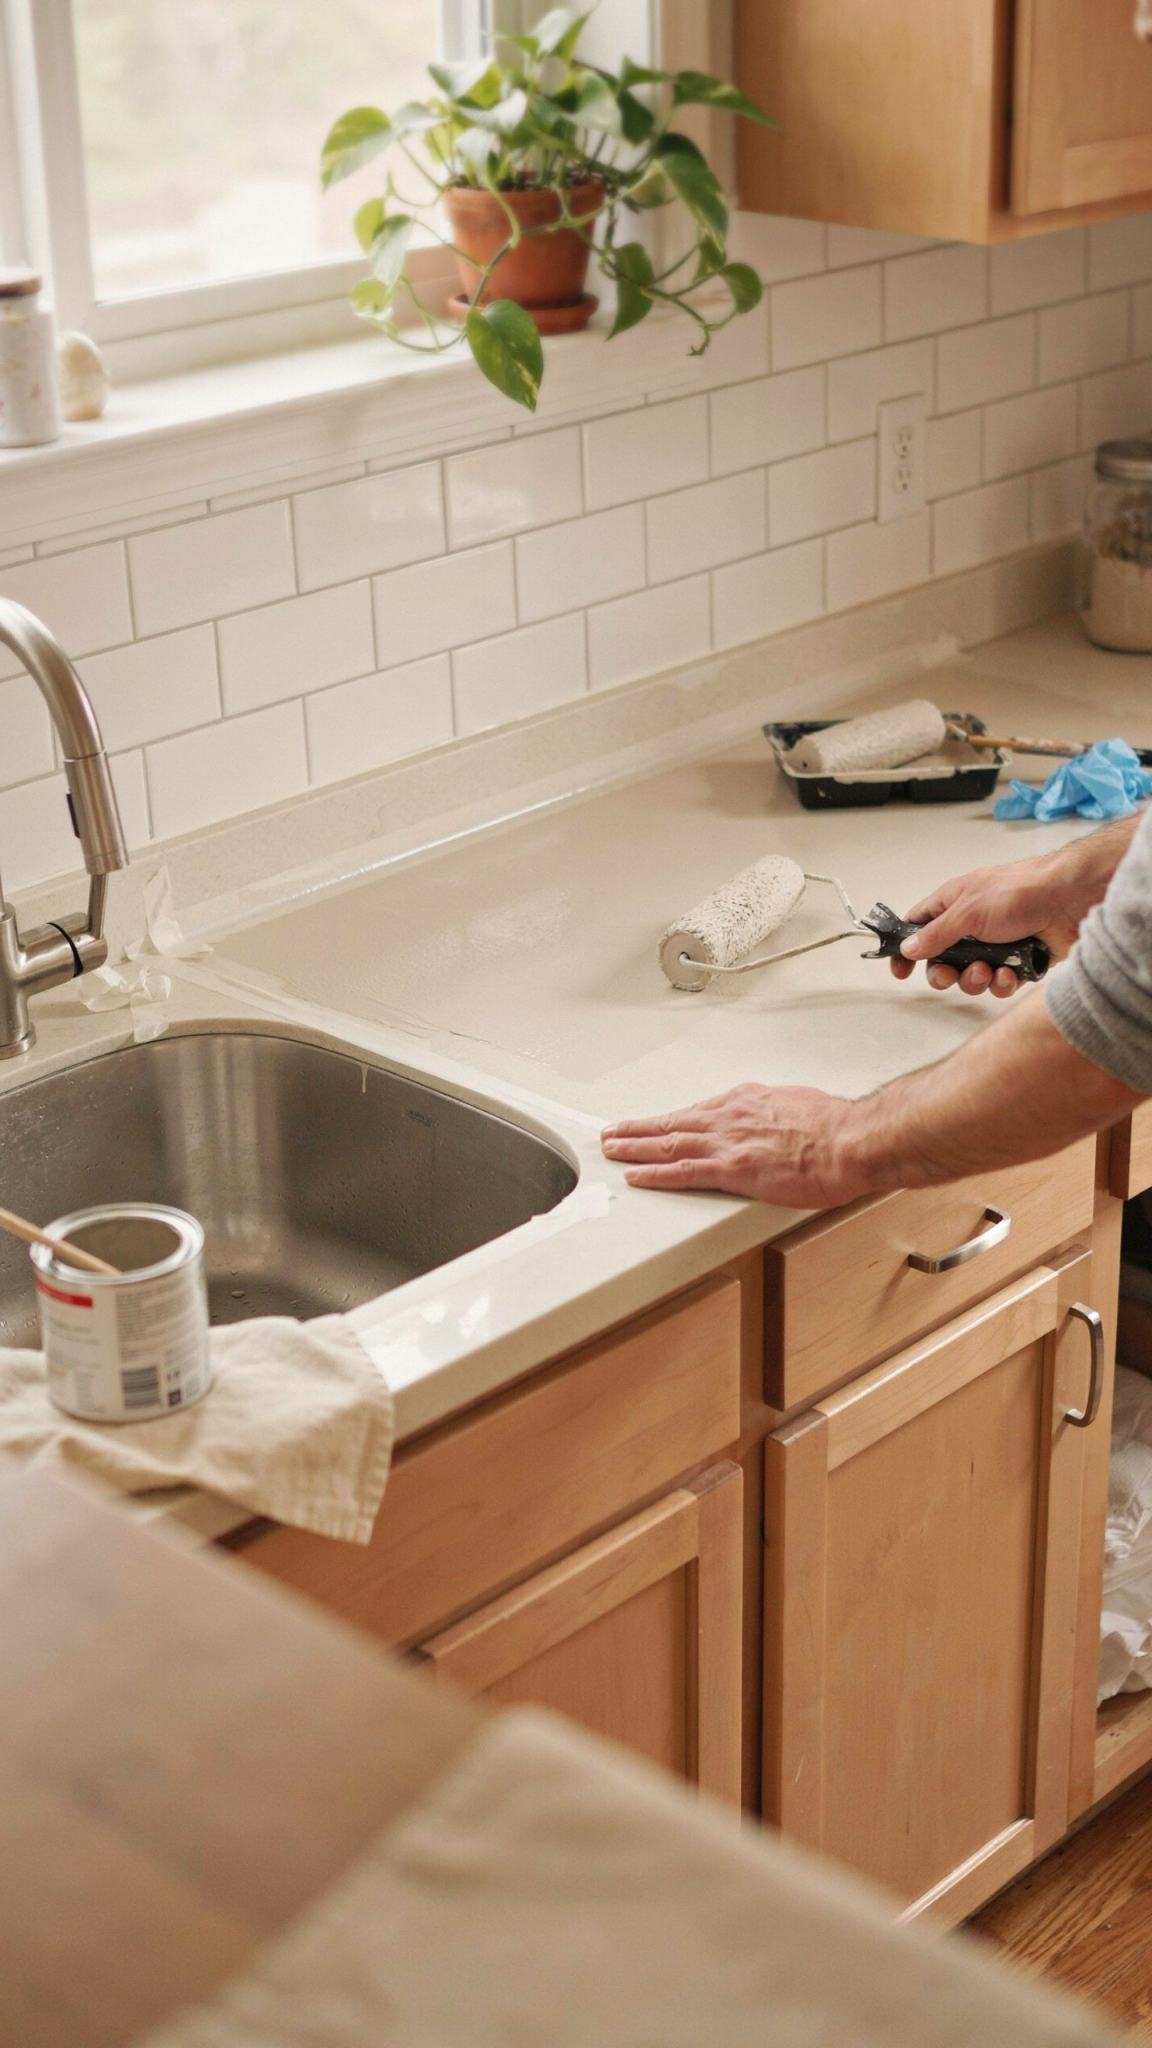
Prep is more important than the color
Remove everything from the counter and clean it thoroughly. Kitchen surfaces collect grease, waxes, polish residue, and invisible cooking oils, all of which can prevent a coating from bonding. Use a degreasing cleaner appropriate for the existing surface, then rinse away residue and allow the countertop to dry completely.
Repair chips and open seams with a suitable filler. Once it has cured, sand the repairs flush. Lightly abrade the entire laminate surface so the glossy finish becomes uniformly dull. You are not trying to grind through the laminate; you are creating a surface with enough texture for primer to grip. Vacuum the dust and wipe the surface with a clean, lint-free cloth.
Mask the walls, sink, appliances, cabinets, and floor carefully. Refinishing takes longer when you protect the room well, but careful masking is one of the easiest ways to make a budget project look professional.
Choose a forgiving design
A solid color is simple, but it can reveal every dent, brush mark, and uneven repair. Mid-tone colors are often more forgiving than stark white or very dark charcoal. Warm gray, muted green, soft taupe, navy, and mushroom can make an older kitchen feel intentional without demanding perfect application.
If you want a stone-like appearance, use several related tones rather than trying to imitate a complicated slab pattern. A base coat, a subtle second color applied with a sponge, and restrained veining can create visual movement. The goal is not to fool someone standing two inches away. The goal is to create a surface that reads as cohesive from across the room.
Avoid excessive contrast, especially in a small kitchen. Bold black veins over bright white can look artificial if the rest of the room is quiet. A low-contrast pattern tends to age more gracefully and hides everyday crumbs and minor wear.
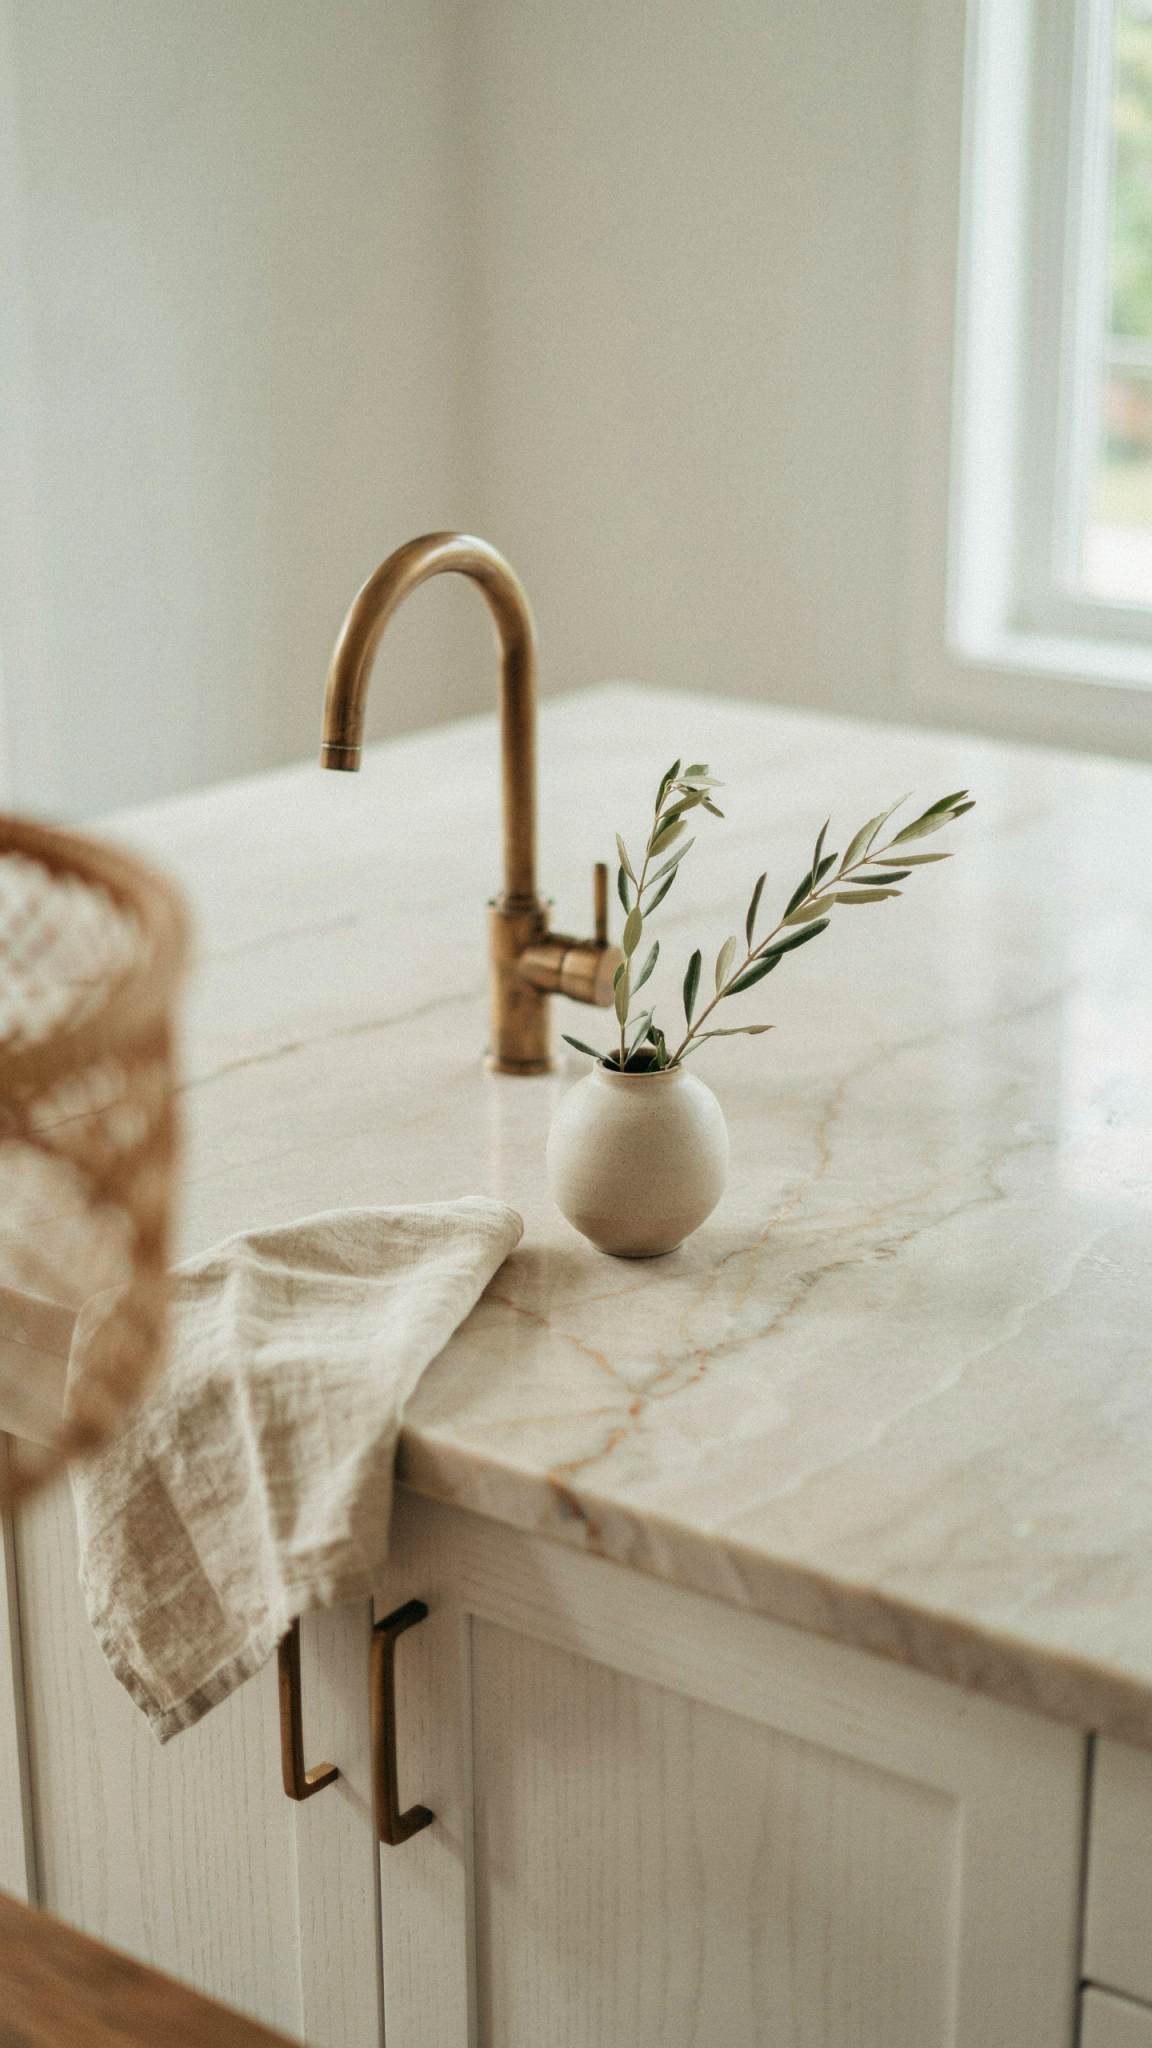
Seal the finished surface
The protective topcoat is essential. It gives the decorative layer its durability and determines how easily the counter can be cleaned. Apply it only after the underlying coats have dried for the time specified by the manufacturer. Rushing between coats can trap moisture or create a soft finish.
Even with a good sealer, treat a painted countertop with reasonable care. Use cutting boards, trivets, and trays. Wipe spills promptly, avoid abrasive scrubbers, and do not assume that a cured coating is immune to hot pans or prolonged standing water. Pay special attention to sink edges and seams, where water can work underneath the coating.
Option Two: Use a Countertop Refinishing Kit
A refinishing kit is essentially a more structured version of painting. It may include a bonding primer, decorative coating, texture materials, and a clear protective layer. Kits are useful when you want a coordinated process and a finish that feels more substantial than a simple paint job.
Some systems mimic granite or other stone by using colored chips broadcast over a wet base coat. Others create a smooth solid finish. The advantage is consistency: the materials are selected to work together, and the instructions usually explain how much product to apply and how long to wait.
The tradeoff is that kits require careful timing. You may need to complete multiple stages in one day, while also maintaining the room’s temperature and ventilation. Decorative chips can be messy, and sanding or scraping excess material may be part of the process. Read the entire instruction sheet before opening the first container.
A refinishing kit is a particularly good choice when the old laminate pattern is the main problem. A busy imitation stone design can be difficult to cover with a single coat of paint, while a chip-based system provides enough texture and variation to obscure it. It can also visually soften minor imperfections that would remain obvious beneath a flat solid color.
Option Three: Cover It With a Laminate Overlay
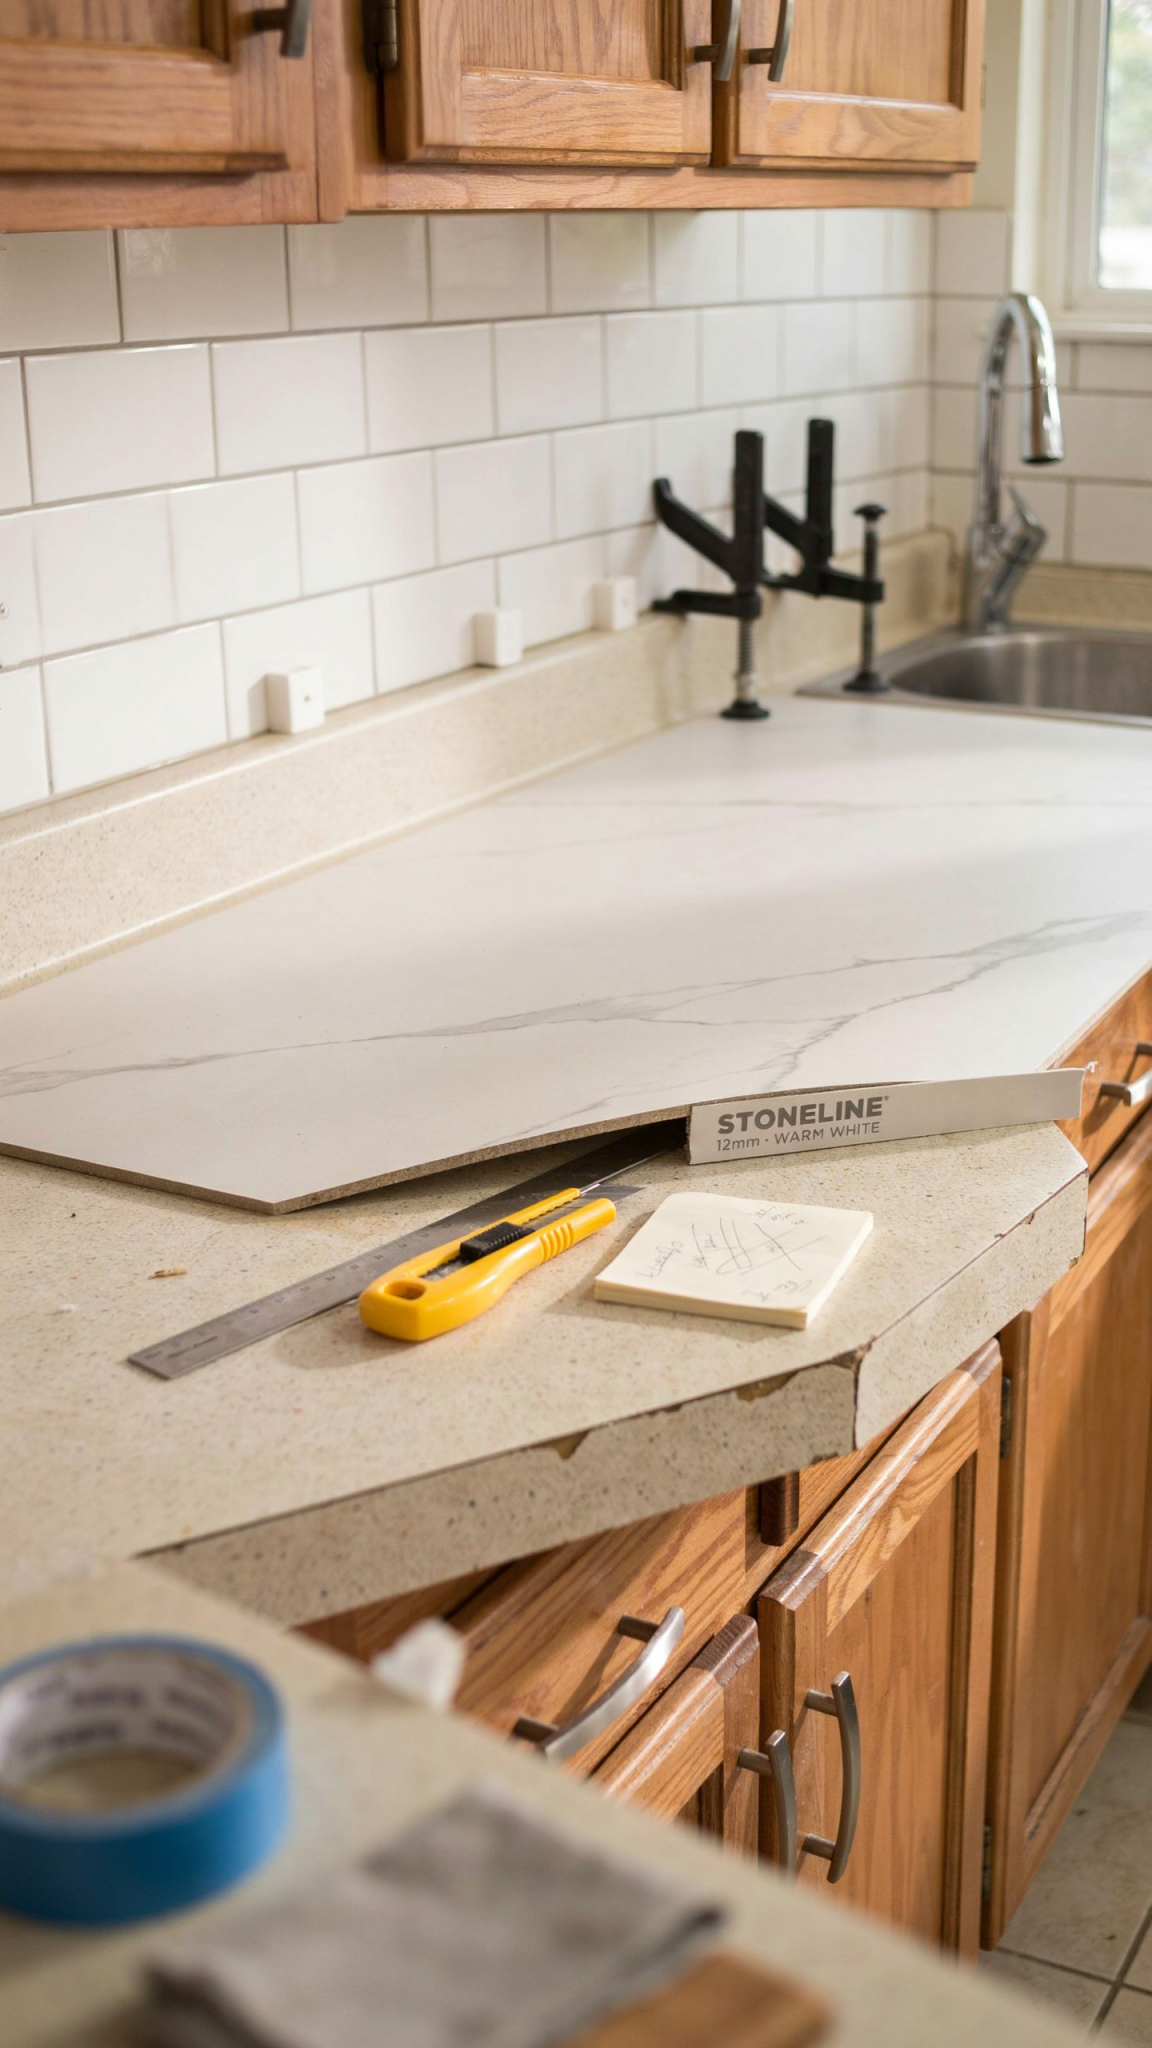
If you like the idea of a new laminate countertop but do not want to remove the cabinets, a laminate overlay may be the most balanced option. In this approach, a new sheet of decorative laminate is bonded over the existing countertop. The old surface must be firmly attached, flat, dry, and clean.
New laminate is available in contemporary solid colors, wood looks, subtle stone patterns, and textured finishes. It can transform a dated counter without the weight, cost, or installation complexity associated with many stone materials. You will still need to address edges, cutouts, seams, and the backsplash, so this is more involved than painting.
A successful overlay depends on accurate measuring and cutting. The sheet must be positioned carefully, because contact adhesive generally bonds quickly and does not allow much repositioning. Professionals often use dowels or spacers while aligning the sheet, then press it down gradually with a roller. Trim routers and specialized files help create clean edges, but those tools require practice.
If you are comfortable with detailed carpentry, a laminate overlay can be a rewarding project. If you are not, consider paying for installation while saving money on the material. A beautifully selected laminate installed accurately can look far more sophisticated than an expensive material installed poorly.
Option Four: Replace the Countertop, Not the Cabinets
Sometimes the best answer is a straightforward replacement. You do not have to remodel the whole kitchen simply because the countertop is ugly. If the cabinet boxes are sturdy, the layout works, and the doors are acceptable, a new countertop can deliver a major visual change while preserving the rest of the room.
Replacement laminate tops are usually the most economical route, but butcher block, solid surface, tile, and stone may also be possibilities depending on your budget and the cabinet structure. Consider the total project rather than the price of the slab or sheet alone. The cost may include demolition, disposal, sink removal, plumbing adjustments, backsplash work, new edging, delivery, and installation.
Before ordering, measure the existing top carefully and identify every cutout. Note the location of walls that are not perfectly square, exposed ends, peninsulas, islands, seams, and appliances that must fit beneath the counter. A small measurement error can create a large installation problem.
Replacement also gives you an opportunity to correct functional issues. You might extend a short overhang, add a more useful landing area beside the range, replace an outdated integrated backsplash, or choose a sink configuration that is easier to clean. Design improvements are often more valuable than simply selecting a prettier color.
Option Five: Add a Wood Countertop or Butcher Block
Wood can make a tired kitchen feel warmer immediately. A butcher-block top adds texture, visual softness, and a material contrast that works well with painted cabinets, white cabinets, and many vintage kitchens. It may also be available in manageable lengths for a do-it-yourself installation.
Wood is not maintenance-free. It must be sealed and maintained according to the finish system, and areas around sinks require particular attention. Standing water, neglected seams, and repeated exposure to heat can damage the surface. A wood counter is best for someone who appreciates a material that develops character and is willing to perform periodic maintenance.
Think carefully about where wood is used. It can be a strong choice for an island or breakfast counter while a more water-resistant material remains near the sink. This mixed-material approach can make a renovation look custom rather than budget-driven.