

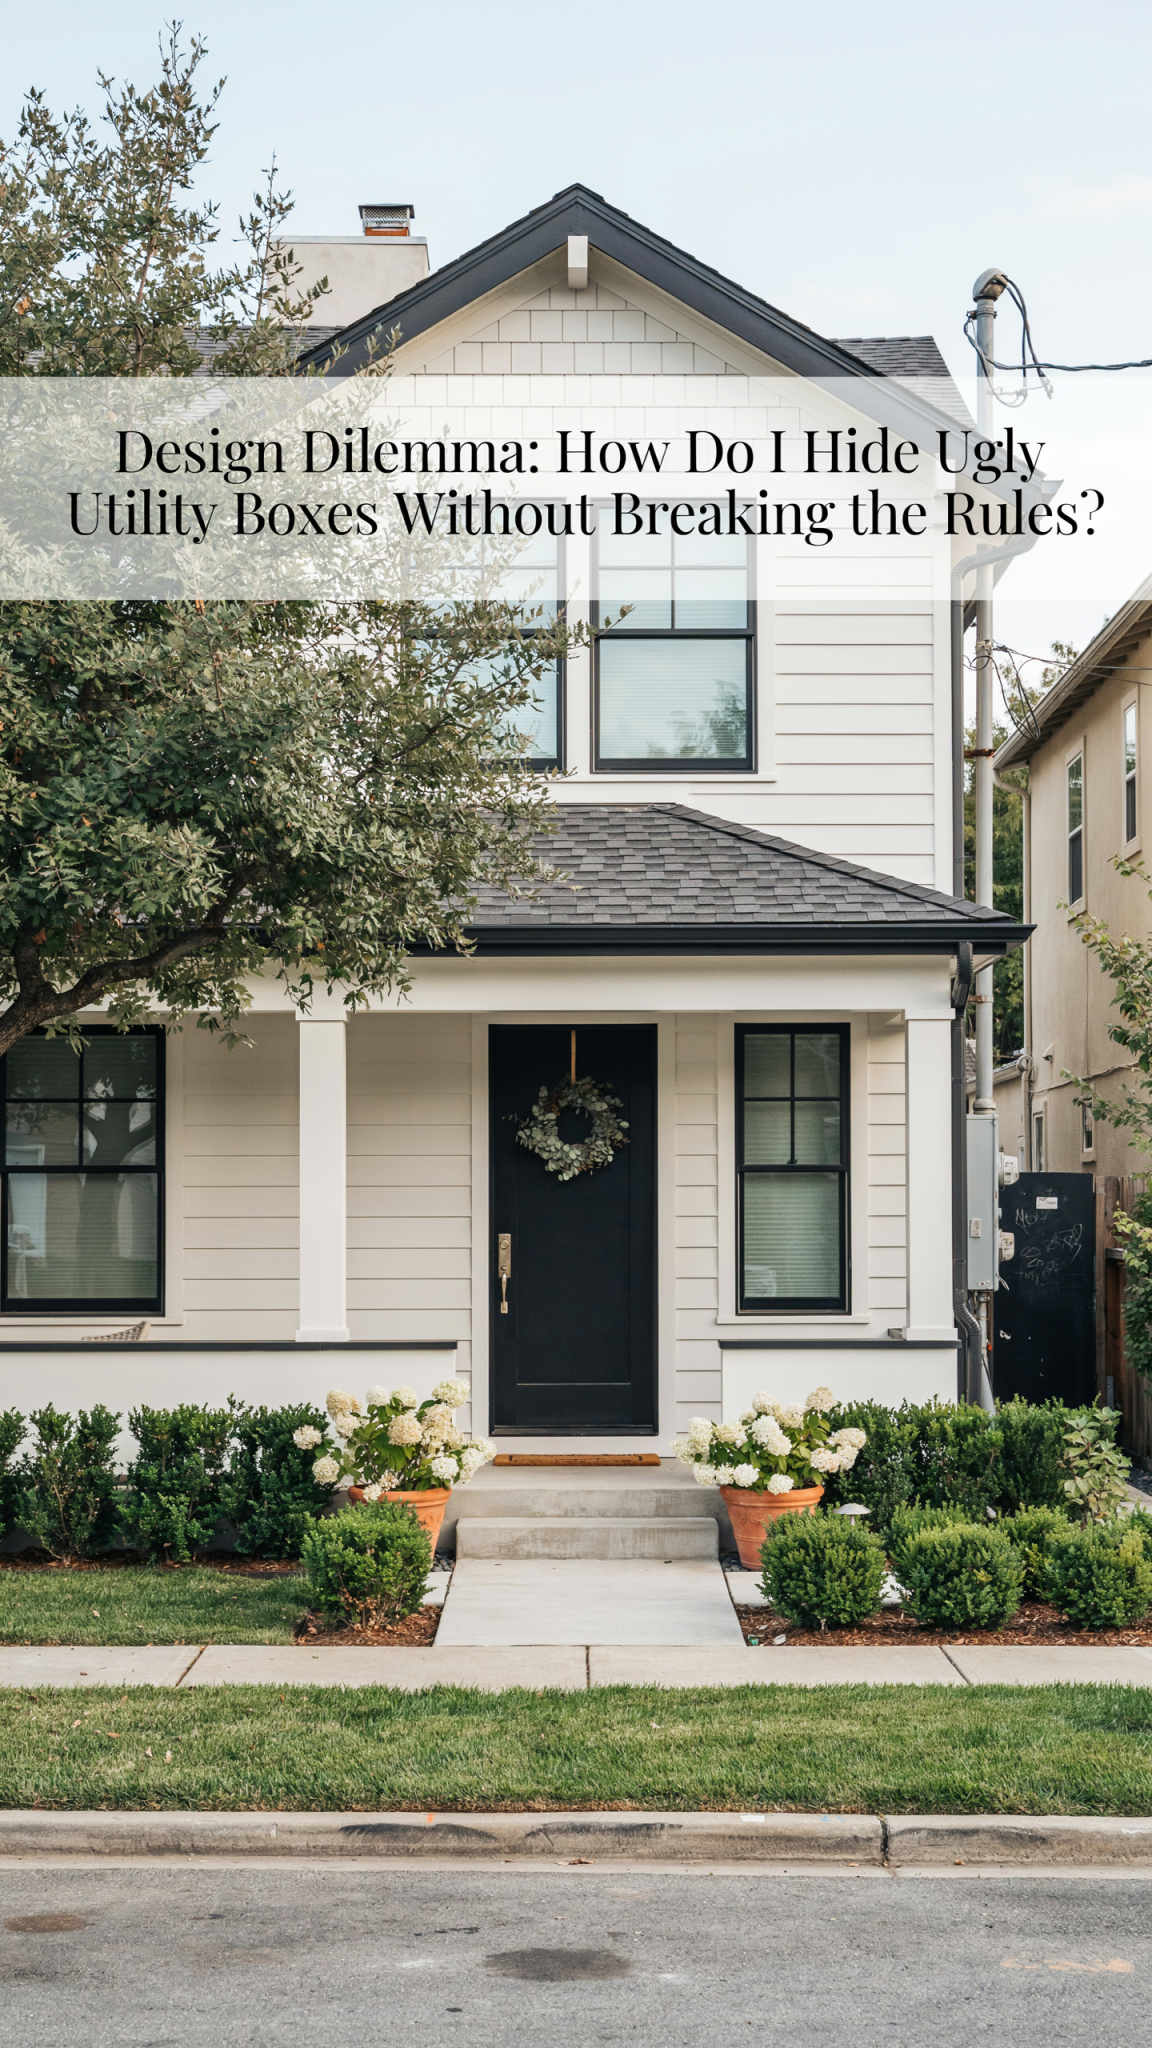
A well-planned exterior can make a modest home feel intentional: a front walk framed by planting, a tidy side yard, a porch that draws the eye toward the door rather than the mechanical necessities beside it. Then there is the unavoidable interruption that is a beige transformer, a utility meter, a cable enclosure, a service panel, or a collection of conduits that seems to have been designed by someone actively opposed to curb appeal.
The urge to make these boxes disappear is understandable. The better design question, though, is not “How can I hide it completely?” It is “How can I make it recede visually while keeping it safe, readable, reachable, and within the rules?” That distinction is the difference between a landscape solution that feels polished for years and one that must be cut back, dismantled, or removed in a hurry when a technician needs access.
Please note that this guide is not a substitute for the written instructions of your utility, local building department, property manager, homeowners’ association, or a qualified tradesperson! Equipment ownership, clearances, easements, and permit requirements are different based on location and equipment type. But the design principles are surprisingly consistent: do not cover, alter, lock away, obstruct, bury, or make a technician hunt for essential equipment. Build a composition around the utility box, not a disguise over it.
First, Stop Calling Every Box the Same Thing
“Utility box” is a useful design shorthand, but it is not a useful planning category. A green ground-level transformer, a gas meter, an electric meter, a telecom enclosure, an irrigation controller, an outdoor condenser, and an interior electrical panel can all look like a visual nuisance. They are governed by different owners, safety considerations, and access needs.
Start by identifying the item before buying a planter or planting a single shrub. Look for a utility logo, an asset number, warning labels, meter dials, ventilation slots, or a service disconnect. Take photographs from several angles and note whether the equipment is mounted on the house, freestanding, pad-mounted, or installed near a property line. If the equipment belongs to a utility, assume you may not alter it. If it belongs to your house, it may still be subject to manufacturer instructions, electrical or mechanical code, and inspection requirements.
A simple classification step prevents the most common expensive error: treating working infrastructure as outdoor décor. Electrical equipment needs clear working room, a usable approach, and a door or panel that can open properly. The exact requirements are determined locally and can vary by equipment type, but the design lesson is universal—the access route is part of the equipment.
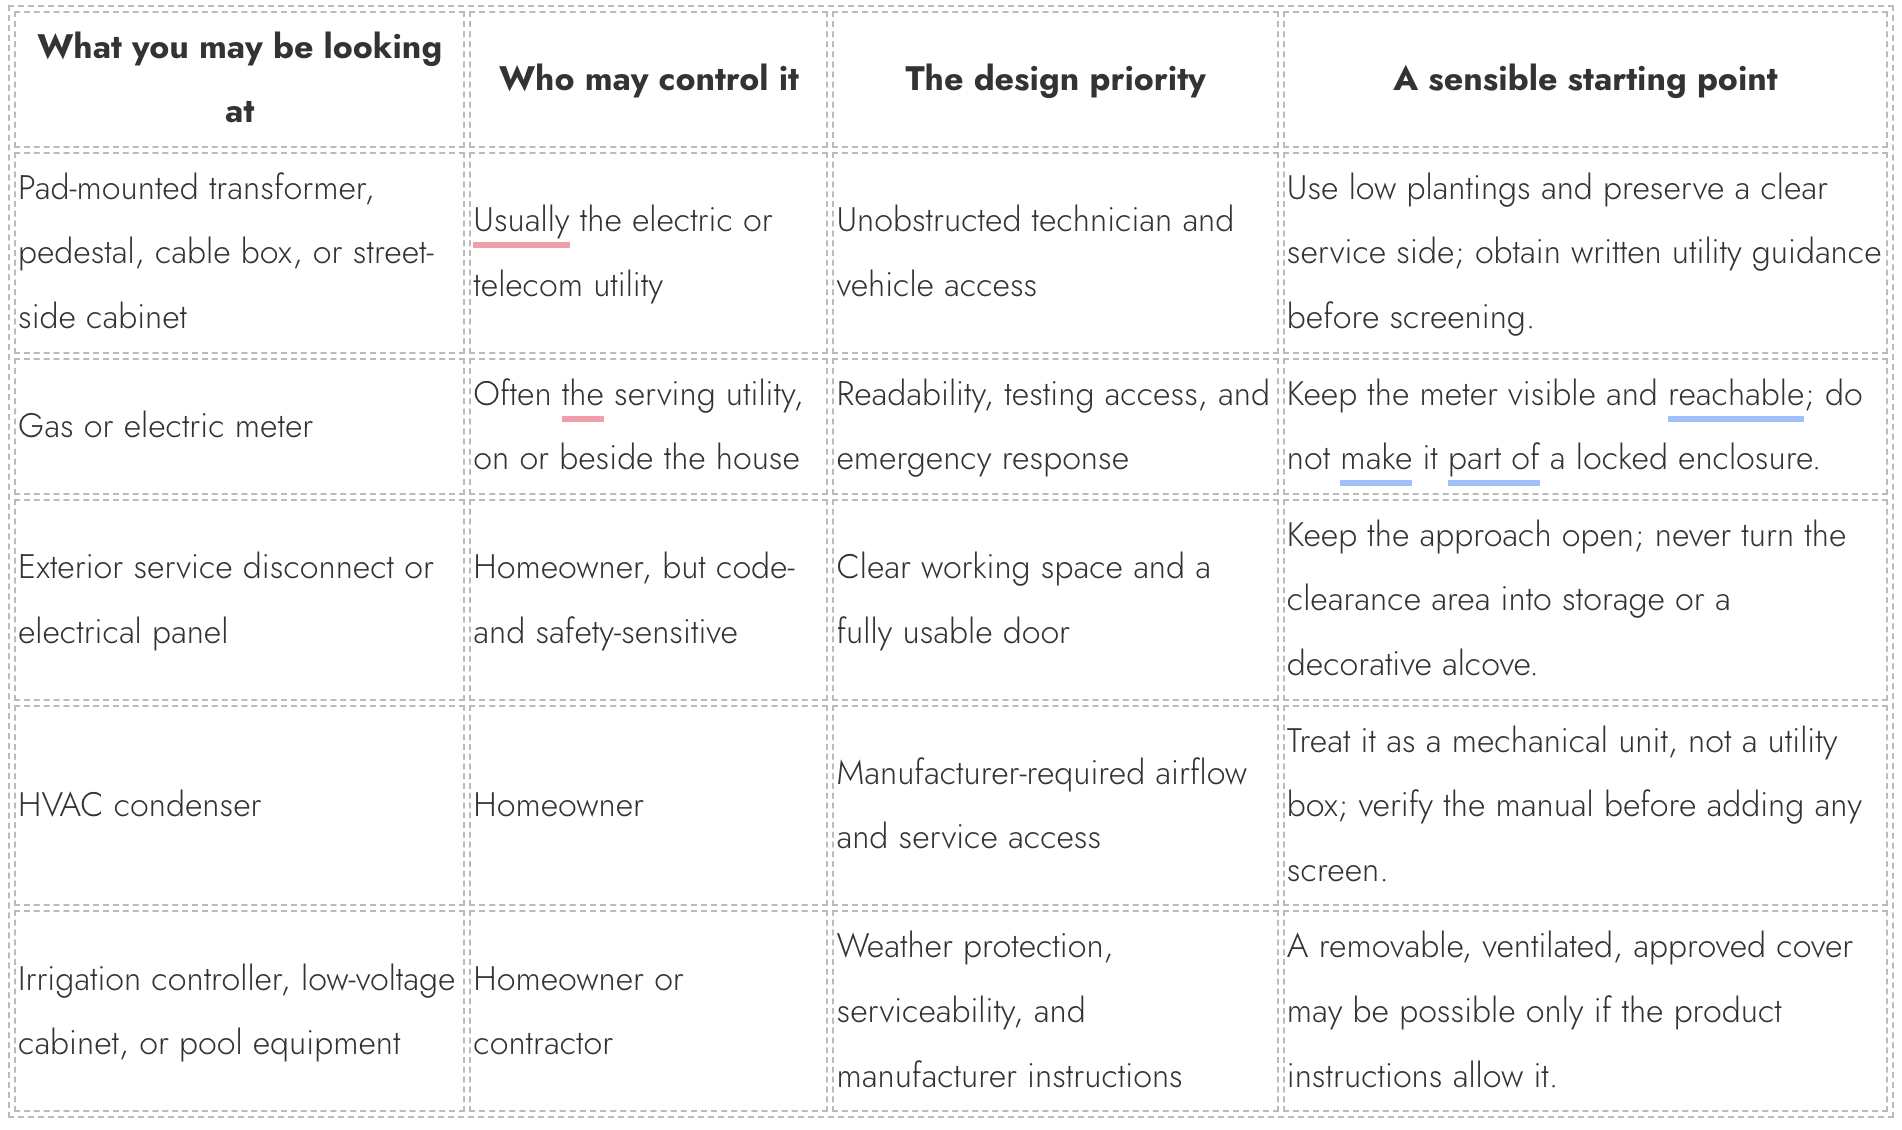
The table is deliberately cautious. It is better to learn that a screen is not allowed before a weekend project than after a service crew removes it during an outage.
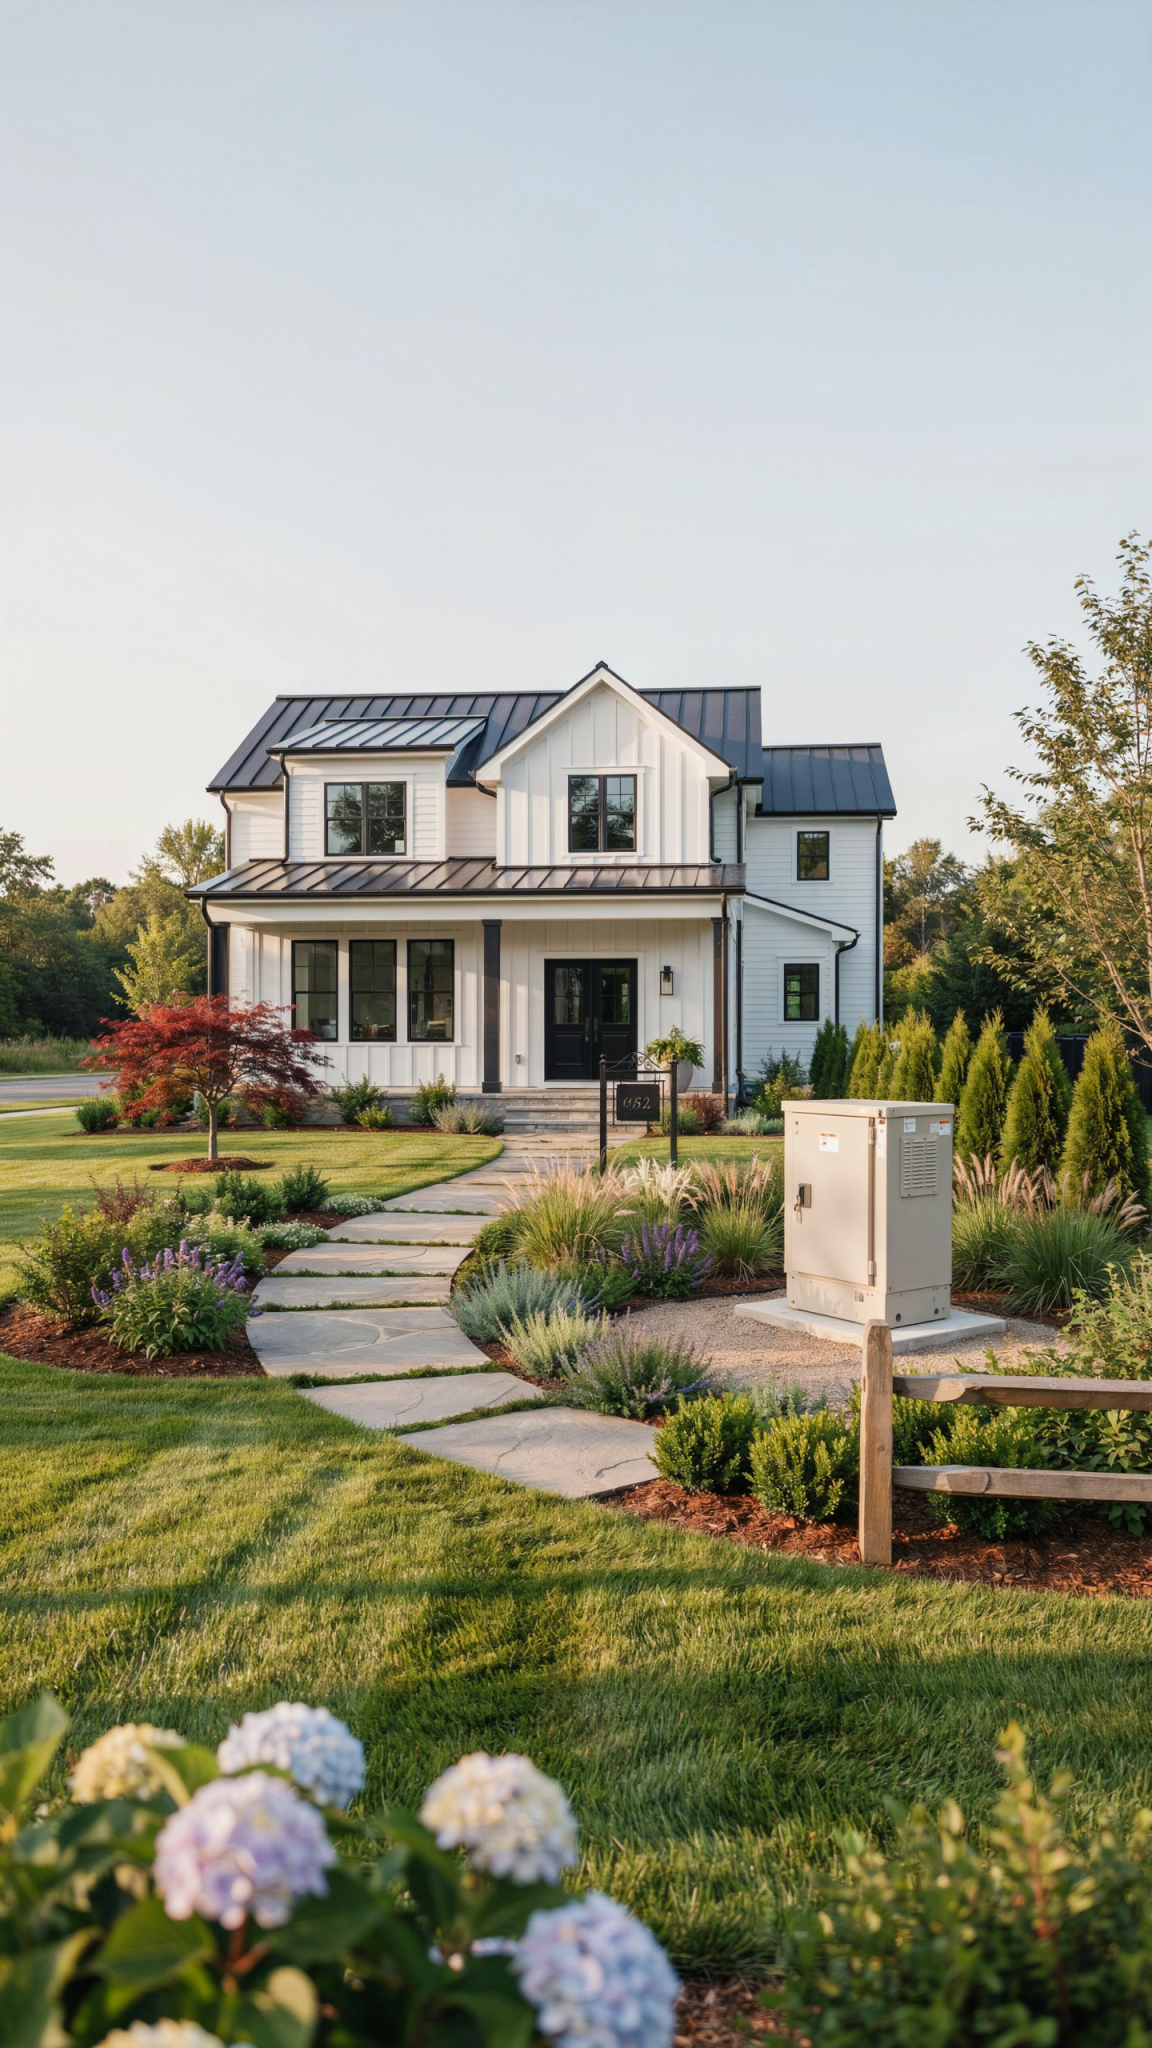
The Rule That Makes the Design Work: Camouflage, Not Concealment
The most successful treatments shift attention without blocking the asset. Think of a utility box as the visual equivalent of a downspout: it does not need to be the centerpiece, but it does need to remain legible and functional. Camouflage uses depth, texture, color relationships, and sightlines. Concealment relies on barriers, lids, fake rocks, dense shrubs, and locked structures. The first is a design strategy. The second is frequently an access problem.
That difference matters during an emergency, routine meter reading, repair, or replacement. Utilities often prefer plantings that soften equipment rather than hide it outright, and they may prohibit covers, dense barriers, or landscaping that blocks a technician’s path. Their clearance requirements can differ substantially from place to place. That is why a “standard” Pinterest solution may not be acceptable at your home.
A good mental test is this: Could a technician identify the equipment immediately, approach it with necessary tools, open it fully, and leave without moving, cutting, unlocking, or damaging my design? If the answer is not an uncomplicated yes, revise the plan.
Design the View, Not a Fortress
A box becomes visually loud when it sits alone against a blank wall or in the middle of a clipped lawn. The solution is often not height. It is context.
Begin from the vantage points that matter: the front sidewalk, the drive, the living-room window, the patio chair, and the approach to the front door. Stand at each point and ask what the eye reaches first. If the box is isolated, create a visual field around it rather than a physical barrier in front of it. A shallow planting bed, a change in ground texture, a small specimen tree placed well outside required clearances, or a larger focal object elsewhere in the composition can all rebalance attention.
The most dependable landscape formula is low in front, layered at the sides, and open at the service face. Ornamental grasses, perennials, and groundcovers provide soft movement and seasonal interest without pretending the box does not exist. Low, mounded plants can shape a loose “frame” around an installation while preserving a deliberate access corridor. Choose species by their mature dimensions, not their nursery-pot size; the charming one-gallon shrub is a future clearance violation if it wants to become a six-foot hedge.
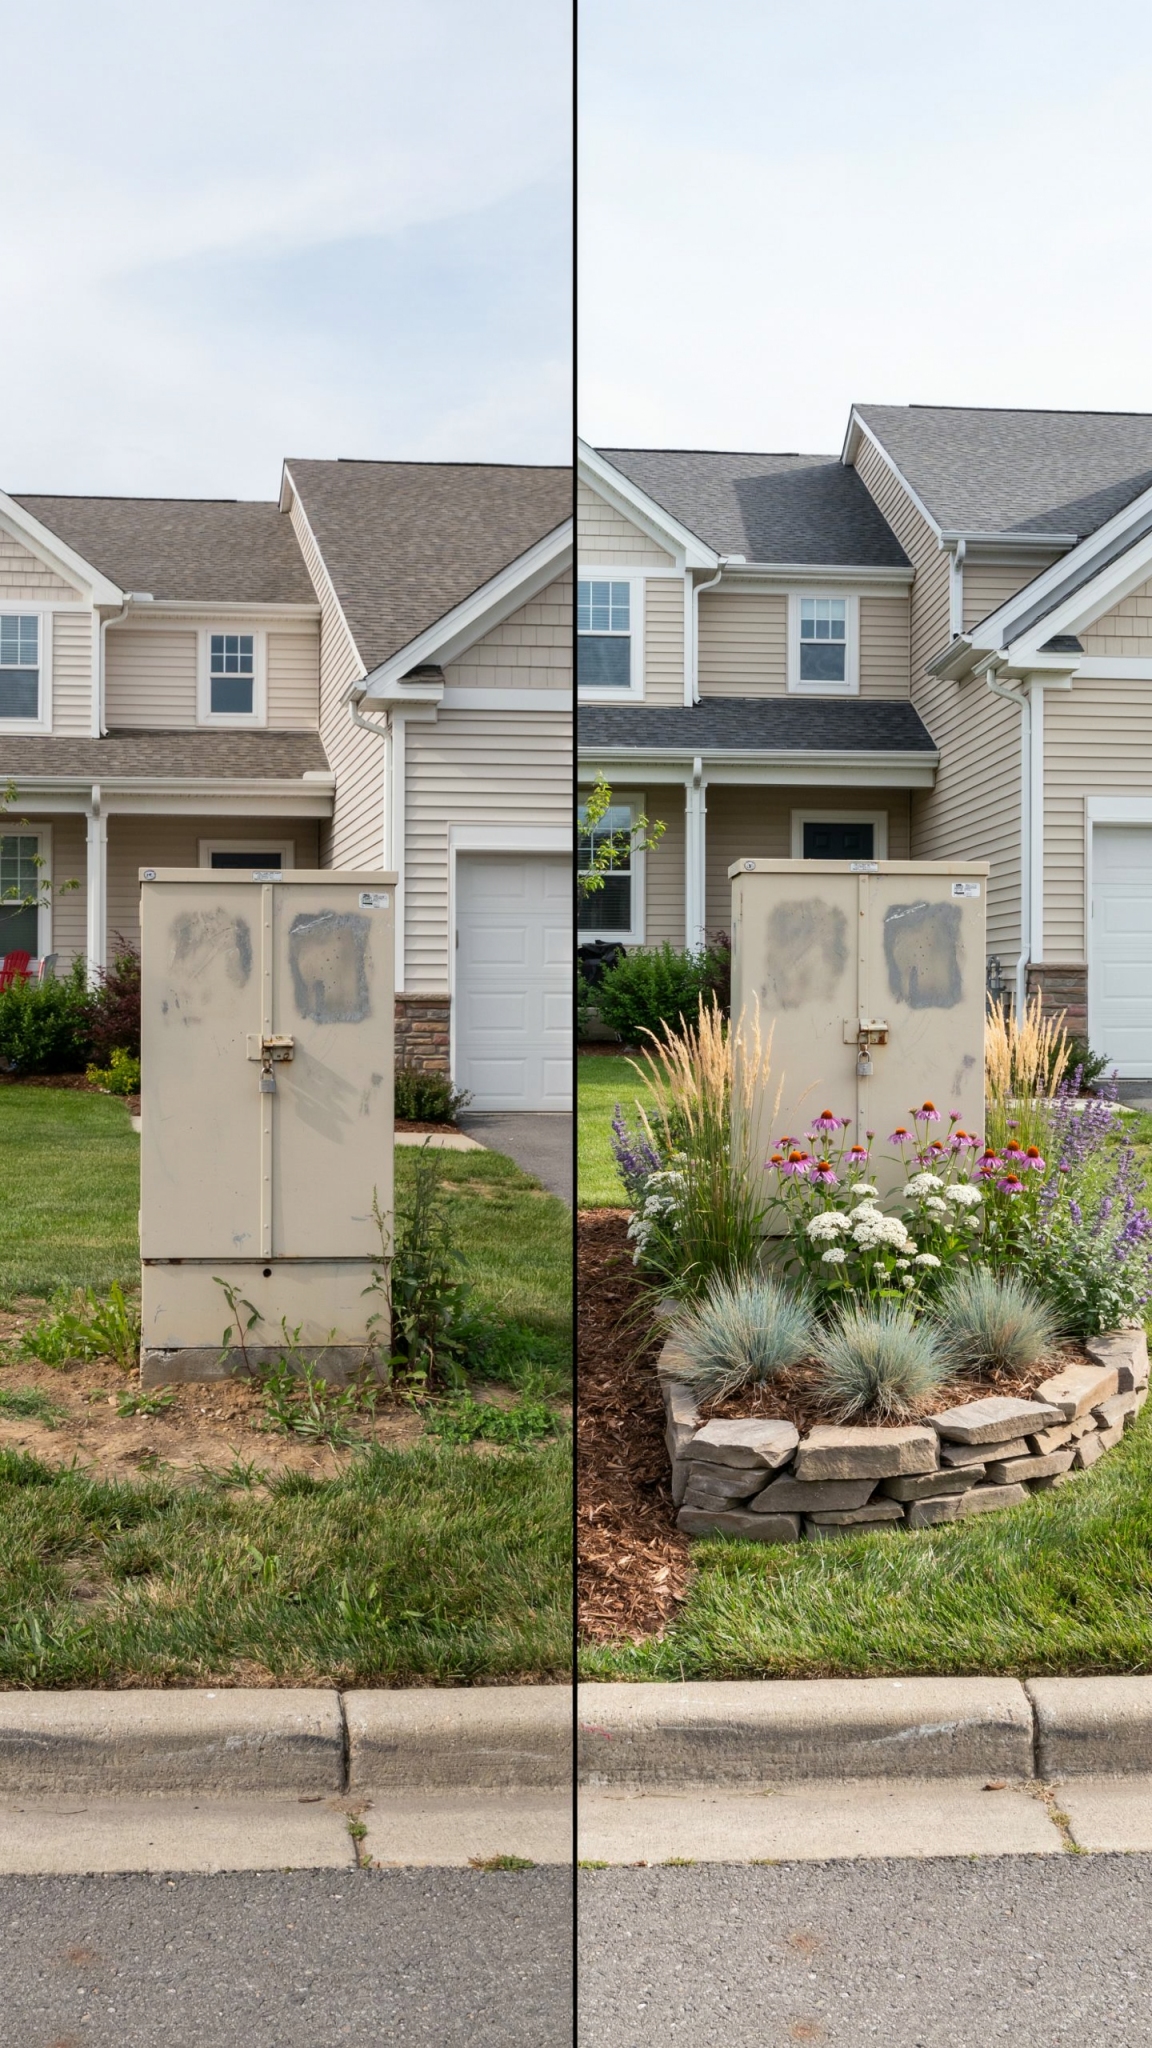
For a contemporary garden, repeat the same few plants in a restrained palette: silvery grasses, deep green evergreen mounds, and white or pale lavender flowering perennials. This makes the equipment recede into a broader rhythm. A cottage-style border can use softer forms—salvia, catmint, hardy geranium, yarrow, or compact roses—so long as the plants stay within the approved zone at maturity. In a hot, dry setting, sculptural succulents or low water-wise grasses can do the same job. The style changes; the access logic does not.
Avoid making the box the literal center of a circular bed, a symmetrical topiary moment, or a dramatic garden feature. Those approaches advertise its location. Instead, let the planting bed extend beyond the equipment so it reads as a landscape decision rather than an apologetic patch.
Screens Can Be Beautiful If They Are Genuinely Removable and Approved
A screen is the solution most homeowners picture first: horizontal cedar slats, black metal panels, lattice, a short fence, or a trellis. Screens are not automatically wrong. They are simply high-risk because they can turn a maintenance route into an obstacle.
Before building anything, get the equipment owner’s requirements in writing. Ask specifically about clearance on each side, the service face, overhead access, gate width, whether a technician needs line-of-sight visibility, and whether freestanding or removable screening is allowed. Do not rely on a neighbor’s installation, a salesperson’s assurance, or a generic internet diagram. The answer may be “no screen,” “screen only on particular sides,” or “screen permitted if it can be removed.” Those distinctions shape the project.
Where an approved screen is permitted, design it as part of the landscape rather than as a tiny utility corral. Keep it outside the required clear zone. Use a panel that can be lifted off posts or a gate that opens completely and does not require a key, provided the utility specifically allows it. Match the screen to an existing architectural element like a porch railing, fence stain, window trim, or a garden gate so it feels like an extension of the property. A screen that looks like a miniature dumpster enclosure usually draws more attention than the equipment it was meant to disguise.
Choose durable, low-maintenance materials. Narrow horizontal slats can look refined but collect debris and may need repeated refinishing. Powder-coated metal is crisp and long-lasting but can feel severe next to a cottage garden. Painted wood offers color flexibility but requires upkeep. A simple open-frame panel combined with planting often gives the best result because it visually breaks up the object without creating a sealed enclosure.
There are several clear no-go signals. Do not pour footings, set permanent posts, add a retaining wall, change the grade, or install a fence within an easement or a required equipment zone without written authorization. These changes can interfere with access and may create safety or reliability issues. A utility easement is not unused garden space; it is an area where the utility may have rights to enter and work. If access is needed, landscaping or structures may be removed, often without the aesthetic restoration a homeowner would expect.
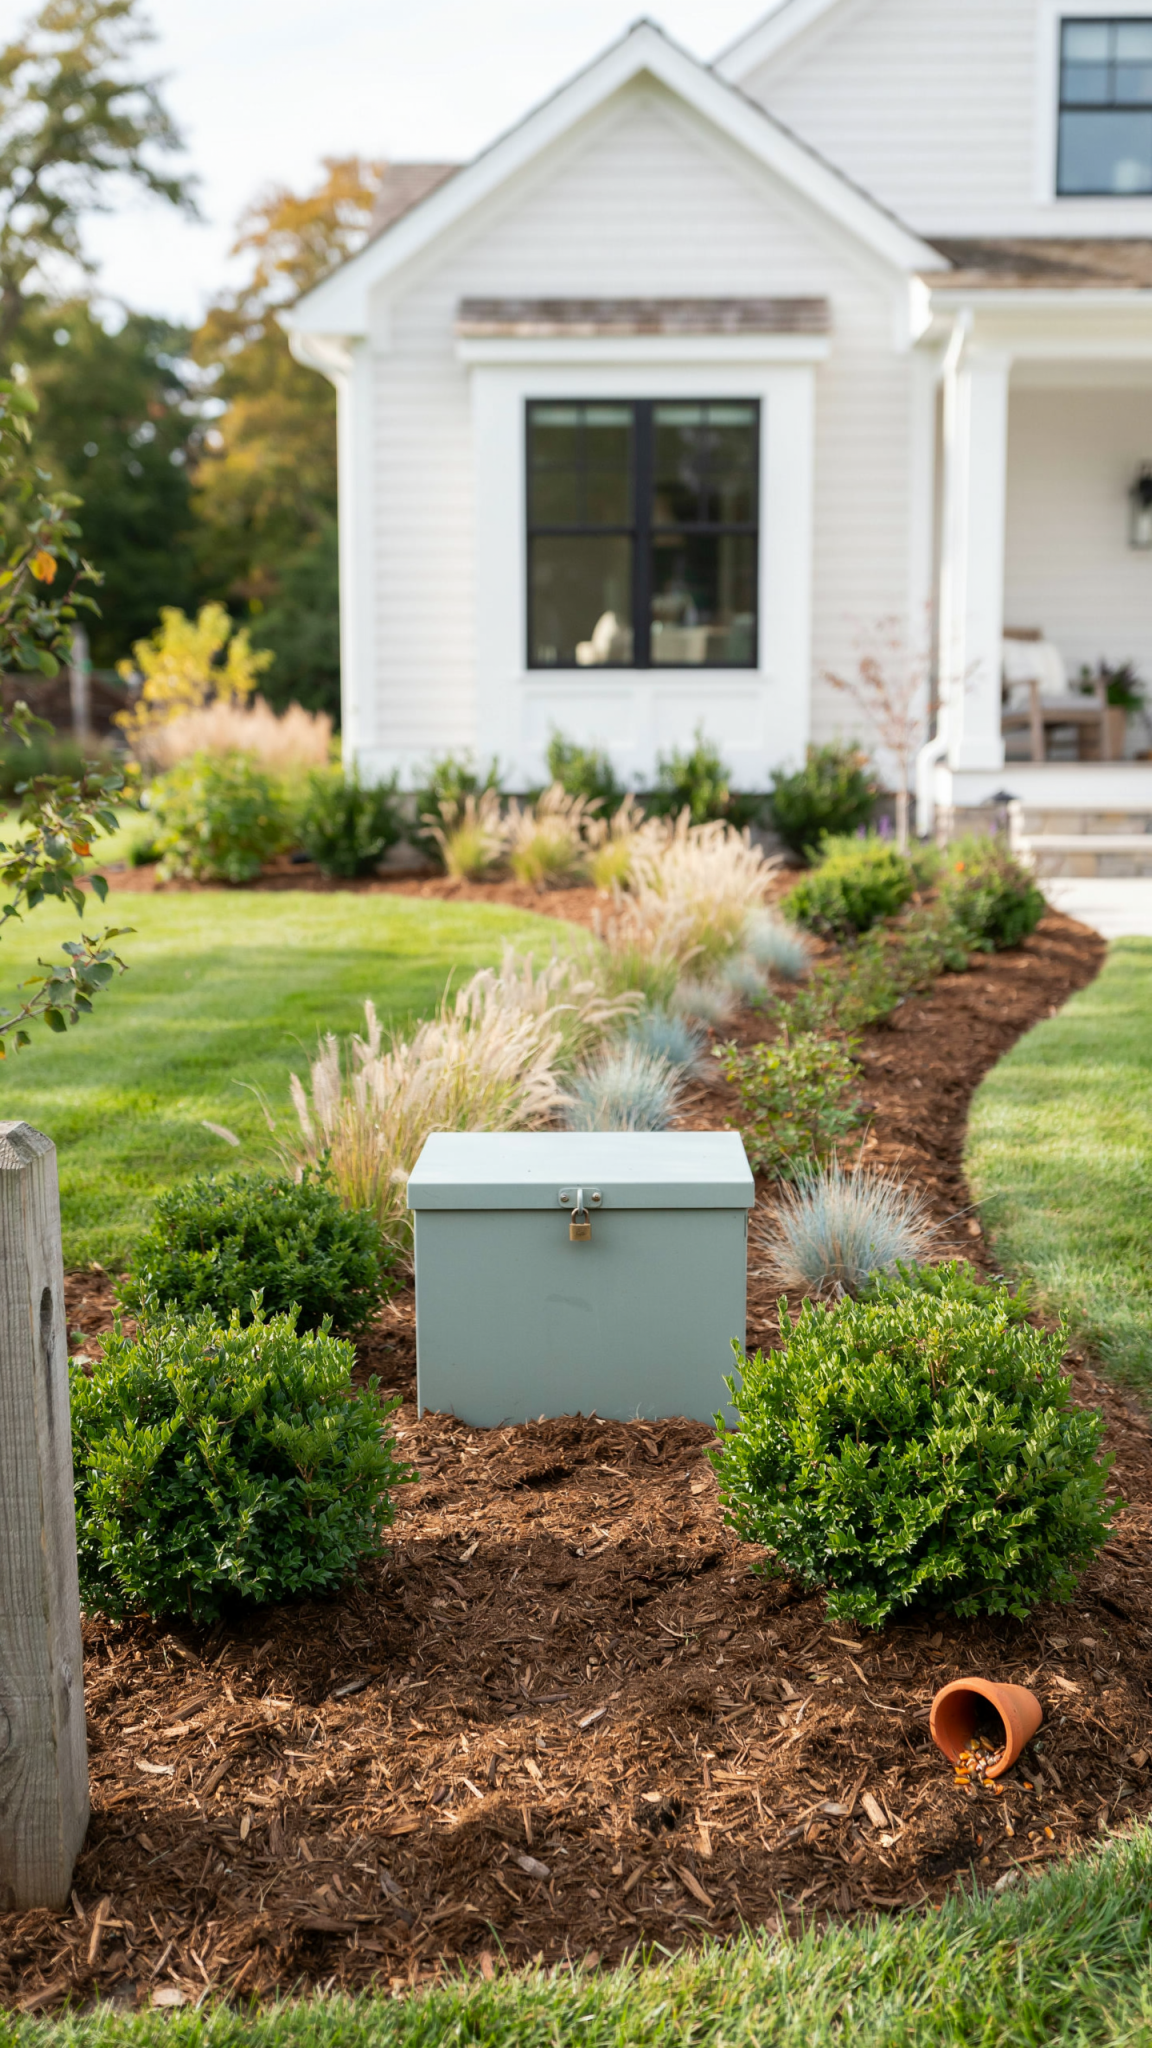
A Better Toolbox: Five Ways to Make the Box Recede
The best projects usually combine several quiet moves rather than depend on a single dramatic cover-up.
- Create a generous planting bed. Replace a lonely square of mulch with a bed that connects to another landscape feature. Bring the eye across the property with repeated plants, edging, and mulch; do not force it to stop at the equipment. Reserve the required access zone as a clean, clearly intentional gap.
- Use texture before height. Fine grasses, broad-leafed perennials, gravel, bark mulch, and stone edging soften a hard metal rectangle. These low layers are particularly useful near equipment because they provide visual complexity without creating a wall of foliage.
- Redirect attention with a legitimate focal point. A handsome address plaque, a specimen planter placed safely away from equipment, a well-designed front door, or a flowering tree in a properly located bed gives the eye something better to notice. The goal is not distraction through clutter; it is hierarchy. In good landscape design, the front entry, a view, or an architectural feature should outrank a meter.
- Coordinate the background. If the installation is on a house wall, a thoughtful exterior paint scheme can make the surrounding elevation feel calmer. Paint the wall or nearby trim—not utility-owned equipment, labels, dials, vents, conduits, or locks. Changing the box itself may be prohibited, can obscure safety information, and can complicate maintenance. When in doubt, leave the equipment untouched.
- Make maintenance part of the aesthetic. A pruned, healthy border reads as intentional; an overgrown thicket reads as neglect. Leave room for a trimmer, preserve the access path, and choose plants that do not demand constant battle with the clear zone. The more a design relies on aggressive pruning to remain compliant, the less successful it is.
What Not to Do, Even If It Looks Good Online
The internet is full of polished before-and-afters that hide the part no photograph shows: a service door that cannot open, a meter reader who cannot reach the dial, vents clogged by a decorative cover, or a utility crew forced to remove a beautiful fence panel. Resist the solutions that work only at reveal-photo distance.
Fake boulders are a common example. They seem tailor-made for the task, but a cover can delay identification and create a place for pests, moisture, or debris. The same caution applies to oversized outdoor storage cabinets, hinged “utility closets,” dense ivy, stacked firewood, trash bins, composters, and tall planters. A planter on wheels is not a safe workaround if someone must move it before reaching an emergency disconnect.
Vines deserve special suspicion. They can make a box disappear for a season, then entangle hinges, covers, labels, meters, and adjacent conduit. Thorny shrubs may be beautiful, but they are especially unfriendly around equipment that people must service quickly. Consider staff access a real client requirement, just as you would drainage or sun exposure.
Do not use visual language that confuses safety. A decorative cabinet that resembles a shed, a locked gate with no authorized utility access, or an opaque cover that hides warning labels can create delay at exactly the wrong time. The strongest design is not the one that makes a box invisible. It is the one that makes its presence unobtrusive to guests and obvious to the people who need it.
Plan in the Right Order: Permissions, Measurements, Then Plants
A small amount of administrative work saves a surprising amount of landscape drama. First, identify the equipment and contact the owner such as utility, telecom provider, landlord, association, or contractor. Request the current written installation, landscaping, and access requirements for your equipment and address. If you are in a managed community, check architectural rules before buying a screen or changing a visible portion of the yard. If you rent, obtain written permission from the owner; a good idea can still violate a lease or create liability.
Next, look for easements on your survey, title materials, or municipal records. Do not assume that because you mow a strip of ground, you have unrestricted freedom to build on it. Then measure the location and sketch a basic plan showing the equipment, doors, vents, existing lines, property boundaries, proposed plants at mature spread, and the clear service area. This is not overkill. It converts an attractive impulse into a workable design brief.
Before excavation, call or click 811 in the United States a few business days ahead. This applies to seemingly harmless work such as planting trees and shrubs, installing edging, setting posts, or digging planting holes. Wait for all required responses, respect the markings, and adjust the plan if underground infrastructure makes the original layout unsafe or impractical.
If the project involves an exterior service panel