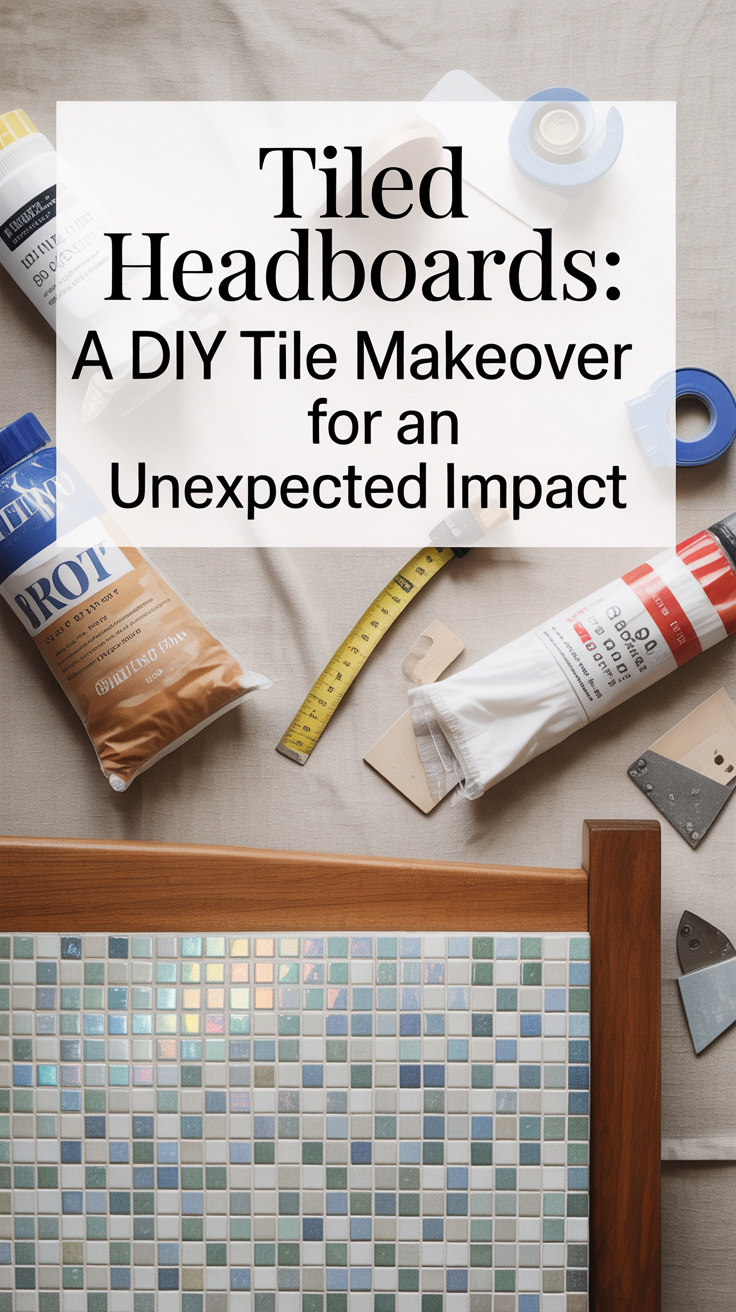
Whether you’re drawn to the handcrafted charm of Moroccan zellige tiles or the bold patterns of encaustic designs, a tiled headboard can transform your sleeping space from ordinary to extraordinary. The best part? It’s totally doable as a DIY project.
Why Tiled Headboards Are Having a Moment
There’s something magical about introducing an unexpected material into a traditionally soft space. Tiled headboards bring a whole new dimension to bedrooms, literally and figuratively. Here’s why they’re creating such a buzz:
Visual Drama That Actually Works: Unlike fabric headboards that can look flat against the wall, tiles create depth and movement. The way light plays across different tile surfaces throughout the day means your headboard is constantly changing and evolving. It’s like having a piece of living art behind your bed.
Your Personal Style Statement: With the incredible variety of tiles available today, you can create something that’s completely you. Want a minimalist vibe? Go for large format neutral tiles. Feeling bohemian? Colorful Moroccan patterns are calling your name. Industrial aesthetic? Concrete-effect tiles will nail that look.
Practical Beauty: Let’s be honest – fabric headboards are dust magnets and stain collectors. Tiled headboards? A quick wipe-down and they’re good as new. They’re built to last and won’t show wear like their softer counterparts.
Architectural Impact: A well-designed tiled headboard doesn’t just sit behind your bed; it becomes part of the room’s architecture. It can make a small bedroom feel more substantial or help define the sleeping area in an open-plan space.
The Luxury Factor: There’s something inherently luxurious about custom tilework. Even though you’re doing it yourself, the end result looks like something a high-end designer would create. It’s that perfect mix of accessible and aspirational.
Choosing Your Tiles: The Stars of the Show
The tile you choose will make or break your headboard project. While you could technically use any tile, some types are particularly stunning for this application.
Zellige Tiles: Perfectly Imperfect
If you’ve ever been mesmerized by the tilework in a Moroccan riad, you’ve probably been looking at zellige. These handcrafted tiles are all about embracing imperfection, and that’s exactly what makes them so captivating.
What Makes Them Special: Each zellige tile is hand-cut and glazed, which means no two are exactly alike. The surfaces have subtle variations and the edges aren’t perfectly straight – and that’s the whole point. When light hits a zellige headboard, it creates this amazing shimmer and depth that changes throughout the day.
The glazes are incredible too. You can find everything from deep jewel tones to soft, earthy colors. Many have this beautiful translucent quality where you can see hints of the clay underneath (like the image below), adding even more character.
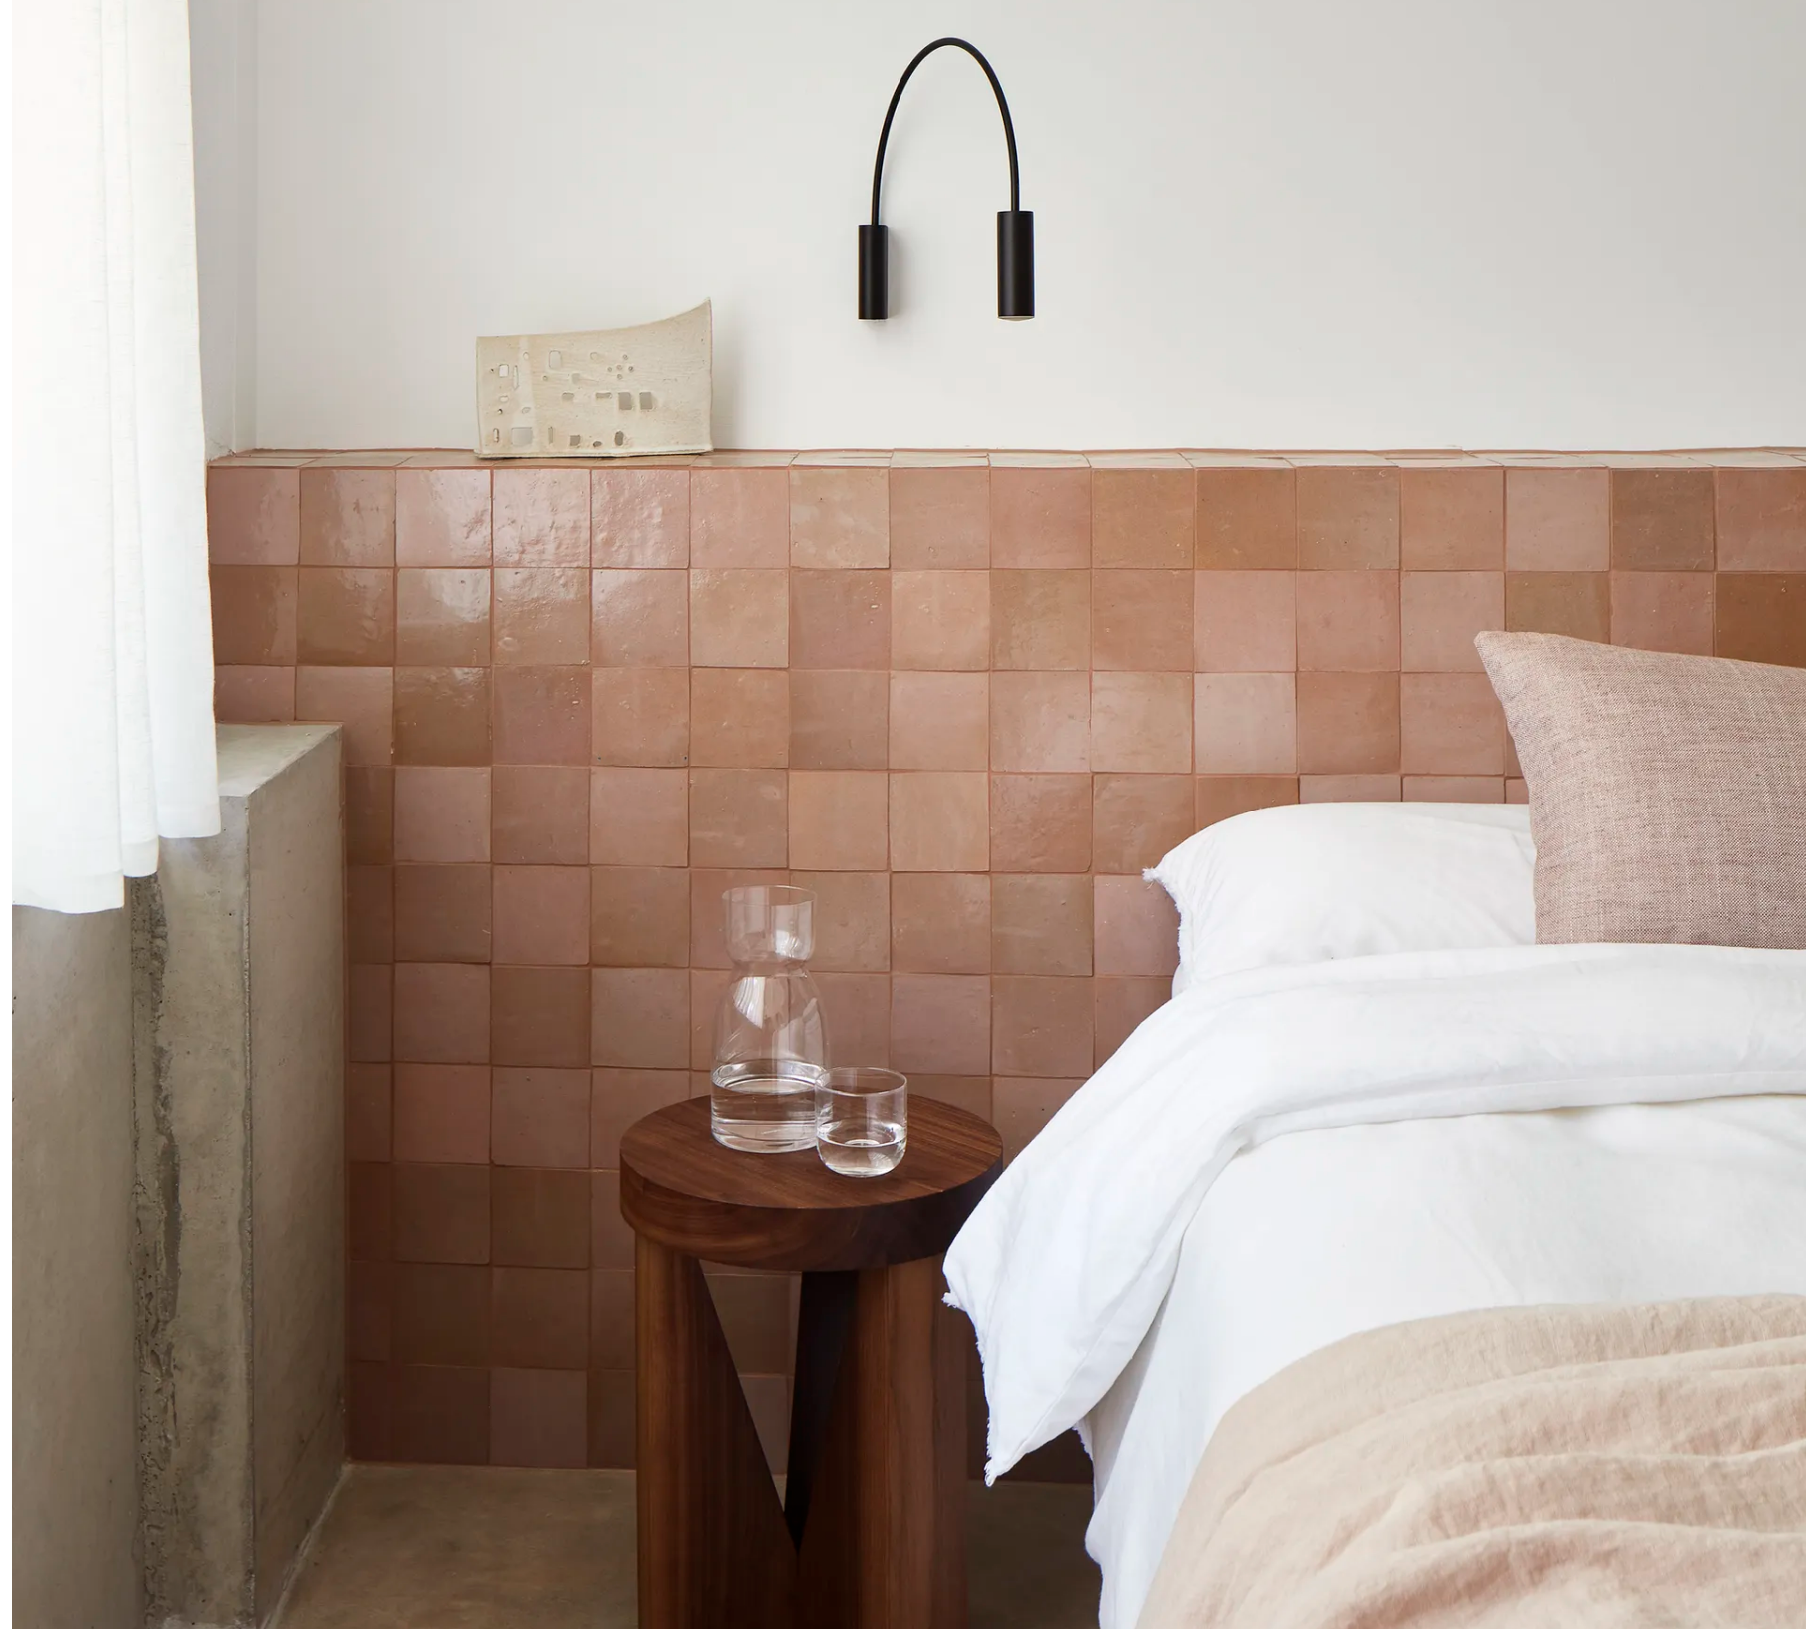
(Image credit: Jack Lovel. Design: IOTA)
Why They’re Perfect for Headboards: The irregular surfaces create visual texture that makes your headboard feel alive. Even if you choose a single color, the natural variations in the tiles ensure it never looks flat or boring. Plus, that glossy surface reflects light beautifully, which can make your bedroom feel more spacious and bright.
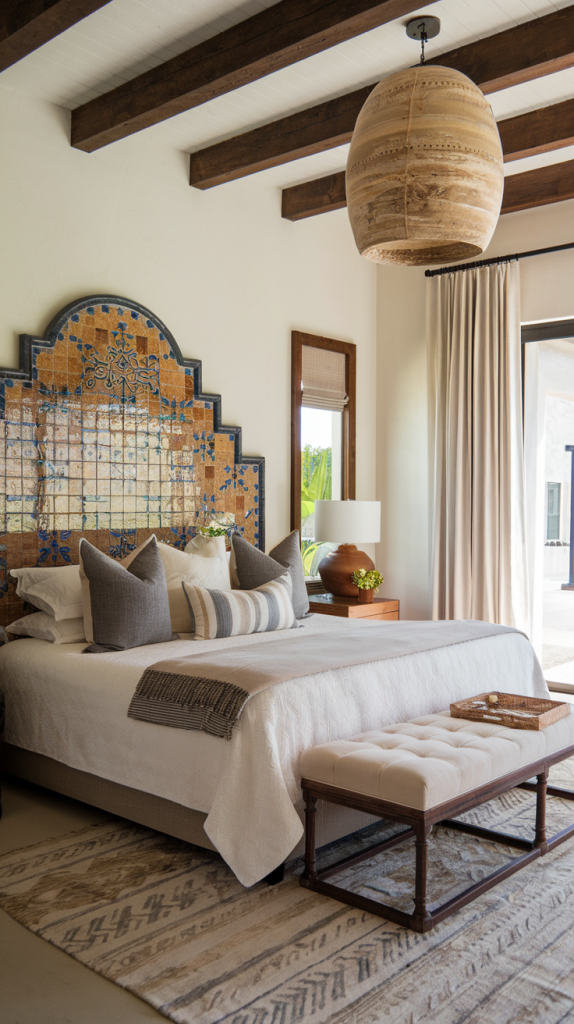
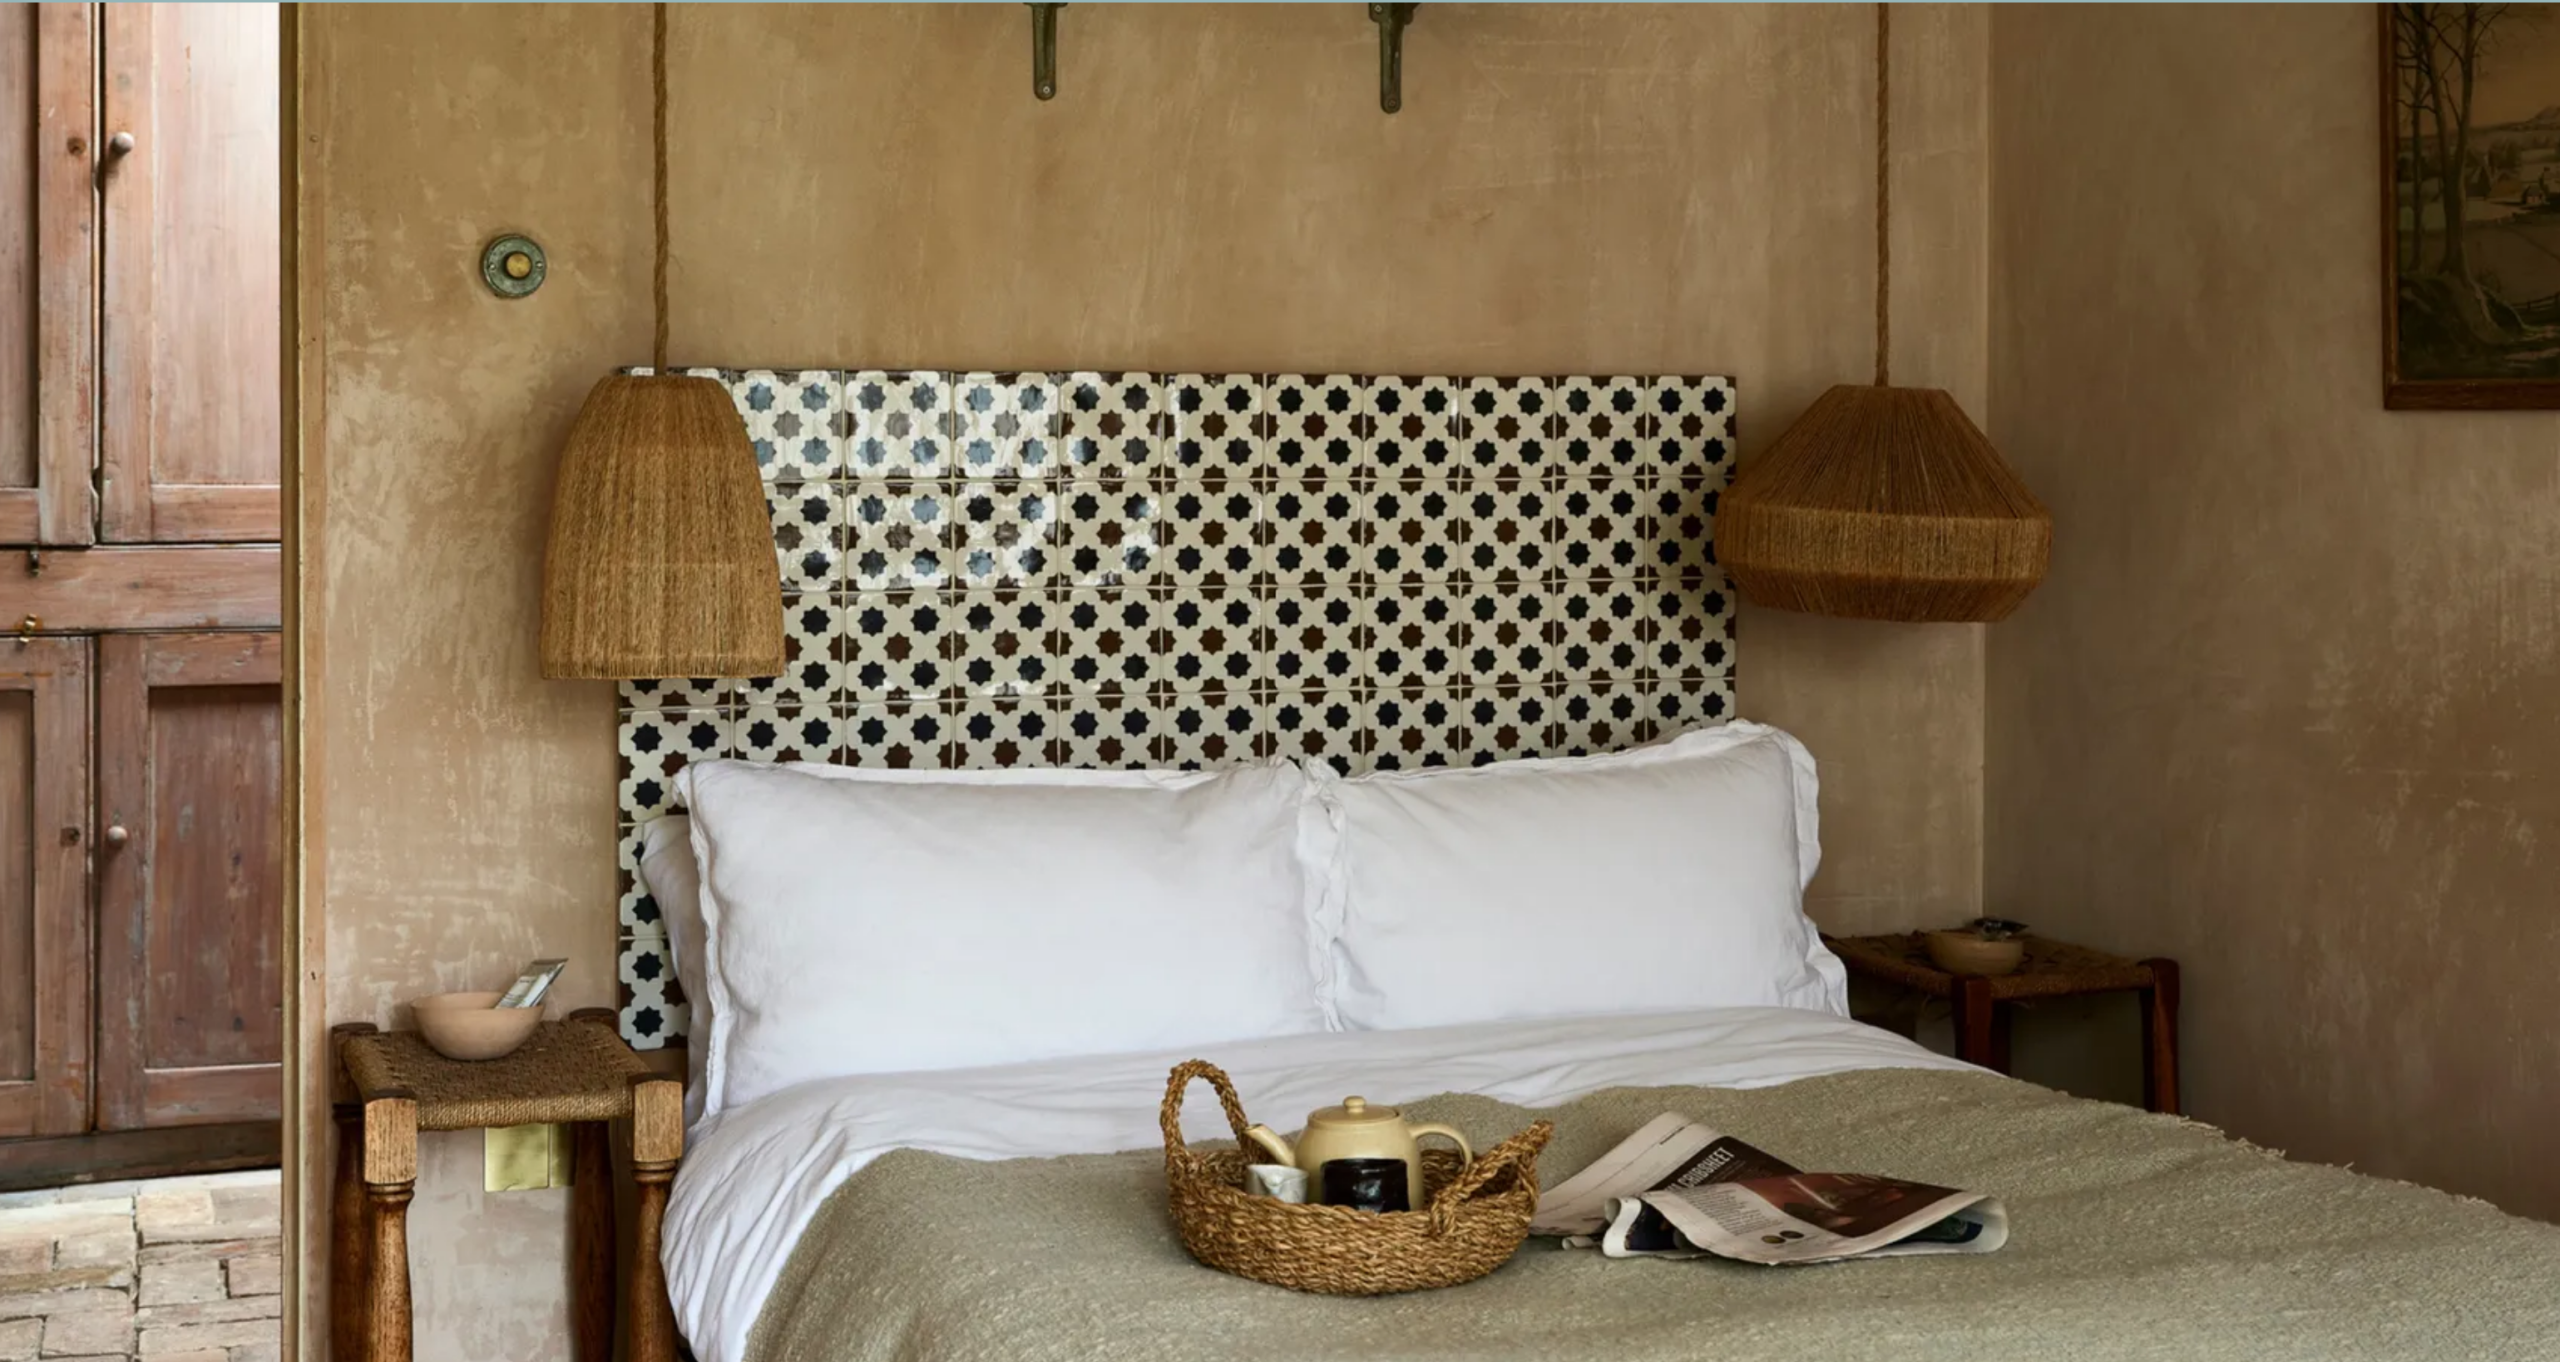
Encaustic Tiles: Pattern Power
If you want to make a bold statement, encaustic tiles are your best friend. These cement-based tiles feature intricate patterns that are actually built into the tile itself, not just painted on the surface.
What Makes Them Special: The patterns in encaustic tiles are created by inlaying different colored clays, which means the design goes all the way through the tile. They typically have a matte, velvety finish that feels sophisticated and inviting. The patterns range from geometric to floral, with many drawing inspiration from traditional Moorish and Mediterranean designs.
Why They’re Perfect for Headboards: Encaustic tiles are like having a large-scale piece of art behind your bed. The intricate patterns can introduce color, history, and personality into your space. They’re perfect if you want your headboard to be the star of the room.
Other Great Options
Don’t feel limited to just these two types. Here are some other tiles that work beautifully for headboards:
Subway Tiles: Classic, affordable, and endlessly versatile. They work in everything from modern to farmhouse styles.
Mosaic Tiles: Great for creating curves or intricate designs. The small size allows for lots of creative possibilities.
Large Format Tiles: Perfect for a sleek, contemporary look with minimal grout lines.
Wood-Look Tiles: All the warmth of wood with the durability of tile – perfect for creating a cozy, natural vibe.
DIY Installation: Making It Happen
Ready to get your hands dirty? There are two main ways to tackle a tiled headboard project, and each has its perks.
Option 1: The MDF Backing Method
This is often the easier route, especially for beginners. You’re essentially creating a tiled panel that you can then mount to the wall.
Why Choose This Method: – You can work on it outside the bedroom – It’s less permanent (great for renters) – Easier to get a flat, even surface – You can take your time without disrupting your sleep space
What You’ll Need: – MDF board cut to your desired size – Your chosen tiles – Tile adhesive – Notched trowel – Tile spacers – Grout and grout float – Sponges and buckets for cleanup – Mounting hardware – Basic tools (level, measuring tape, pencil)
The Process: Start by getting your MDF cut to size – most hardware stores will do this for you. Make it slightly wider than your bed and tall enough to be visible above your pillows.
The key to success is planning your layout before you start sticking anything down. Lay out all your tiles on the MDF board first. This lets you see how everything will look and figure out where you’ll need to make cuts. Start from the center and work outward for the most balanced look.
When you’re ready to start tiling, work in small sections. Spread adhesive with your notched trowel, press tiles firmly into place, and use spacers to keep everything even. Take your time – rushing this step will show in the final result.
After the adhesive cures (usually 24-48 hours), you’ll grout the tiles. This is where patience really pays off. Work the grout into all the joints, then clean off the excess immediately. Don’t let it sit on the tile surface or you’ll have a hazy mess to deal with later.
Once everything’s cured and sealed (if needed), mount your finished headboard to the wall. A French cleat system works great for heavy tiled panels.
Option 2: Direct to Wall
This method creates a permanent tiled feature that becomes part of your room’s architecture.
Why Choose This Method: – Creates a truly integrated look – No mounting hardware needed – Can cover larger areas more easily – Feels more like “real” tilework
The Process: The steps are similar to the MDF method, but you’re working directly on your wall. Make sure your wall surface is clean, smooth, and properly prepared. Mark out your headboard area carefully – measure twice, tile once!
The trickiest part is keeping everything level and straight when working vertically. Use your level constantly and don’t be afraid to adjust tiles before the adhesive sets.
Layout and Grout Tips for Pro Results
Getting a professional-looking finish comes down to two things: smart layout planning and careful grouting.
Layout Like a Pro
Always Do a Dry Run: Cannot stress this enough. Lay out your entire design before applying any adhesive. This is your chance to make adjustments and ensure everything looks balanced.
Start from the Center: For most designs, starting from the center and working outward gives you the most symmetrical result. You want any partial tiles to be evenly distributed on the edges.
Think About the Edges: Decide early how you want to handle the edges of your headboard. Will the tiles go right to the edge, or will you use trim? This affects your whole layout.
Mind the Grout Lines: Those little spacers matter more than you think. Consistent grout lines are what separate amateur work from professional-looking results.
Grout Like a Boss
Choose the Right Type: Sanded grout for wider joints (1/8″ and up), unsanded for narrower ones. For headboards, you’ll probably want unsanded since it’s smoother and less likely to scratch delicate tiles.
Color Matters: Matching grout creates a seamless look, while contrasting grout highlights each individual tile. Both can look great – it’s all about the vibe you’re going for.
Work in Sections: Don’t try to grout your entire headboard at once. Work in manageable sections and clean as you go.
Clean Immediately: This cannot be overstated. Clean excess grout off the tile surface right away. Once it hardens, it’s a nightmare to remove.
The Two-Bucket System: Use one bucket for rinsing your dirty sponge and another with clean water for the final wipe. Change the water frequently.
Watch for Haze: After the initial cleaning, a thin haze might appear on your tiles. This can be removed with a clean, damp cloth once the grout has set a bit.
Bringing It All Together
A tiled headboard is more than just a design element – it’s a statement about your willingness to think outside the box and create something truly personal. Whether you go for the organic beauty of zellige, the bold patterns of encaustic, or something completely different, you’re creating a focal point that will make your bedroom feel custom and considered.
The DIY aspect makes it even more special. Every time you look at your finished headboard, you’ll remember the satisfaction of creating something beautiful with your own hands. Plus, you’ll have the confidence that comes from tackling a project that might have seemed intimidating at first.
Take your time, plan carefully, and don’t be afraid to ask for help when you need it. Most tile shops are happy to offer advice, and there are tons of online resources if you get stuck. The end result – a stunning, durable, and completely unique headboard – will be worth every bit of effort you put in.
Your bedroom should be a reflection of you, and a tiled headboard is the perfect way to make that happen. So go ahead, break the rules, and create something unexpected. Your walls (and your Instagram feed) will thank you.
Styling Your Tiled Headboard: Making It Shine
Once your beautiful new tiled headboard is in place, the fun doesn’t stop there! Now it’s time to style your bed and the surrounding area to really make that headboard pop. Think of your tiled headboard as the ultimate backdrop – it sets the tone for the entire bedroom.
Play with Textures
The beauty of a tiled headboard is its inherent texture. To create a balanced and inviting space, you’ll want to contrast that hard, cool surface with soft, warm textures in your bedding and decor. Think:
Plush Pillows: Layer up with a mix of decorative pillows in varying sizes, shapes, and fabrics. Velvets, chunky knits, faux fur, and linen all work wonderfully to soften the look.
Cozy Throws: Drape a luxurious throw blanket at the foot of your bed or over a chair. This adds another layer of softness and visual interest.
Rich Bedding: Choose bedding that complements your tile choice. Crisp white sheets can make colorful tiles stand out, while earthy tones can enhance the natural feel of zellige or wood-look tiles.
Lighting is Key
Lighting can dramatically change how your tiled headboard looks and feels. Since tiles often have reflective qualities, strategic lighting can highlight their texture and shimmer.
Sconces: Wall-mounted sconces on either side of the headboard are a fantastic choice. They provide task lighting for reading and can cast a beautiful glow that emphasizes the tilework. Look for sconces that match the style of your tiles – sleek and modern for large-format, or more traditional for encaustic.
Table Lamps: If sconces aren’t an option, well-placed table lamps on your nightstands can still do the trick. Choose lamps with interesting bases or shades that complement your overall design.
Dimmer Switches: A dimmer switch is your best friend. It allows you to adjust the ambiance, from bright task lighting to a soft, warm glow that makes your tiled headboard truly shine in the evening.
Accessorize Thoughtfully
Less is often more when you have a statement headboard. Choose accessories that enhance, rather than compete with, your tilework.
Minimalist Nightstands: Let your headboard be the star. Opt for simple, clean lined nightstands that don’t distract from the tile. Floating shelves can also be a great option for a streamlined look.
Curated Decor: On your nightstands or nearby shelves, place a few carefully chosen items. A small plant, a stack of books, a unique vase, or a piece of art that echoes the colors in your tiles can tie the whole look together.
Wall Art (or lack thereof): Depending on the size and pattern of your tiled headboard, you might not need any additional wall art above the bed. If your headboard is a solid color or has a subtle pattern, a single, impactful piece of art can work well. For busy patterns like encaustic, let the headboard be the art.
Color Palette Harmony
Your tiled headboard will introduce a specific color palette into your room. Build on this by incorporating those colors, or complementary ones, throughout your space.
Paints: Choose wall paint colors that either match a subtle tone in your tiles or provide a soft contrast. Neutral walls often work best to let the headboard stand out.
Accents: Use throw pillows, blankets, curtains, or rugs to bring in accent colors that pull from your headboard. This creates a cohesive and well-designed feel.
Remember, your tiled headboard is a bold design choice, so let it be the hero of your bedroom. By thoughtfully layering textures, playing with lighting, and choosing complementary accessories, you can create a bedroom that feels both stylish and incredibly inviting.