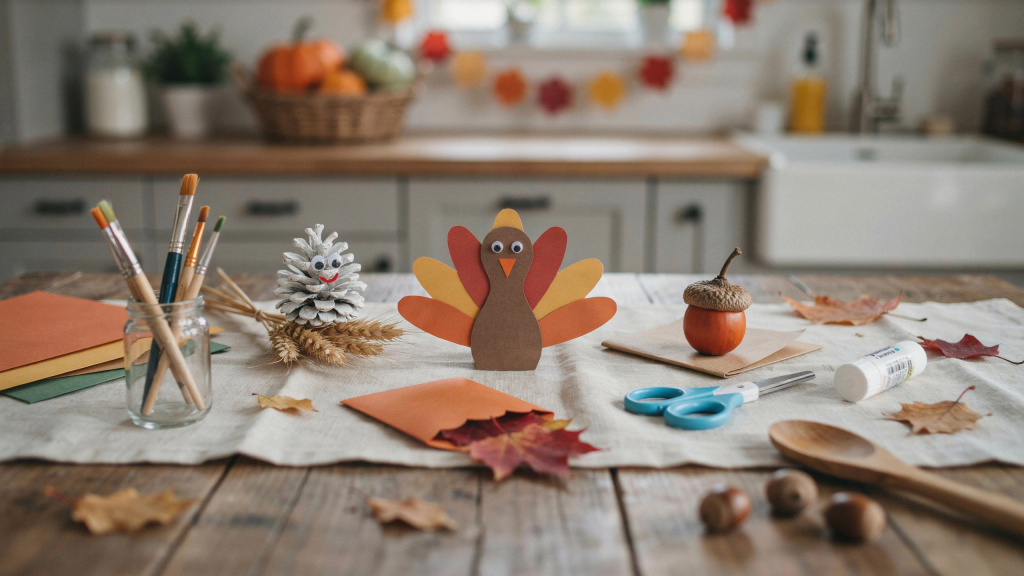
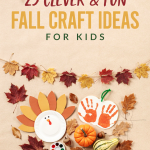
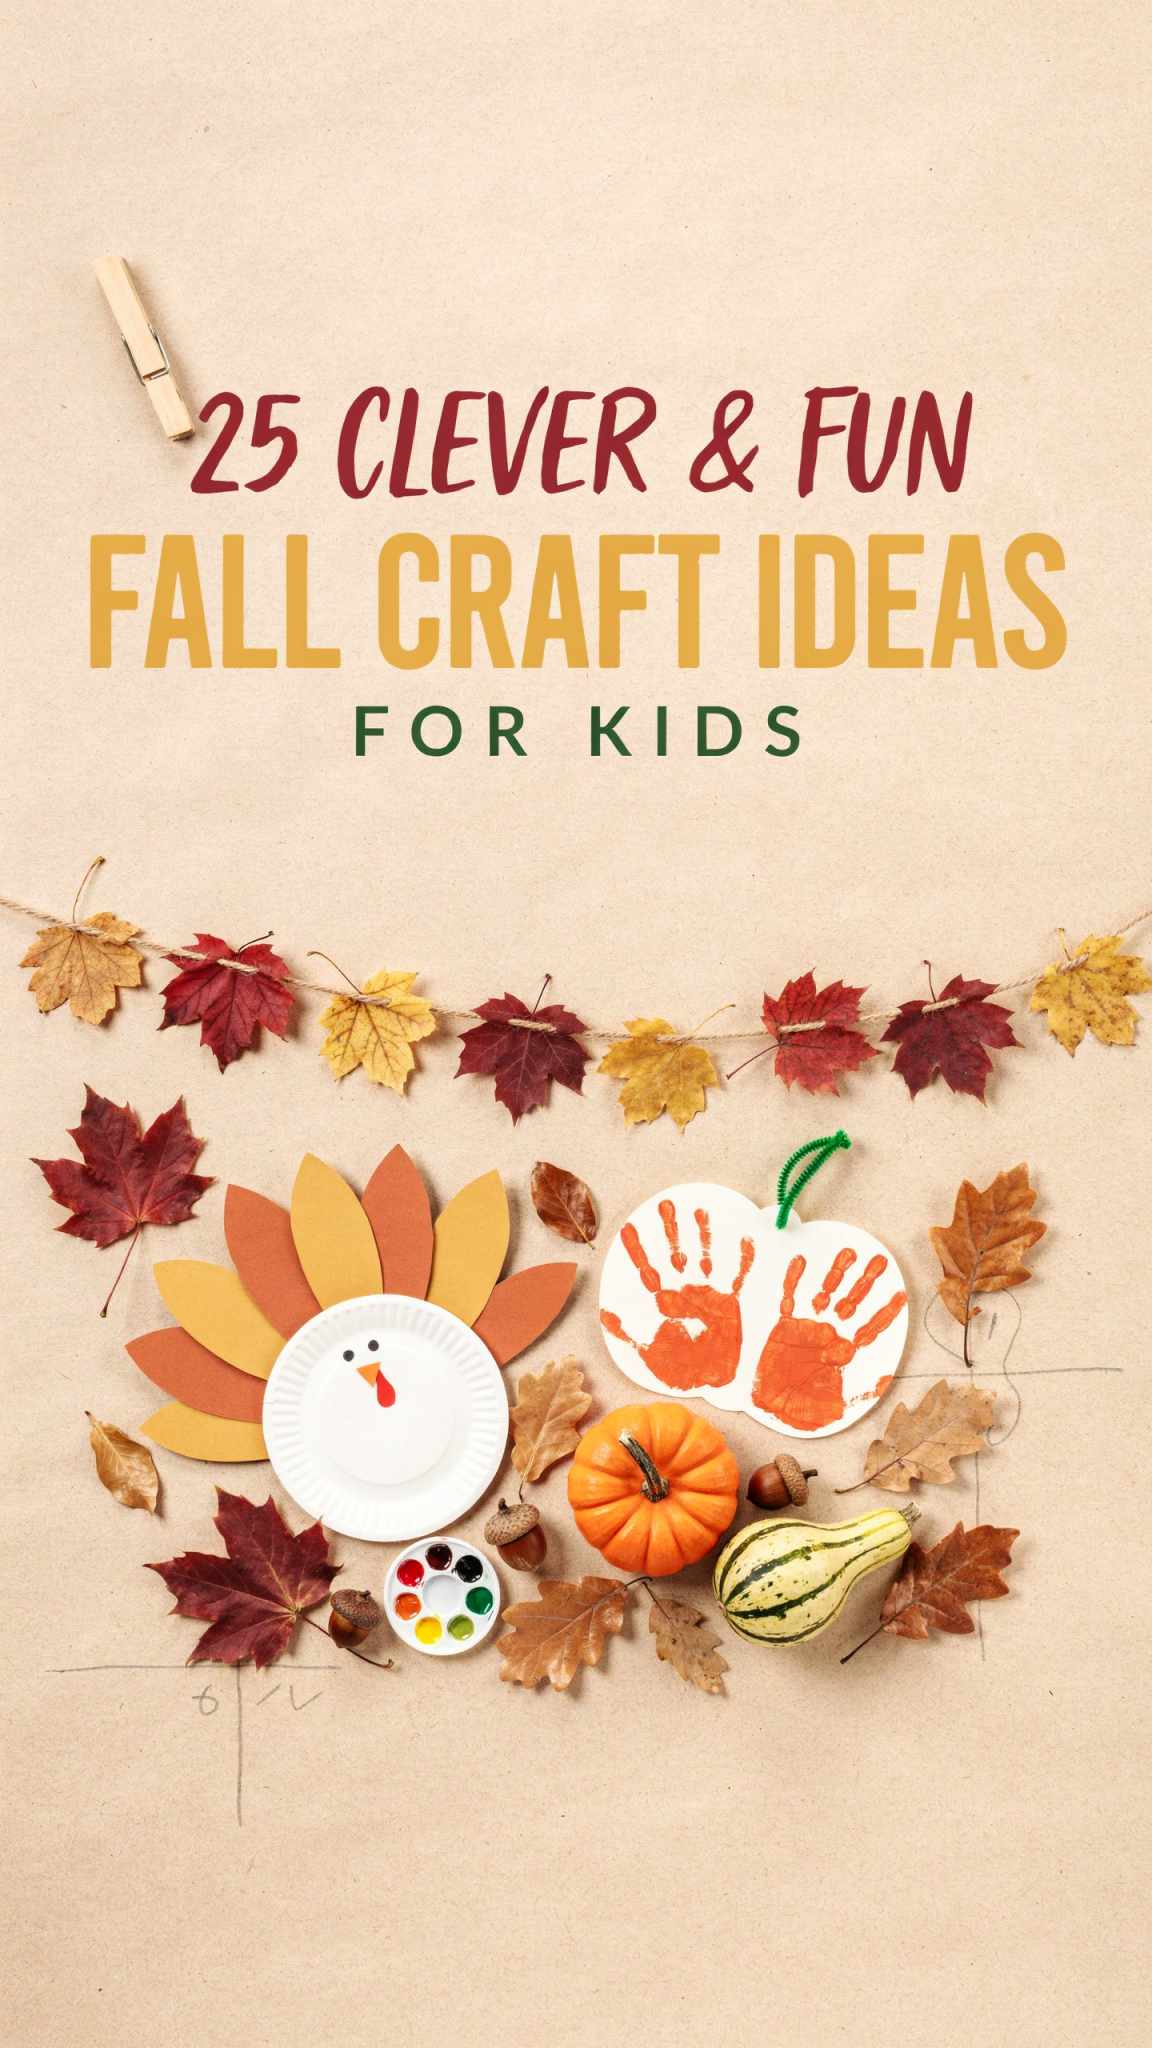
The best fall crafts do more than keep little hands busy. They invite kids to notice the world around them, experiment with color and texture, practice important skills, and make decorations or gifts they can feel proud of. A pile of leaves can become a family of silly animals. A paper plate can turn into a friendly scarecrow. Even a cardboard tube can become a tiny tree, owl, or hedgehog.
The ideas below are designed for a range of ages. Younger children may need help with cutting, hot glue, or small pieces, while older kids can personalize the designs and try extra challenges.
1. Leafy Animal Collages
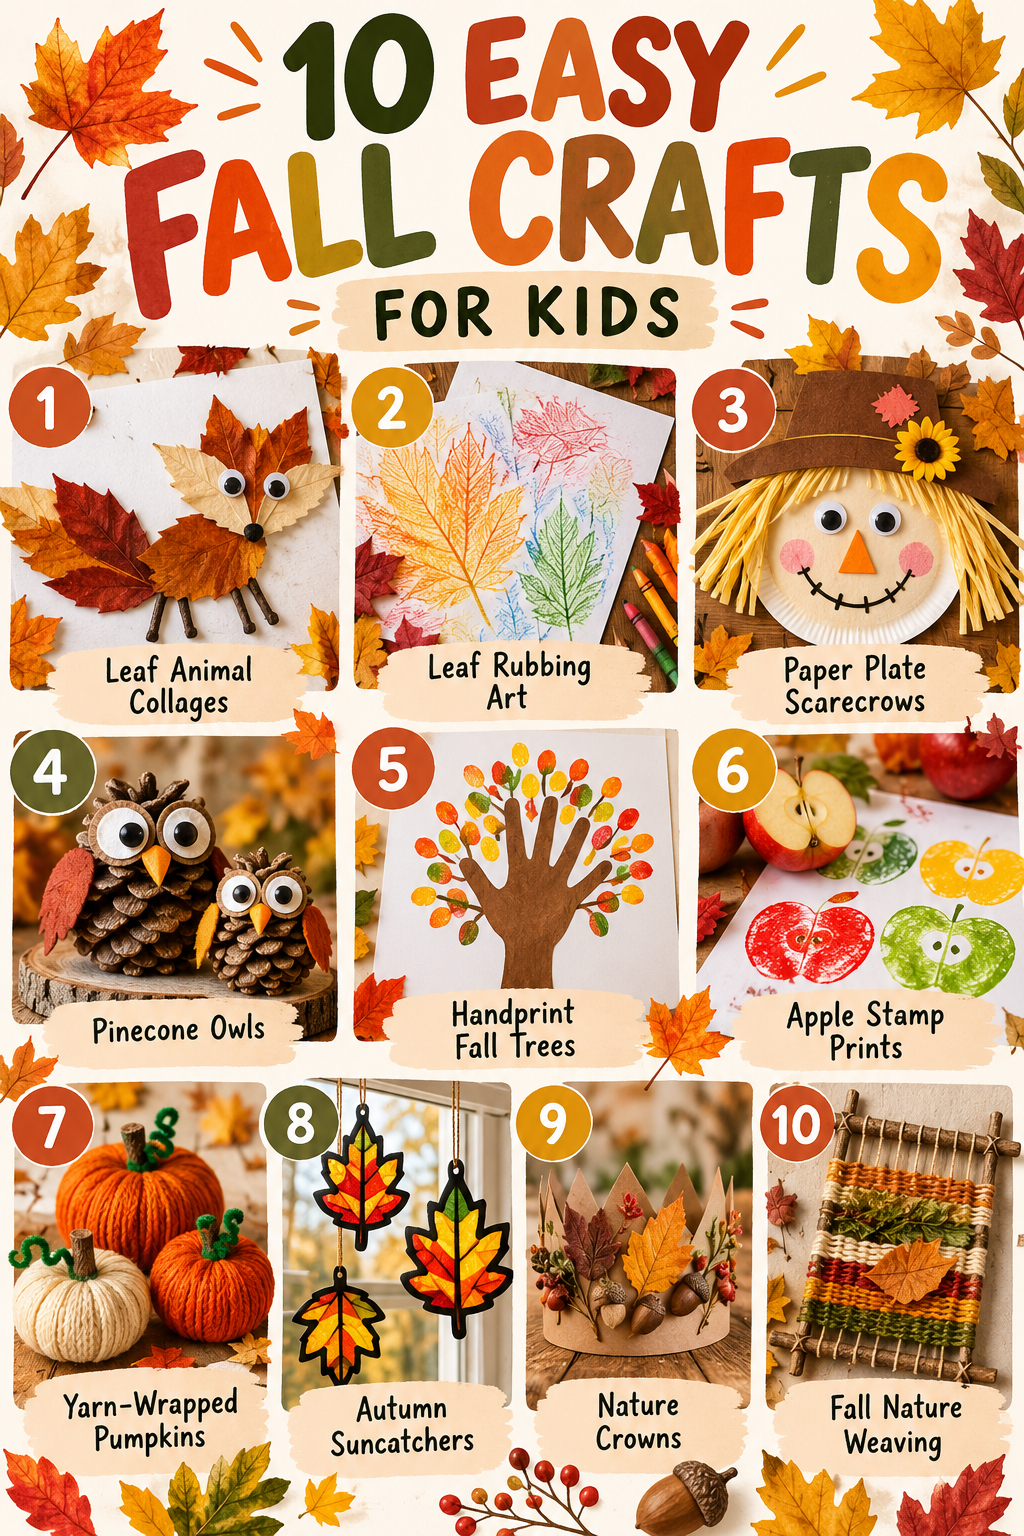
Collect a few dry leaves in different shapes and sizes, then use them to make animals on paper. A long maple leaf might become a fox’s tail. Two round leaves can become owl wings, while small twigs make legs or whiskers. Add googly eyes, paper ears, crayons, and markers to bring each creature to life.
Start by placing the leaves on a sheet of cardstock without gluing them down. Move them around until the animal takes shape. When the design looks right, attach the pieces with glue. Kids can make squirrels, foxes, hedgehogs, birds, butterflies, or imaginary leaf monsters.
For a clever variation, turn the finished animals into a storybook. Ask kids to name each character and draw a simple background. They can dictate or write one sentence about what the animal does on a windy fall day.
2. Leaf Rubbing Art
Leaf rubbing is a classic craft because it feels a little like magic. Place a leaf under a sheet of thin paper, with the textured side facing up. Use the side of a crayon to rub gently across the paper. The leaf’s veins and outline will appear.
Try several colors layered on top of one another. Gold over orange, blue over green, or red over purple can create beautiful effects. Kids can make a whole page of rubbings, cut them out, and arrange them into a wreath, tree, bouquet, or seasonal landscape.
For an extra challenge, compare leaves from different trees. Which one has the strongest pattern? Which has the most interesting edge? This craft naturally combines art with observation and early science.
3. Paper Plate Scarecrows
Turn a plain paper plate into a cheerful scarecrow face. Paint or color the plate a warm tan, then add button eyes, a triangle nose, a wide smile, and yarn or paper-strip hair. Finish with a hat cut from construction paper.
Kids can make the scarecrow friendly, silly, sleepy, or surprised. Add patches to the hat, a sunflower, a bow tie, or a crow perched on one shoulder. To make the craft stand up, glue the plate to a craft stick or a cardboard tube.
This is also a fun way to talk about what scarecrows do and why farmers use them. Kids may enjoy inventing a name and personality for their character, such as Captain Cornfield or Sunny Sam.
4. Pumpkin Seed Mosaic Pictures
After carving or cooking with a pumpkin, save and wash some of the seeds. Let them dry completely. Kids can glue the seeds onto cardstock to create mosaics, borders, or pictures of pumpkins, owls, sunflowers, or autumn trees.
For colorful designs, paint the seeds first with tempera or acrylic paint, depending on the children’s ages. Natural seeds create a soft cream-colored mosaic, while painted seeds make bright patterns. Use a thick layer of glue in small sections so the seeds stay where kids place them.
A simple template can help younger crafters. Older children can sketch their own design and experiment with spacing, repeated shapes, and color families.
5. Pinecone Owls
Pinecones are excellent fall craft materials because their layers already resemble feathers. Choose a pinecone with a stable base and glue on two felt or paper circles for eyes. Add smaller circles inside the eyes, a paper beak, and tiny wings cut from felt or cardstock.
For a group project, make owls in different sizes and colors. A large pinecone can become a parent owl, while smaller ones become babies. Place the finished owls on a branch, in a basket, or on a bookshelf.
If collecting pinecones outdoors, shake out loose dirt and inspect them for insects before crafting. They can also be left in a warm, dry place for a while before use.
6. Handprint Fall Trees
Trace a child’s hand and forearm on brown paper to create the trunk and branches of a tree. Glue the shape onto blue or cream-colored paper. Then add fall leaves using fingerprints, tissue-paper scraps, small paper circles, or real leaves.
This craft makes a sweet keepsake because every child’s handprint creates a different tree. Add the child’s name and the year to the corner. Families can make one tree each and display them together as a small forest.
For a playful version, let kids add a nest, squirrel, bird, apples, a swing, or a tiny person standing beneath the tree. Encourage them to decide what season their tree is experiencing: early fall, peak color, or the first windy day after the leaves drop.
7. Tissue-Paper Pumpkins
Cut pumpkin shapes from orange construction paper or cardstock. Give kids small squares of orange tissue paper and a glue stick. They can scrunch each square into a little puff and glue it inside the pumpkin outline. Add a green paper stem and curly paper vine.
The raised texture makes these pumpkins especially satisfying to touch. Try using two or three shades of orange for a more interesting surface. A black background makes the pumpkins look dramatic, while a white background gives the project a bright, cheerful feel.
You can also make a pumpkin patch by gluing several pumpkins onto a long strip of brown paper. Add leaves, grass, a moon, or a tiny paper scarecrow.
8. Apple Stamp Prints
Cut an apple in half across the middle or from top to bottom. Dip the cut side lightly into washable paint and press it onto paper. The shape will look like an apple, and the seeds may create a natural star pattern in the center.
Use red, green, and yellow paint to make an orchard. Once the prints dry, kids can add stems, leaves, worms, baskets, or smiling faces. An apple half can also be used to stamp pumpkins, flowers, or abstract patterns.
Always use a fresh, firm apple and supervise the cutting. Adults should prepare the stamp; kids can handle the painting and printing.
9. Corn Cob Painting
Corn cobs make unusual and bumpy paintbrushes. Remove the corn from a cooked cob, or use a clean, dried cob if available. Roll the cob in paint and press or roll it across paper to create textured lines.
Try making rows of corn, a colorful harvest blanket, or a background for a farm picture. Use one cob for each paint color or rinse it thoroughly between colors. Kids can add details with brushes after the textured prints dry.
This craft is a great reminder that art tools do not always have to come from an art store. Kitchen and garden objects can create surprising patterns.
10. Cozy Paper Leaf Garland
Cut leaf shapes from paper in autumn colors. Kids can decorate each leaf with crayons, paint, dots, stripes, names, or short messages. Punch holes near the stems and string the leaves onto yarn or ribbon.
For a more dimensional garland, fold each leaf down the center and glue only the fold to the string. The sides will stick out slightly, making the garland look fuller. Add paper acorns, pumpkins, or small circles between the leaves.
Hang the finished garland across a window, mantel, reading corner, or classroom bulletin board. It is a simple project that can involve an entire group, with each child contributing several leaves.
11. Cardboard Tube Hedgehogs
Paint a cardboard toilet-paper tube brown, or wrap it in brown paper. Cut a rounded face from cardstock and glue it to one end. Add a black paper nose, eyes, and a small smile. Cover the back with short strips of brown paper, curled paper, or triangular pieces to represent spines.
Kids can make a hedgehog family or create a whole woodland scene. Add leaf litter from paper, a mushroom, an acorn, or a tiny cardboard log. If you do not want to paint, kids can color the tube with markers or glue on scraps of construction paper.
The tube shape also works for squirrels, foxes, owls, and little forest people.
12. Acorn Cap Fairies
Acorn caps can become tiny hats for paper or wooden bead figures. Make a simple body from a bead, a pom-pom, or a small ball of air-dry clay. Draw a face, add yarn hair, and glue an acorn cap on top.
Create wings from paper, felt, or leaves. Place each fairy in a small “forest home” made from a paper cup, a walnut shell, or a cardboard box. Kids can name their fairies and invent where they live.
Because acorn caps and beads are small, this project is best for older kids or for younger children with close adult supervision.
13. Salt-Paint Fall Leaves
Draw leaf shapes with a thick line of white glue on dark paper. Sprinkle salt over the glue, shake off the extra, and let the outline dry briefly. Then touch watercolor paint to the salted line. The color will travel along the glue path, creating a glowing effect.
Use red, yellow, orange, and brown for a traditional fall palette, or experiment with unexpected colors such as turquoise and pink. Add a moon, stars, or a dark blue background for a magical autumn night picture.
This activity teaches kids that materials absorb liquids in different ways, but the main attraction is watching the paint move.
14. Paper Bag Apples
Crumple a small paper lunch bag into a round apple shape, leaving the open end at the top. Twist the top into a stem, or add a real twig. Paint the bag red, green, or yellow and attach a paper leaf.
Make several apples and put them in a pretend market basket. Kids can write numbers on them and use them for a counting game, or label them with different apple varieties. For a classroom display, turn them into a three-dimensional apple tree by attaching them to paper branches.
The crumpling and twisting are excellent ways to strengthen hand muscles needed for writing and other fine-motor tasks.
15. Sunflower Paper Plates
Cut triangles around the outside edge of a paper plate to create petals. Paint the petals yellow and the center brown. Add real sunflower seeds, black paper dots, or painted rice to the middle.
For a large sunflower, glue the plate to a green paper stem and add broad leaves. Make several flowers at different stages: a small bud, a fully open flower, and a flower with seeds. Kids can observe actual sunflowers and notice how the centers are arranged in spirals.
A group of paper-plate sunflowers makes a bright fall wall display.
16. Yarn-Wrapped Pumpkins
Cut a simple pumpkin shape from sturdy cardboard, with a small notch at the top and bottom. Tie orange yarn to one notch and wrap it around the cardboard until the shape is covered. Secure the yarn at the back and add a green pipe-cleaner vine.
Use different yarn textures to make each pumpkin unique. Smooth yarn creates clean stripes, while fuzzy yarn looks soft and cozy. Kids can wrap randomly or create patterns by changing colors.
This project is especially useful for practicing patience and coordination. If wrapping is difficult, an adult can hold the cardboard while the child winds the yarn.
17. Autumn Window Suncatchers
Cut a leaf outline from black paper or cardstock and attach clear contact paper behind it, sticky side up. Kids can fill the open leaf shape with small pieces of colored tissue paper. Cover the back with another piece of contact paper and trim the edges.
Hang the suncatcher in a sunny window. Light will pass through the tissue paper and make the colors glow. Try creating a collection of leaves in red, orange, yellow, and green.
For safety and neatness, prepare the sticky contact-paper frame ahead of time for younger children. They can focus on choosing colors and arranging the pieces.
18. Thankful Turkey Cards
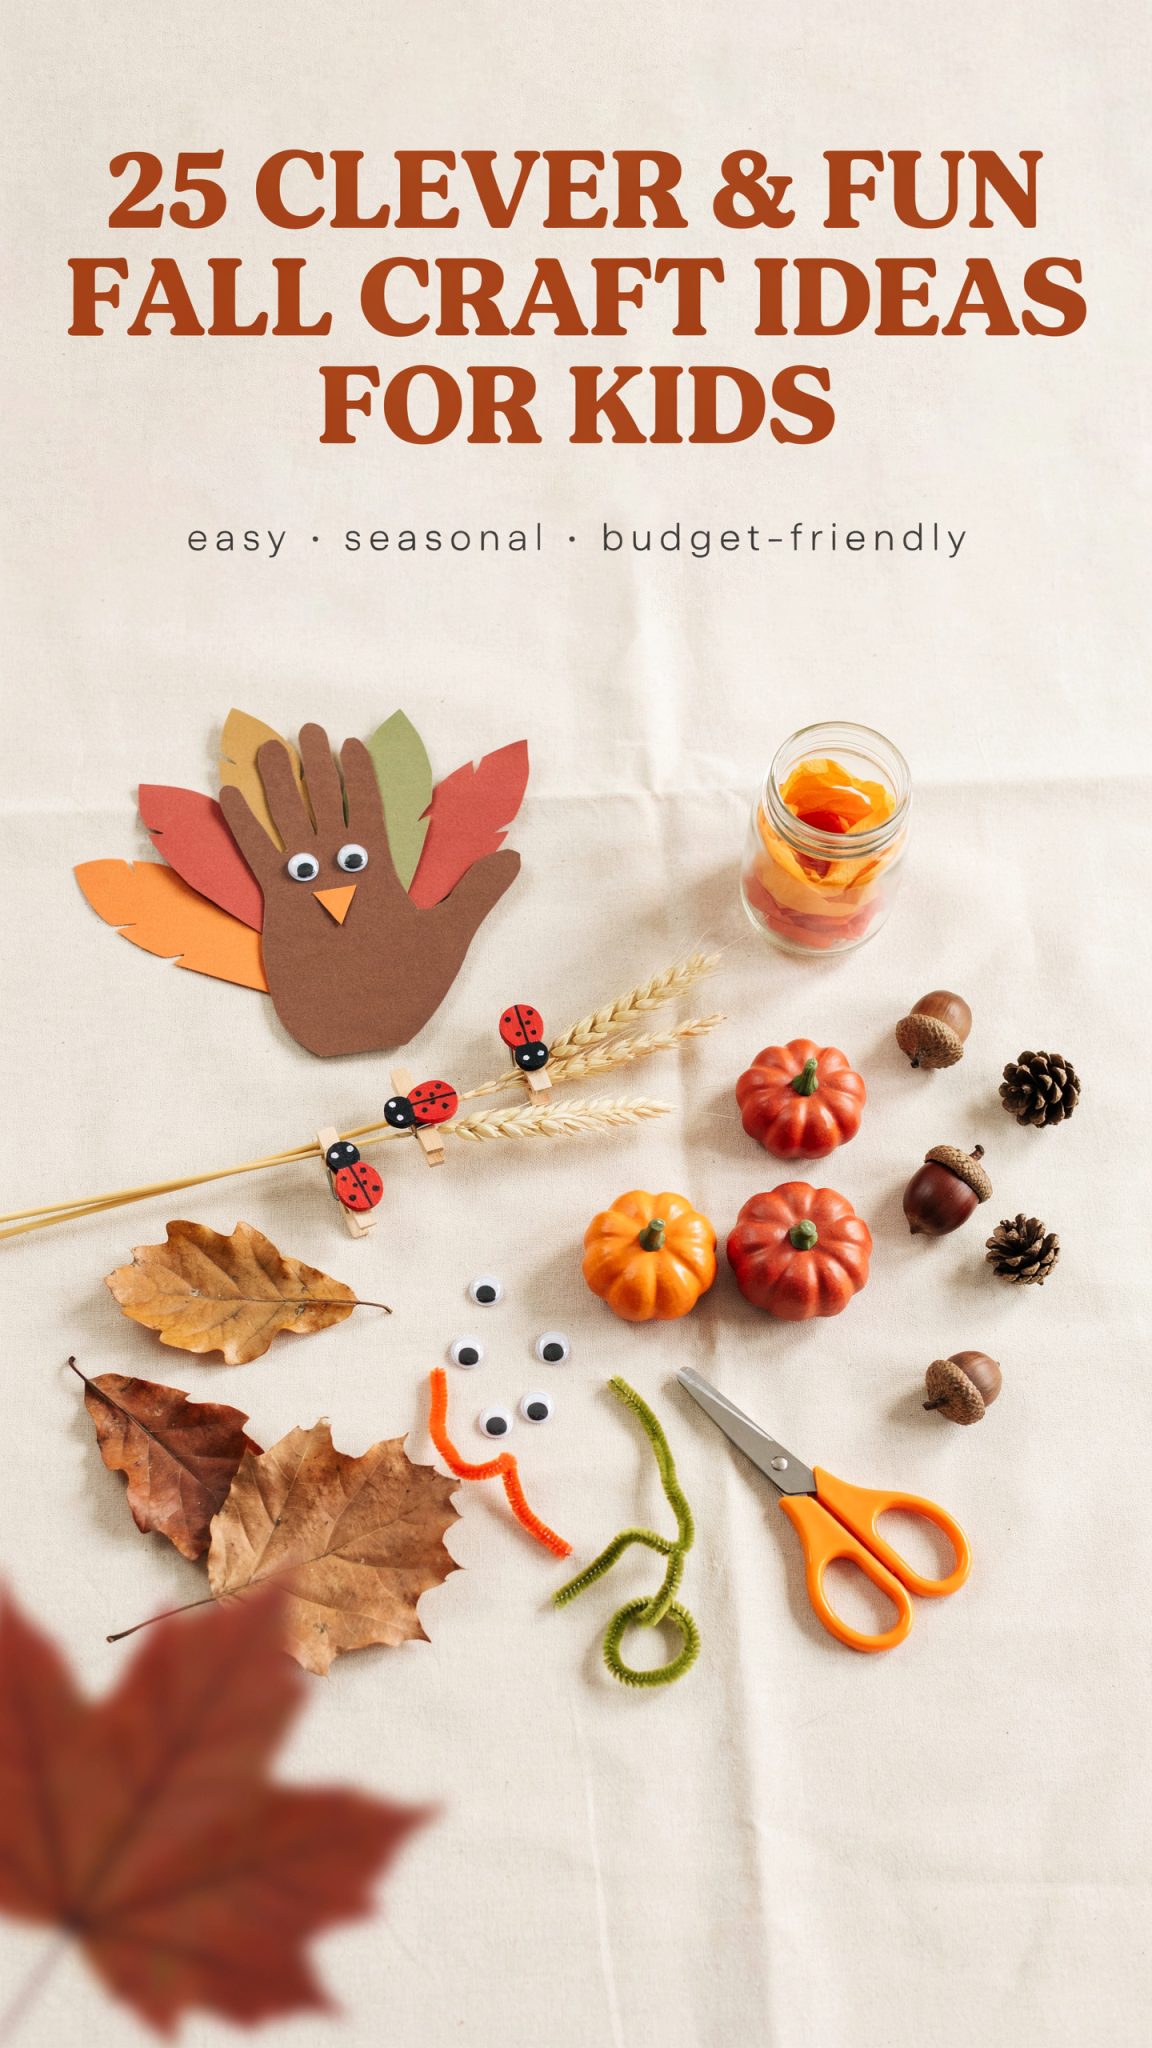
Trace a child’s hand on paper to make a turkey. The thumb becomes the head, and the fingers become feathers. Add a beak, wattle, eyes, and colorful patterns to the feathers.
Turn the turkeys into cards by writing a message inside. Kids can make one for a family member, teacher, neighbor, or friend. Encourage specific messages such as “Thank you for reading with me” or “I like when you make pancakes.”
This craft connects creativity with gratitude and helps children practice expressing appreciation in their own words.
19. Nature Crowns
Make a crown from a strip of cardstock that fits around the child’s head. Decorate it with paper leaves, real pressed leaves, feathers, twigs, and drawn acorns. Secure it with tape or staples handled by an adult.
Kids can pretend to be woodland kings, leaf explorers, harvest queens, or forest animals. Add a matching badge or staff for dramatic play.
If using real materials, choose dry, lightweight pieces and avoid anything sharp, moldy, or irritating. A paper-only version is just as fun and can last longer.
20. Scarecrow Puppets
Draw a scarecrow on a paper lunch bag, using the flap as the face. Add a hat, yarn hair, a plaid shirt, straw-colored paper strips, and a friendly expression. Kids can put their hands inside the bag and make the scarecrow talk.
Create several puppet characters, including a crow, pumpkin, farmer, and squirrel. Then help children perform a short fall story. They might act out a lost pumpkin, a windy day, or a scarecrow who wants to become a singer.
Puppet-making encourages storytelling, cooperation, language development, and imaginative play.
21. Fall Friendship Rocks
Wash and dry smooth rocks. Paint them as pumpkins, leaves, acorns, mushrooms, owls, or tiny woodland houses. Once dry, add details with paint pens or markers and seal them with a child-safe outdoor sealer if desired.
Kids can leave a few decorated rocks in an approved community spot, use them as garden decorations, or give them to friends. Add short words such as “Kind,” “Smile,” or “You matter.”
Discuss the importance of placing painted rocks only where allowed and avoiding trails, gardens, or spaces where they could create a hazard.
22. Leafy Lanterns
Cover the outside of a clean glass jar with small tissue-paper leaves using watered-down white glue. Add overlapping pieces in warm fall colors. When dry, place a battery-operated tea light inside.
The tissue paper glows softly, making a cozy decoration for a table or windowsill. Never use a real flame in a child-made lantern. For younger children, plastic containers are a safer alternative to glass.
Add a paper handle to turn the lantern into a decorative hanging light, but keep it away from water and heat.
23. Fall Nature Weaving
Cut notches along the top and bottom of a piece of cardboard. Wrap yarn vertically between the notches to make a loom. Kids can weave yarn, ribbon, paper strips, grass, leaves, and soft natural materials over and under the vertical strings.
Use fall colors and textures to make a small wall hanging. Talk about which materials are rough, smooth, stiff, soft, thick, or thin. Older children can make patterns, while younger children can simply explore the over-under motion.
This craft may take several sessions, which makes it ideal for a quiet project during the cooler weeks of fall.
24. Pumpkin Patch Counting Game
Cut or draw several paper pumpkins and decorate them with different numbers of dots. Make a small paper basket or cardboard “patch.” Kids can match pumpkins to number cards, sort them by size or color, or place them in order from one to ten.
To turn the learning activity into a craft, let children build the entire scene: a fence, field, scarecrow, wagon, sun, and clouds. They can then use the scene for counting games or pretend play.
Younger children practice recognizing quantities, while older children can write addition or subtraction stories about the pumpkins.
25. Recycled Fall Village
Use small boxes, cartons, cardboard tubes, and paper scraps to create a miniature fall village. A cereal box can become a barn, a tissue box can become a house, and a tube can become a silo. Add paper trees, leaf piles, fences, pumpkins, animals, and people.
Let kids plan the village before gluing anything. Where will the road go? Which house has the pumpkin patch? Where does the fox hide? They can work together on one large scene or build individual sections that connect.
This open-ended craft encourages design, problem-solving, storytelling, and collaboration. It also gives ordinary recycling materials a second life.
Tips for a Successful Fall Craft Afternoon
A little preparation can make crafting more enjoyable for everyone. Cover the table with newspaper or a washable cloth. Put supplies in shallow trays so children can see their choices. Offer a few materials at a time instead of putting every item on the table at once.
Try to balance instructions with freedom. It is helpful to demonstrate the basic steps, but children do not need to make their crafts look exactly like an example. A purple pumpkin, three-eyed owl, or upside-down scarecrow may be evidence of creativity rather than a mistake.
Choose projects that match the child’s age and attention span. A preschooler may enjoy stamping apples for ten minutes, while an older child may happily spend an hour weaving or building a miniature village. If a project becomes frustrating, simplify it. Use larger pieces, fewer steps, or a different tool.
Keep a “fall treasure tray” nearby for safe natural finds such as leaves, twigs, seed pods, and pinecones. Kids can use the tray for sorting, drawing, counting, or choosing materials. Avoid collecting plants that may be poisonous, thorny, moldy, or covered in chemicals. When in doubt, use paper versions.
The Goal Is Not Perfect Projects
Fall crafts are about more than decorations. They are opportunities to slow down, notice seasonal changes, and spend time making something together. Kids learn by touching, testing, arranging, tearing, folding, painting, and trying again. The finished object may be beautiful, funny, lopsided, or temporary, and all of those outcomes are perfectly acceptable.
Invite children to explain their choices. Ask questions such as, “What kind of animal is this?” “Why did you choose those colors?” or “What story happens in your fall village?” Their answers can turn a simple craft into a conversation, a writing project, or an imaginative adventure.
Whether you make one leafy collage or work your way through a whole collection of pumpkins, owls, scarecrows, and sunflowers, the most valuable part is the experience. Gather a few supplies, welcome the mess, and let the colors of fall inspire a season full of clever, cheerful creativity.