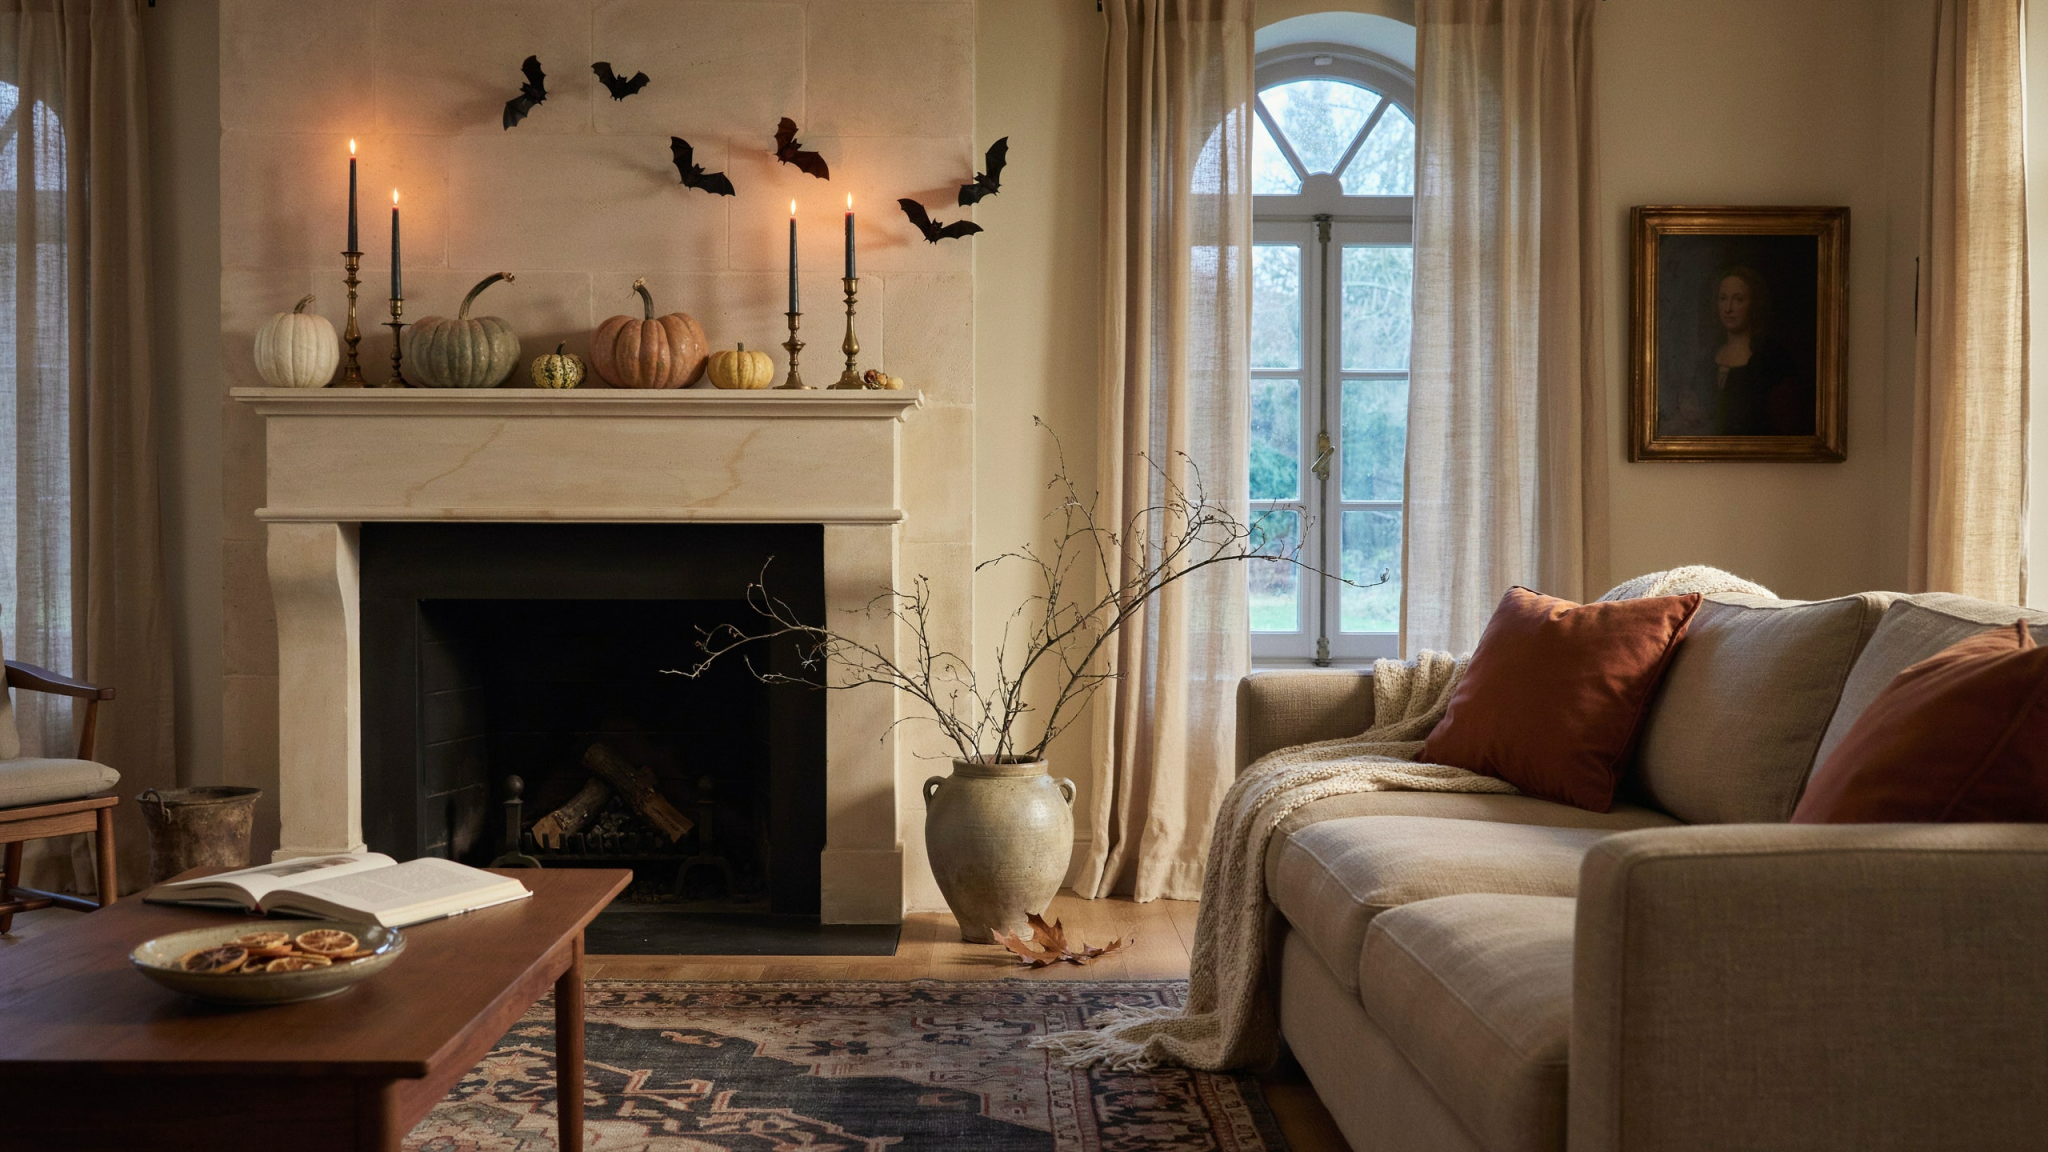
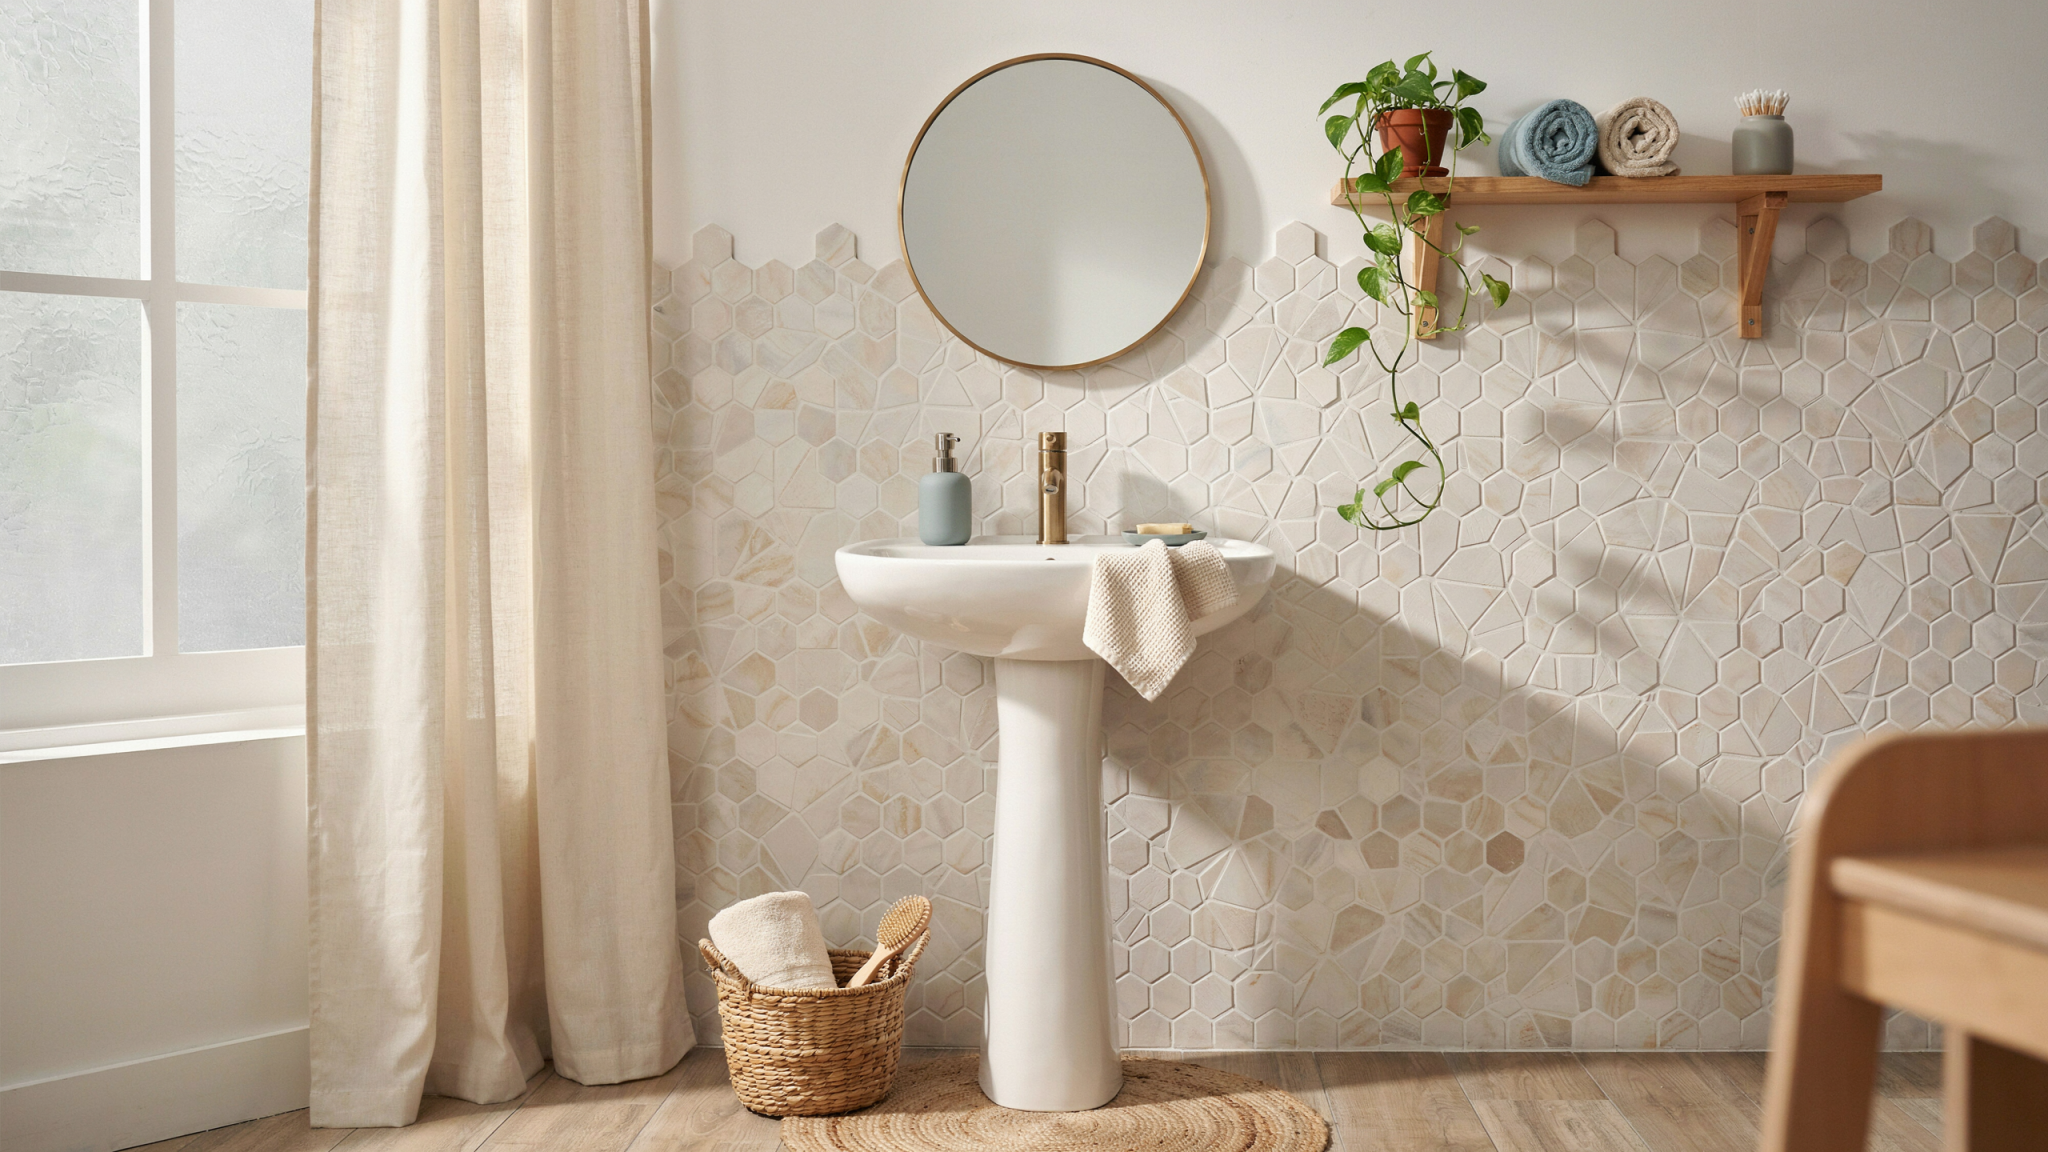
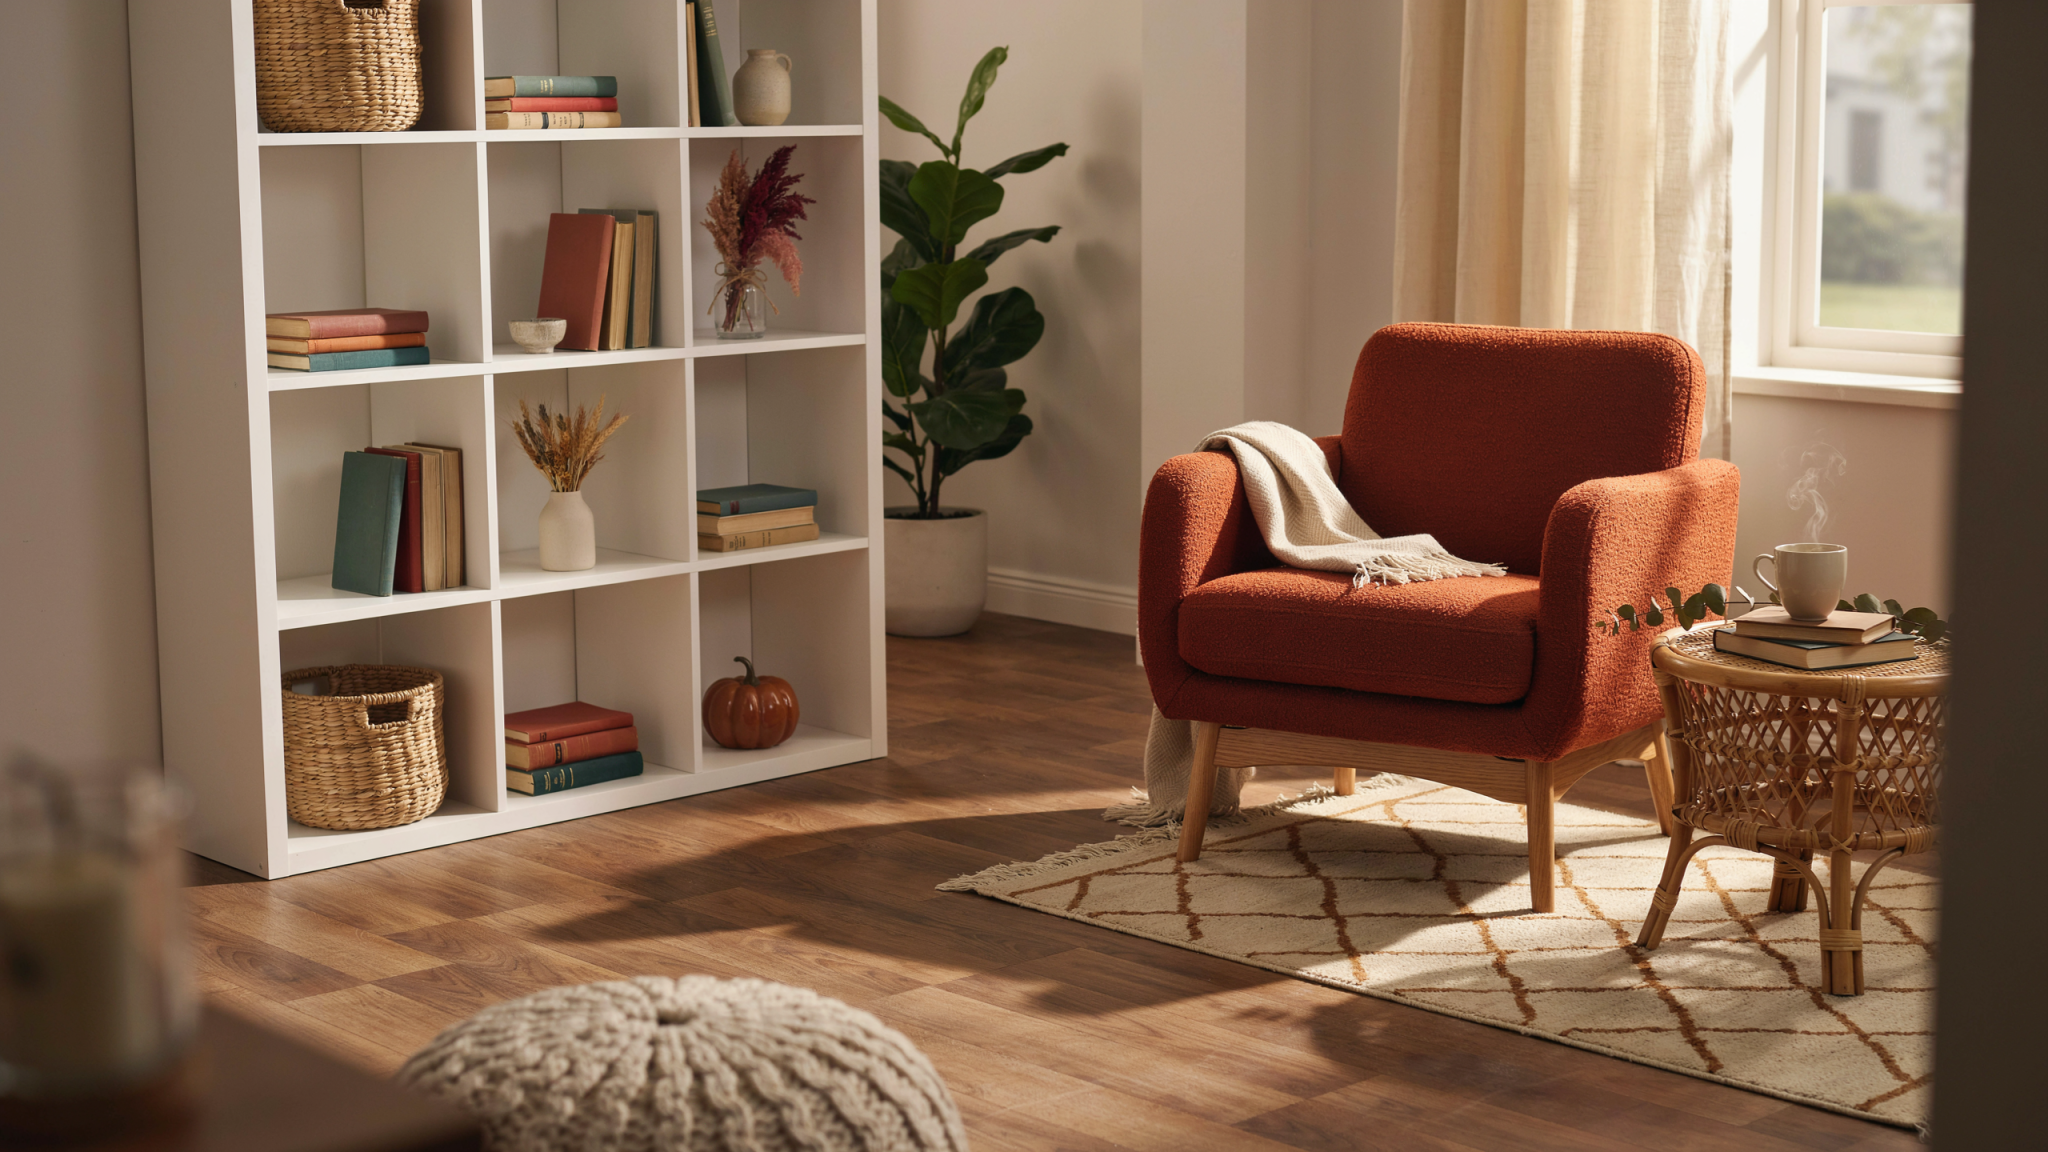
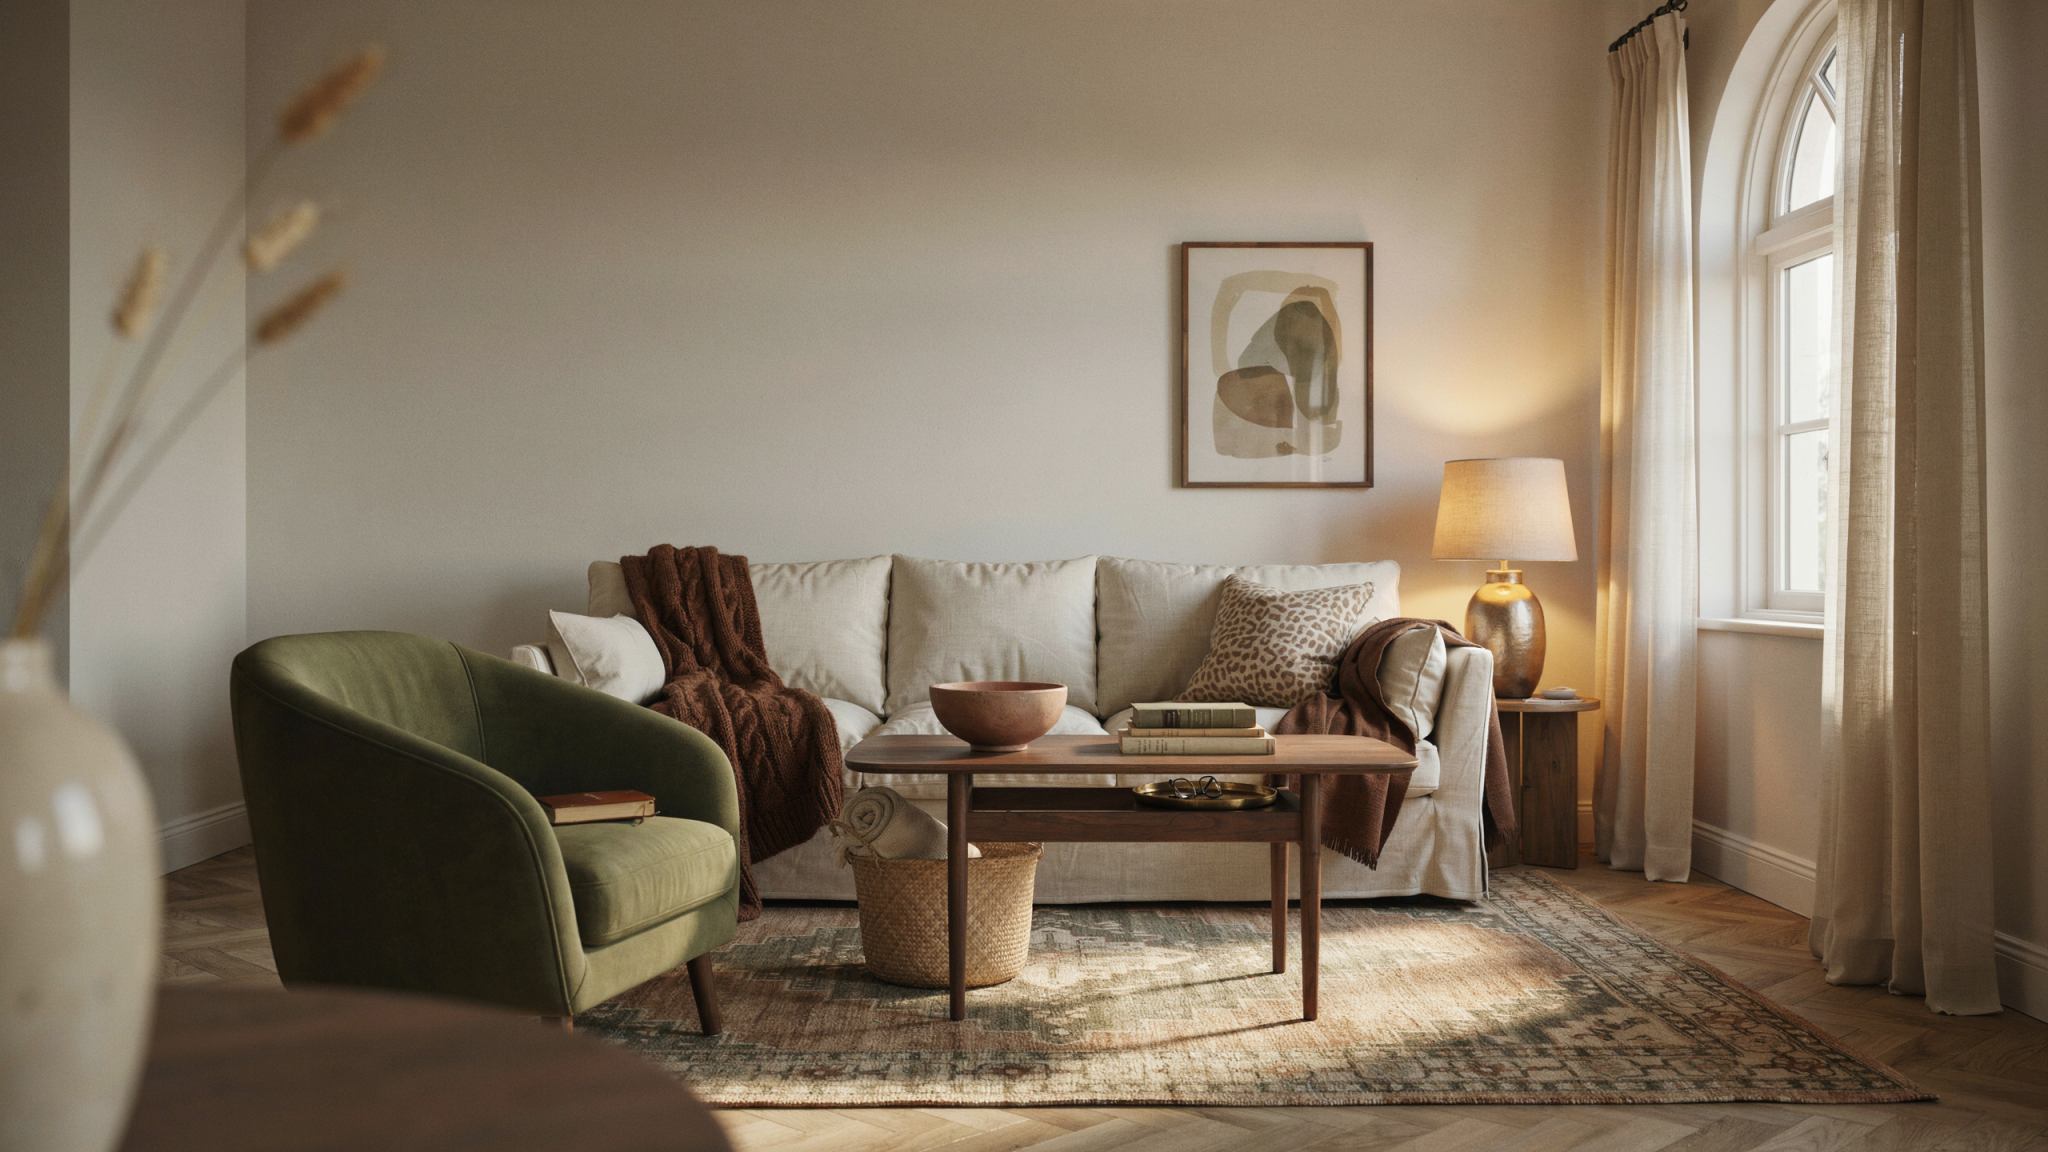
Small, intentional upgrades deliver the kind of immediate impact that makes a house feel polished and cared for without a major renovation. This collection targets high-visibility elements — the front door, lighting, hardware, and finishes — with straightforward projects that either take an afternoon or a single weekend and require basic tools and confidence.
Each idea below is written from the perspective of someone who stages, photographs, and lives in homes. You’ll find practical steps, three clear action bullets per move, and a short professional tip that helps you avoid common mistakes. Pick one or three that fit your schedule and budget, and watch how the cumulative effect elevates the whole house.
1. Give Your Entry a Lift With a Bold Door Refresh
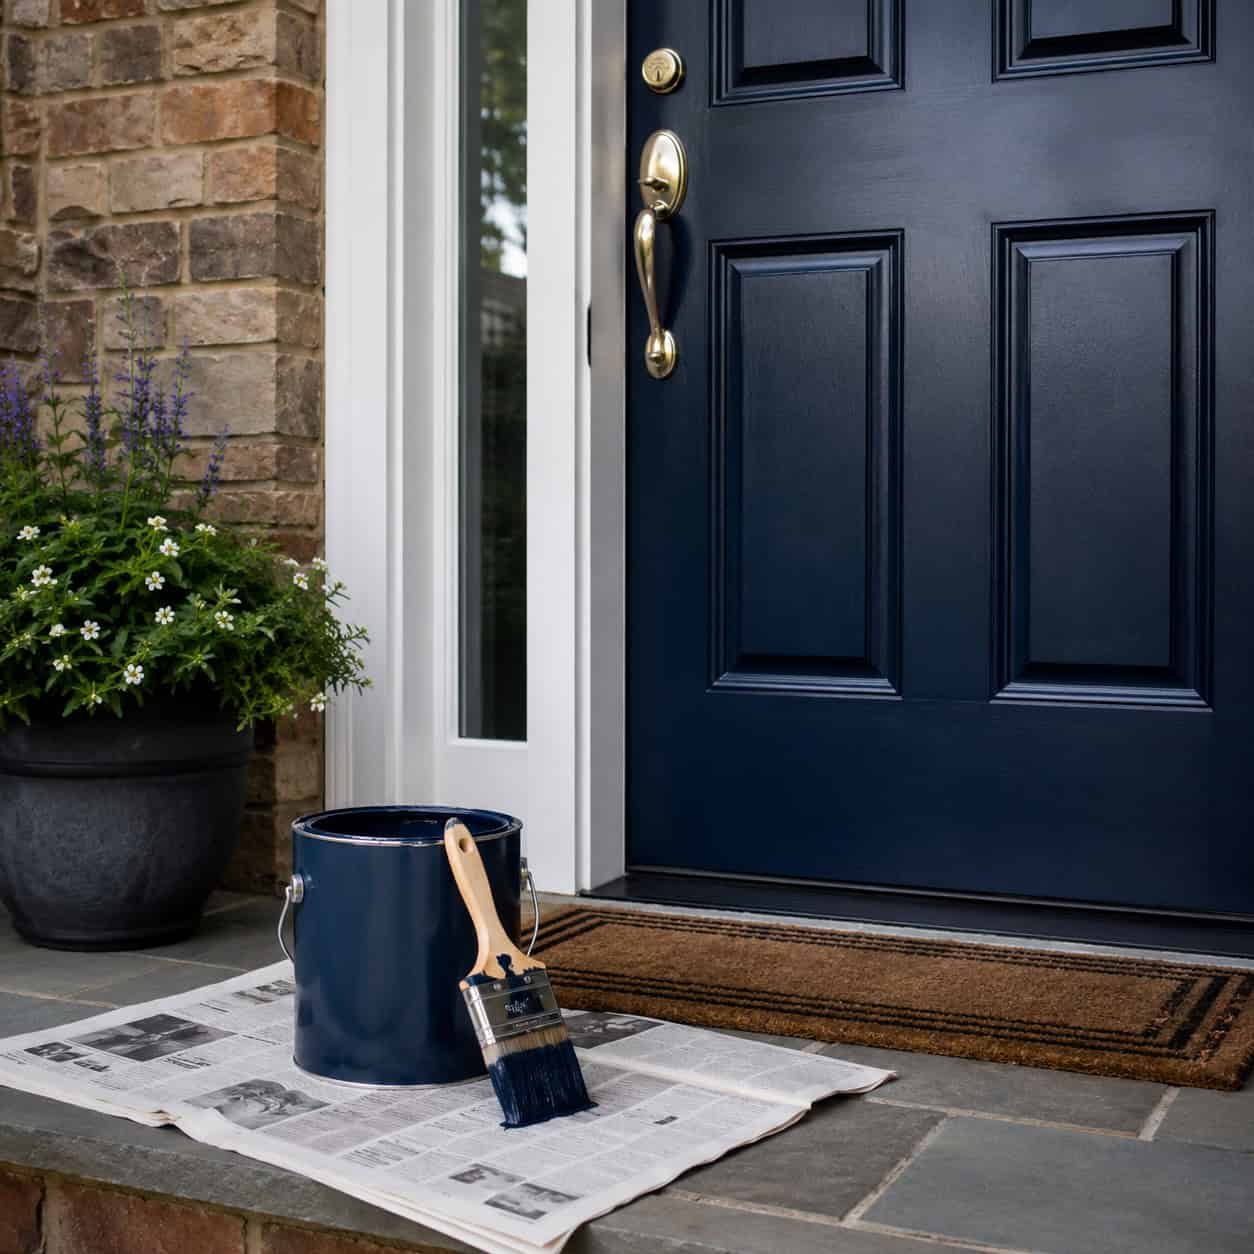
The front door is the first conversation your home has with strangers and guests. A saturated, well-applied paint color signals attention to detail and immediately boosts curb appeal. If the door is dented or weathered beyond a cosmetic fix, replacing it with a modern, insulated unit is worth considering. Either way, a freshly finished door frames your whole facade and cues quality before anyone steps inside.
Key Design Elements
- Choose a door color that contrasts the siding
- Sand, prime, and use exterior-grade paint
- Replace weatherstripping while the door is off
Pro Tip: If painting, use a high-build exterior primer and two finish coats for durability. For replacements, pick a pre-hung unit that includes jamb and threshold to simplify installation and improve energy performance.
2. Wash Away Years: Pressure-Clean Key Surfaces

Dirt, mildew, and grime flatten architectural details and make materials look tired. A careful pressure wash brightens siding, decks, driveways, and fences and reveals the real color beneath years of buildup. Renting a unit for a day and learning basic nozzle technique produces a dramatic before-and-after. Avoid damage by testing pressure and using low-pressure soap for delicate surfaces.
Key Design Elements
- Start with a low-pressure fan nozzle on siding
- Use appropriate cleaners for deck, brick, or concrete
- Keep nozzle 12–24 inches from surfaces to avoid etching
Pro Tip: Move methodically from top to bottom, rinsing areas immediately after applying cleaner. Protect plants and electrical outlets with tarps and low-pressure rinses to prevent damage.
3. Swap Interior Doorknobs for Instant Style Upgrade
Interior doorknobs are small touchpoints that shape how a house reads. Replacing dated round knobs with lever handles, matte finishes, or modern roses unifies a home’s aesthetic and feels surprisingly luxurious. The job is straightforward: remove two screws, swap the latch, and install the new hardware. Do a few rooms at a time to spread expense while still getting the momentum of visible change.
Key Design Elements
- Match latch backset to existing holes
- Upgrade finish in groups for cohesion
- Test latch orientation before final tightening
Pro Tip: Keep a consistent finish throughout hallways and common rooms to read as intentional design. If holes don’t line up, buy a latch kit or use a simple escutcheon to conceal small mismatches.
4. Add a Backsplash That Reads Like a Remodel
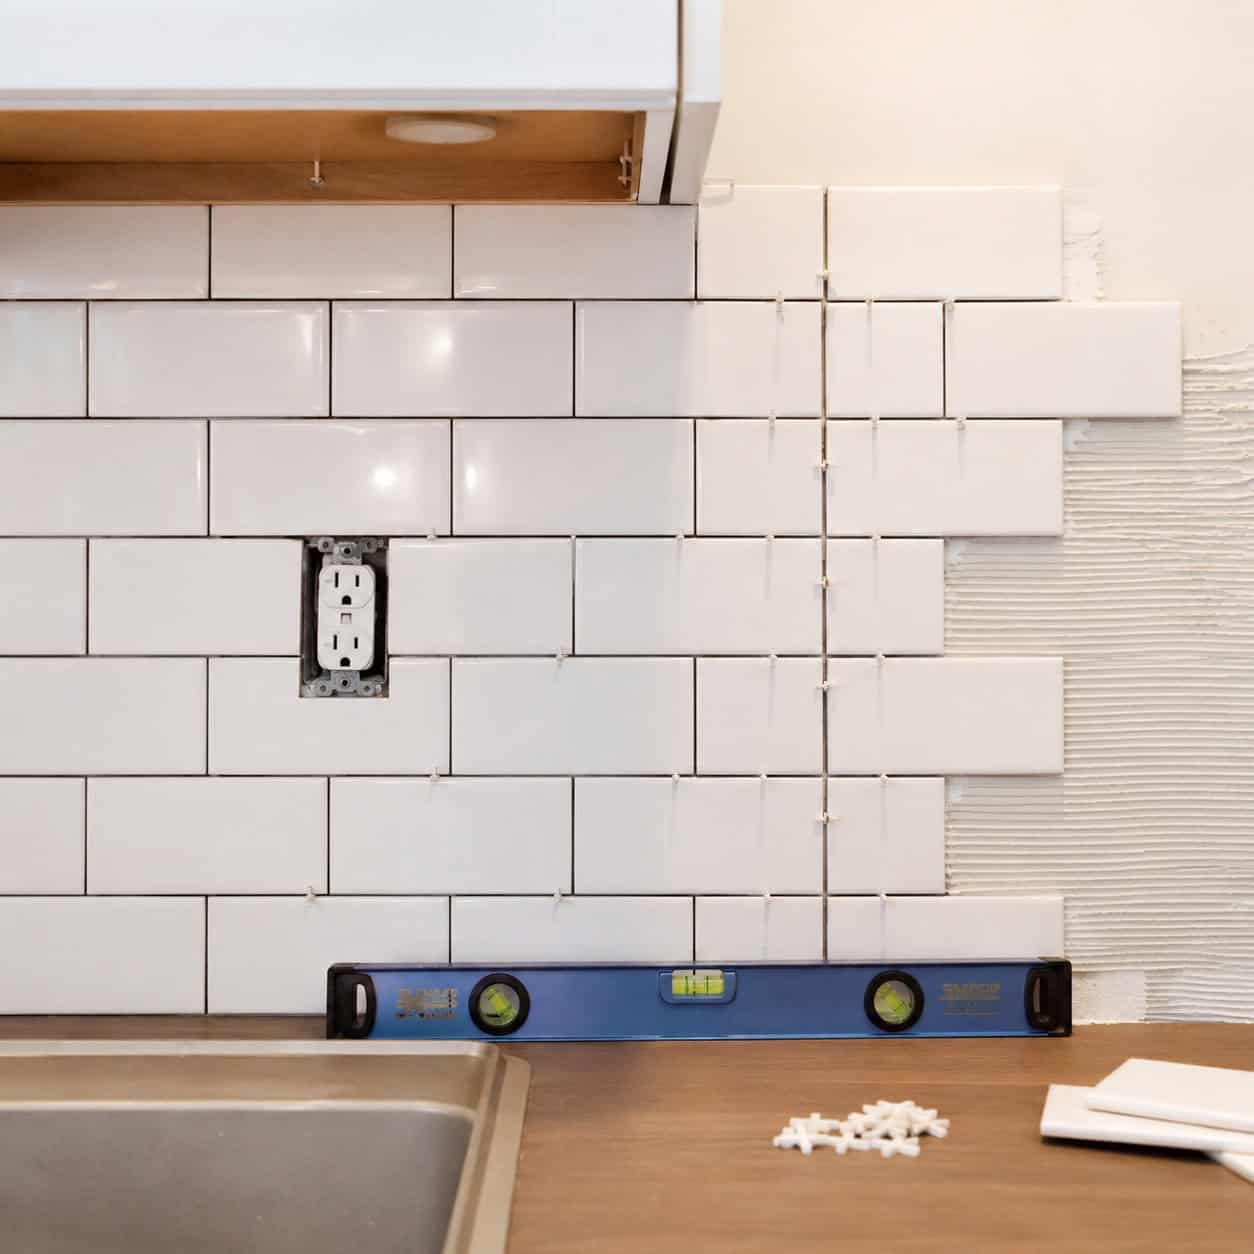
A backsplash protects walls and completes a kitchen visually. Choosing tile or a durable peel-and-stick alternative creates texture and pattern on a compact surface, delivering a high-end look for modest cost. Layout and pattern matter: running brick, stacked, or herringbone each set a different tone. With careful measurement and a weekend’s work, even a tight budget will yield a kitchen that photographs and functions better.
Key Design Elements
- Measure carefully and account for grout spacing
- Use spacers and a level to maintain straight lines
- Seal grout or edges where moisture is likely
Pro Tip: For a clean finish near counters and cabinets, install a ledge or trim at the top of tile runs. If you prefer a peel-and-stick product, clean and prime the substrate first for best adhesion.
5. Lay Luxury Vinyl Plank for a Fresh, Cohesive Floor
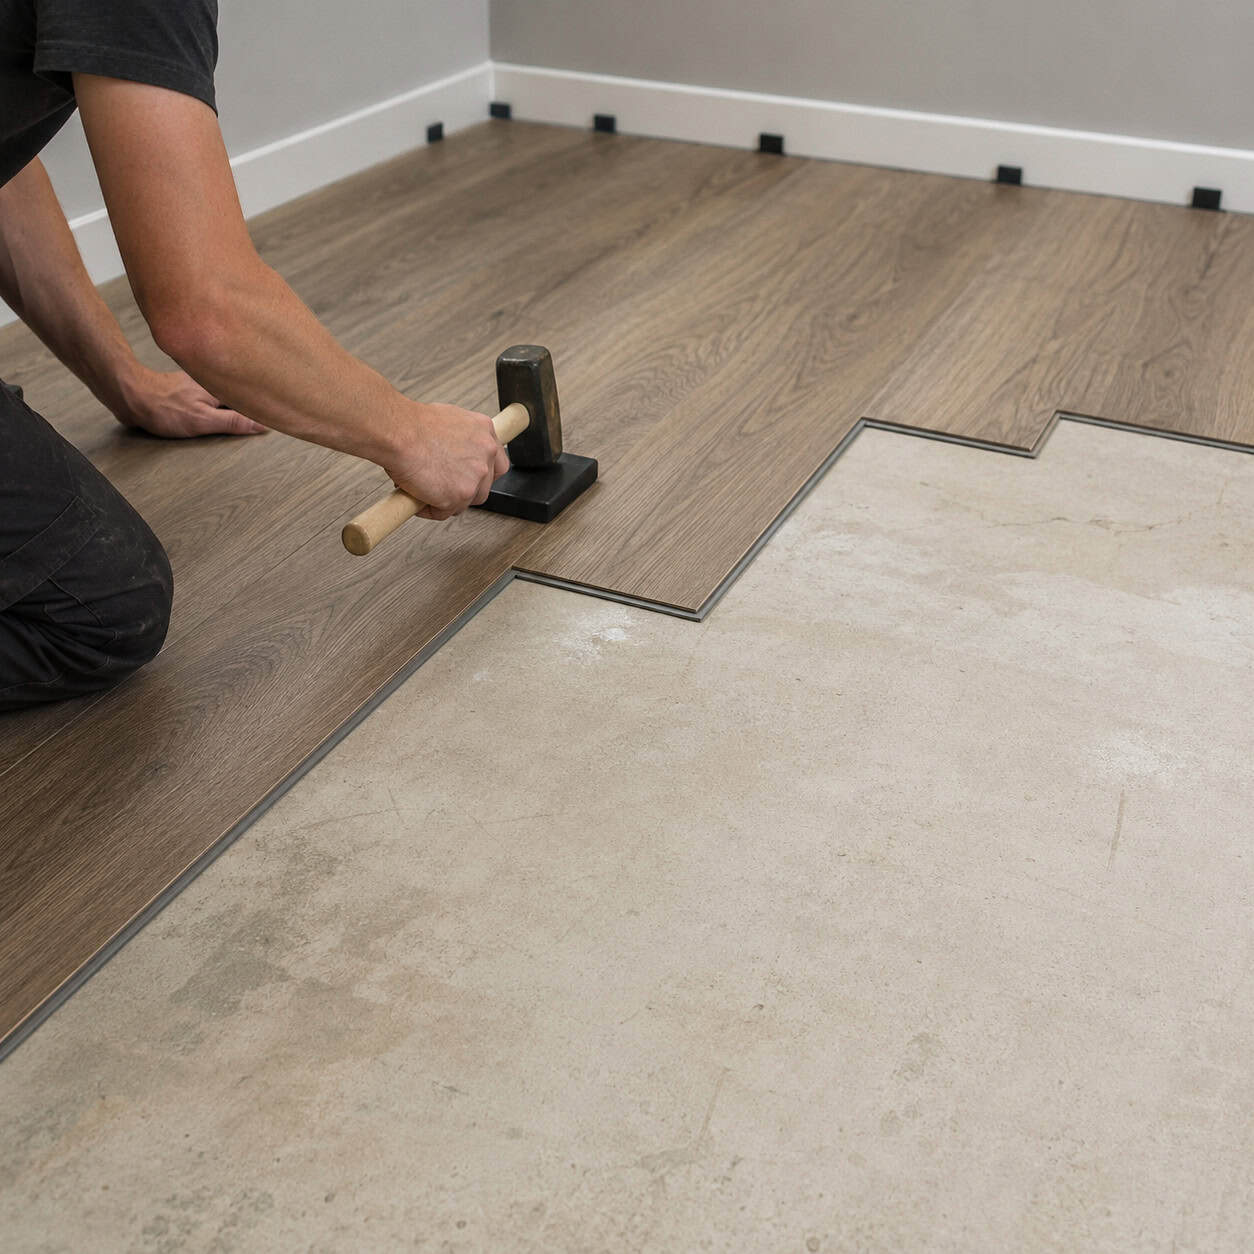
Luxury vinyl plank (LVP) offers the look of real wood with resilience for busy households. Floating installations click together and typically install over existing flat surfaces, speeding the project. Choose planks with textured surfaces and realistic color variation to avoid a flat, synthetic feel. Pay attention to transitions between rooms and leave proper expansion gaps to ensure longevity and a polished final look.
Key Design Elements
- Acclimate planks in the room before installation
- Use an underlayment if recommended by the manufacturer
- Trim with a pull bar and tapping block for snug seams
Pro Tip: Start installation from the longest, straightest wall and stagger end joints by at least 6–12 inches. Keep spare planks for future repairs and to match batch color variation.
6. Warm Up Your Island With a Butcher-Block Top
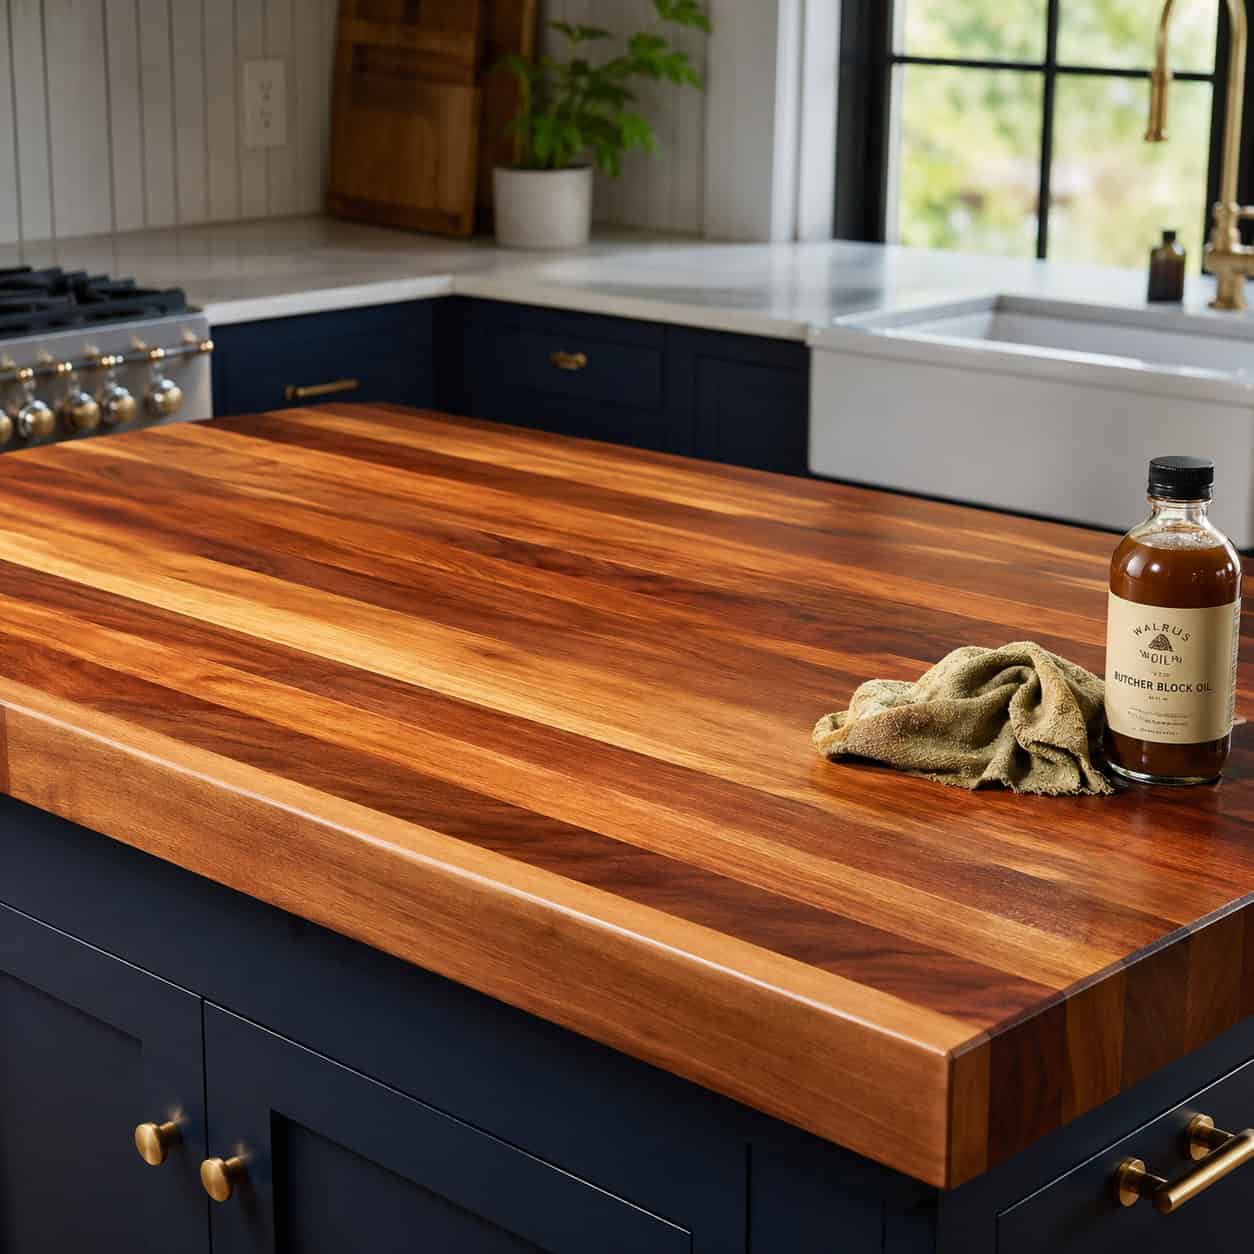
Butcher-block island tops introduce warmth and natural grain that instantly humanizes a kitchen. On a modest island footprint, solid wood is affordable and approachable for a DIY finish. Select a hardwood with close grain for durability and finish with food-safe oil or a durable varnish depending on use. Proper sealing around sinks and hot pans preserves the wood and keeps the surface attractive for years.
Key Design Elements
- Choose a hardwood species suited to daily use
- Sand smooth and apply food-safe oil or varnish
- Add silicone pads where appliances sit to prevent burns
Pro Tip: Keep a maintenance oil on hand and reapply periodically to maintain water resistance. For heavy-duty cooking zones, install a small sacrificial cutting board surface rather than cutting directly on the butcher block.
7. Refresh Rooms Fast With a Thoughtful Paint Plan
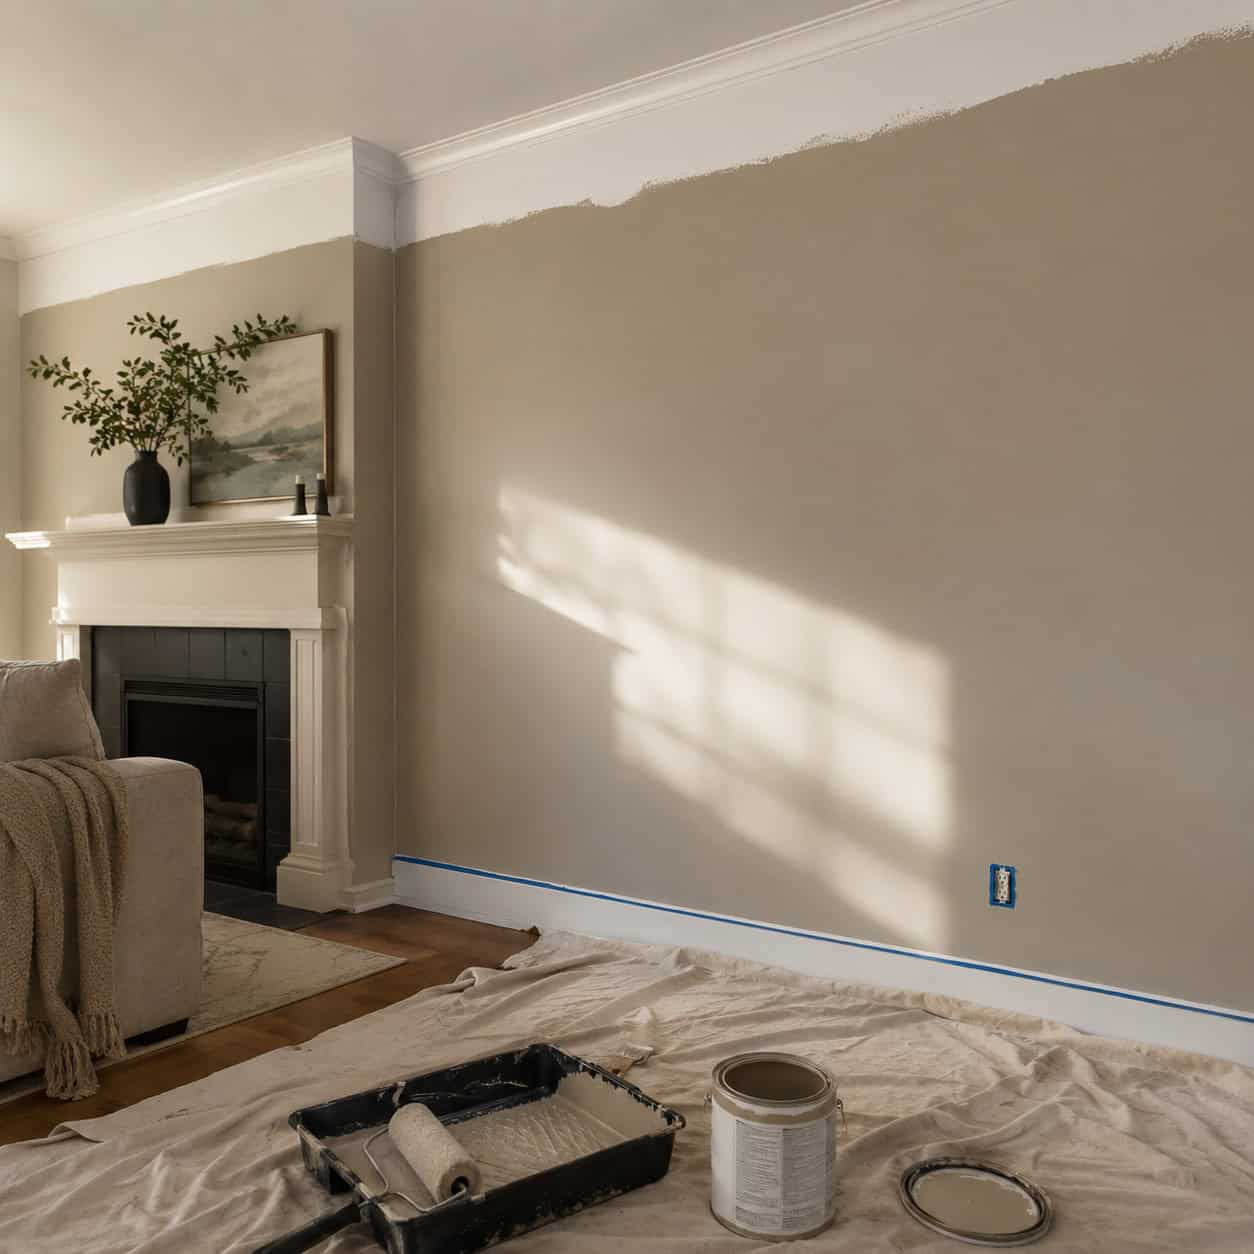
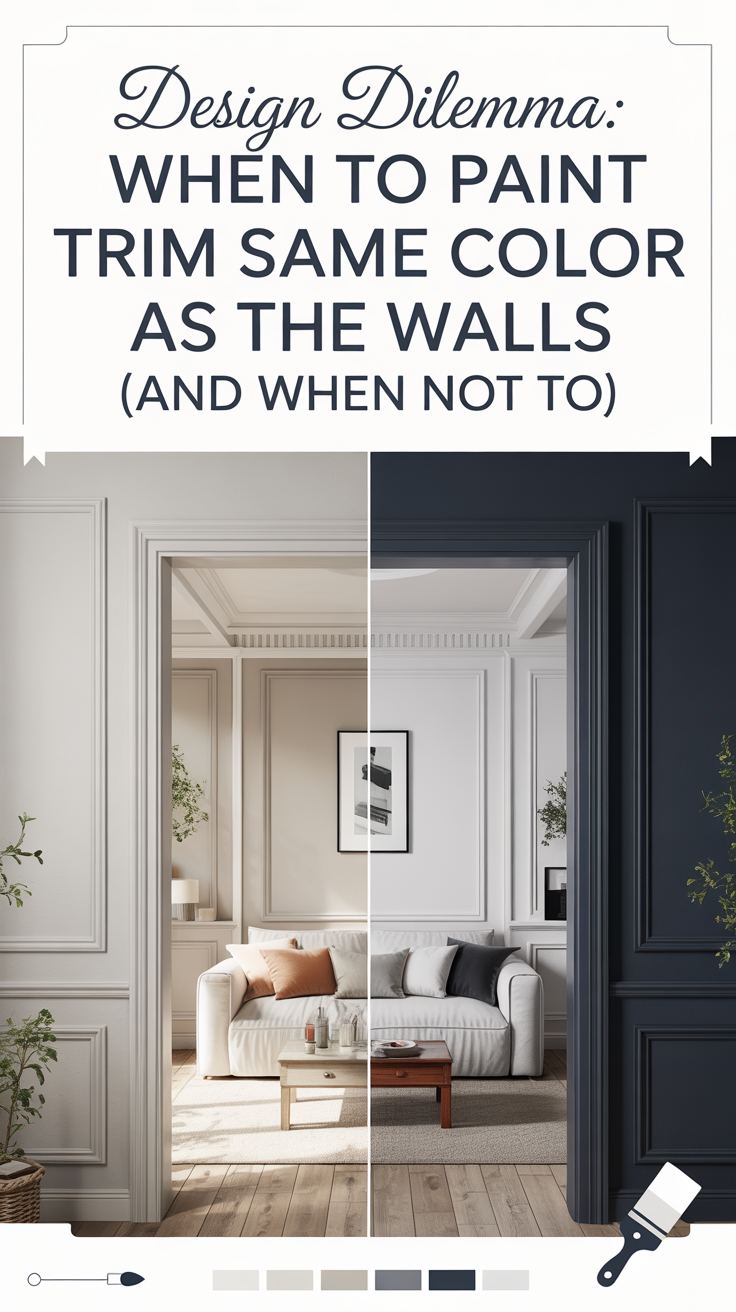
A fresh coat of paint creates immediate cohesion and cleans up visual noise. Rather than chasing every trendy hue, select two or three complementary neutrals and carry them through adjacent spaces to create flow. Proper prep is as important as color: fill cracks, sand glossy finishes, and apply primer where needed. A careful, well-executed paint job lifts every piece of furniture and makes finishes feel intentional.
Key Design Elements
- Patch, sand, and prime before topcoats
- Use consistent sheens within a room
- Test color on multiple walls and light conditions
Pro Tip: Paint samples look different at scale; apply 2–3 large swatches and live with them for a day. Keep painted trim and walls in proportion by choosing primers and mid-sheen finishes where appropriate.
8. Put a Dimmer on Every Popular Switch
A dimmer transforms how a room functions, letting one fixture serve task and mood. Choose dimmers compatible with LED or CFL bulbs to avoid flicker and ensure smooth operation. Replacing a single switch is a quick electrical task for a homeowner comfortable with breakers; label the circuit, remove the cover, and swap in the dimmer. The result is richer atmosphere and greater flexibility without changing fixtures.
Key Design Elements
- Match dimmer type to bulb technology (LED, incandescent)
- Turn off the breaker and confirm power is off
- Keep original switch wiring layout for an easy swap
Pro Tip: If a fixture hums or flickers after installation, try a different dimmer rated for your bulb brand. Many inexpensive LEDs need dimmers specifically designed for low-wattage loads.
9. Replace Yellowed Faceplates for a Cleaner Look
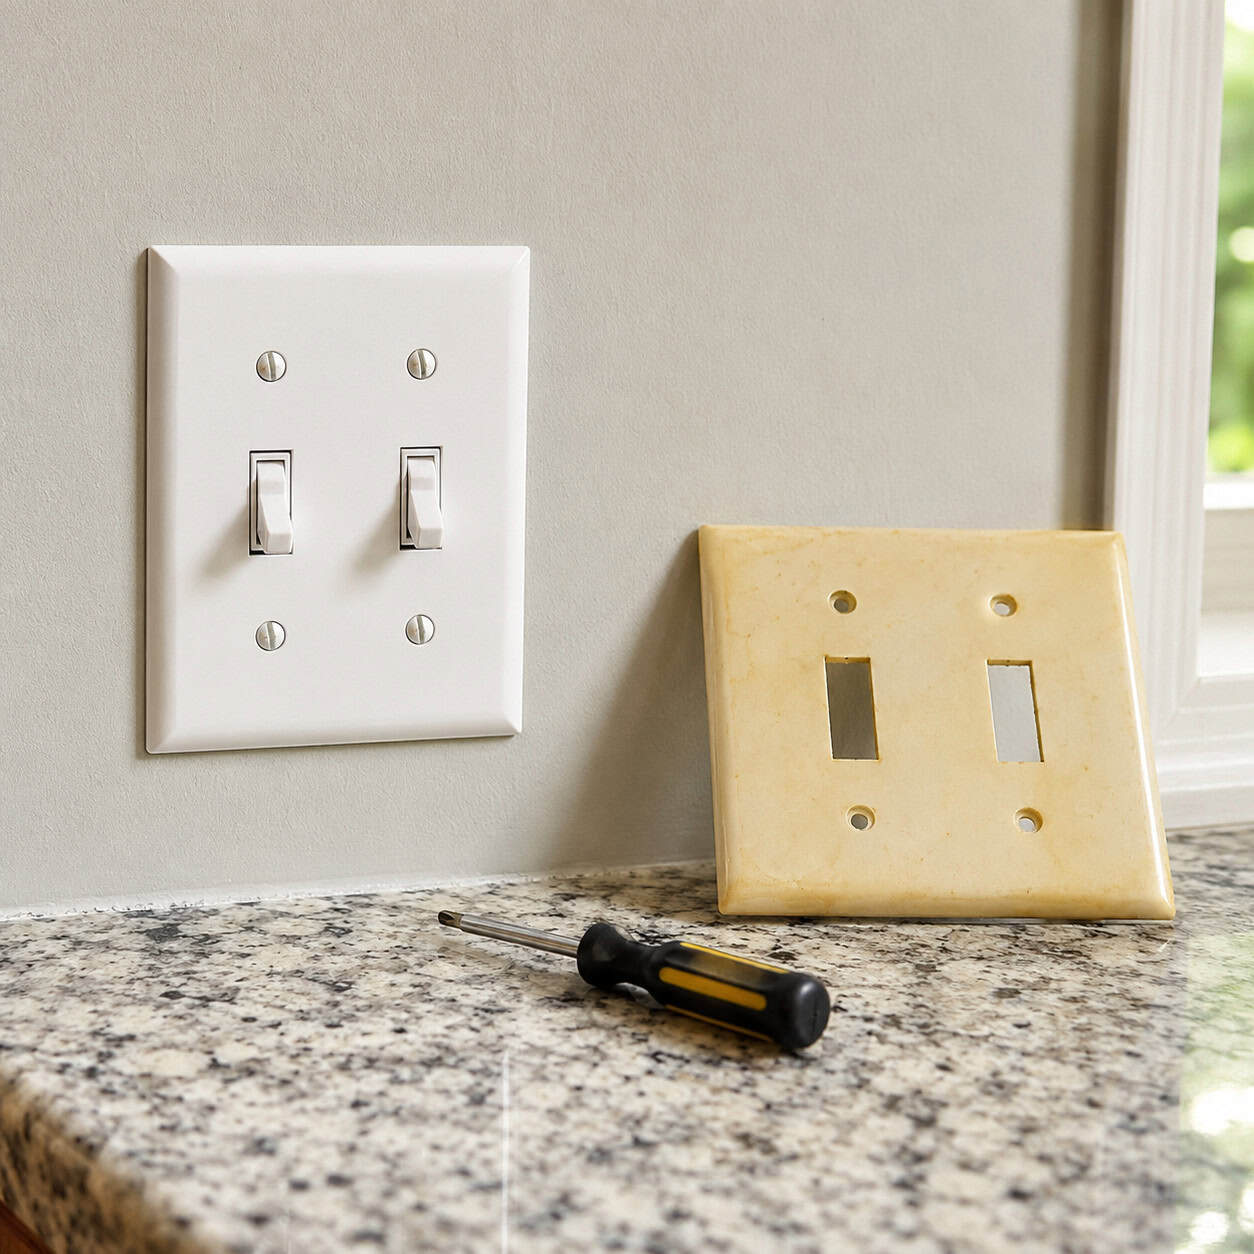
New outlet and switch covers are one of the least expensive ways to make interiors feel crisp. Replacing sun-yellowed or stained plates across a home homogenizes surfaces and signals upkeep. Choose colors and finishes that match trim or wall tones for a subtle outcome, or go bold with metal or designer plates for a modern touch. The replacement itself is a quick safety-friendly swap that takes minutes per opening.
Key Design Elements
- Turn power off at the breaker before replacing plates
- Match plate size and style to each opening
- Wipe openings clean before installing new plates
Pro Tip: Swap plates room by room to spread cost and keep the project manageable. Consider color-matched or matte-finish plates to better blend with contemporary paint choices.
10. Install Floating Shelves to Create Display and Storage
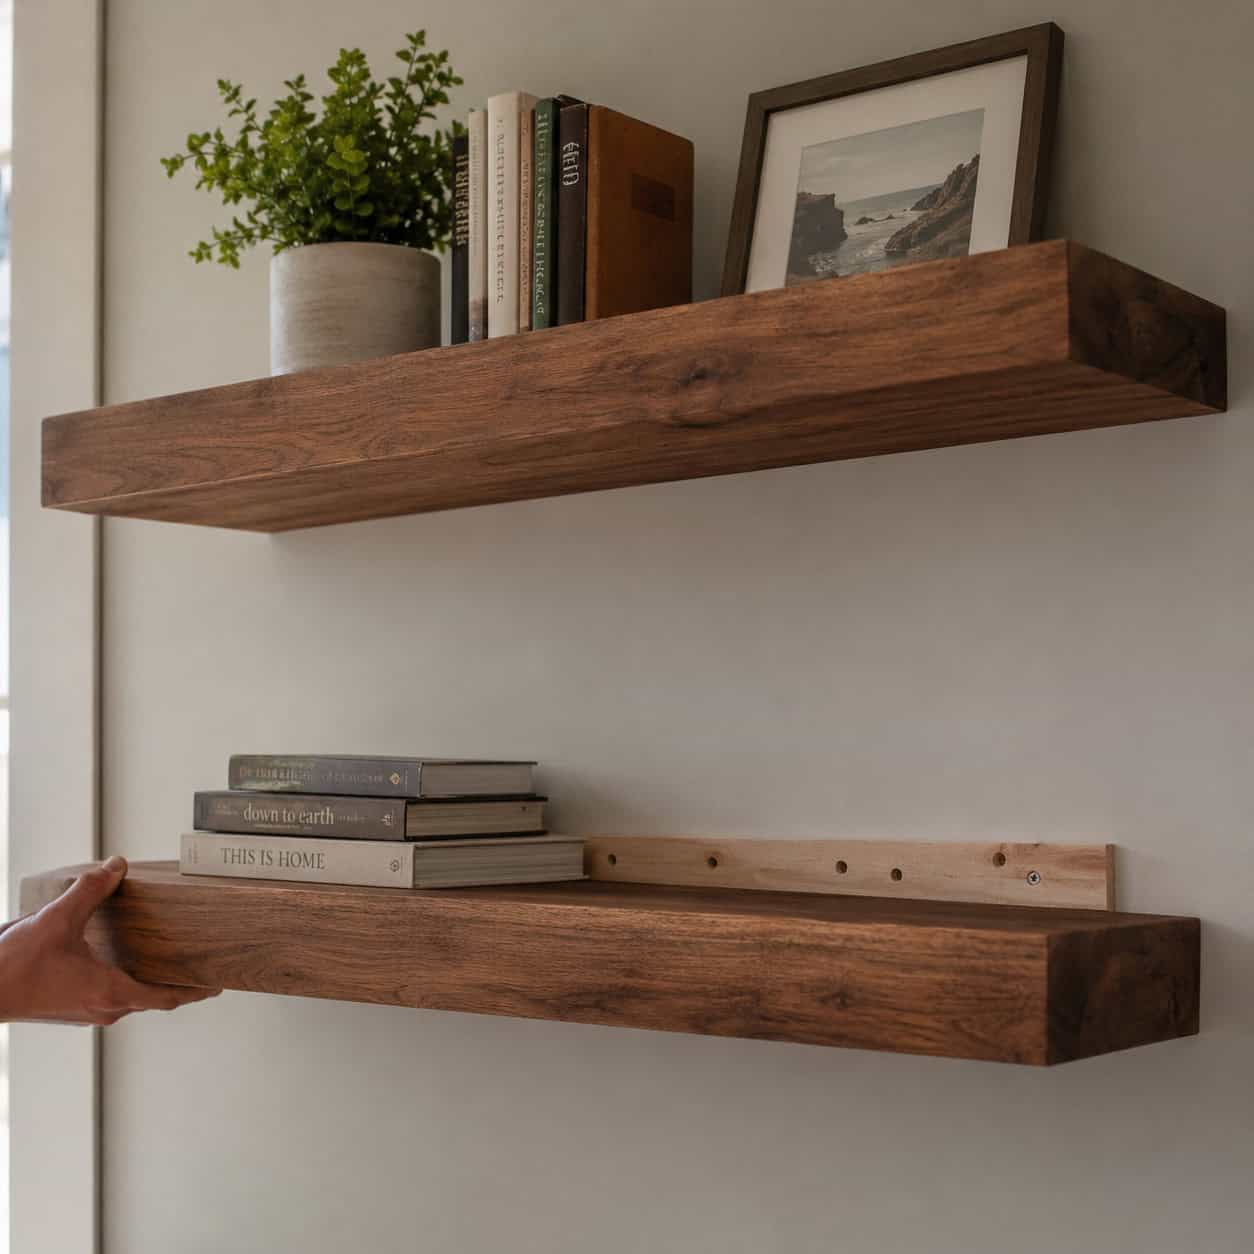
Floating shelves add display space and visual interest without heavy built-ins. The secret to a reliable shelf is anchoring — secure the hidden mounting cleat to studs or use rated heavy-duty anchors for drywall. Choose shelf depth to fit the items you’ll display and finish the edges cleanly. When hung in a balanced composition they elevate décor and make walls feel curated, not cluttered.
Key Design Elements
- Locate studs and mark mounting points carefully
- Use a hidden cleat or threaded rod system for strength
- Level shelves and space displays in odd-number groupings
Pro Tip: Paint or stain the cleat to match the shelf so it disappears. For heavier objects, install two cleats spaced to distribute load and test with weight before styling.
11. Refresh Your Facade With a New Garage Door

Because a garage door is the largest visual element on many exteriors, replacing it can reframe the entire frontage. Modern doors come in insulated options with windows and hardware that tune the style from traditional to contemporary. If a full replacement is out of budget, a fresh paint job and applied faux hardware can simulate the effect. Either approach balances curb appeal and practical performance improvements.
Key Design Elements
- Choose a door style that complements your home’s architecture
- Consider insulated panels for efficiency near living spaces
- Match hardware and window styles for a cohesive look
Pro Tip: If replacing, measure carefully and consider professional installation for heavy doors. If painting instead, use exterior paint formulated for metal or composite surfaces and prep thoroughly to avoid flaking.
12. Light the Night: Add Path and Landscape Fixtures
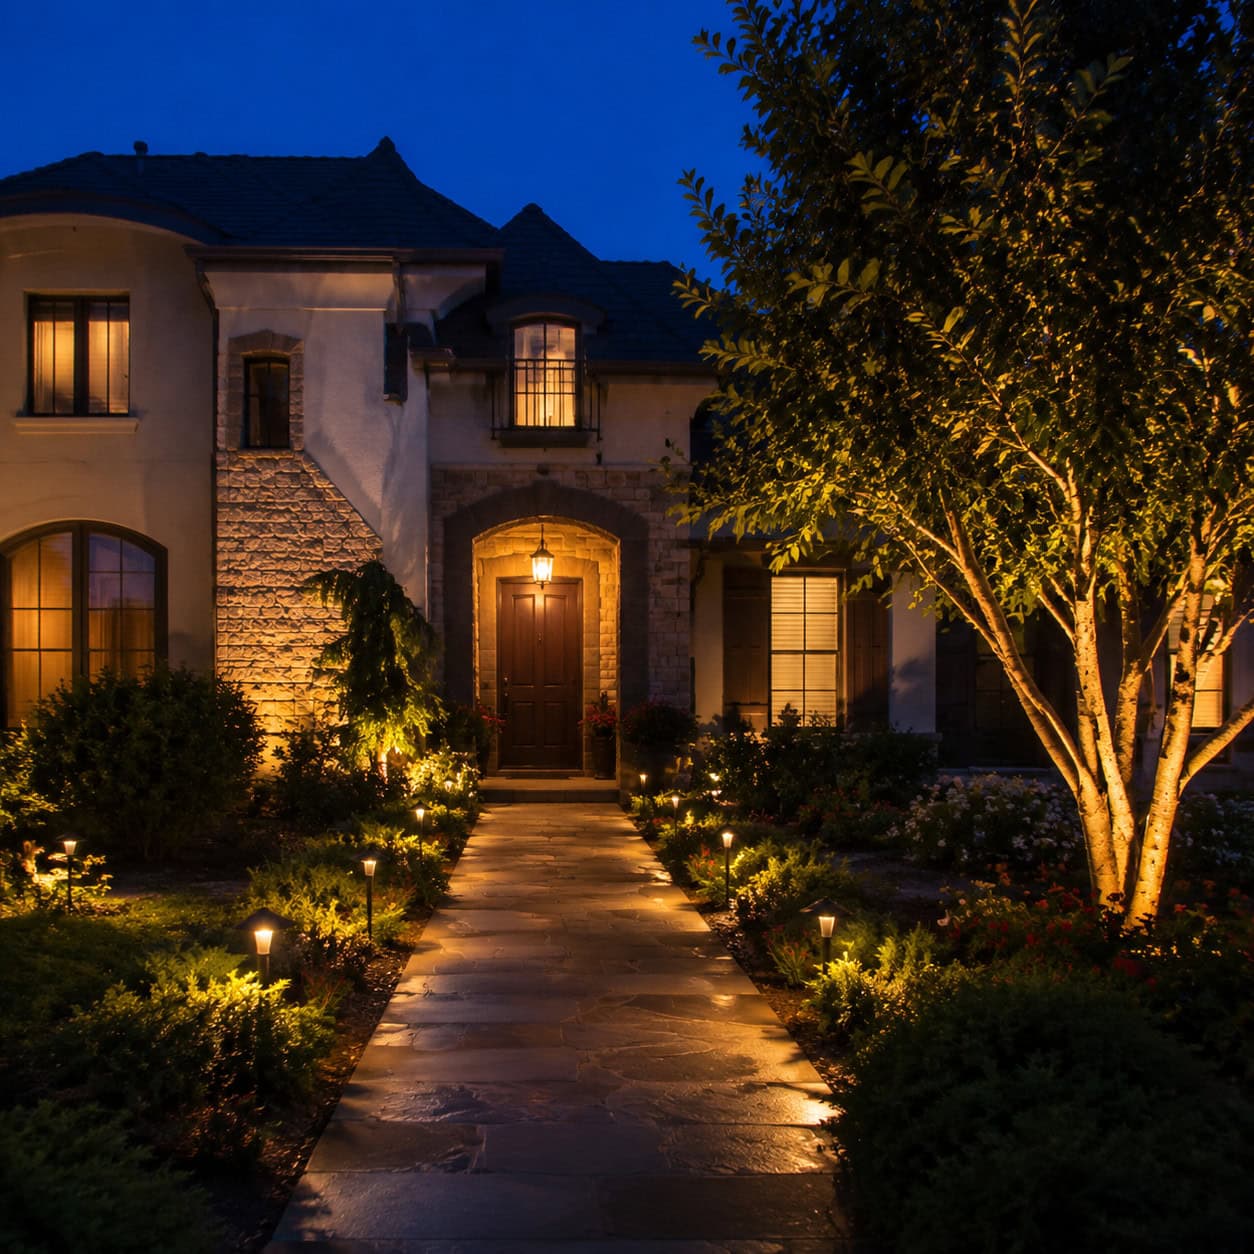
Landscape lighting extends curb appeal into the evening and improves safety. Strategically placed path lights, uplights on specimen trees, and soft washes on architectural features create depth and drama. Solar options are easy to install, while low-voltage systems offer greater control and brightness. Thoughtful placement avoids glare and highlights textures, turning your yard into a welcoming scene at dusk.
Key Design Elements
- Aim fixtures downward to reduce glare
- Space path lights evenly for balanced illumination
- Use timers or photocells for automatic dusk-to-dawn operation
Pro Tip: Map fixture placement on paper before digging. Test light positions at dusk to ensure highlights land where intended and adjust aim to avoid lighting neighbors or the street.
13. Choose the Right Rug Size to Define the Room
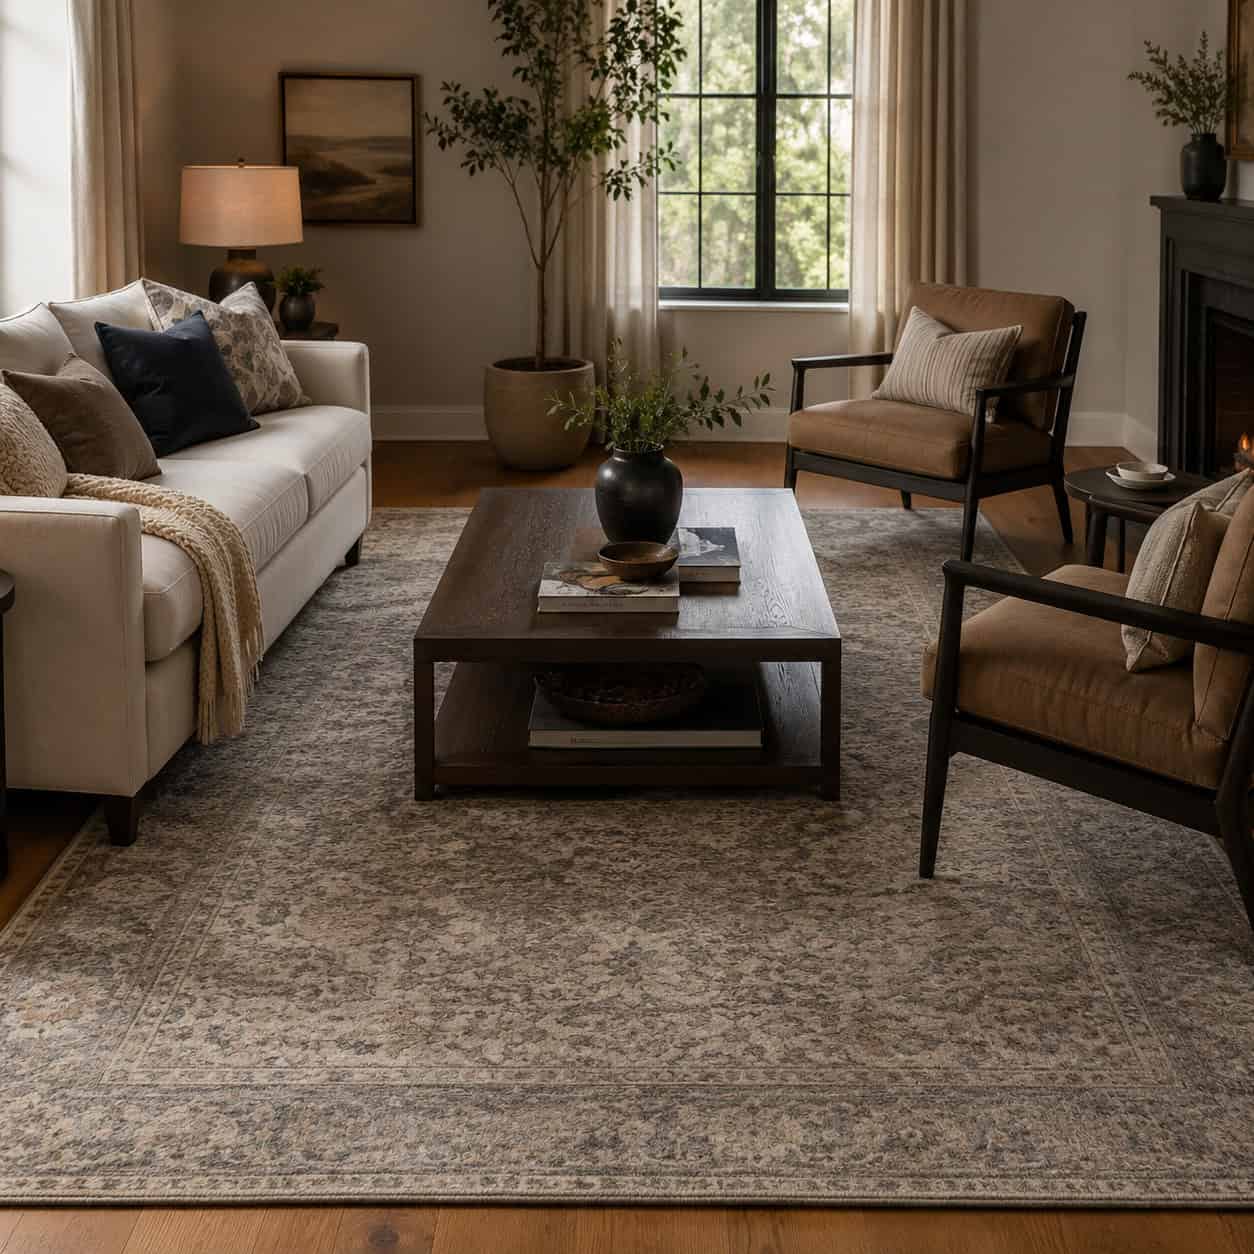
Rug sizing affects how furniture groups read and whether a room feels anchored or adrift. For living rooms, a rug should at least reach the front legs of seating pieces, with larger rugs bringing greater cohesion. In dining rooms, allow enough border for chairs to be pulled out while on the rug. Correct scale makes small spaces feel intentional and large rooms feel intimate.
Key Design Elements
- Measure furniture footprint before buying a rug
- Leave consistent floor borders around the rug edge
- Use rug pads to prevent slipping and protect floors
Pro Tip: If budget is tight, buy a slightly larger rug and trim the edges professionally or layer a runner to extend a smaller rug visually. Always test with taped outlines before shopping.
14. Edge Beds and Refresh Mulch for Instant Curb Appeal

Tidy beds and fresh mulch are quick signals of care that cost little. Clean-cut edges create definition between lawn and planting areas, improving perceived neatness. Dark, even mulch freshens color palettes and highlights plantings, while a thin, consistent layer controls weeds and moisture. These seasonal updates are simple to schedule and repeat and are a high-visibility way to make landscaping look intentionally maintained.
Key Design Elements
- Use a half-moon spade or edger for crisp borders
- Spread mulch evenly to a 2–3 inch depth
- Pull mulch back slightly from plant stems and foundations
Pro Tip: Edge beds on a cool morning when soil is firm for the cleanest trench. Keep mulch a few inches from siding and trunks to prevent moisture issues and pest hideouts.
15. Add Patterned Backing Behind Open Shelving
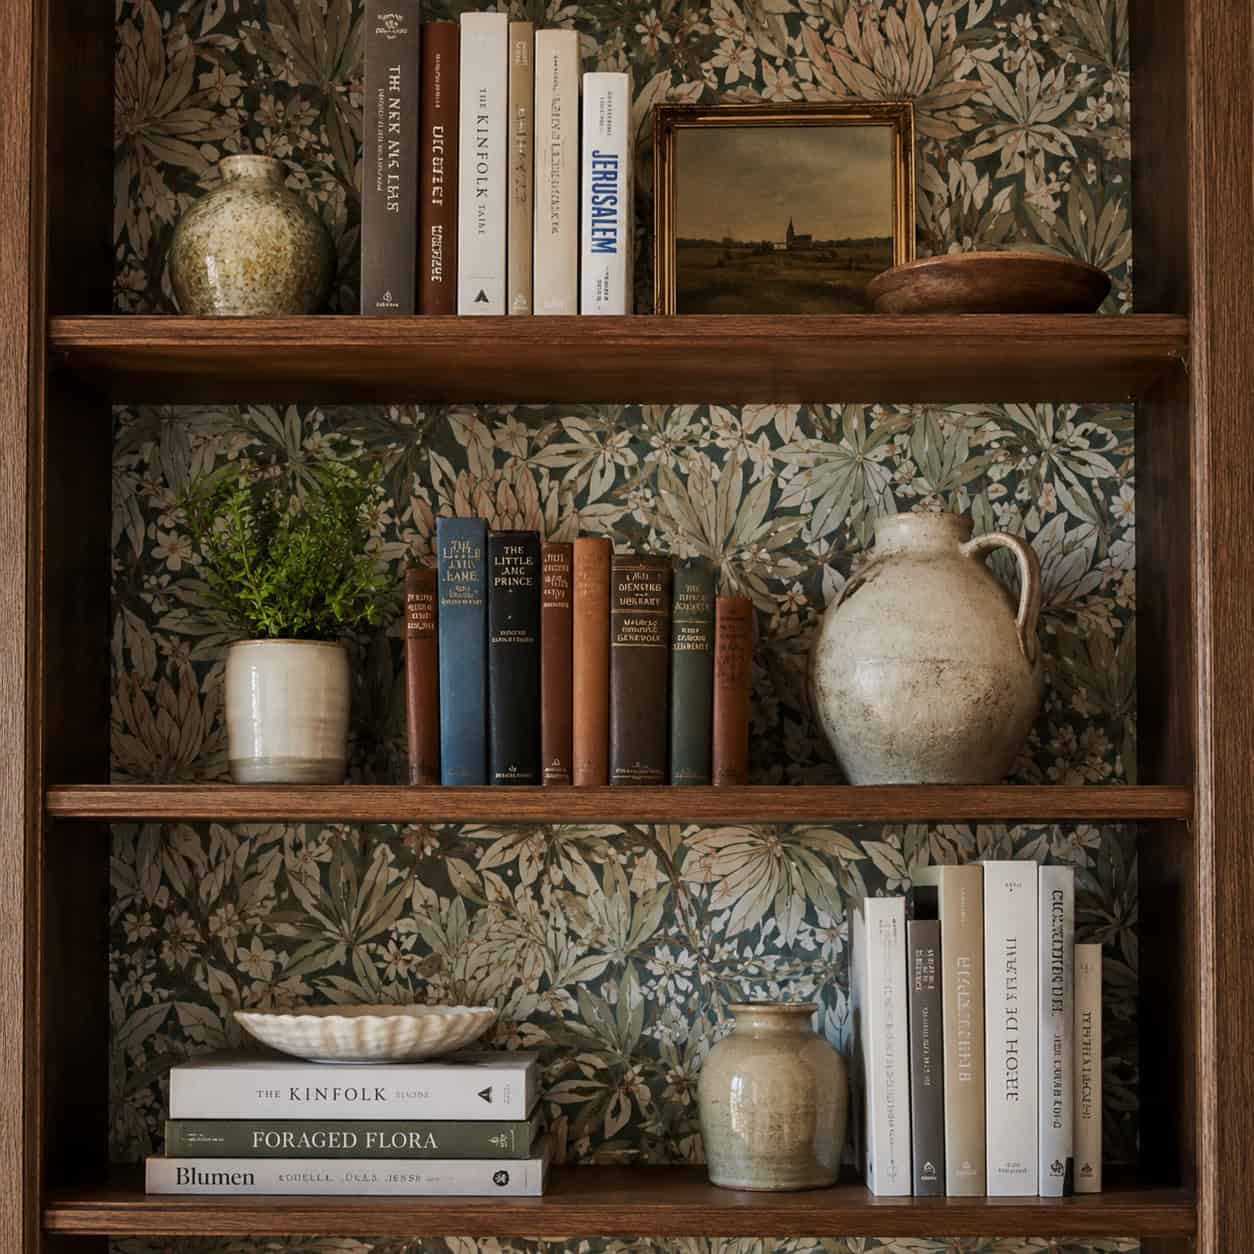
A patterned or textured backboard behind shelving creates depth and personality at low cost. Peel-and-stick materials are forgiving for small areas and removable when tastes change. Match scale of pattern to shelf depth so designs remain readable and not visually busy. This technique lets you experiment with color or pattern without committing to a whole room, and it showcases curated collections beautifully.
Key Design Elements
- Measure shelf interiors and cut backing to size
- Smooth bubbles with a squeegee during installation
- Seal edges where moisture could lift adhesive
Pro Tip: Choose smaller-scale patterns for narrow shelves and bolder prints for deep bookcases. Test a small scrap to ensure adhesive removes cleanly from your specific shelf finish.
16. Hang a Statement Pendant Over a Work Surface
A well-scaled pendant becomes a focal point over an island or table, adding proportion and character. Pick a fixture whose diameter and drop complement the surface below — too small and it disappears, too high and it loses presence. If wiring isn’t already in place, consider a plug-in conversion or hire an electrician for a safe install. The right fixture balances task light with decorative impact.
Key Design Elements
- Measure width of island and choose pendant scale accordingly
- Hang pendants low enough to illuminate the work surface
- Group pendants in odd numbers for balanced composition
Pro Tip: When installing over an island, set the bottom of the pendant roughly 30–36 inches above the countertop for functional light without obstructing sightlines. Consider a dimmer for mood control.
17. Swap Cabinet Hardware for an Instant Kitchen Refresh
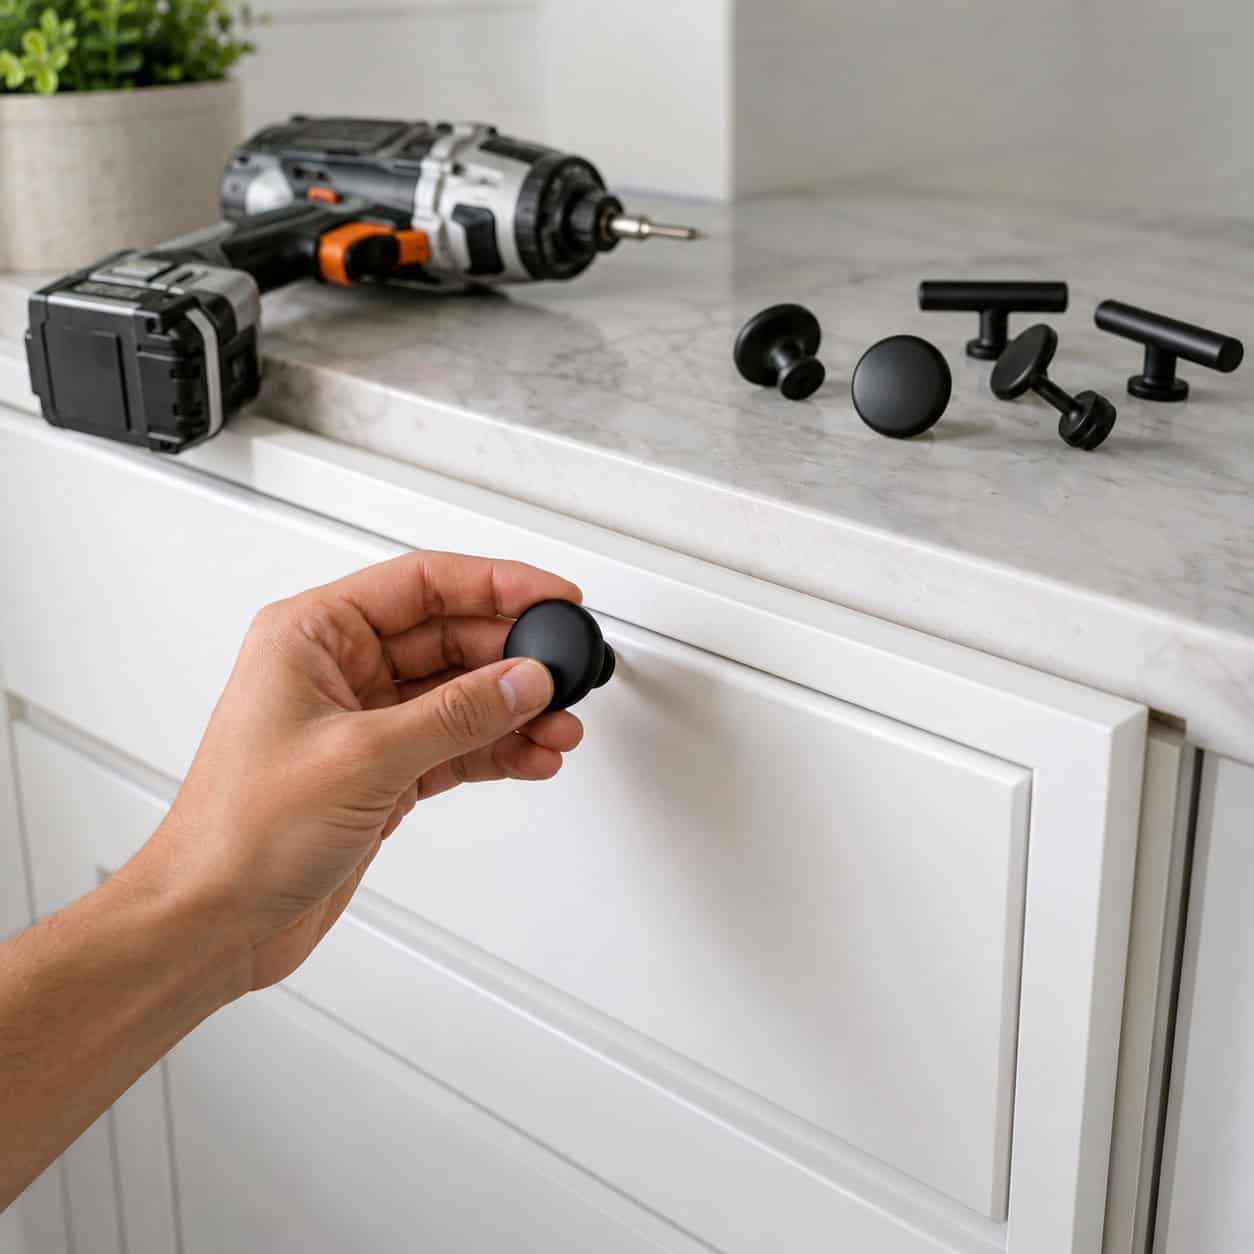
Changing knobs and pulls is an economical makeover that alters perceived style. Select hardware that matches existing hole spacing to avoid drilling new holes or filling old ones. Coordinating finishes with faucets, lights, and door hardware creates a cohesive story across rooms. Even modestly priced pulls in thoughtful finishes can make cabinetry read as custom and well-considered.
Key Design Elements
- Measure existing hole spacing before buying new pulls
- Install hardware with a template for consistent placement
- Match finish tones across the kitchen’s metals
Pro Tip: If your cabinets use a variety of hole spacings, consider swapping all hardware at once for uniformity. Use a jig or paper template to ensure every handle sits at the same height and centered position.
18. Make the Entry Shine With a New Porch Light
Update your entry’s personality by replacing a dated porch light with a more substantial fixture. The correct scale and finish anchors the doorway and makes the porch feel deliberately styled. Hardwired replacements are a straightforward electrician job, while plug-in or battery-operated alternatives provide a temporary upgrade. Choose fixtures with integrated LEDs or seek bulbs rated for outdoor use for reliability.
Key Design Elements
- Pick a fixture proportional to your doorway dimensions
- Use outdoor-rated fixtures and bulbs for longevity
- Wire through a switched circuit or use a photo control
Pro Tip: Lower lanterns a touch from factory mounting height to create a more intimate, welcoming glow. If you prefer DIY, select a plug-in outdoor-rated sconce temporarily while planning a permanent hardwired swap.
19. Upgrade Comfort and Control With a Smart Thermostat
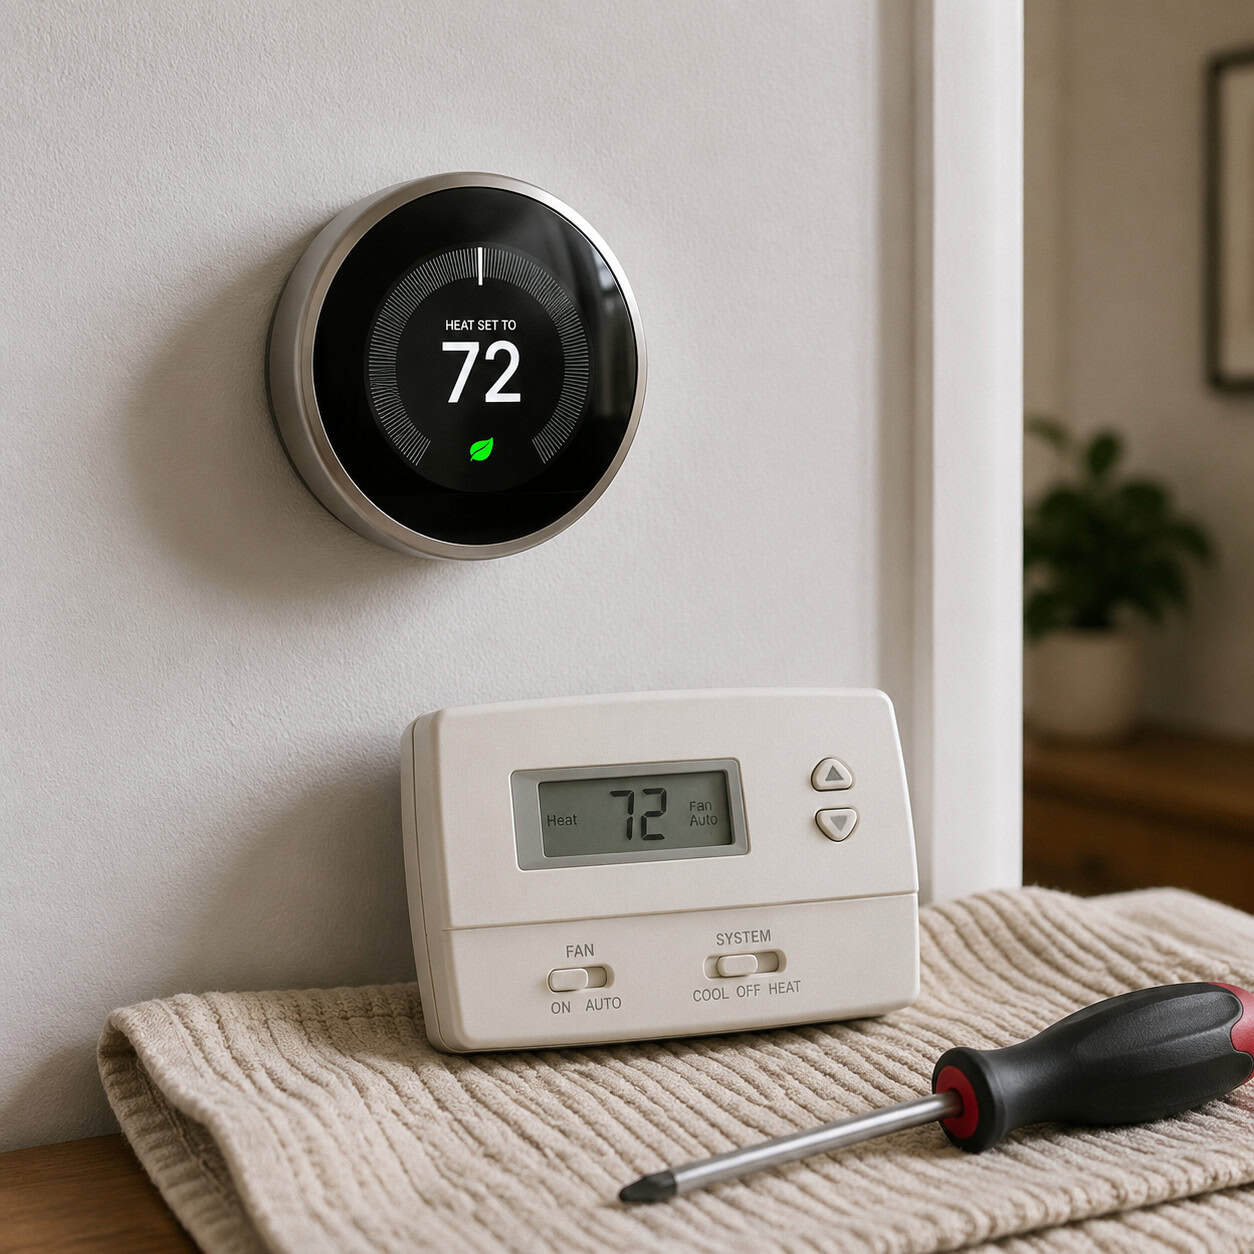
A smart thermostat modernizes temperature control and can adapt schedules to daily life, improving comfort and potentially reducing wasted energy. Many models install easily in place of a conventional thermostat and pair with phone apps for remote adjustments. Before buying, verify compatibility with your HVAC system’s wiring. Once installed, take time to learn scheduling and geofencing features to get the most from the device.
Key Design Elements
- Confirm C-wire or choose a model with adapter
- Create schedules that reflect your real occupancy
- Integrate with smart home platforms if desired
Pro Tip: Run a compatibility check on the manufacturer’s site before purchase. If the system lacks a C-wire, use a power adapter or select a thermostat designed to work without one to avoid short cycling.
20. Choose the Right LED Bulb for Mood and Function
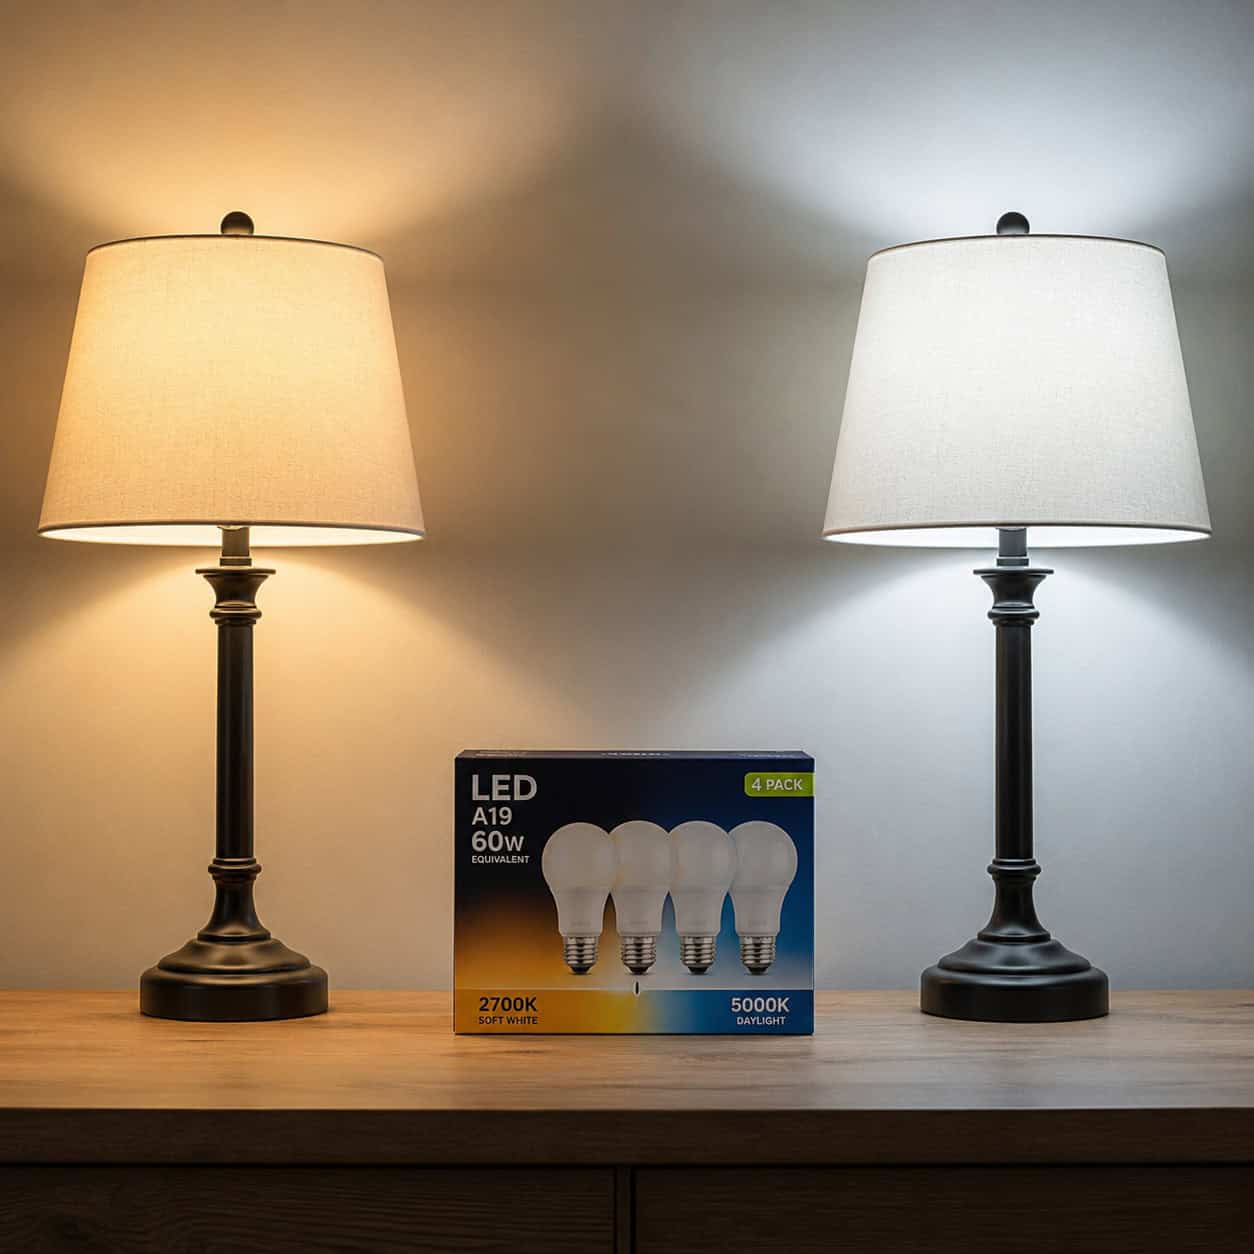
LED bulbs vary widely in color temperature and brightness; picking the right mix creates cohesive lighting that flatters finishes and supports tasks. Warm temperatures enhance cozy rooms while cooler temps suit work areas. Replace bulbs in groups to avoid mismatched tones and consider CRI (color rendering index) for accurate color in kitchens and bathrooms. Energy-efficient LEDs also reduce maintenance and long-term cost.
Key Design Elements
- Match color temperature room-by-room
- Check lumen output instead of wattage for brightness
- Choose high-CRI bulbs for accurate color rendering
Pro Tip: When replacing bulbs, buy from the same manufacturer and batch to reduce color variation. Keep spares of the most-used bulb types for quick replacements and consistent light quality.
21. Install Crown Molding to Add Architectural Lift
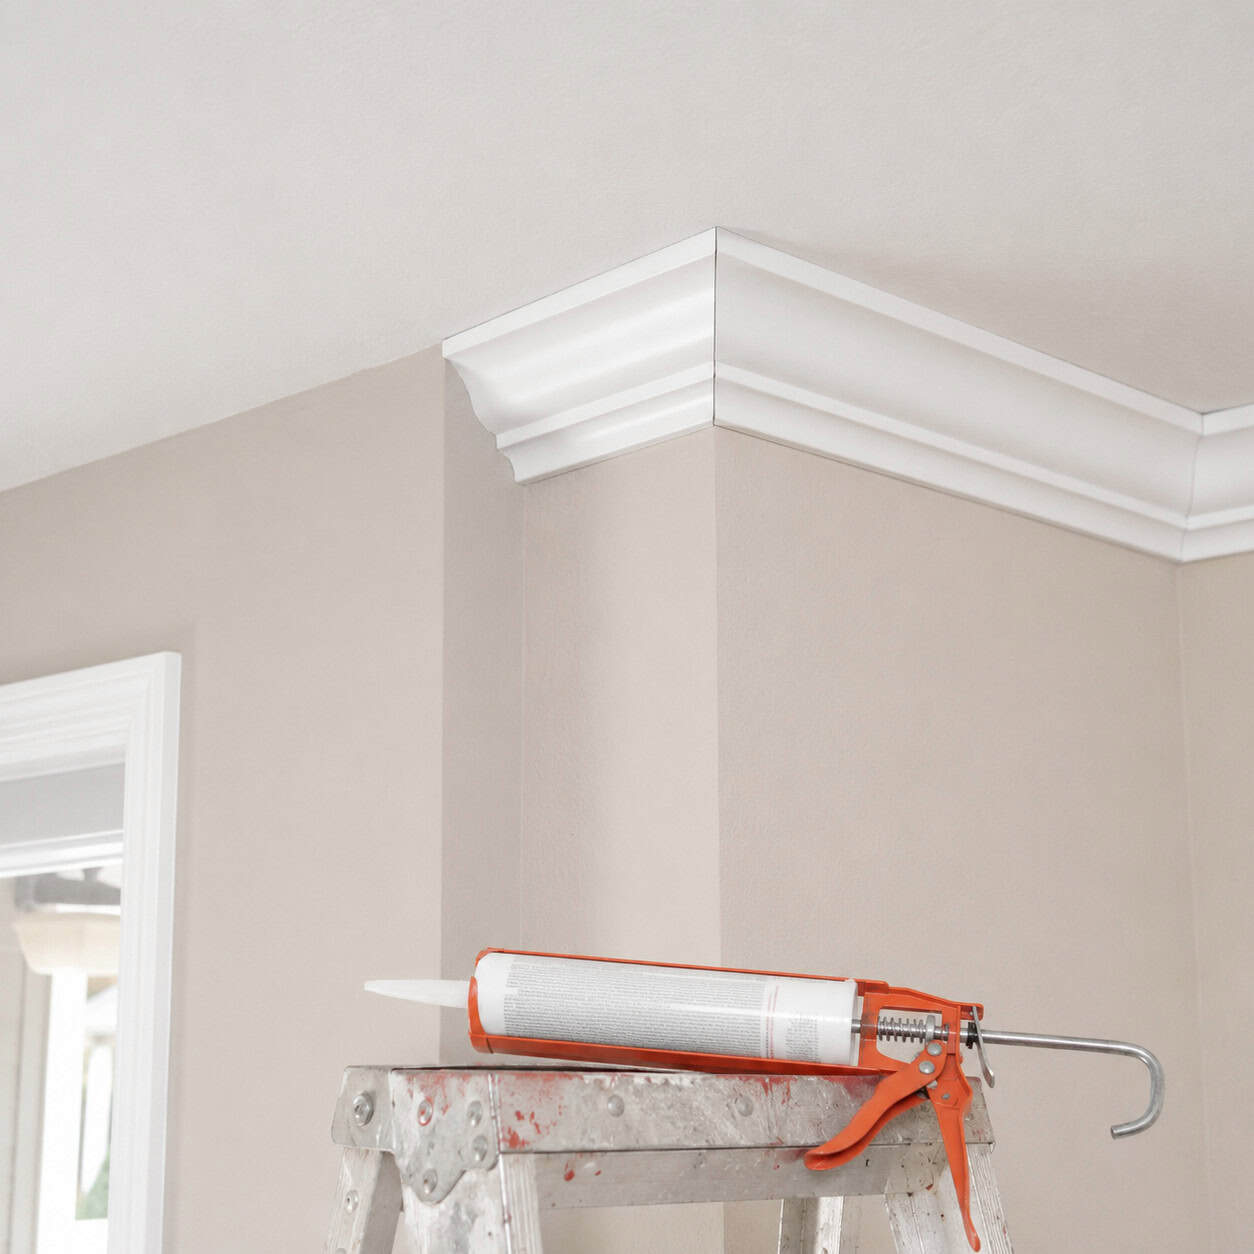
Crown molding adds a subtle sense of finish and height to rooms. Modern profiles range from simple cove to elaborately layered designs that suit traditional and contemporary homes alike. Accurate miter cuts and a well-planned layout are the keys to a professional result; use caulk to smooth joints and a paintable filler for nail holes. With careful measuring, crown gives rooms an immediately curated, custom feel.
Key Design Elements
- Measure and cut miters with a compound miter saw
- Use finishing nails and fill holes with wood filler
- Caulk top and bottom seams before painting
Pro Tip: Prepaint the molding before installation for cleaner handling, then touch up seams and nail holes afterward. If corners are tricky, use corner blocks to avoid complex compound miters.
22. Hang Curtains High and Wide to Visually Expand Windows
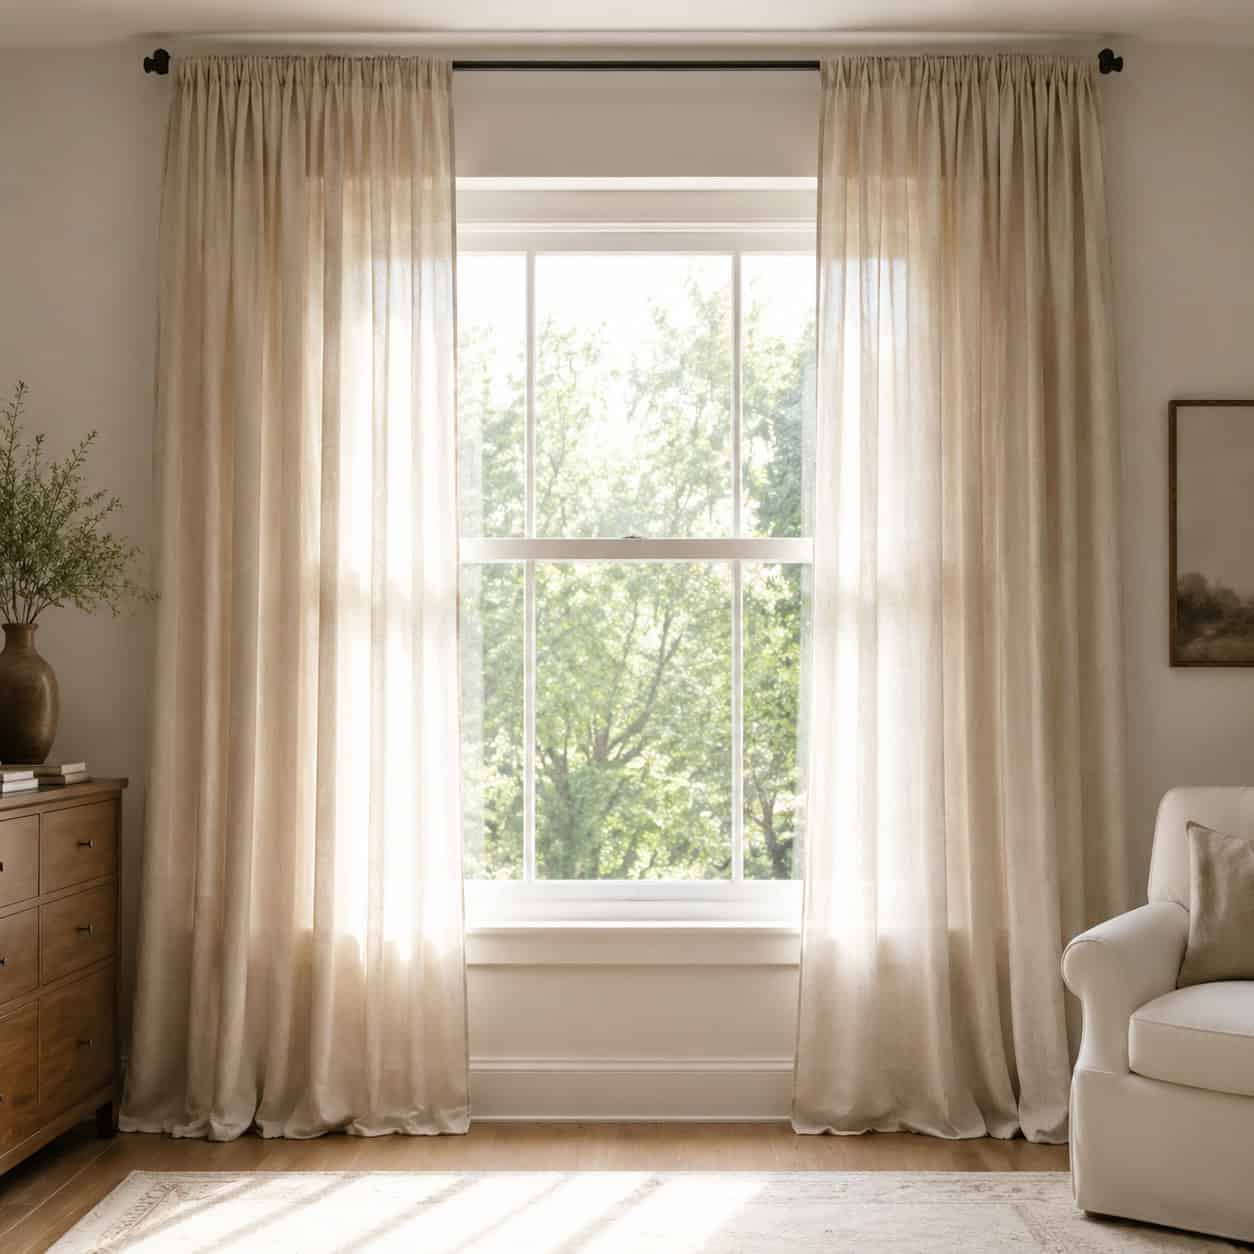
Mounting curtain rods higher and wider than the window frame makes fenestration feel larger and light feel more generous. Aim to place hardware just below the ceiling or crown and extend the rod beyond the jamb so panels stack clear of the glass when open. The result lengthens sightlines and makes ceilings feel taller, a simple optical upgrade with dramatic effect when executed consistently.
Key Design Elements
- Place the rod near the ceiling for taller proportions
- Extend the rod wider than the window frame
- Choose panel lengths that puddle or just skim the floor
Pro Tip: Buy curtain panels longer than the measurement suggests to allow for hems and to achieve the desired floor-to-ceiling effect. Use a sturdy bracket and anchors for wide spans to prevent sagging.
23. Stop Drafts: Weatherstrip Doors and Seal Gaps
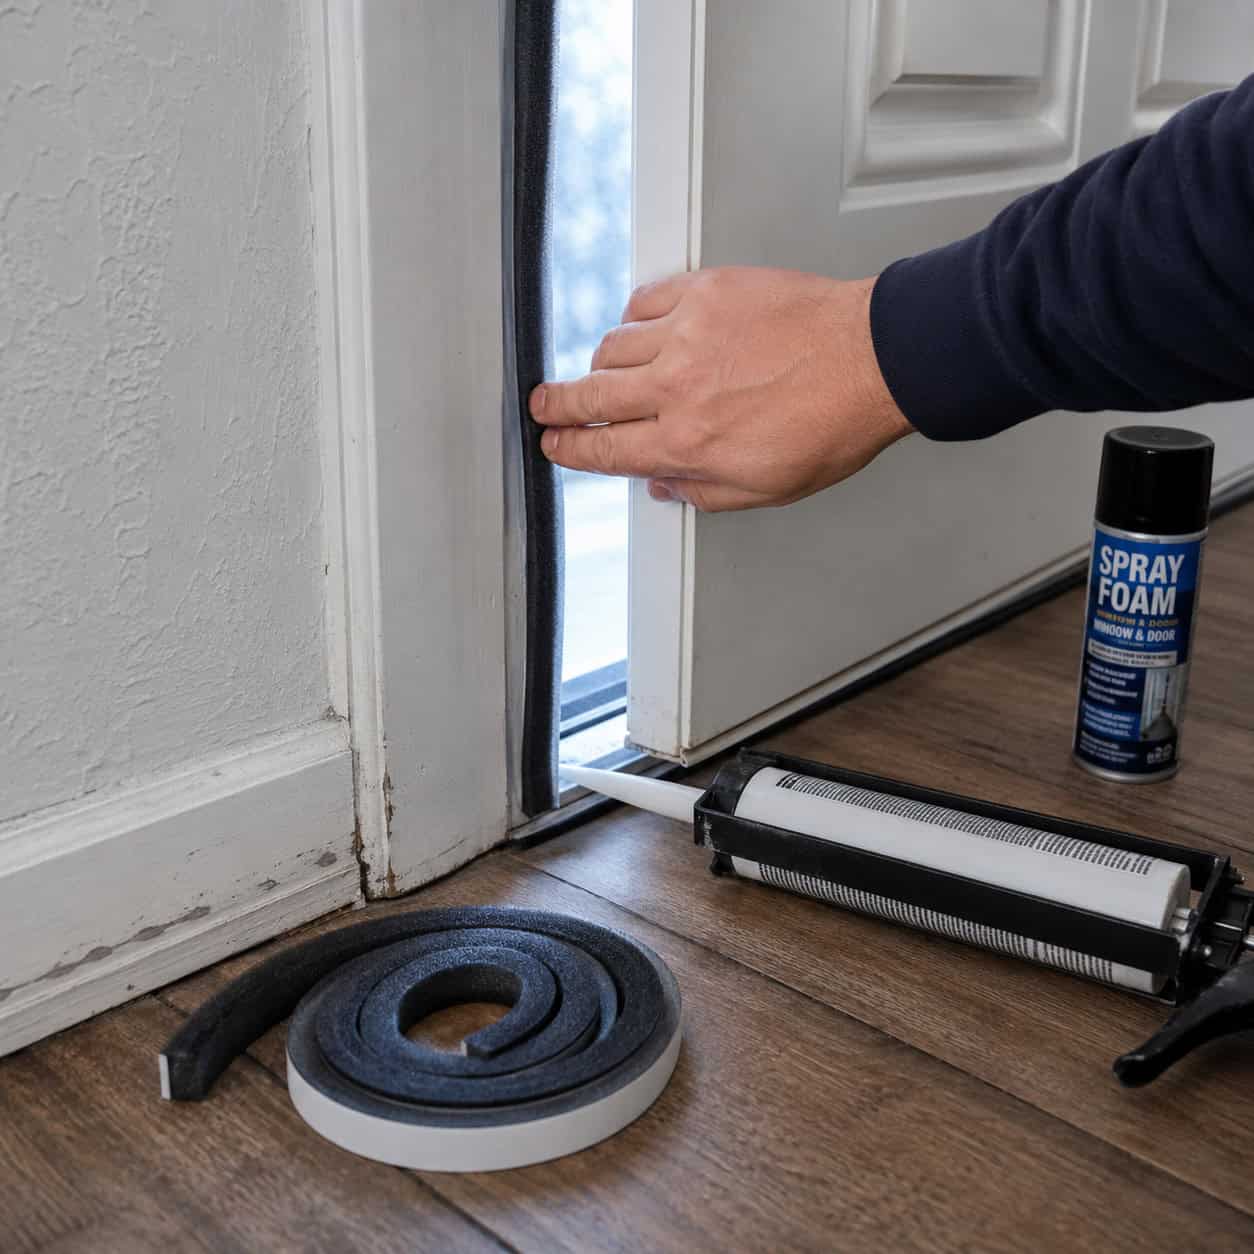
Sealing air leaks is a low-cost way to improve comfort and reduce drafts. Apply weatherstripping to moveable sashes and door perimeters, use caulk for gaps around trim and penetrations, and spray foam for larger voids at sill plates or rim joists. Systematic sealing tightens the building envelope and reduces temperature swings. It’s a weekend project that pays back in a more comfortable, quieter home.
Key Design Elements
- Install adhesive foam or V-strip on door perimeters
- Caulk gaps around window and door trim
- Use low-expansion spray foam for larger cavity gaps
Pro Tip: Perform a quick blower-door-free audit by holding a candle near common leak points on a windy day to locate drafts. Seal moving parts with removable weatherstripping and permanent gaps with caulk or foam.
24. Approach Popcorn Ceilings Safely and Smartly
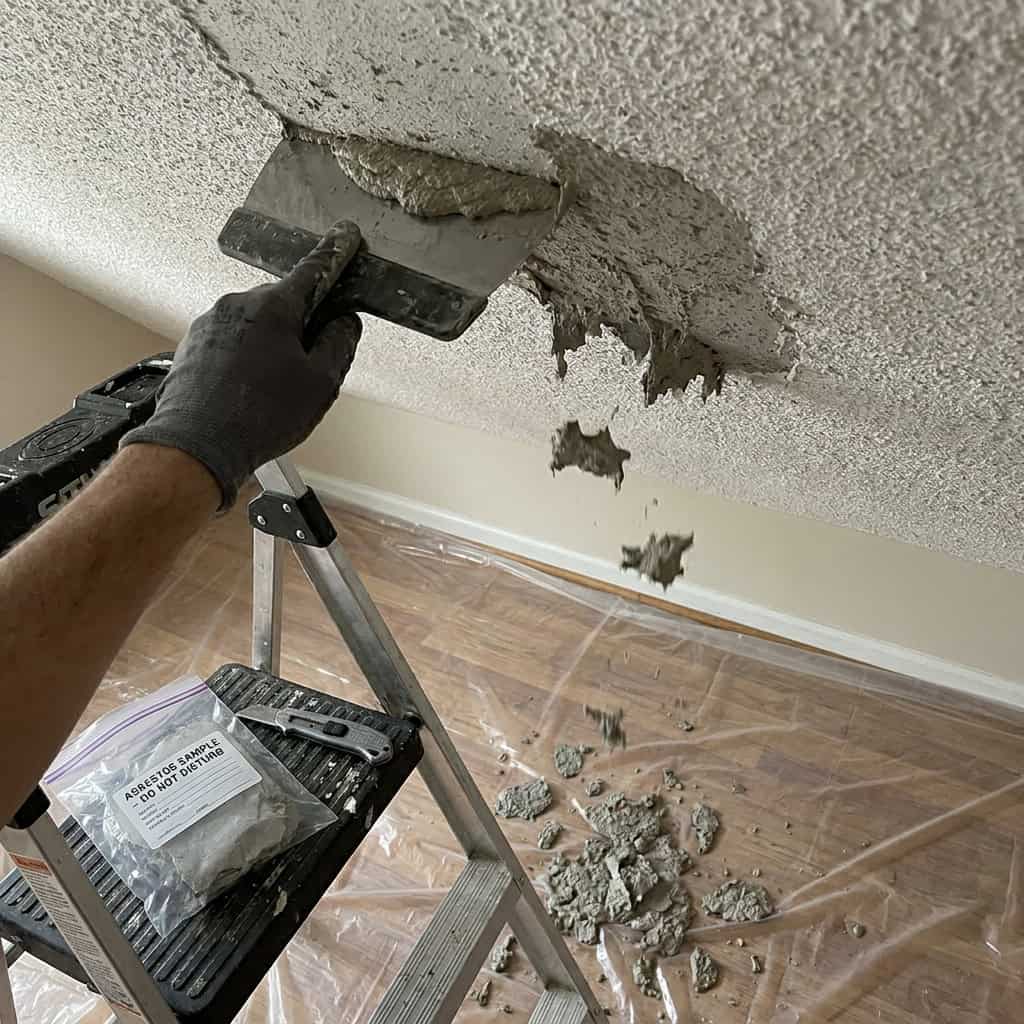
Removing textured ‘popcorn’ ceilings modernizes a room’s ceiling plane and improves light reflection. However, textures applied before the 1980s can contain asbestos fibers, which become hazardous when disturbed. Before scraping or sanding, have a professional test a sample from a non-prominent area. If the test confirms asbestos, hire a licensed abatement contractor; if clear, the texture can be removed or skim-coated to achieve a smooth ceiling.
Key Design Elements
- Have pre-1980s texture professionally tested for asbestos
- If positive, hire licensed abatement for safe removal
- If clear, mist and scrape carefully or skim-coat for smoothness
Pro Tip: Do not sand, scrape, or attempt removal of suspect ceilings without testing. If the sample is positive for asbestos, professional remediation is required—this is not a DIY task and must be handled by qualified specialists.
25. Brighten Counters With Under-Cabinet Lighting
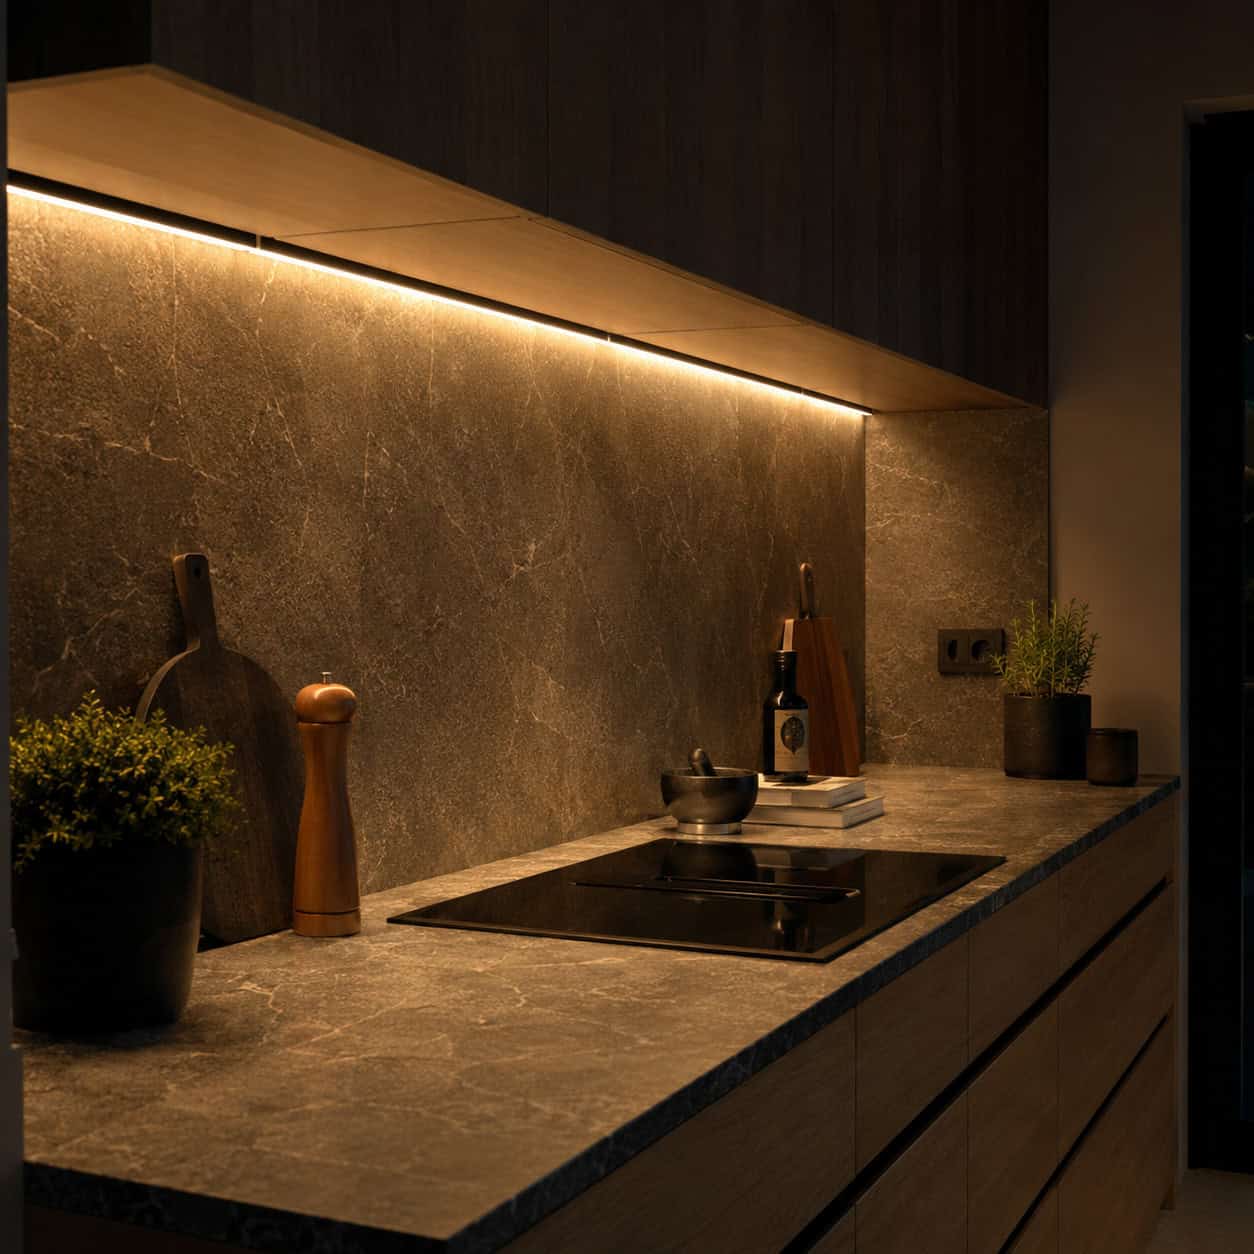
Under-cabinet lighting banishes countertop shadows and enhances workspace usability while adding ambiance. LED strip lights are low-profile and energy-efficient; choose diffused covers to avoid visible hotspots. Plug-in options offer easy installation, while hardwired systems provide a cleaner look. Install switches or motion sensors for convenience and position lights to illuminate prep areas without causing glare when opening upper cabinets.
Key Design Elements
- Choose LED strips with a diffuser for even light
- Run wiring along underside of cabinets and conceal with trim
- Use switches, dimmers, or motion sensors for control
Pro Tip: Measure cabinet runs and buy slightly more strip than needed; cut points vary by product. Test color temperature with the bulbs in the room before permanent attachment to ensure a cohesive look.
26. Polish the Entry With Fresh, Readable House Numbers
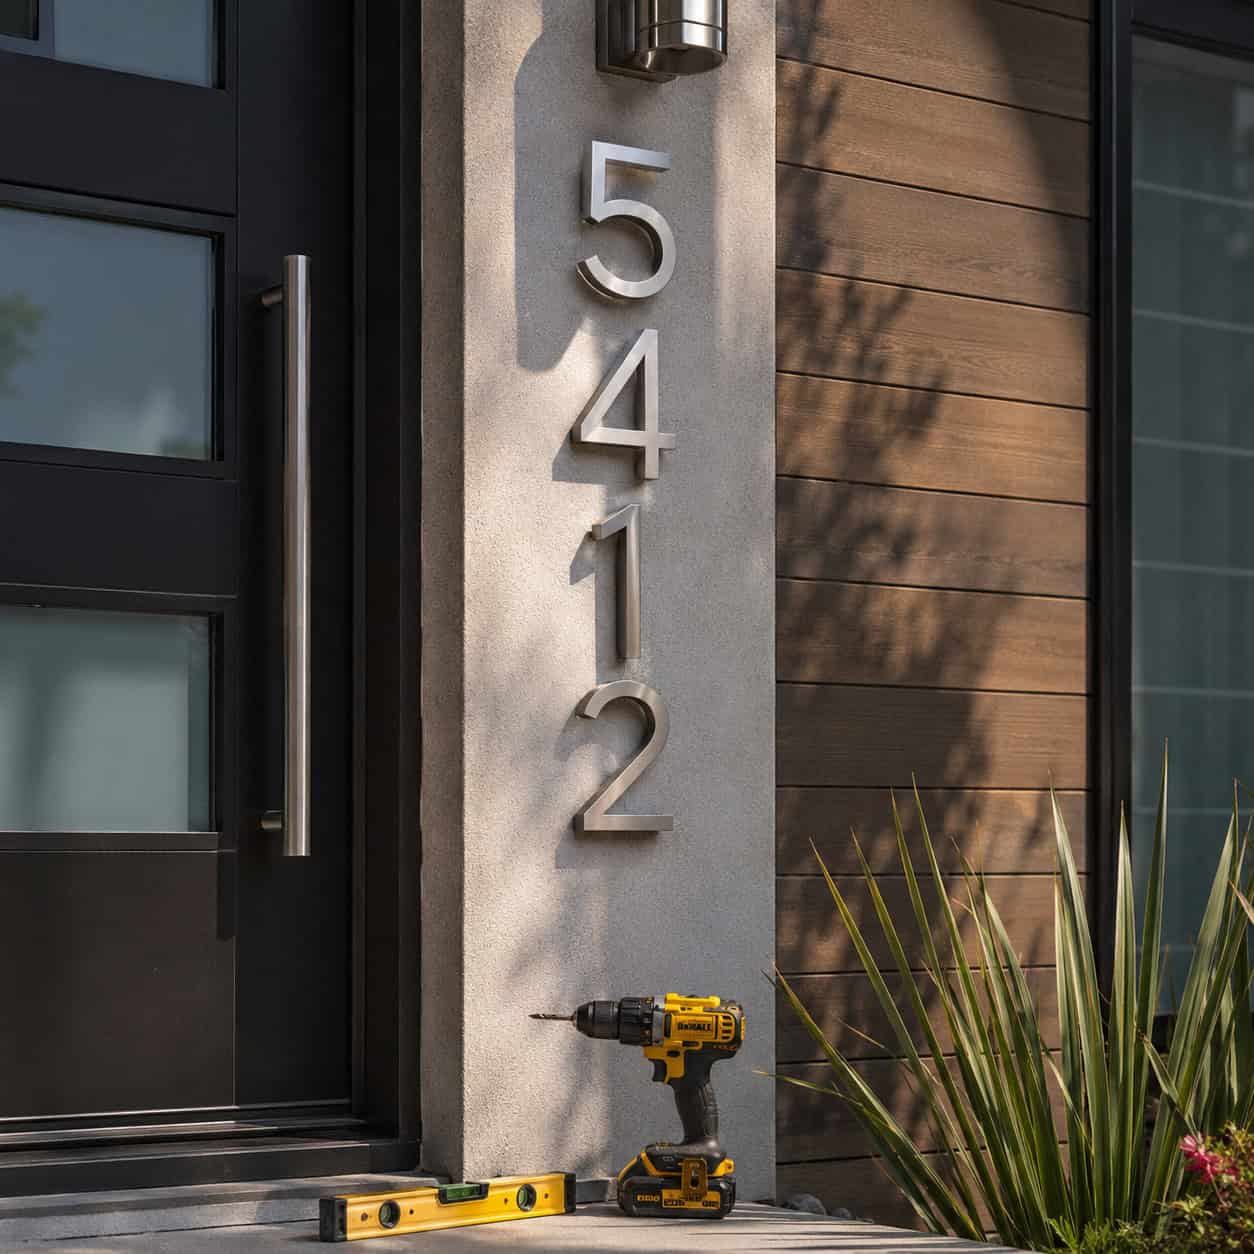
Modern house numbers are a small architectural detail with big visual return. Replace faded or tiny numerals with larger, contemporary styles in finishes that match the front door hardware. Install them where the street view is clear and use a level and template to align perfectly. This tiny investment improves visibility for visitors and delivery drivers and sharpens the overall entrance composition.
Key Design Elements
- Choose a finish that coordinates with exterior hardware
- Mount numbers where they’re readable from the street
- Use a level and template for precise placement
Pro Tip: Consider backlit or raised numbers for nighttime legibility and a custom look. Use stainless steel fasteners or mounting hardware designed for exterior exposure to avoid rust stains on the facade.
27. Add Picture-Frame Trim for Instant Detail
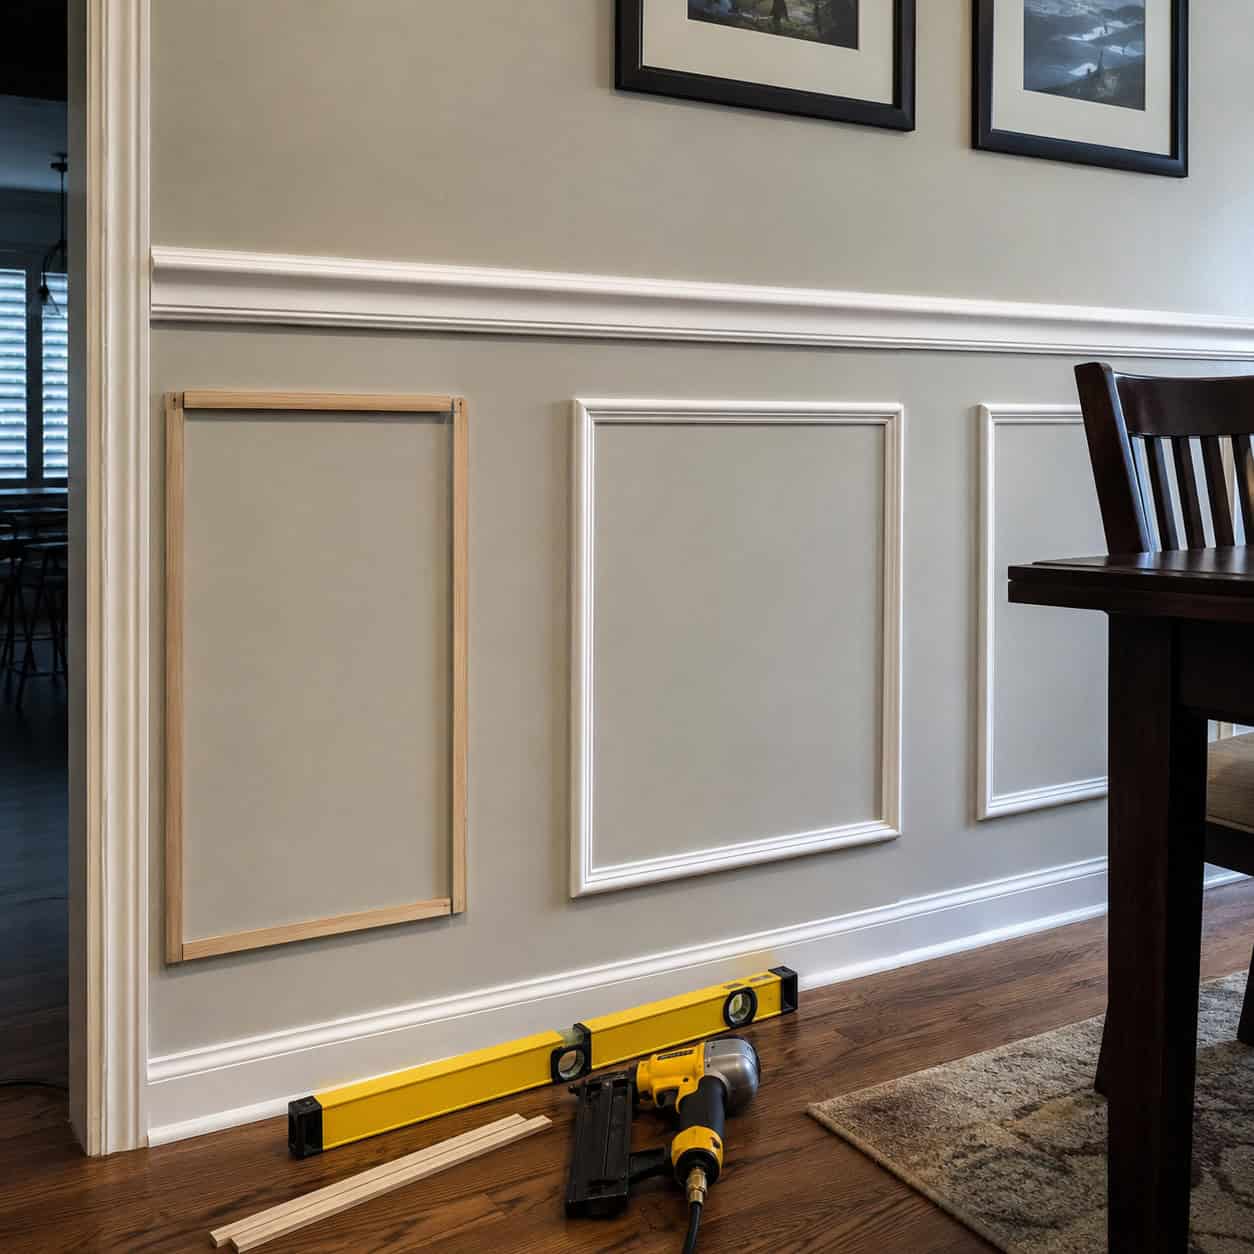
Picture-frame or box molding introduces proportion and rhythm to plain walls. Simple strips applied in consistent rectangles create a tailored backdrop that elevates paint or wallpaper. Use primed MDF for cost effectiveness and caulk joints cleanly before painting. The technique suits hallways, dining rooms, or master bedrooms and reads as custom millwork without the expense of built-ins.
Key Design Elements
- Plan a consistent frame size and spacing on each wall
- Use adhesive and brad nails for secure bonds
- Caulk seams and paint for a seamless finish
Pro Tip: Visualize the layout with paper templates before cutting moldings. Keep proportions modest — 3–4 inch reveals read well in average ceilings and prevent the design from overwhelming small rooms.
28. Restore Existing Floors Instead of Replacing Them
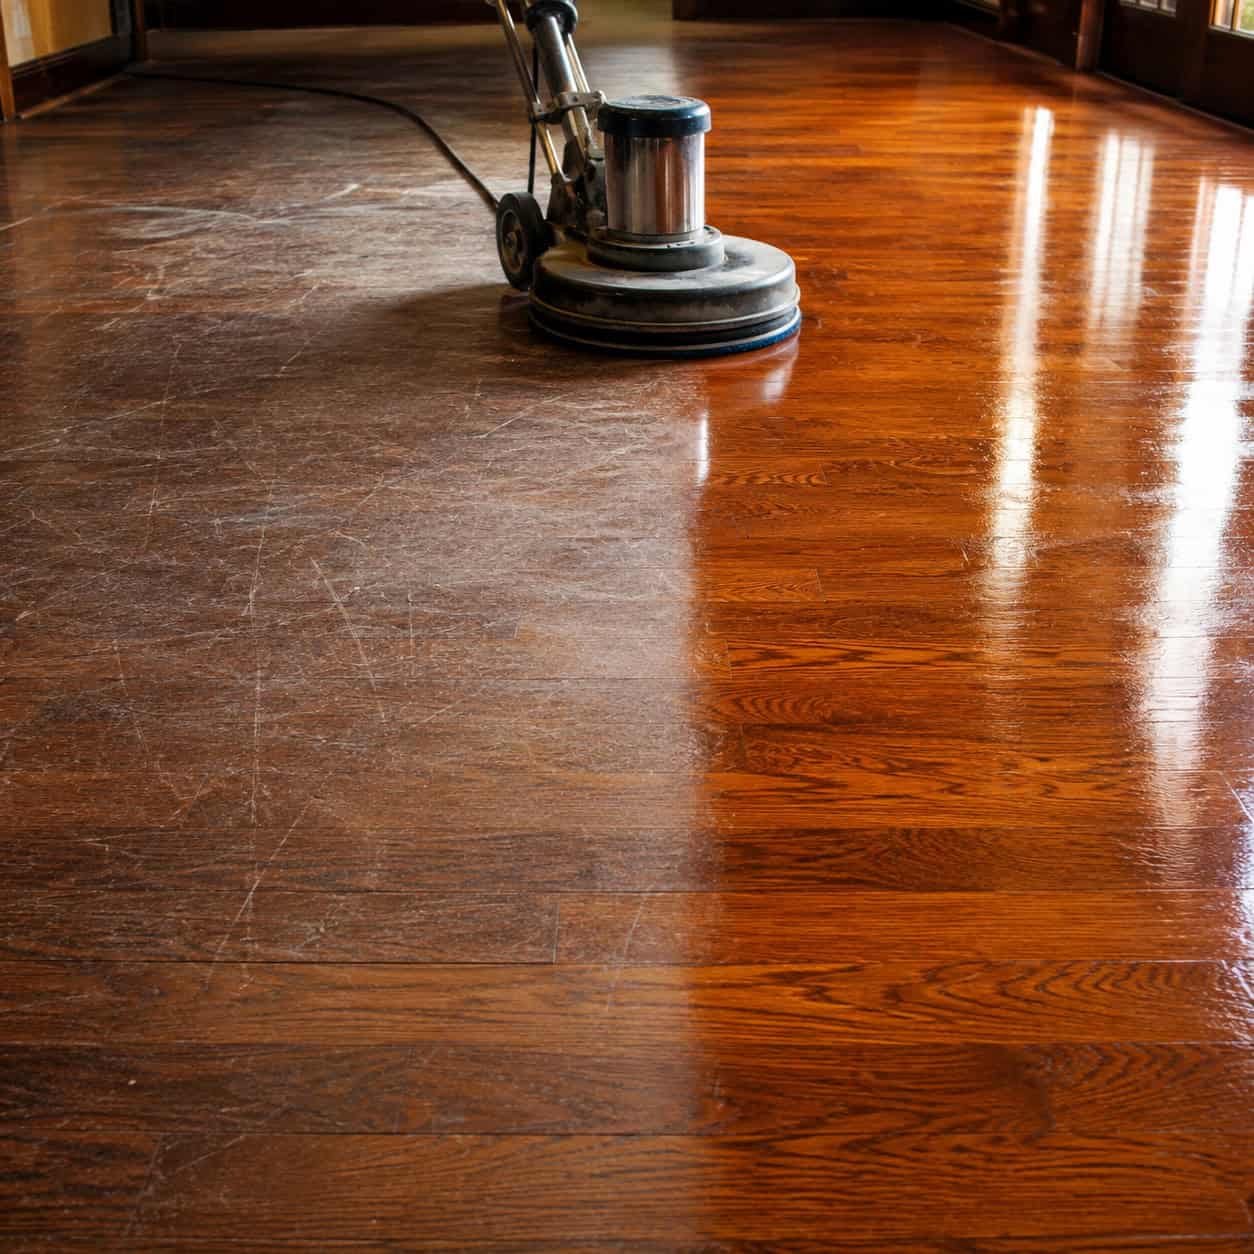
Before investing in new flooring, assess whether existing hardwood, tile, or stone can be revived. Hardwood often responds dramatically to sanding and a fresh finish; tile grout can be brightened and seals renewed. Professional refinishing or a thorough deep-cleaning often costs far less than replacement and preserves character. A polished floor communicates care and makes the entire interior appear updated.
Key Design Elements
- Test a small area to confirm results before full work
- Use appropriate cleaners and professional grout tools
- For wood, sand and recoat with the correct finish type
Pro Tip: Hire a pro for deep scratches or wide plank blowouts; for moderate wear, rental sanding tools or a professional buff and coat can restore luster at lower cost. Always check for subfloor issues first.
29. Replace Outdated Ceiling Lights to Modernize Rooms
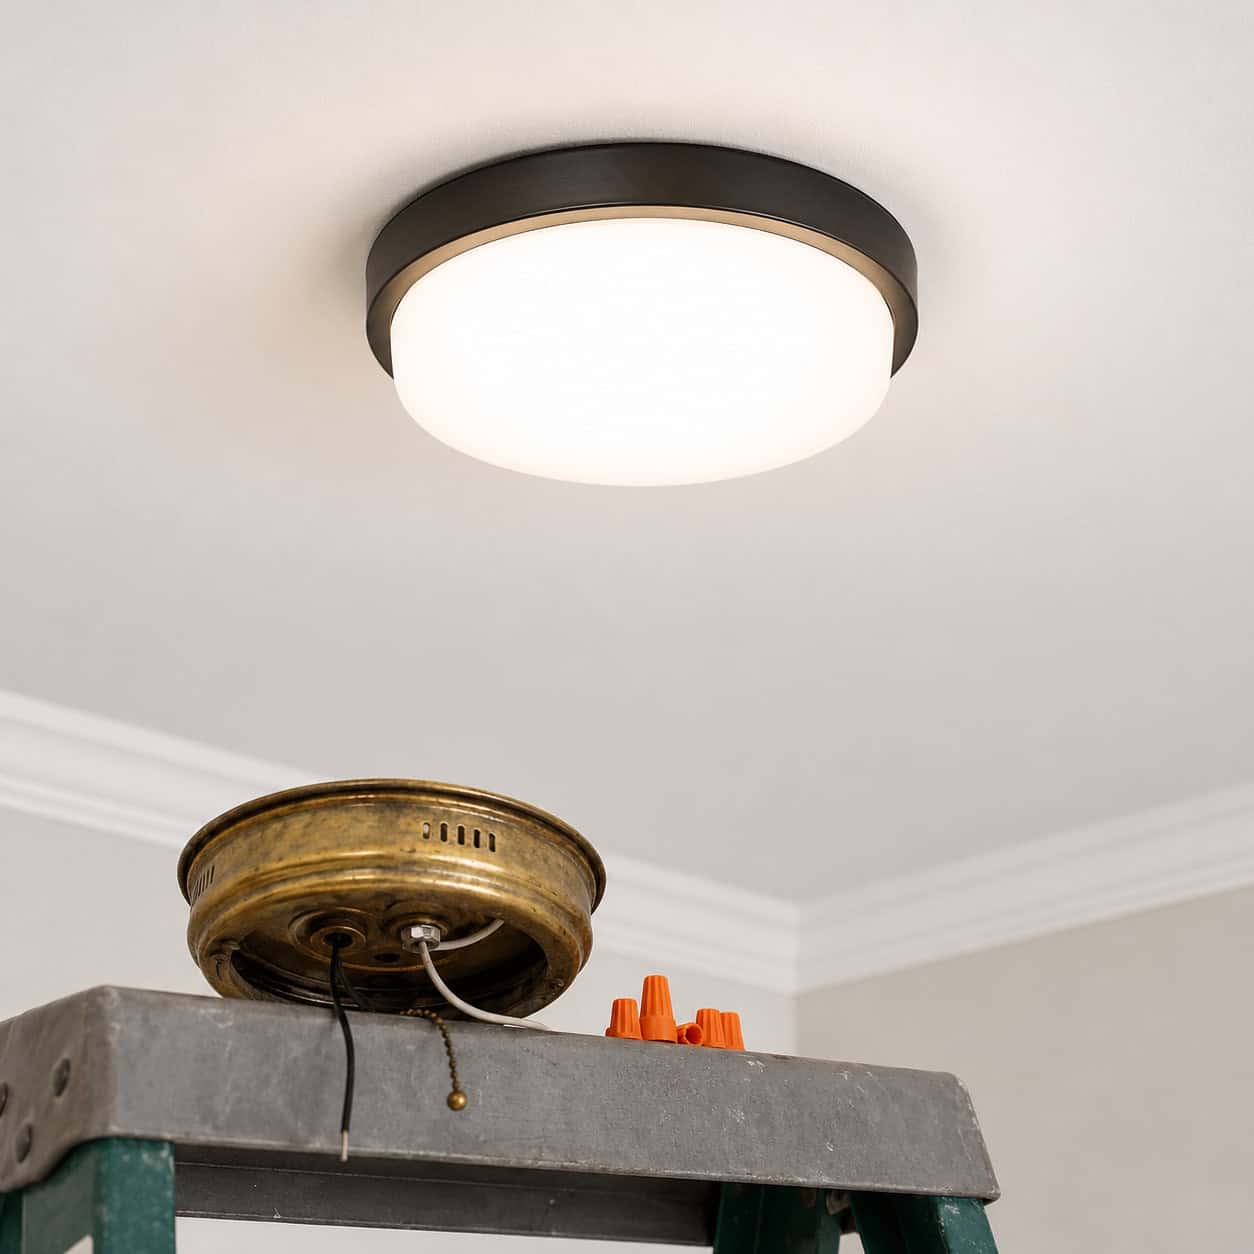
Old ceiling fixtures age interiors quickly. Replacing them with contemporary flush, semi-flush, or pendant options modernizes rooms and improves light quality. Match fixture scale to room size and ceiling height to keep proportions balanced. When swapping, ensure the fixture’s weight is supported by the junction box and choose bulbs with appropriate color temperature and brightness for the room’s function.
Key Design Elements
- Turn off power and confirm wiring before swapping fixtures
- Match fixture size to room scale and ceiling height
- Use LED bulbs for efficiency and consistent color
Pro Tip: If the junction box isn’t rated for the new fixture’s weight, install a brace or hire an electrician. Consider adding a dimmer compatible with the fixture for flexible ambiance.
30. Craft a Board-and-Batten Wall for Vertical Interest
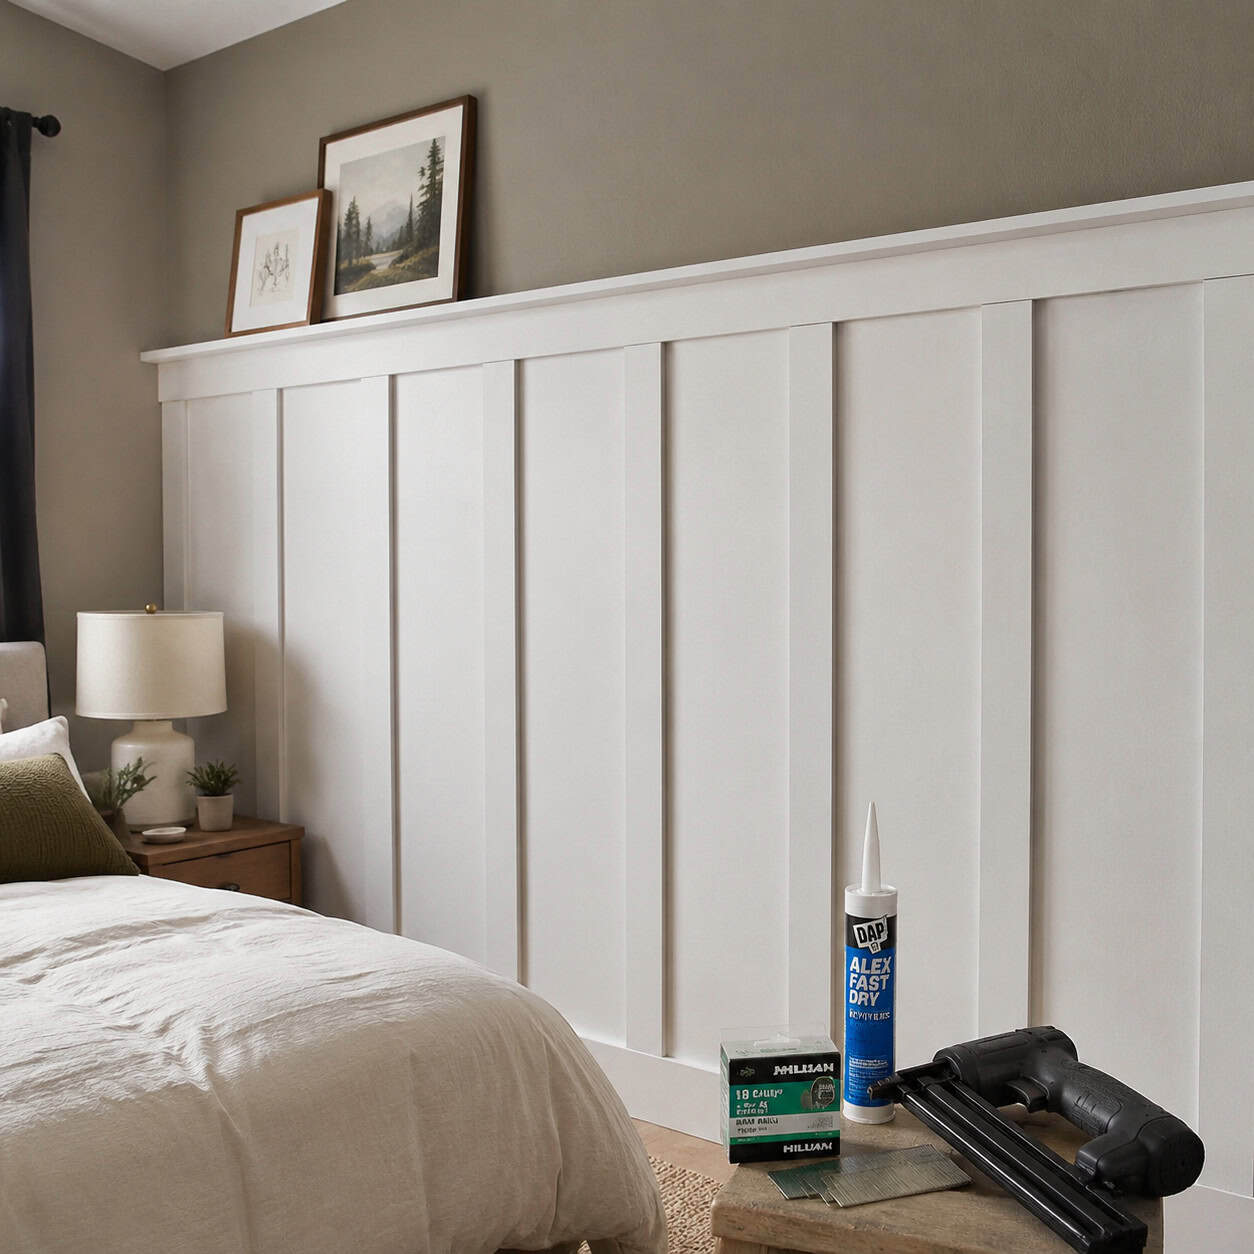
Board-and-batten creates vertical rhythm that draws the eye up and adds architectural weight to a single wall. Use primed boards and battens installed over a smooth drywall surface, spacing battens evenly and caulking joints for a seamless painted finish. This treatment reads as custom and can visually increase perceived ceiling height when proportions are right. It’s an accessible carpentry project for intermediate DIYers.
Key Design Elements
- Lay out batten spacing with a chalk line and level
- Glue and nail battens into studs or use rated anchors
- Caulk seams and prime before painting for a seamless look
Pro Tip: Keep battens within a consistent width and spacing to maintain rhythm. Paint the entire wall the same color to emphasize texture over contrast, or use a darker shade for dramatic depth.
31. Frame an Unadorned Bathroom Mirror for Instant Refinement
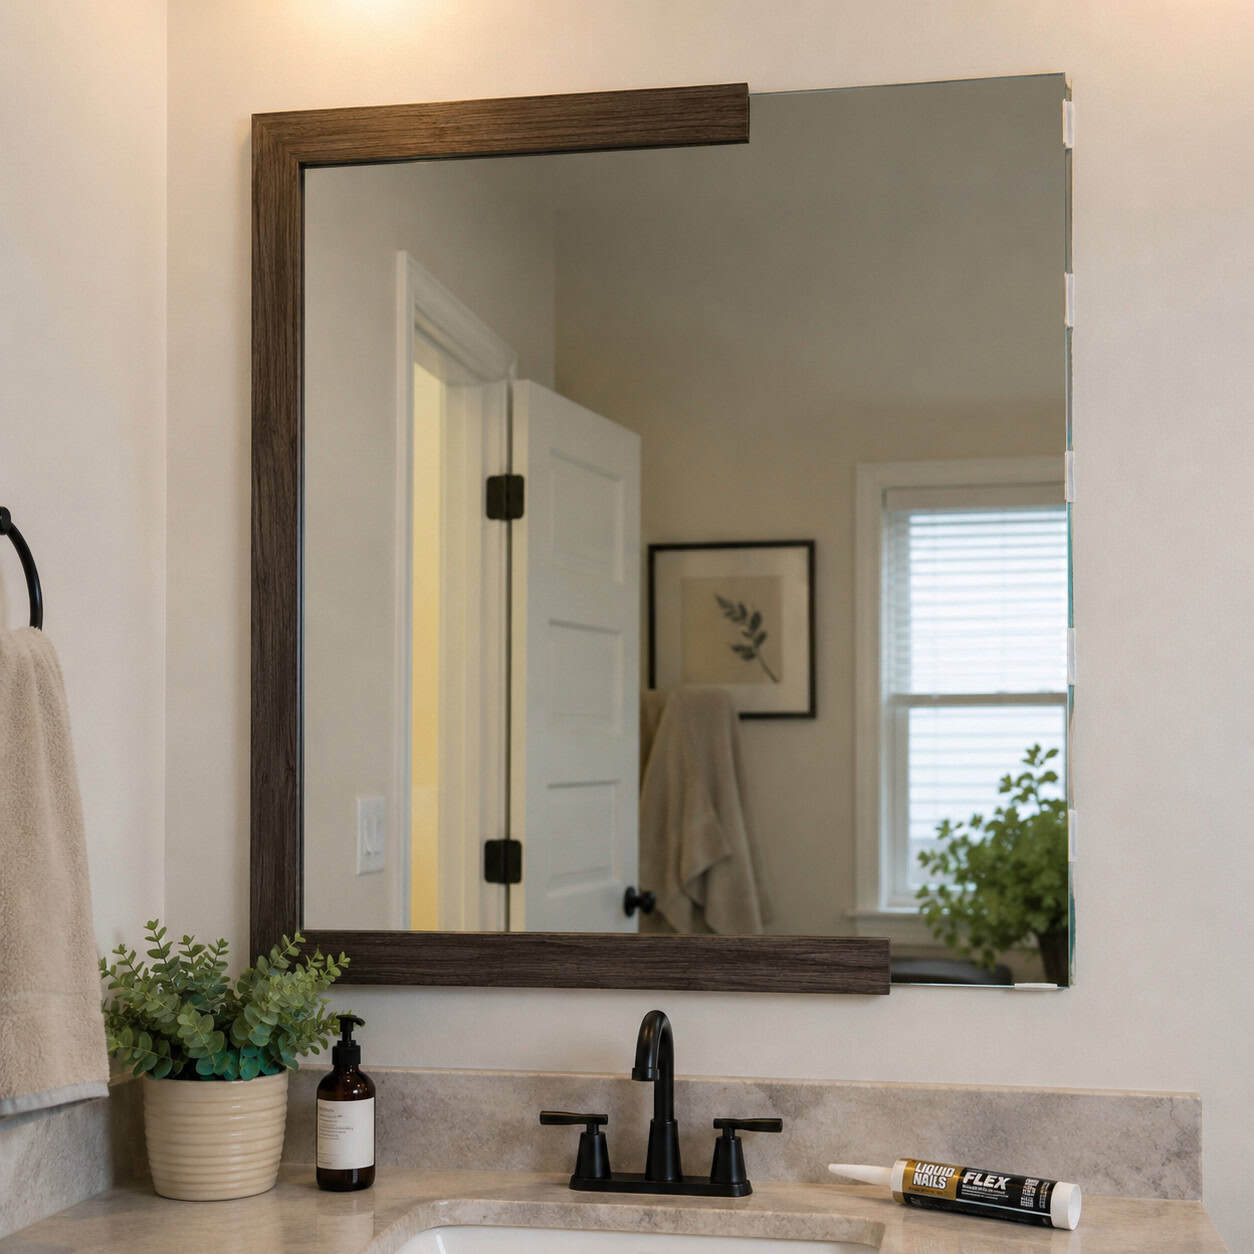
A framed mirror turns a builder basic into a considered focal point. You can retrofit a frame that clips on or build a thin wood surround to mount over the existing glass. Select materials that tolerate humidity and seal edges to prevent moisture intrusion. The visual upgrade elevates the vanity area and coordinates with hardware finishes for a cohesive, intentional bathroom aesthetic.
Key Design Elements
- Use moisture-resistant trim or PVC for bathroom frames
- Measure precisely and dry-fit before attaching
- Seal edges with silicone to protect against moisture
Pro Tip: If you’re short on time, choose a stick-on or clip-on frame kit sized to your mirror. For a custom look, build a painted wood surround that ties into vanity or trim color.
32. Upgrade the Kitchen Faucet for Better Function and Form
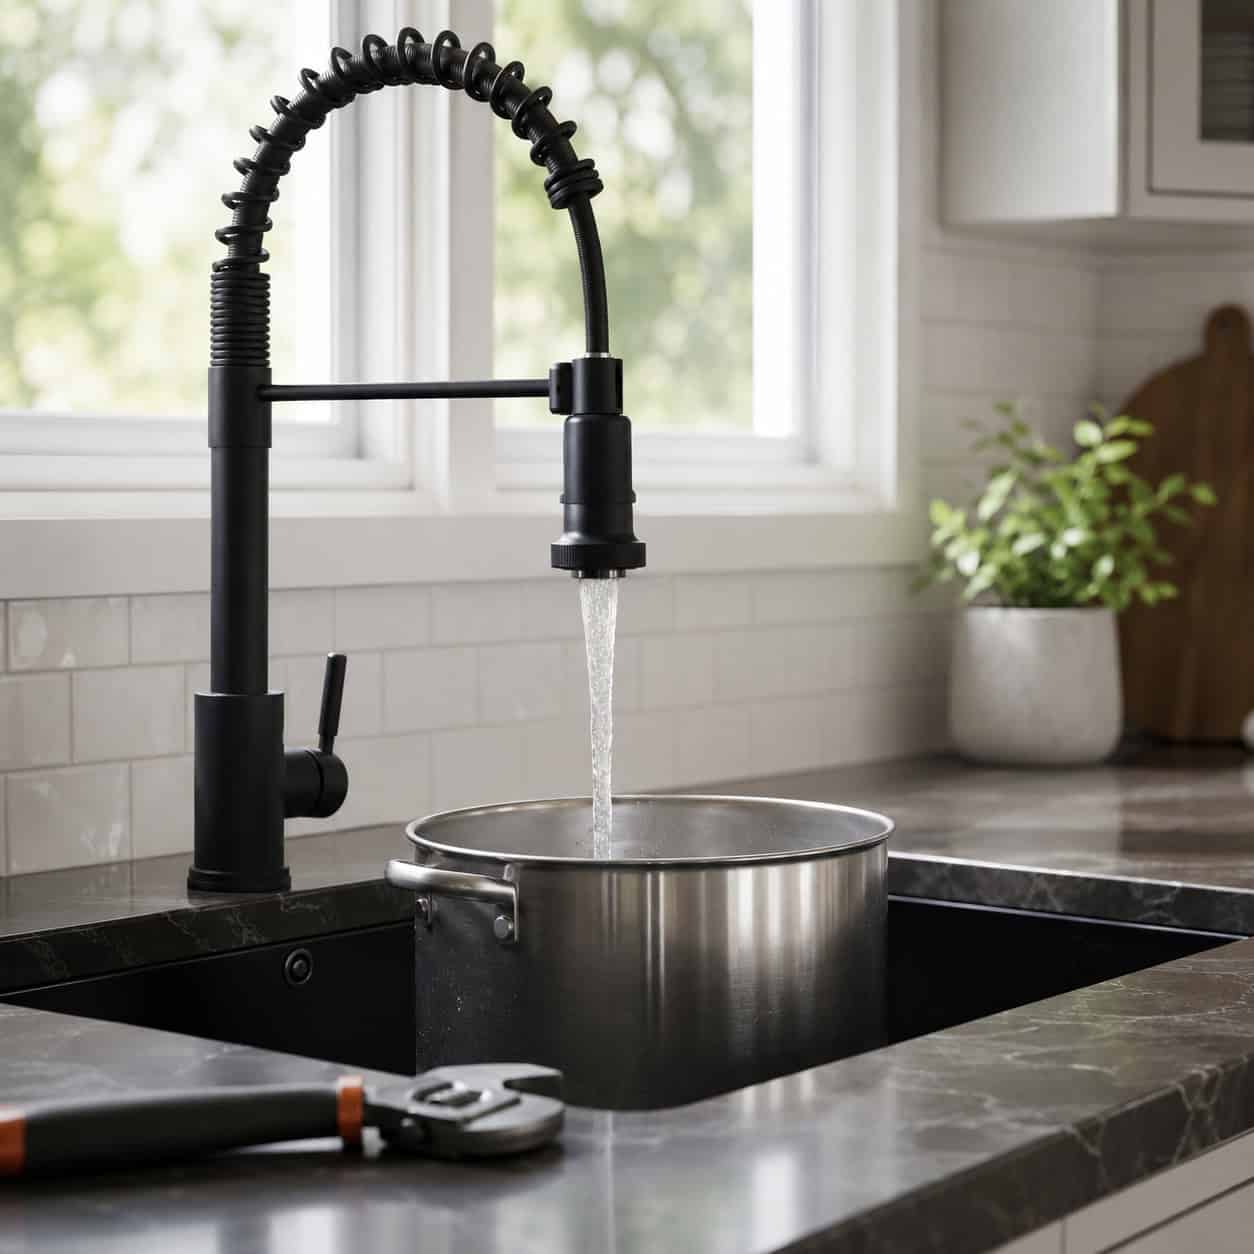
Swapping a builder-grade kitchen faucet for a taller, pull-down or spray model improves daily convenience and refreshes the sink area’s appearance. Basic plumbing familiarity suffices: shut off supply lines, remove the old fixture, and tighten the new connections. Consider finishes that coordinate with cabinet hardware and pick a spout height that clears large pots to maximize functionality alongside style.
Key Design Elements
- Measure sink depth and spout reach before buying
- Turn off water and check for leaks after installation
- Match faucet finish to other kitchen metals
Pro Tip: If the sink has limited clearance, choose a low-arc pull-down head or a multifunction spray that retracts smoothly. Keep replacement hoses and aerator tools handy for future maintenance.
Conclusion
You don’t have to complete every upgrade on this list to see a meaningful difference. Pick one visible surface — the front door, a single ceiling light, or the hardware on your kitchen cabinets — and finish it well. Small, high-visibility changes compound: completed projects encourage momentum and make later upgrades easier to plan and execute.
Aim for bite-sized wins. Tackle projects in phases that match your calendar and budget, and prioritize moves that solve functional frustrations first. Over weeks or months, these approachable improvements add up to a home that feels cared for, cohesive, and unmistakably yours.