

When the air turns crisp and orchards are heavy with fruit, nothing says autumn like the scent of apples and warm spice coming from the oven. This selection of forty original recipes ranges from flaky pies and bubbling crisps to tender crumbles, silky cakes, hearty breads, gooey bars, rustic dumplings, and easy no-bake treats—each designed to highlight the bright, tart, and sweet personalities of different apple varieties.
Inside you’ll find timeless classics and playful riffs that make the most of seasonal ingredients and simple techniques, whether you’re aiming for a showstopping centerpiece or a comforting weekend bake. Along the way there are tips for pairing textures and spices, ideas for adapting fillings and toppings, and suggestions to help you choose apples that suit each dessert’s mood, so you can bake with confidence and put your own spin on these favorites.
1. Maple-Butter Apple Streusel Skillet
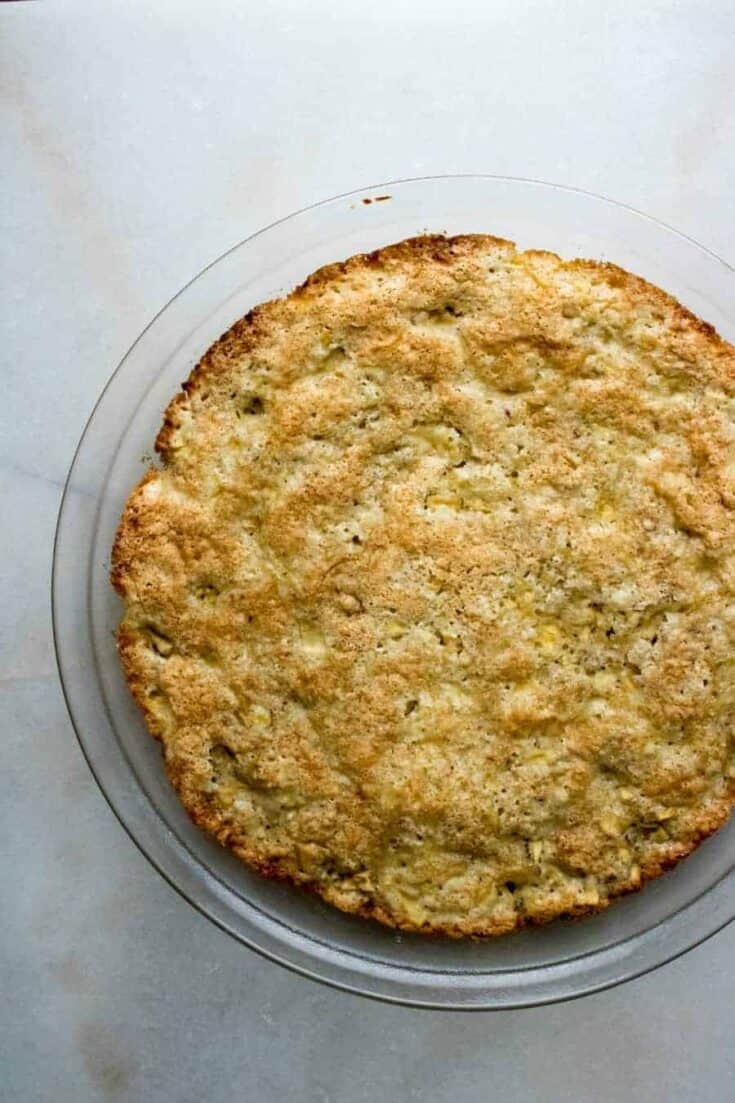
This skillet-style cobbler borrows the easy ‘dump’ spirit—layered fruit and a buttery crumble—then bakes into rustic, fragrant comfort. Crisp-topped and warm with maple and cinnamon, it celebrates fall apples without fuss: no rolling, no separate crust, just bright lemon, spiced sweetness, and a golden streusel. Serve with cream or ice cream for contrast; it’s the quick, nostalgic centerpiece for a breezy autumn dessert spread.
Yield: Serves 8 Total time: 1 hour 10 minutes
Ingredients
- 6 medium apples (about 1.5 lb), peeled, cored and thinly sliced
- 2 tbsp lemon juice
- 1/3 cup packed brown sugar
- 1/4 cup maple syrup
- 1 tsp ground cinnamon
- 1/4 tsp ground nutmeg
- 1 cup all-purpose flour
- 1/3 cup granulated sugar
- 1 1/2 tsp baking powder
- 6 tbsp cold unsalted butter, cut into small pieces
Instructions
- Preheat the oven to 375°F (190°C) and lightly grease a 9×13-inch baking dish or a 10–11-inch ovenproof skillet.
- Toss the sliced apples with lemon juice, brown sugar, maple syrup, cinnamon, and nutmeg in a large bowl until evenly coated; transfer the mixture to the prepared dish and spread into an even layer.
- Combine the flour, granulated sugar, and baking powder in a medium bowl, then add the cold butter and work it into the dry ingredients with your fingertips or a pastry cutter until the mixture resembles coarse crumbs.
- Scatter the streusel evenly over the apples, leaving some larger crumbs for texture and pressing lightly so it sits on top of the fruit.
- Bake uncovered for 40–45 minutes, or until the topping is deep golden and the apple filling is bubbling; check that the apples are fork-tender when pierced in the center.
- Let the skillet cool on a rack for 15 minutes to allow the juices to thicken before serving warm with ice cream or whipped cream.
Pro Tip: Make ahead by assembling the dish, cover and refrigerate up to 24 hours; bake straight from chilled, adding 5–8 minutes to the bake time. Store leftovers covered in the refrigerator for up to 4 days and reheat in a 350°F (175°C) oven for 10–12 minutes for best texture.
2. Autumn Apple Parcels
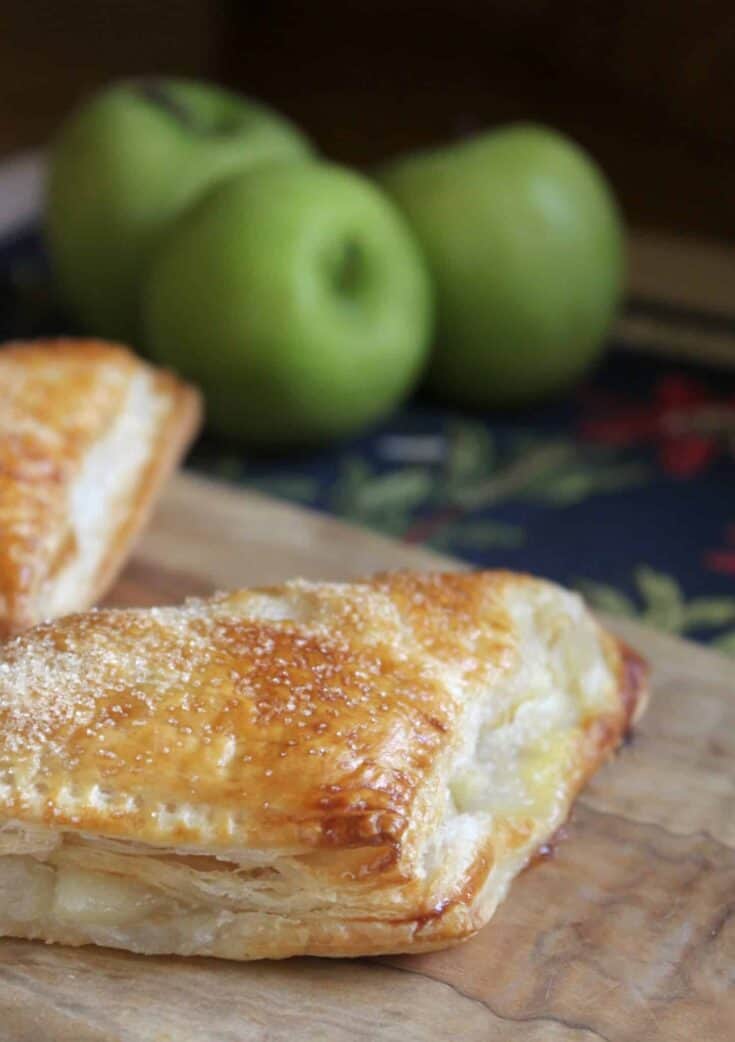
Flaky pockets filled with a concentrated, spiced apple filling make this an easy fall dessert that feels special. The apples are quickly cooked down so they don’t weep in the pastry, then chilled briefly to make assembly tidy. A simple egg wash and coarse sugar give a caramelized finish. Serve warm for best texture and aroma—ideal for weekend baking or a cozy weeknight treat.
Yield: Serves 6 (makes 6 parcels) Total time: 1 hour 20 minutes
Ingredients
- 1 lb (about 3 medium) firm apples, peeled, cored and diced into 1/2-inch pieces
- 2 tablespoons fresh lemon juice
- 1/3 cup granulated sugar
- 2 tablespoons packed light brown sugar
- 2 teaspoons cornstarch
- 1/2 teaspoon ground cinnamon
- 1/8 teaspoon ground nutmeg
- 1 tablespoon unsalted butter
- 1 sheet frozen puff pastry (about 10 oz), thawed
- 1 large egg beaten with 1 teaspoon water, plus 1 tablespoon turbinado sugar for sprinkling
Instructions
- Preheat oven to 400°F (200°C) and line a baking sheet with parchment paper.
- Cook diced apples with lemon juice, granulated sugar, brown sugar, cornstarch, cinnamon, and nutmeg in a medium skillet over medium heat, stirring, until juices thicken and apples are tender, 6–8 minutes.
- Remove from heat and stir in butter; cool the filling in the skillet 10 minutes, then transfer to a bowl and chill 15 minutes to firm slightly.
- Roll out the thawed puff pastry on a lightly floured surface to smooth seams and cut into six roughly 4×5-inch rectangles.
- Spoon about 2–3 tablespoons of chilled filling onto one half of each rectangle, brush edges with the beaten egg, fold over to form a pocket, press edges with a fork to seal, and poke 2 small vents in each top.
- Brush tops with remaining egg wash, sprinkle with turbinado sugar, and bake on the prepared sheet until pastry is deep golden and juices bubble through vents, 18–22 minutes, rotating the sheet halfway through baking.
- Cool the parcels on a wire rack at least 10 minutes before serving so the filling sets and the pastries are warm but not scalding.
Pro Tip: Make ahead: cook and chill the apple filling up to 48 hours in the refrigerator; assemble parcels just before baking, or freeze fully assembled unbaked parcels in a single layer (then transfer to a bag) for up to 1 month and bake from frozen, adding about 4–6 minutes to the baking time.
3. October Orchard Caramel Creams
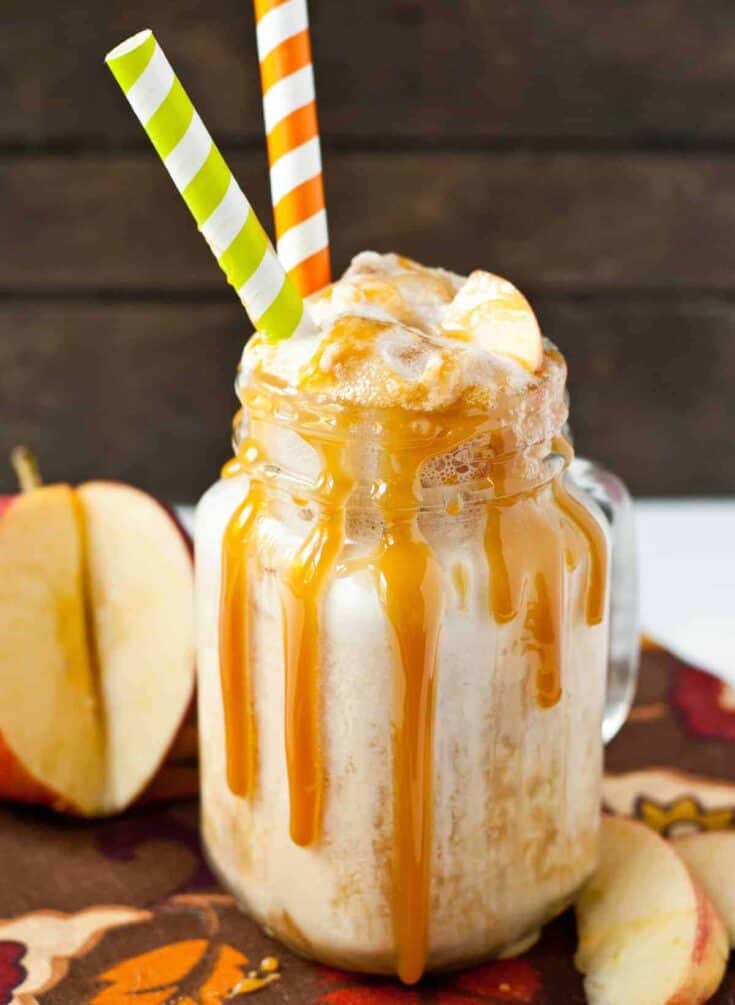
Bright, effervescent and unmistakably seasonal, these creamy apple desserts put a playful twist on a classic fall sip. A concentrated apple-cider reduction is folded into a silky spiced caramel, chilled until pourable, then drizzled over vanilla ice cream and a splash of sparkling soda for warm spice and fizzy lift. They make a quick, celebratory finish to a harvest meal or a cozy weekend treat.
Yield: Serves 4 Total time: 1 hour 30 minutes
Ingredients
- 3 cups apple cider
- 1/2 cup granulated sugar
- 1/2 cup light brown sugar, packed
- 4 tablespoons unsalted butter
- 1/2 cup heavy cream
- 1 teaspoon vanilla extract
- 1/2 teaspoon ground cinnamon
- 1/4 teaspoon ground nutmeg
- 1 pint vanilla ice cream (about 2 cups)
- 1 cup chilled sparkling water or ginger ale
Instructions
- Reduce the apple cider in a medium saucepan over medium heat until concentrated to about 1/2 cup, about 20–25 minutes; stir occasionally.
- Caramelize the granulated sugar and light brown sugar in a heavy-bottomed saucepan over medium heat, stirring and gently swirling until a deep amber color forms, about 8–10 minutes—exercise caution since hot sugar can cause severe burns.
- Whisk the butter into the caramel off the heat, then carefully pour in the hot cider reduction and the heavy cream in a thin stream; return to low heat and simmer 1–2 minutes until smooth, then stir in the vanilla, cinnamon and nutmeg.
- Cool the caramel to room temperature, then refrigerate at least 45 minutes so it thickens and is easy to drizzle.
- Scoop vanilla ice cream into four tall glasses, divide the chilled sparkling water among the glasses (about 1/4 cup each) to create fizz, then spoon 2–3 tablespoons of the chilled spiced caramel over each scoop.
- Garnish with a light dusting of cinnamon and an extra drizzle of caramel, serve immediately, and encourage guests to stir gently so the caramel ribbons through the bubbly cider.
Pro Tip: Make-ahead: Store the spiced caramel in an airtight jar in the refrigerator up to 2 weeks; warm briefly in a small saucepan or microwave (10–20 seconds) to loosen before using. Store assembled floats only briefly and serve immediately.
4. Browned-Butter Apple Cinnamon Wedges
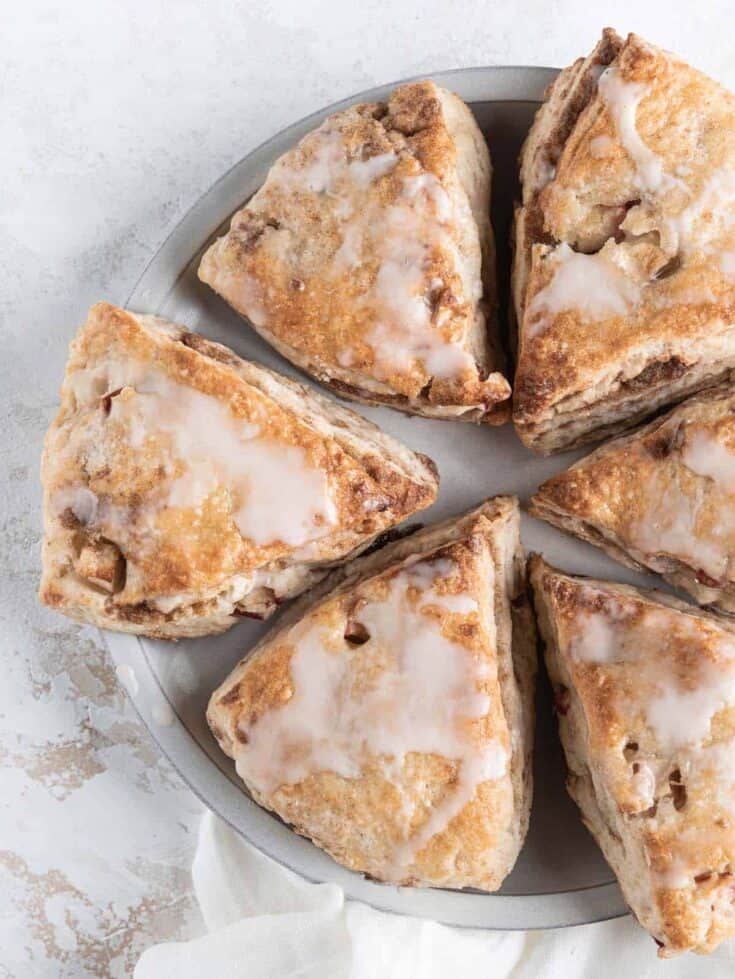
These brown-butter apple cinnamon biscuits are a cozy fall treat that bridge flaky pastry and tender cake. Tart-sweet apple chunks and warming cinnamon fold into a lightly sweet dough enriched with browned butter for toasty depth. Finished with coarse sugar for sparkle, they’re great with coffee or a dollop of crème fraîche. The technique is straightforward, with a short chill to keep the scones lofty and flaky.
Yield: Makes 8 scones (Serves 8) Total time: 1 hour 10 minutes
Ingredients
- 2 cups (250 g) all-purpose flour
- 1/4 cup (50 g) granulated sugar
- 1 tablespoon baking powder
- 1/2 teaspoon fine salt
- 1 teaspoon ground cinnamon
- 6 tablespoons unsalted butter, very cold, cut into small cubes
- 2 tablespoons unsalted butter, browned and cooled
- 1 large crisp apple (about 1 1/2 cups), peeled and diced, tossed with 1 tablespoon lemon juice
- 1 large egg
- 1/2 cup (120 ml) heavy cream, plus 1 tablespoon extra for brushing
Instructions
- Preheat the oven to 425°F (220°C) and line a baking sheet with parchment; chill the sheet in the fridge while you work.
- Whisk together the flour, sugar, baking powder, salt, and cinnamon in a large bowl, then cut in the cold cubed butter with a pastry cutter or fingers until the mixture resembles coarse cornmeal with some pea-sized butter pieces.
- Stir the diced apple into the flour mixture, then pour in the browned butter, egg, and 1/2 cup heavy cream; fold gently until a shaggy, slightly sticky dough forms (do not overmix).
- Turn the dough onto a lightly floured surface, pat it into a 1-inch (2.5 cm) thick circle, cut into eight wedges, and transfer them to the chilled baking sheet; brush the tops with the extra tablespoon of cream and sprinkle with coarse sugar.
- Chill the shaped scones on the baking sheet in the fridge for 20–30 minutes to firm up, which helps them rise and keeps layers flaky.
- Bake at 425°F (220°C) for 15–18 minutes until the edges are golden and the centers spring back; cool on a wire rack for at least 10 minutes before serving.
Pro Tip: Make ahead: Shape the scones, freeze them on the tray until solid, then transfer to a zipper bag for up to 1 month; bake from frozen, adding 3–5 minutes to the baking time.
5. Autumn Orchard Sour-Cream Slabs
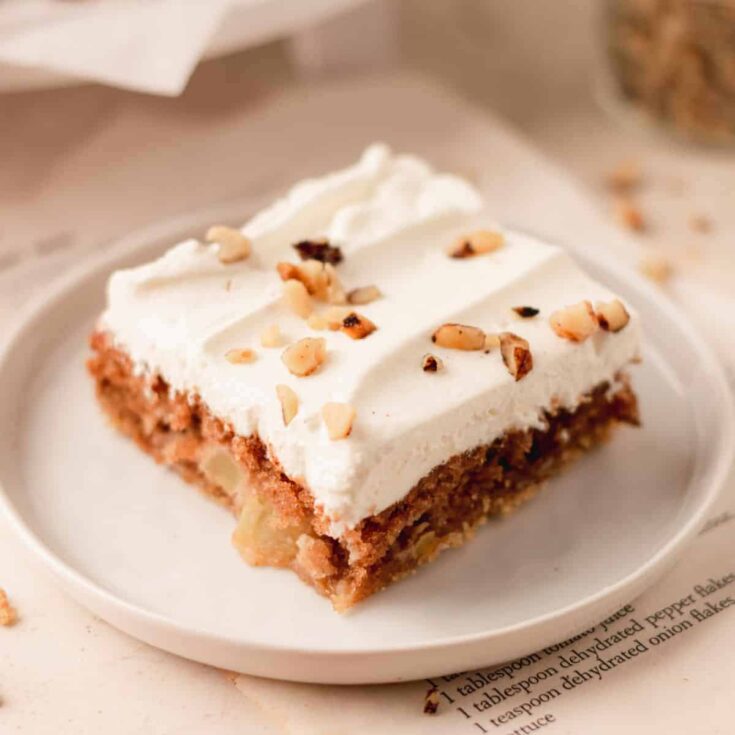
These tender bars pair the tang of sour cream with brisk-fresh apples and a buttery crumb topping for a fall crowd-pleaser. The recipe builds a shortbread-like base, a lightly sweetened sour-cream apple filling, and a crunchy streusel finish—easy to slice and share. They hold up well for picnics or coffee gatherings and showcase bright apple spice without being overly sweet.
Yield: Serves 12 Total time: 2 hours 10 minutes
Ingredients
- 2 cups all-purpose flour
- 3/4 cup unsalted butter, cold and cubed (reserve 1 tbsp for topping)
- 1/2 cup granulated sugar
- 3/4 cup packed light brown sugar
- 1 tsp baking powder
- 1/2 tsp fine salt
- 1 cup sour cream
- 1 large egg
- 1 tsp pure vanilla extract
- 3 cups peeled, cored, chopped tart apples (about 3 medium)
- 1 tbsp lemon juice and 1 tbsp all-purpose flour (for tossing apples)
- 1 tsp ground cinnamon
Instructions
- Preheat the oven to 350°F (175°C); line a 9×13-inch baking pan with parchment leaving an overhang and lightly grease the paper.
- Combine 2 cups flour, granulated sugar, baking powder, and salt in a large bowl; cut in cold cubed butter with a pastry cutter or fingers until coarse crumbs form, reserving about 1 to 1 1/4 cups of the crumb mixture for the topping and pressing the remaining crumbs firmly into the prepared pan to form the base.
- Beat sour cream, egg, vanilla, and brown sugar in a separate bowl until smooth; toss chopped apples with lemon juice, 1 tbsp flour, and cinnamon, then fold the apples into the sour-cream mixture and spread evenly over the pressed base.
- Sprinkle the reserved crumb evenly over the apple layer and scatter the reserved 1 tbsp cold butter in small pieces across the top to encourage browning.
- Bake until the top is golden and juices bubble at the edges, 40–50 minutes; check doneness by inserting a toothpick into the center — it should come out with a few moist crumbs but not raw batter.
- Cool the pan on a wire rack at least 1 hour to let the filling set, then lift the parchment to remove the slab and cut into 12 squares; serve warm or at room temperature.
Pro Tip: Make ahead: bake and cool completely, then wrap tightly and refrigerate up to 3 days; bring to room temperature before serving or rewarm slices briefly in a low oven (300°F/150°C) for 8–10 minutes.
6. Maple-Spiced Apple Skillet Cake
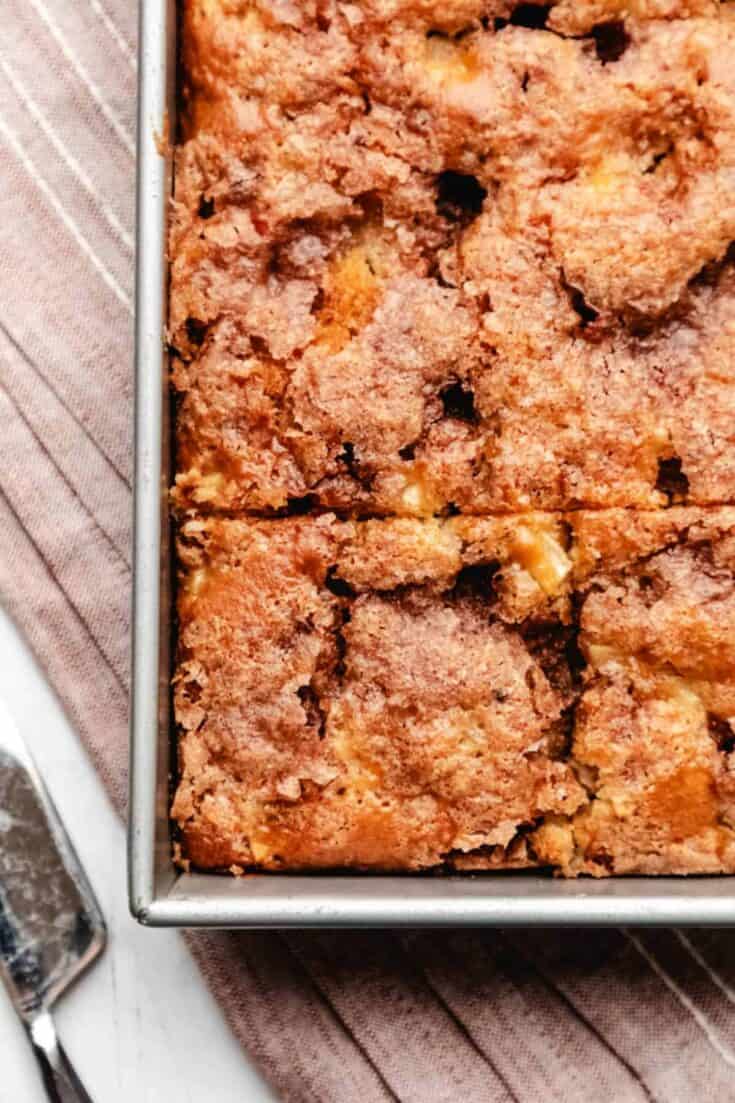
Warm, tender, and dotted with caramelized apple slices, this Maple-Spiced Apple Skillet Cake captures crisp-fall flavors in a single pan. Brown sugar and cinnamon mingle with a splash of maple to highlight tart apples while a light, tender crumb keeps the cake homey, not heavy. Serve slightly warm with cream or yogurt for contrast—the skillet finish gives a rustic presentation perfect for gatherings.
Yield: Serves 10 Total time: 1 hour 20 minutes
Ingredients
- 2 cups all-purpose flour
- 1 cup granulated sugar
- 1/3 cup light brown sugar
- 2 teaspoons baking powder
- 1/2 teaspoon baking soda
- 1 teaspoon ground cinnamon
- 1/2 teaspoon salt
- 2 large eggs
- 3/4 cup whole milk
- 1/3 cup unsalted butter, melted and cooled
- 3 medium apples, peeled, cored and thinly sliced
- 2 tablespoons pure maple syrup (optional)
Instructions
- Preheat the oven to 350°F (175°C) and generously grease a 10-inch ovenproof skillet or round cake pan.
- Arrange the apple slices in a single overlapping layer across the bottom of the prepared skillet, leaving a small hole in the center for even baking.
- Whisk together the flour, granulated sugar, brown sugar, baking powder, baking soda, cinnamon, and salt in a large bowl until evenly combined.
- Beat the eggs with the milk and melted butter in a separate bowl, then pour the wet mixture into the dry ingredients and fold gently until just combined; avoid overmixing.
- Spoon the batter evenly over the apples, smoothing the top, and bake at 350°F (175°C) for 40–50 minutes or until a thin skewer inserted near the center comes out with a few moist crumbs (not wet batter).
- Cool the cake in the pan for 15–20 minutes, then loosen the edges and invert onto a rack or serving plate; drizzle with maple syrup if using and serve warm or at room temperature.
Pro Tip: Make ahead by baking, cooling completely, then wrapping tightly and refrigerating up to 3 days; rewarm briefly in a low oven before serving. Store leftovers covered in the fridge for up to 4 days or freeze slices wrapped in foil and placed in a sealed bag for up to 1 month.
7. Autumn Orchard Freeze Pops
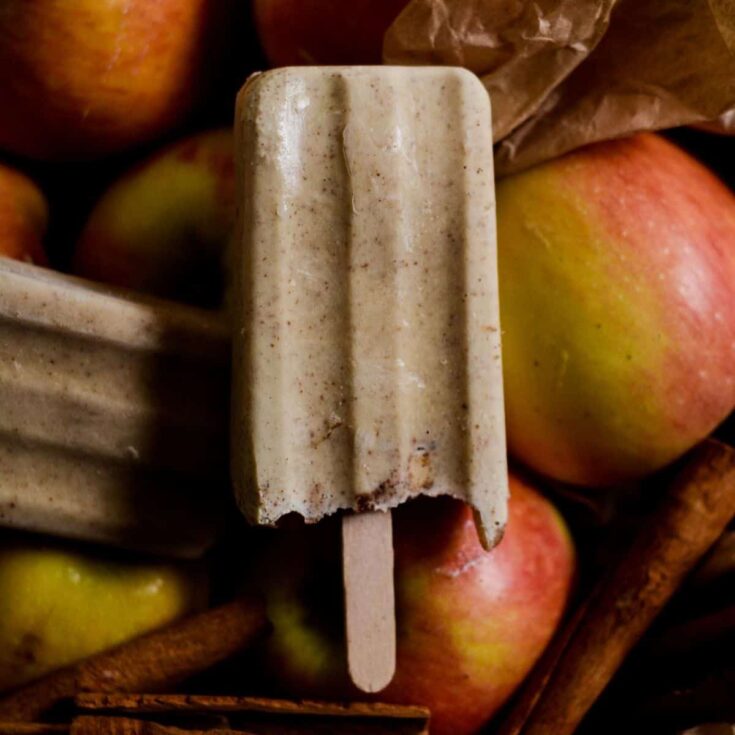
Bright, spiced apple popsicles for autumn that balance fresh fruit with a creamy undertone. Tart apple purée is blended with a touch of warm cinnamon, a splash of vanilla yogurt, and a drizzle of maple syrup for gentle sweetness. Quick to assemble and terrific for kids and adults, these frozen bars are a refreshing counterpoint to heavier fall desserts—serve after a picnic or alongside warm pies for contrast.
Yield: Makes 8 popsicles Total time: 8 hours 30 minutes
Ingredients
- 1 1/2 lb (about 3 medium) firm apples, peeled, cored, chopped
- 2 tbsp unsalted butter
- 1/4 cup pure maple syrup
- 1 tsp ground cinnamon
- 1/8 tsp ground nutmeg
- 1 tbsp lemon juice
- 1/2 cup plain Greek yogurt
- 1/4 cup whole milk or oat milk
- 1/4 tsp fine salt
- 8 (3–4 oz) popsicle molds with sticks
Instructions
- Cook the chopped apples, butter, maple syrup, cinnamon, nutmeg, lemon juice, and salt in a medium saucepan over medium heat; cover and simmer, stirring occasionally, until the apples are very tender, about 10–12 minutes.
- Blend the warm apple mixture with the Greek yogurt and milk until mostly smooth, leaving a little texture if you prefer small fruit bits; taste and add a little more maple if you want it sweeter.
- Cool the purée to room temperature, stirring occasionally to release steam so the mixture chills faster.
- Pour the cooled mixture into popsicle molds, leaving about 1/4-inch headspace for expansion.
- Insert sticks or secure the mold lids, then freeze the popsicles flat until solid, at least 6–8 hours or preferably overnight.
- Release the popsicles by running warm (not hot) water over the outside of the molds for 10–20 seconds and gently pulling the sticks; serve immediately or return to the freezer until needed.
Pro Tip: Make the apple purée up to 3 days ahead and chill in the fridge; fill molds and freeze when ready. Store finished popsicl