

Small, intentional upgrades deliver the kind of immediate impact that makes a house feel polished and cared for without a major renovation. This collection targets high-visibility elements — the front door, lighting, hardware, and finishes — with straightforward projects that either take an afternoon or a single weekend and require basic tools and confidence.
Each idea below is written from the perspective of someone who stages, photographs, and lives in homes. You’ll find practical steps, three clear action bullets per move, and a short professional tip that helps you avoid common mistakes. Pick one or three that fit your schedule and budget, and watch how the cumulative effect elevates the whole house.
1. Give Your Entry a Lift With a Bold Door Refresh
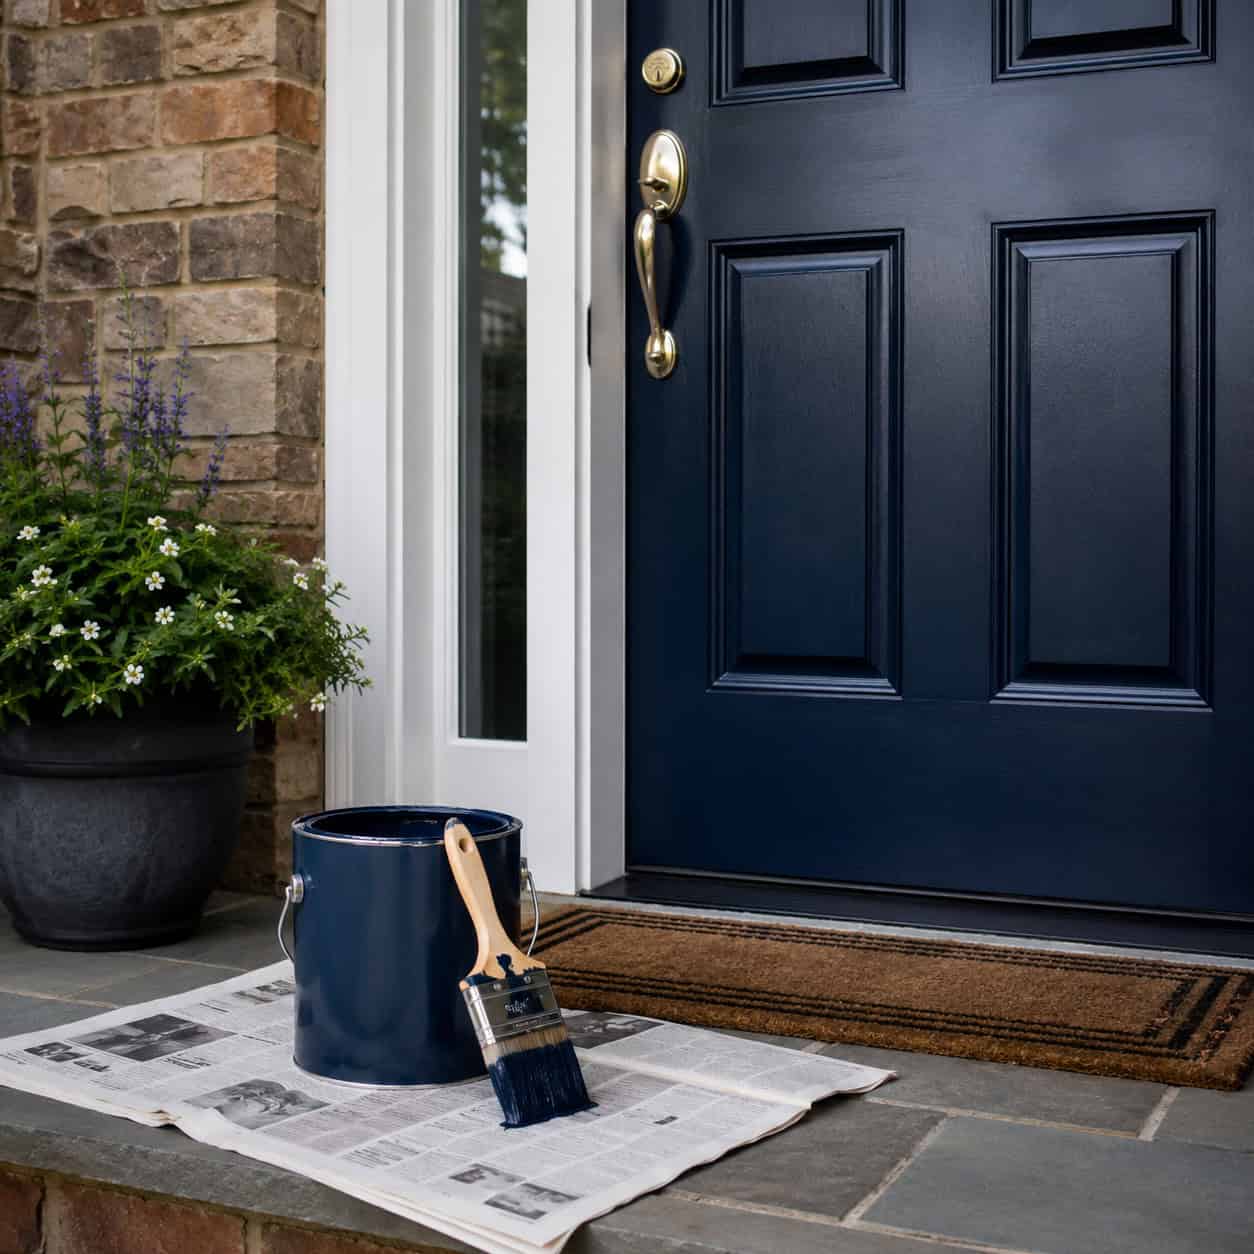
The front door is the first conversation your home has with strangers and guests. A saturated, well-applied paint color signals attention to detail and immediately boosts curb appeal. If the door is dented or weathered beyond a cosmetic fix, replacing it with a modern, insulated unit is worth considering. Either way, a freshly finished door frames your whole facade and cues quality before anyone steps inside.
Key Design Elements
- Choose a door color that contrasts the siding
- Sand, prime, and use exterior-grade paint
- Replace weatherstripping while the door is off
Pro Tip: If painting, use a high-build exterior primer and two finish coats for durability. For replacements, pick a pre-hung unit that includes jamb and threshold to simplify installation and improve energy performance.
2. Wash Away Years: Pressure-Clean Key Surfaces

Dirt, mildew, and grime flatten architectural details and make materials look tired. A careful pressure wash brightens siding, decks, driveways, and fences and reveals the real color beneath years of buildup. Renting a unit for a day and learning basic nozzle technique produces a dramatic before-and-after. Avoid damage by testing pressure and using low-pressure soap for delicate surfaces.
Key Design Elements
- Start with a low-pressure fan nozzle on siding
- Use appropriate cleaners for deck, brick, or concrete
- Keep nozzle 12–24 inches from surfaces to avoid etching
Pro Tip: Move methodically from top to bottom, rinsing areas immediately after applying cleaner. Protect plants and electrical outlets with tarps and low-pressure rinses to prevent damage.
3. Swap Interior Doorknobs for Instant Style Upgrade
Interior doorknobs are small touchpoints that shape how a house reads. Replacing dated round knobs with lever handles, matte finishes, or modern roses unifies a home’s aesthetic and feels surprisingly luxurious. The job is straightforward: remove two screws, swap the latch, and install the new hardware. Do a few rooms at a time to spread expense while still getting the momentum of visible change.
Key Design Elements
- Match latch backset to existing holes
- Upgrade finish in groups for cohesion
- Test latch orientation before final tightening
Pro Tip: Keep a consistent finish throughout hallways and common rooms to read as intentional design. If holes don’t line up, buy a latch kit or use a simple escutcheon to conceal small mismatches.
4. Add a Backsplash That Reads Like a Remodel
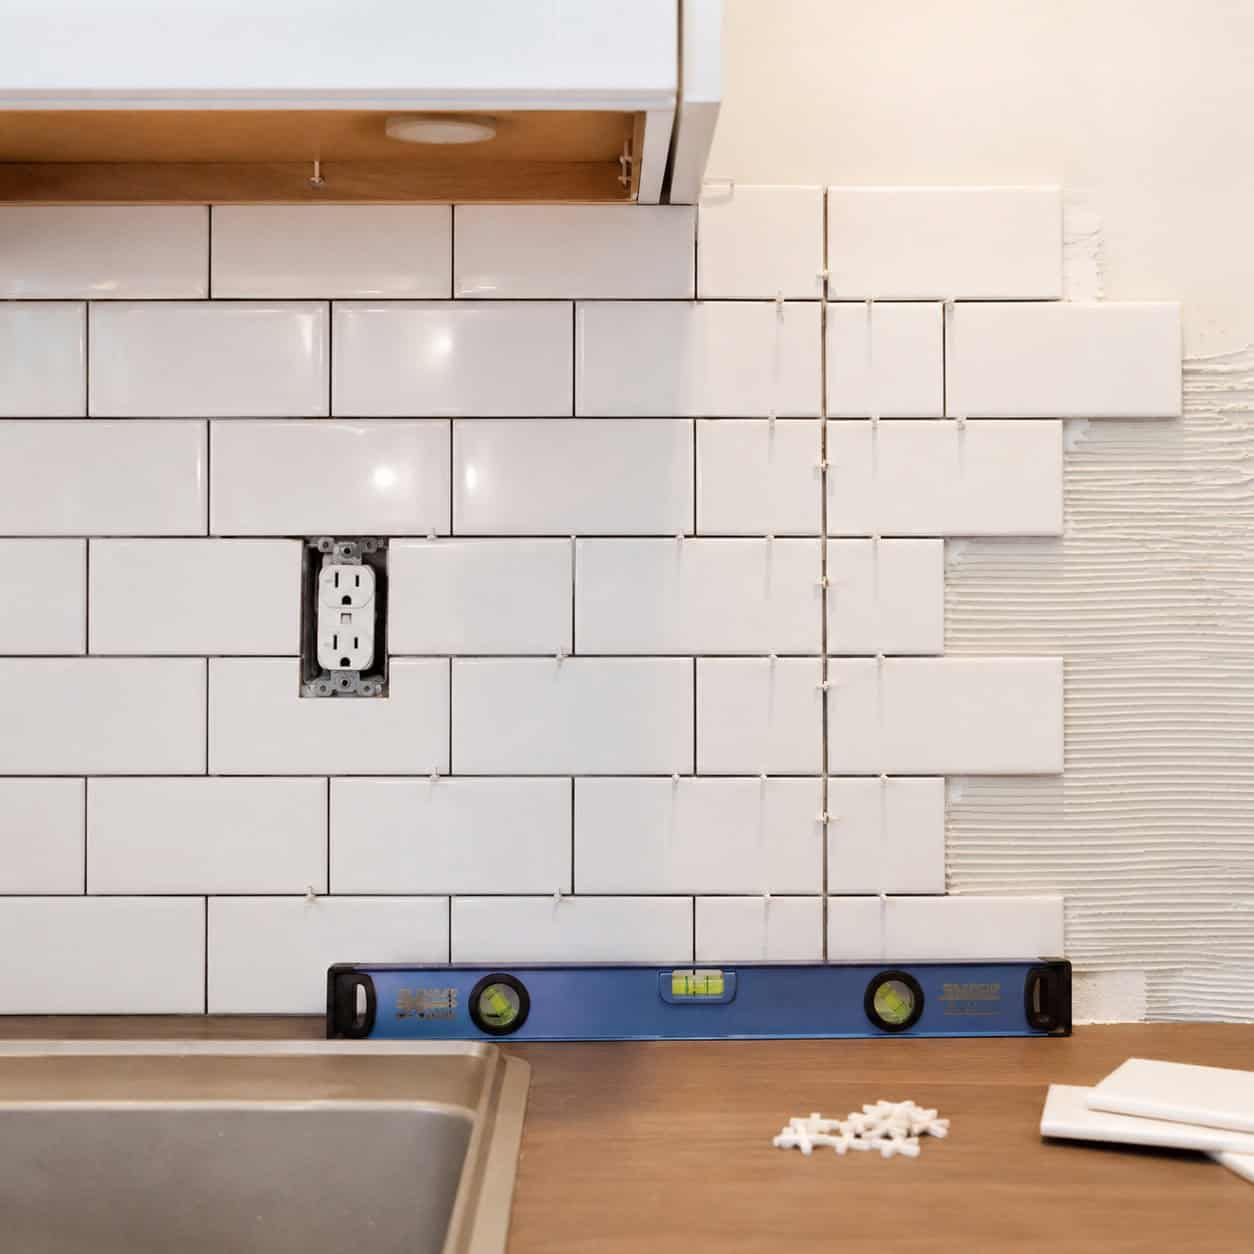
A backsplash protects walls and completes a kitchen visually. Choosing tile or a durable peel-and-stick alternative creates texture and pattern on a compact surface, delivering a high-end look for modest cost. Layout and pattern matter: running brick, stacked, or herringbone each set a different tone. With careful measurement and a weekend’s work, even a tight budget will yield a kitchen that photographs and functions better.
Key Design Elements
- Measure carefully and account for grout spacing
- Use spacers and a level to maintain straight lines
- Seal grout or edges where moisture is likely
Pro Tip: For a clean finish near counters and cabinets, install a ledge or trim at the top of tile runs. If you prefer a peel-and-stick product, clean and prime the substrate first for best adhesion.
5. Lay Luxury Vinyl Plank for a Fresh, Cohesive Floor
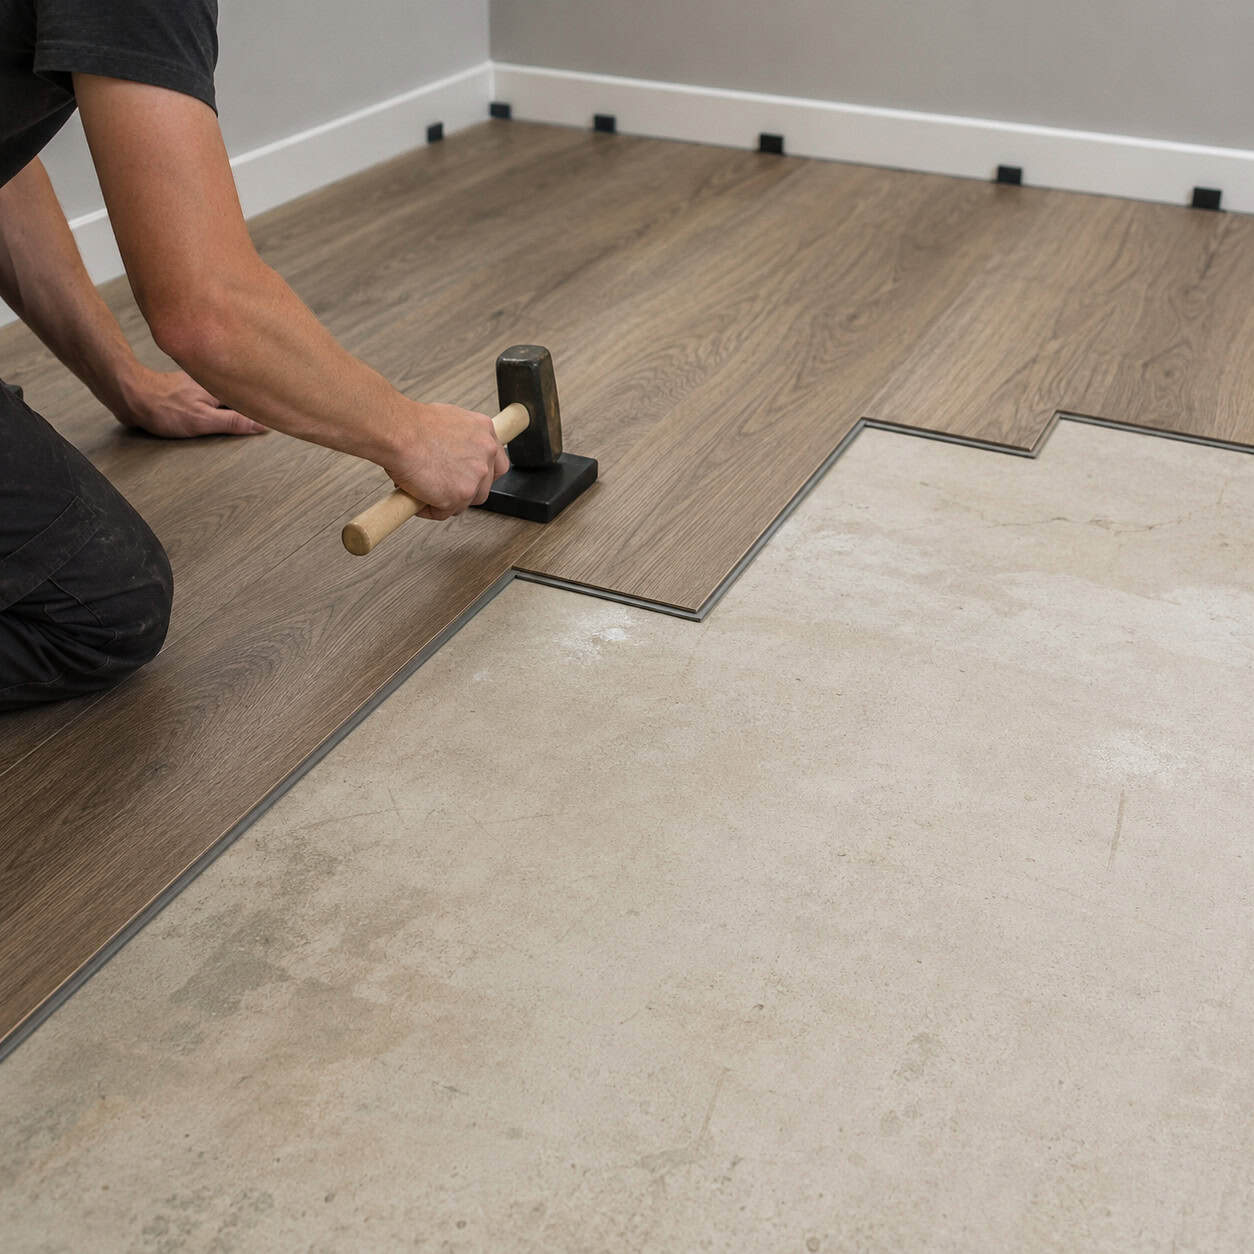
Luxury vinyl plank (LVP) offers the look of real wood with resilience for busy households. Floating installations click together and typically install over existing flat surfaces, speeding the project. Choose planks with textured surfaces and realistic color variation to avoid a flat, synthetic feel. Pay attention to transitions between rooms and leave proper expansion gaps to ensure longevity and a polished final look.
Key Design Elements
- Acclimate planks in the room before installation
- Use an underlayment if recommended by the manufacturer
- Trim with a pull bar and tapping block for snug seams
Pro Tip: Start installation from the longest, straightest wall and stagger end joints by at least 6–12 inches. Keep spare planks for future repairs and to match batch color variation.
6. Warm Up Your Island With a Butcher-Block Top
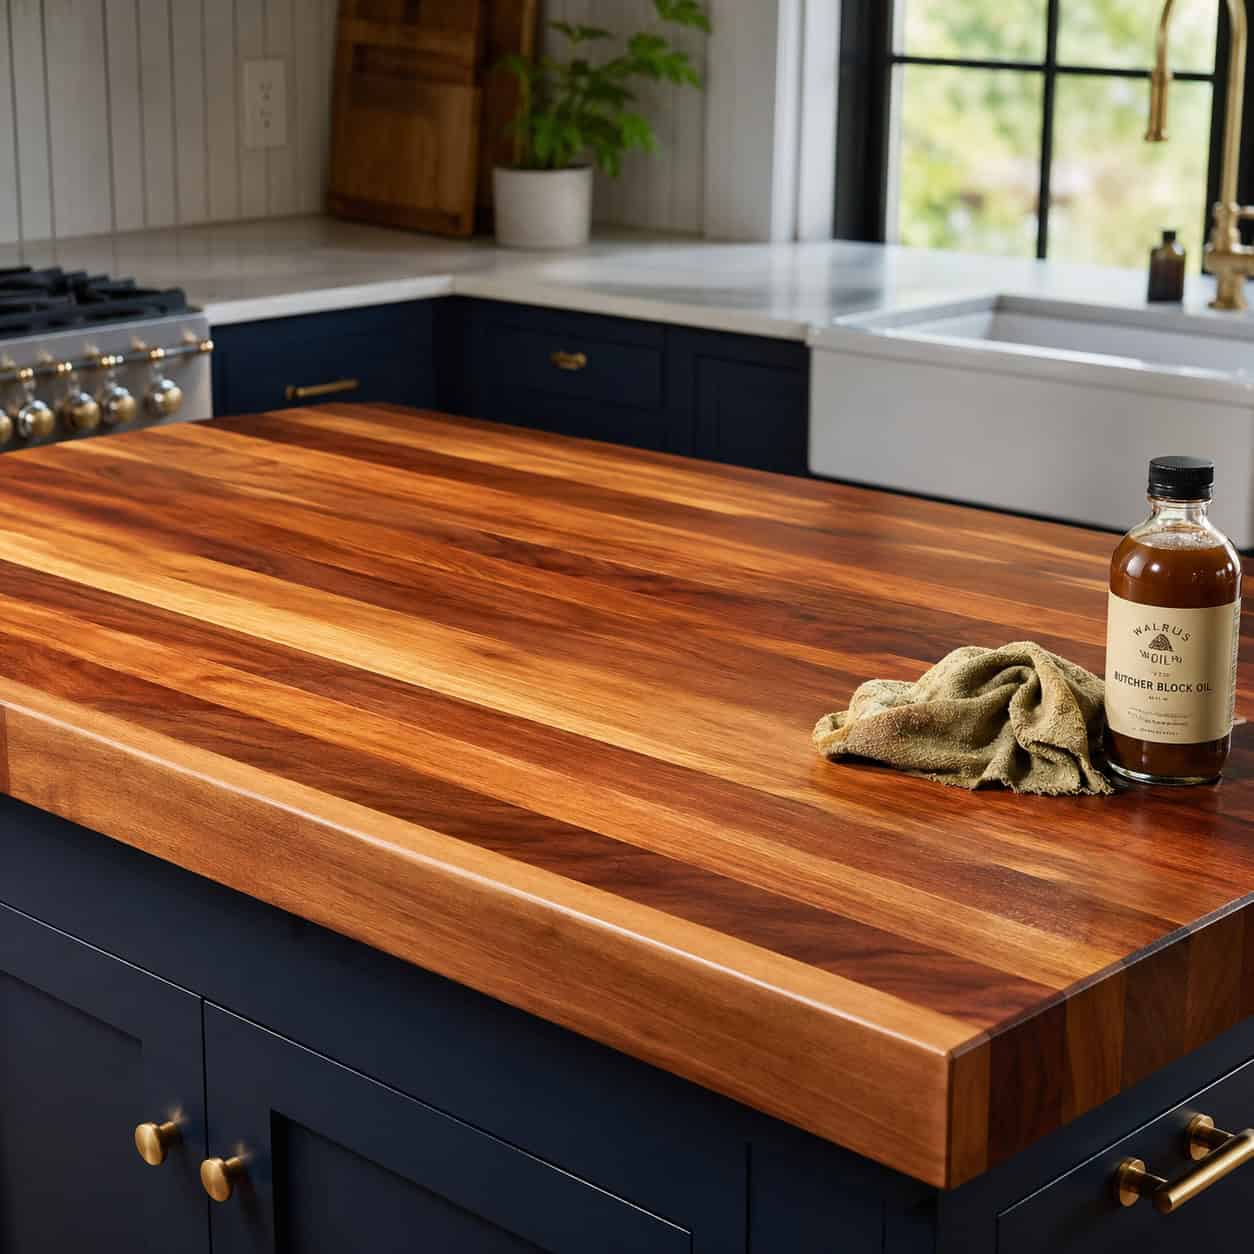
Butcher-block island tops introduce warmth and natural grain that instantly humanizes a kitchen. On a modest island footprint, solid wood is affordable and approachable for a DIY finish. Select a hardwood with close grain for durability and finish with food-safe oil or a durable varnish depending on use. Proper sealing around sinks and hot pans preserves the wood and keeps the surface attractive for years.
Key Design Elements
- Choose a hardwood species suited to daily use
- Sand smooth and apply food-safe oil or varnish
- Add silicone pads where appliances sit to prevent burns
Pro Tip: Keep a maintenance oil on hand and reapply periodically to maintain water resistance. For heavy-duty cooking zones, install a small sacrificial cutting board surface rather than cutting directly on the butcher block.
7. Refresh Rooms Fast With a Thoughtful Paint Plan
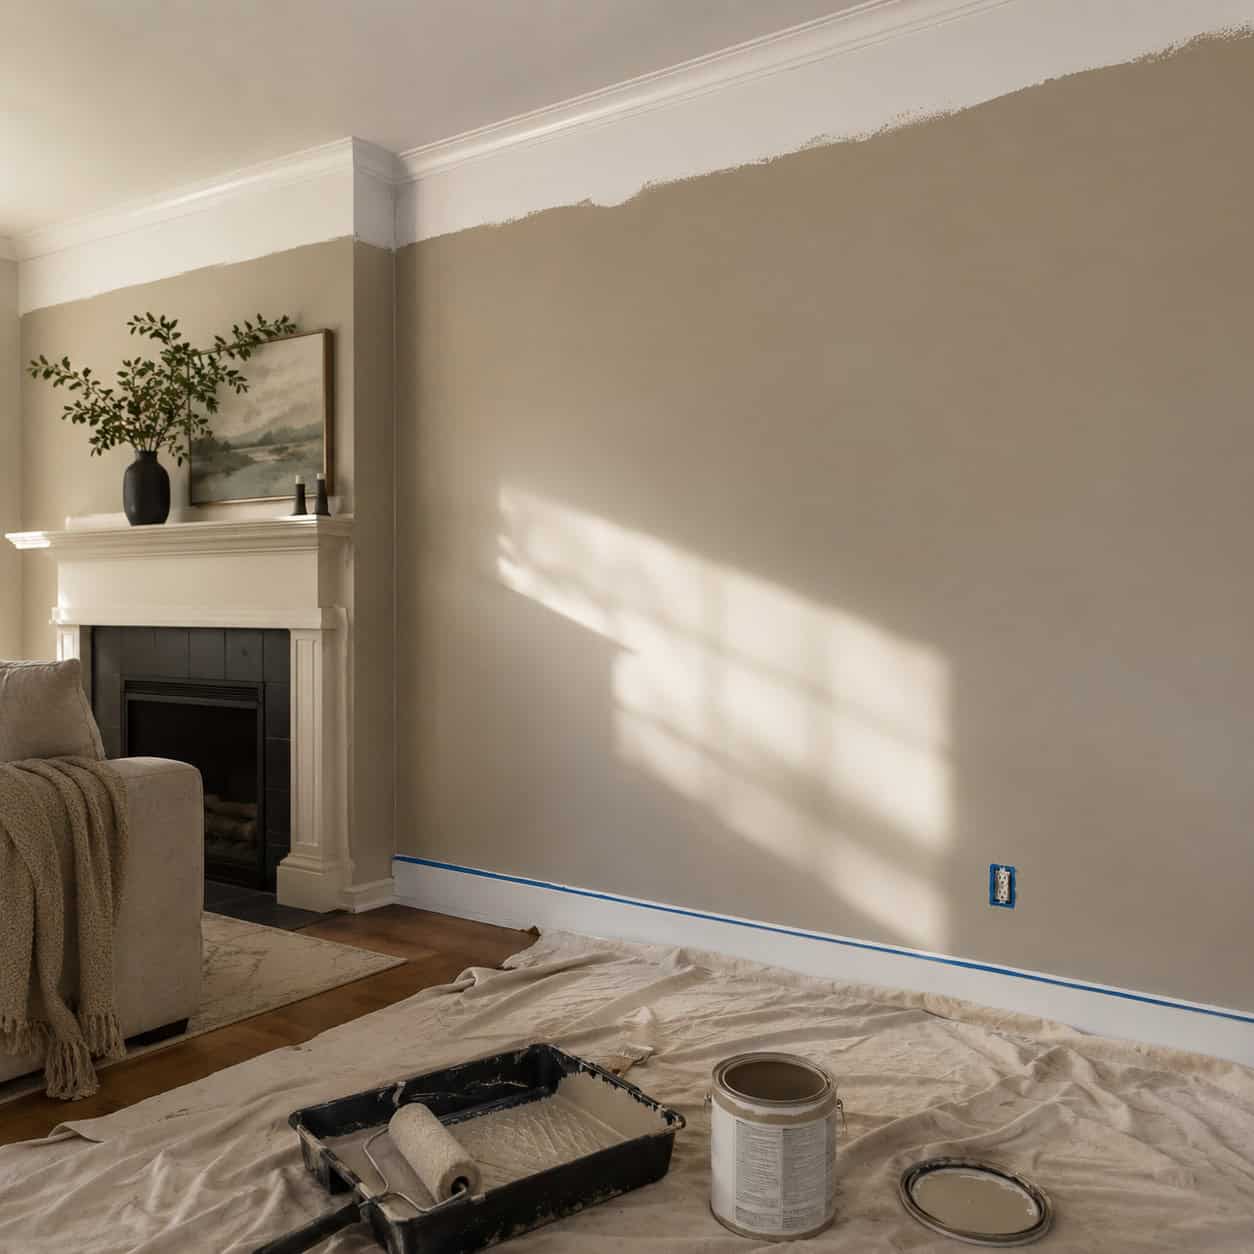
A fresh coat of paint creates immediate cohesion and cleans up visual noise. Rather than chasing every trendy hue, select two or three complementary neutrals and carry them through adjacent spaces to create flow. Proper prep is as important as color: fill cracks, sand glossy finishes, and apply primer where needed. A careful, well-executed paint job lifts every piece of furniture and makes finishes feel intentional.
Key Design Elements
- Patch, sand, and prime before topcoats
- Use consistent sheens within a room
- Test color on multiple walls and light conditions
Pro Tip: Paint samples look different at scale; apply 2–3 large swatches and live with them for a day. Keep painted trim and walls in proportion by choosing primers and mid-sheen finishes where appropriate.
8. Put a Dimmer on Every Popular Switch
A dimmer transforms how a room functions, letting one fixture serve task and mood. Choose dimmers compatible with LED or CFL bulbs to avoid flicker and ensure smooth operation. Replacing a single switch is a quick electrical task for a homeowner comfortable with breakers; label the circuit, remove the cover, and swap in the dimmer. The result is richer atmosphere and greater flexibility without changing fixtures.
Key Design Elements
- Match dimmer type to bulb technology (LED, incandescent)
- Turn off the breaker and confirm power is off
- Keep original switch wiring layout for an easy swap
Pro Tip: If a fixture hums or flickers after installation, try a different dimmer rated for your bulb brand. Many inexpensive LEDs need dimmers specifically designed for low-wattage loads.
9. Replace Yellowed Faceplates for a Cleaner Look
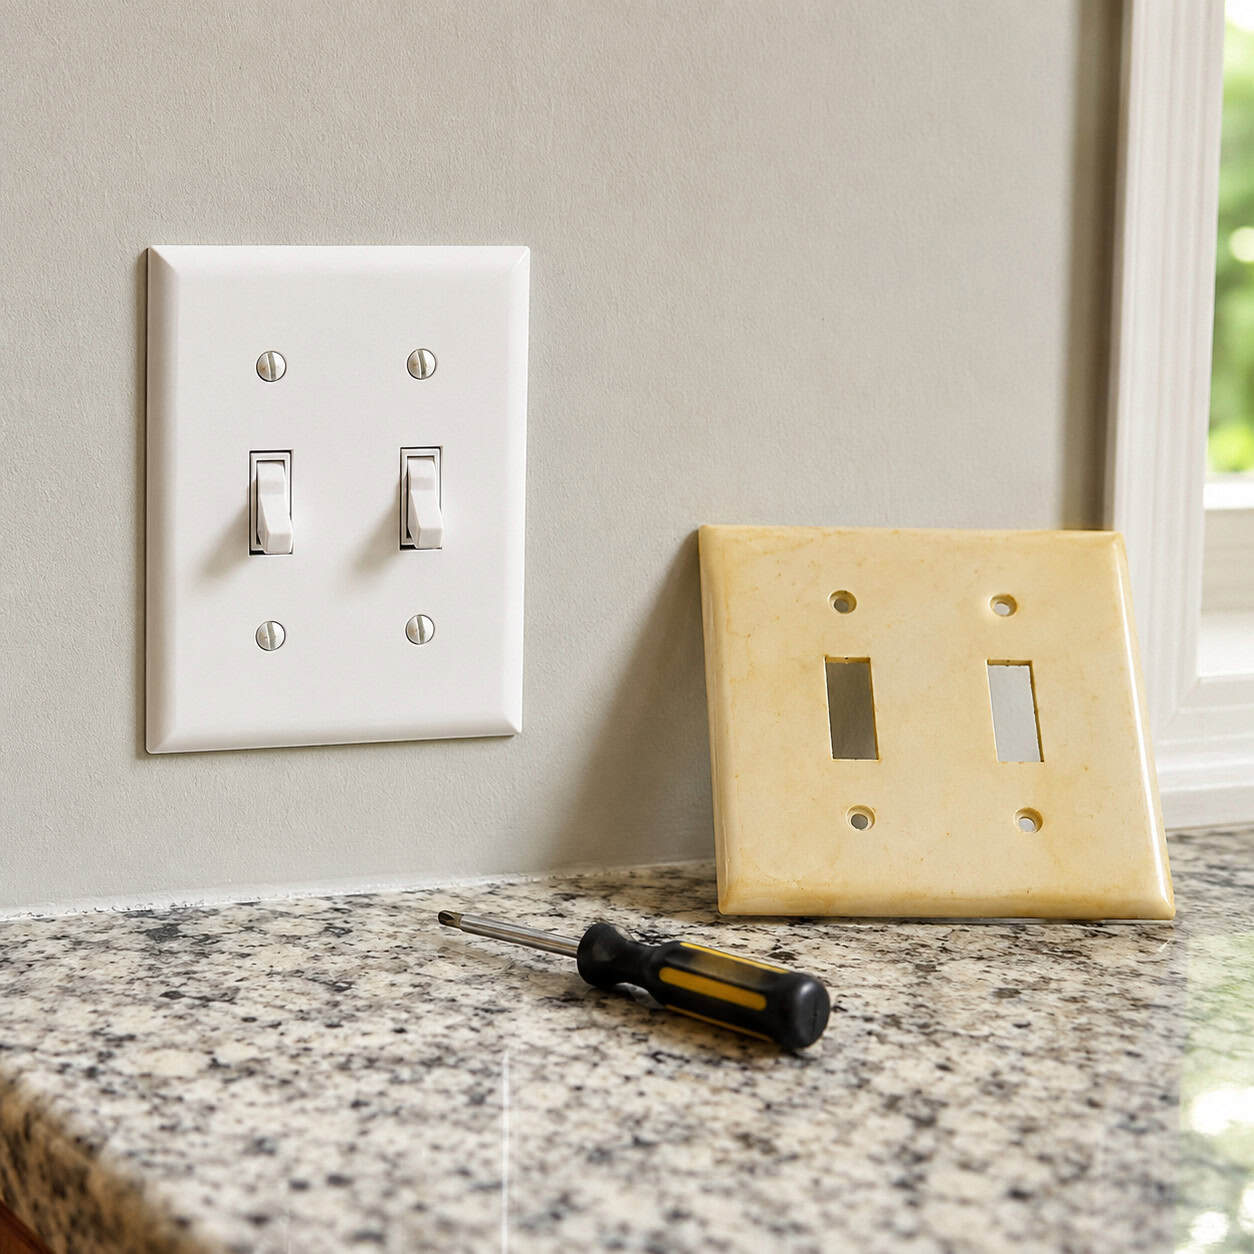
New outlet and switch covers are one of the least expensive ways to make interiors feel crisp. Replacing sun-yellowed or stained plates across a home homogenizes surfaces and signals upkeep. Choose colors and finishes that match trim or wall tones for a subtle outcome, or go bold with metal or designer plates for a modern touch. The replacement itself is a quick safety-friendly swap that takes minutes per opening.
Key Design Elements
- Turn power off at the breaker before replacing plates
- Match plate size and style to each opening
- Wipe openings clean before installing new plates
Pro Tip: Swap plates room by room to spread cost and keep the project manageable. Consider color-matched or matte-finish plates to better blend with contemporary paint choices.
10. Install Floating Shelves to Create Display and Storage
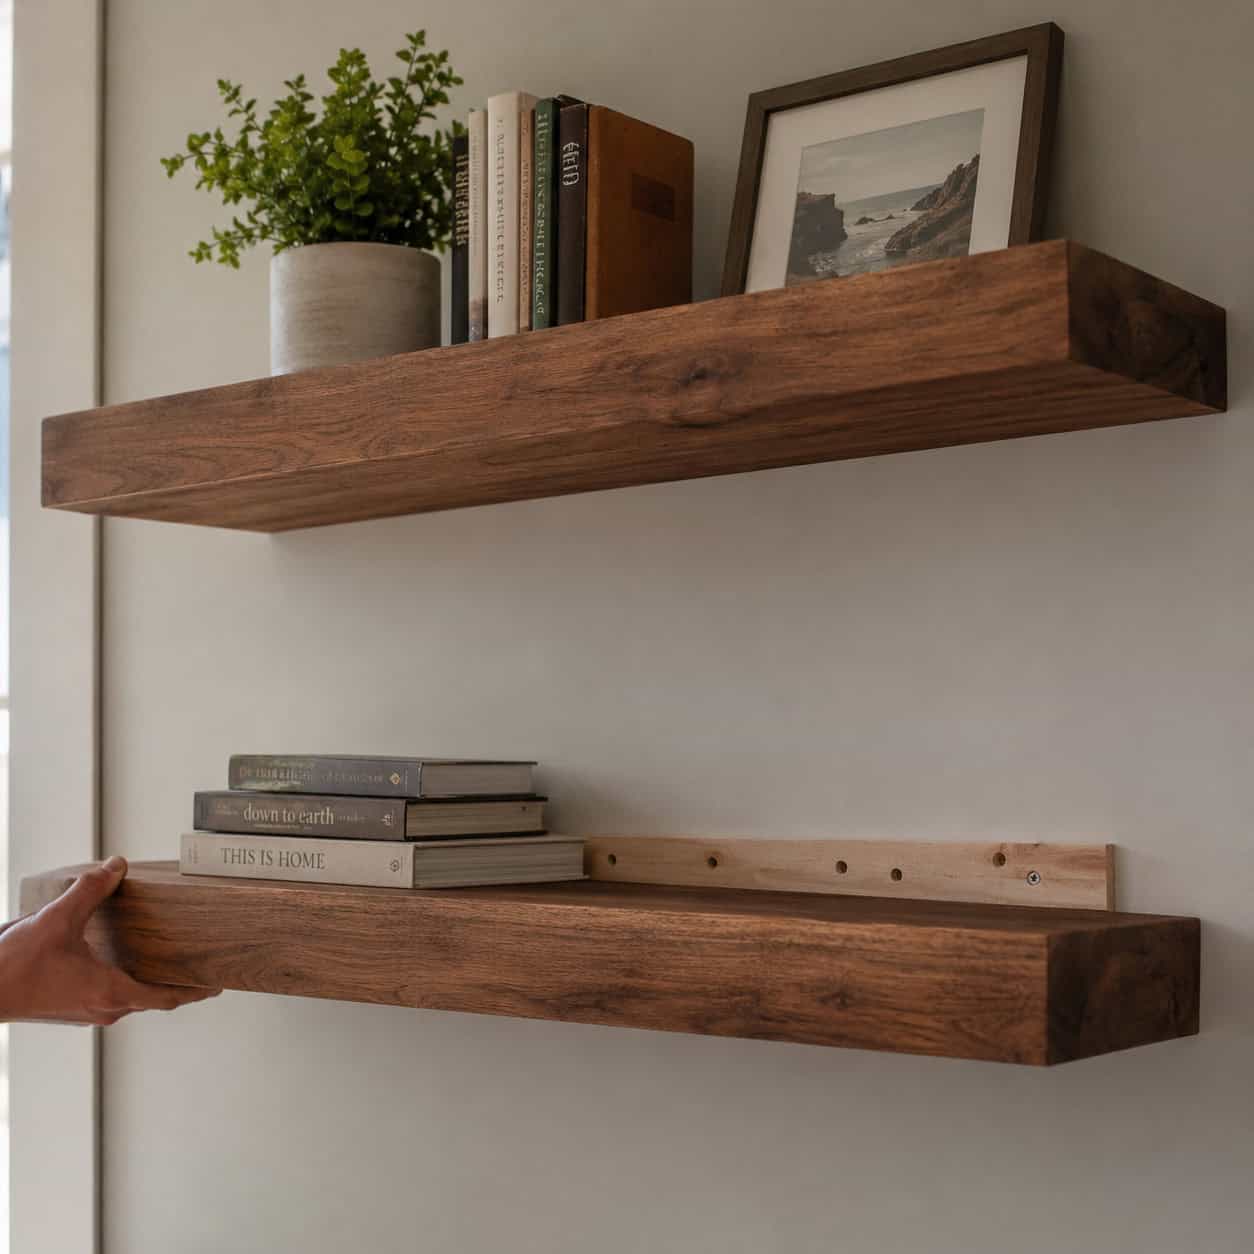
Floating shelves add display space and visual interest without heavy built-ins. The secret to a reliable shelf is anchoring — secure the hidden mounting cleat to studs or use rated heavy-duty anchors for drywall. Choose shelf depth to fit the items you’ll display and finish the edges cleanly. When hung in a balanced composition they elevate décor and make walls feel curated, not cluttered.
Key Design Elements
- Locate studs and mark mounting points carefully
- Use a hidden cleat or threaded rod system for strength
- Level shelves and space displays in odd-number groupings
Pro Tip: Paint or stain the cleat to match the shelf so it disappears. For heavier objects, install two cleats spaced to distribute load and test with weight before styling.
11. Refresh Your Facade With a New Garage Door
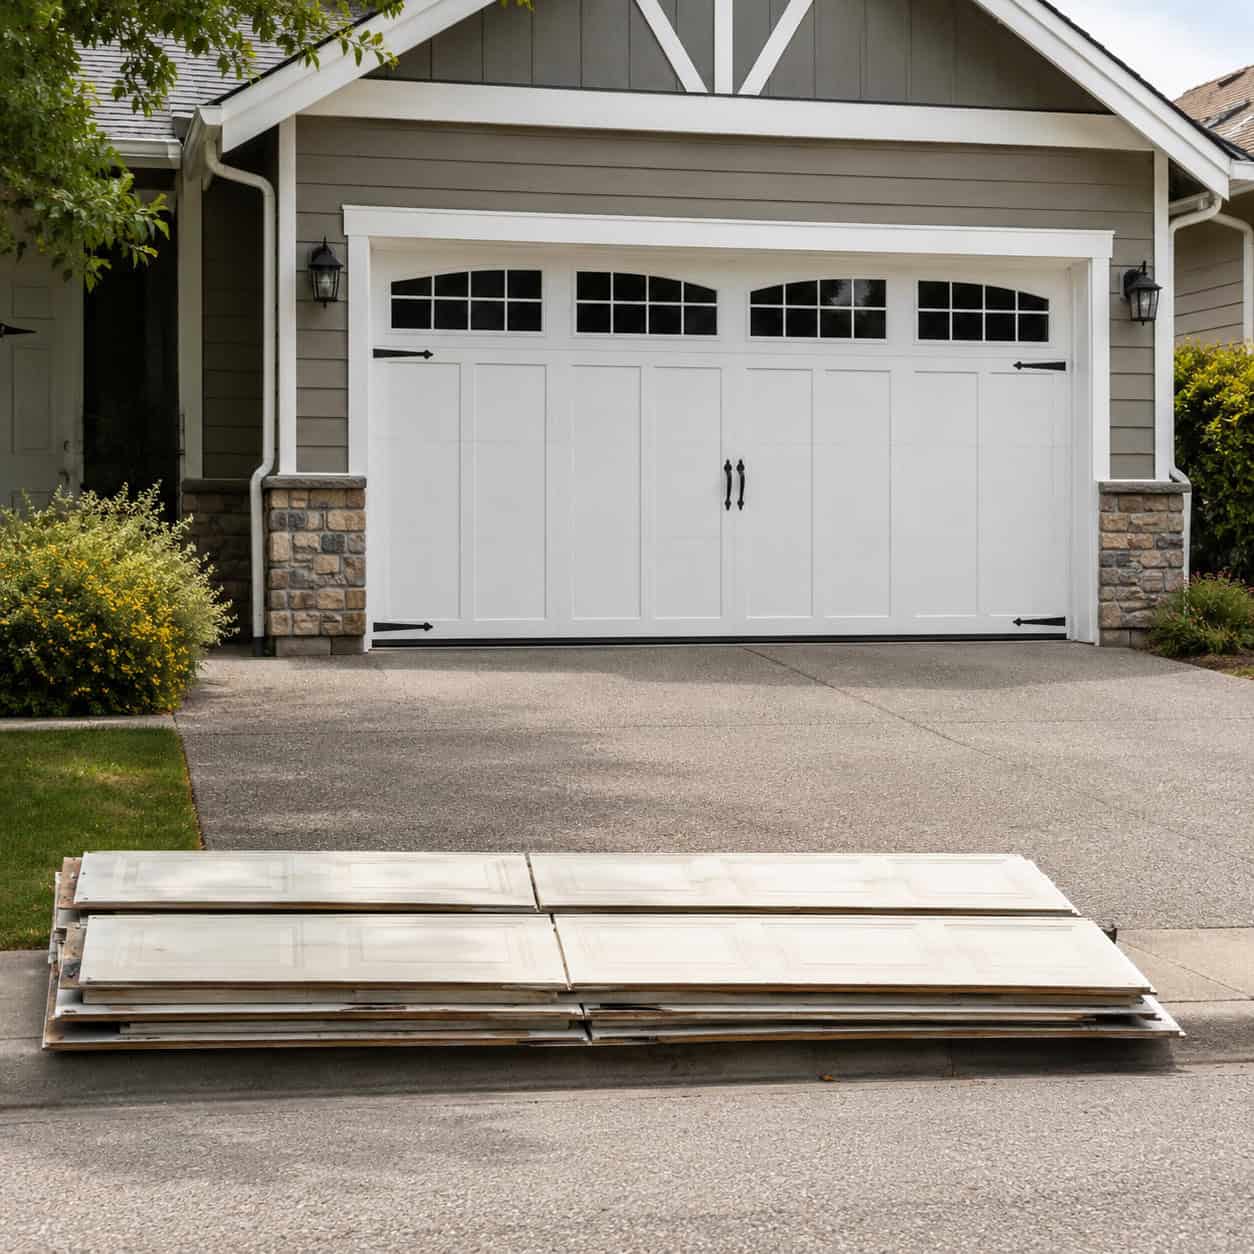
Because a garage door is the largest visual element on many exteriors, replacing it can reframe the entire frontage. Modern doors come in insulated options with windows and hardware that tune the style from traditional to contemporary. If a full replacement is out of budget, a fresh paint job and applied faux hardware can simulate the effect. Either approach balances curb appeal and practical performance improvements.
Key Design Elements
- Choose a door style that complements your home’s architecture
- Consider insulated panels for efficiency near living spaces
- Match hardware and window styles for a cohesive look
Pro Tip: If replacing, measure carefully and consider professional installation for heavy doors. If painting instead, use exterior paint formulated for metal or composite surfaces and prep thoroughly to avoid flaking.
12. Light the Night: Add Path and Landscape Fixtures
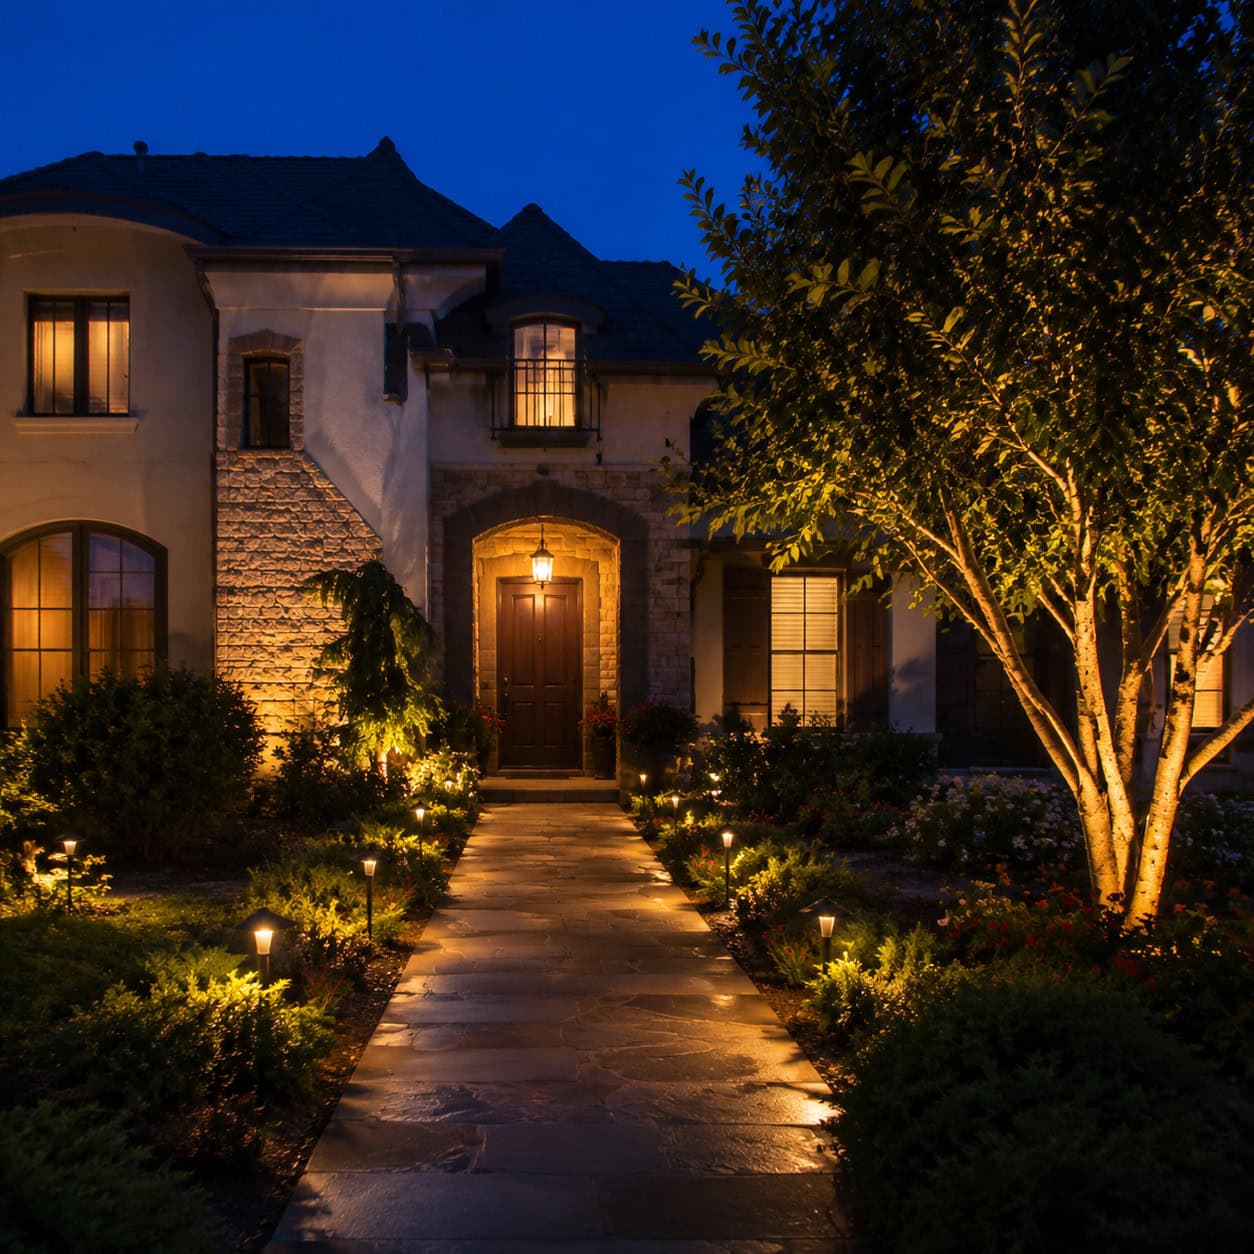
Landscape lighting extends curb appeal into the evening and improves safety. Strategically placed path lights, uplights on specimen trees, and soft washes on architectural features create depth and drama. Solar options are easy to install, while low-voltage systems offer greater control and brightness. Thoughtful placement avoids glare and highlights textures, turning your yard into a welcoming scene at dusk.
Key Design Elements
- Aim fixtures downward to reduce glare
- Space path lights evenly for balanced illumination
- Use timers or photocells for automatic dusk-to-dawn operation
Pro Tip: Map fixture placement on paper before digging. Test light positions at dusk to ensure highlights land where intended and adjust aim to avoid lighting neighbors or the street.
13. Choose the Right Rug Size to Define the Room
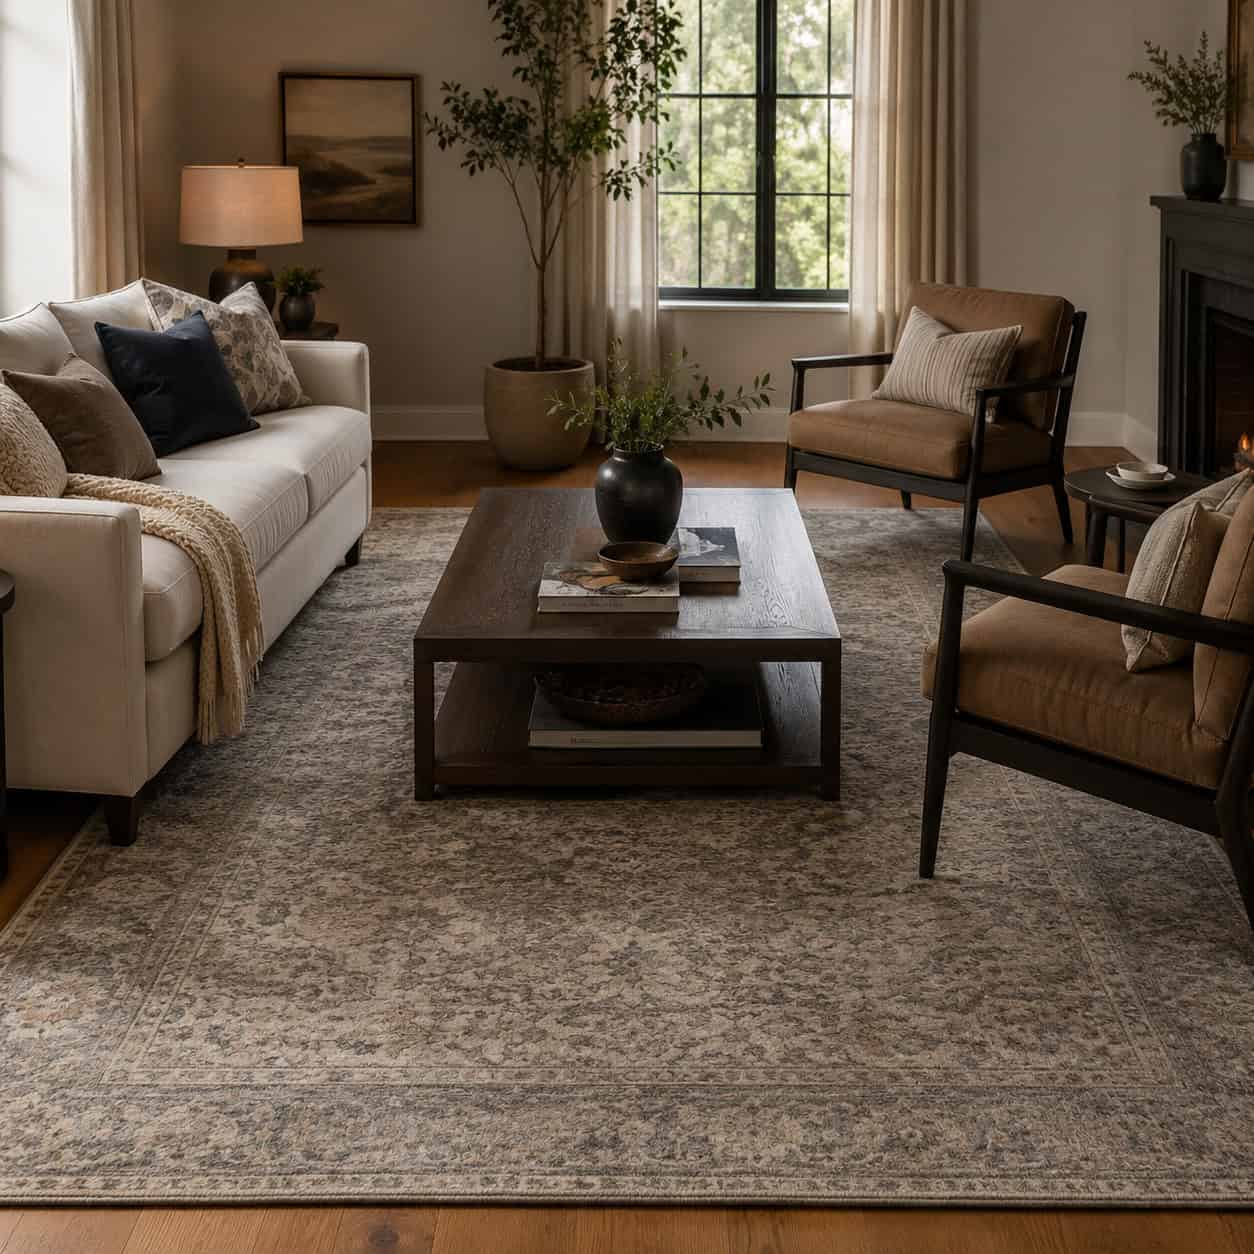
Rug sizing affects how furniture groups read and whether a room feels anchored or adrift. For living rooms, a rug should at least reach the front legs of seating pieces, with larger rugs bringing greater cohesion. In dining rooms, allow enough border for chairs to be pulled out while on the rug. Correct scale makes small spaces feel intentional and large rooms feel intimate.
Key Design Elements
- Measure furniture footprint before buying a rug
- Leave consistent floor borders around the rug edge
- Use rug pads to prevent slipping and protect floors
Pro Tip: If budget is tight, buy a slightly larger rug and trim the edges professionally or layer a runner to extend a smaller rug visually. Always test with taped outlines before shopping.